Insert and format tables
Insert a table
To insert a table onto a slide,
- select the slide where a table will be added,
- switch to the Insert tab of the top toolbar,
- click the Table icon at the top toolbar,
- select the option to create a table:
either a table with predefined number of cells (10 by 8 cells maximum)
If you want to quickly add a table, just select the number of rows (8 maximum) and columns (10 maximum).
or a custom table
In case you need more than 10 by 8 cell table, select the Insert Custom Table option that will open the window where you can enter the necessary number of rows and columns respectively, then click the OK button.
- once the table is added you can change its properties and position.
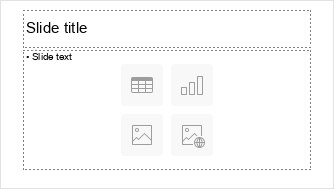
You can also add a table into a text placeholder pressing the Table icon within it and selecting the necessary number of cells or using the Insert Custom Table option:
To resize a table, drag the handles situated on its edges until the table reaches the necessary size.
You can also manually change the width of a certain column or the height of a row. Move the mouse cursor over the right border of the column so that the cursor turns into the bidirectional arrow and drag the border to the left or right to set the necessary width. To change the height of a single row manually, move the mouse cursor over the bottom border of the row until the cursor turns into the bidirectional arrow and drag it up or down.
You can specify the table position on the slide dragging it vertically or horizontally.
Note: to move around in a table you can use keyboard shortcuts.
It's also possible to add a table to a slide layout. To learn more, please refer to this article.
Adjust table settings
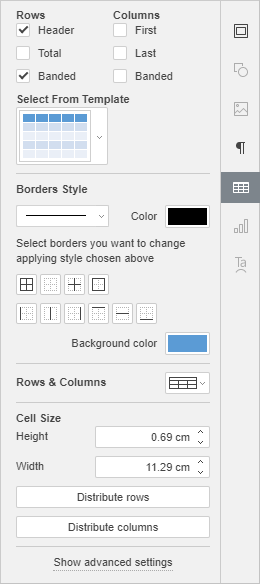
Most of the table properties as well as its structure can be altered using the right sidebar. To activate it click the table and choose the Table settings icon on the right.
The Rows and Columns sections on the top allow you to emphasize certain rows/columns applying a specific formatting to them, or highlight different rows/columns with the different background colors to clearly distinguish them. The following options are available:
- Header - emphasizes the topmost row in the table with a special formatting.
- Total - emphasizes the bottommost row in the table with a special formatting.
- Banded - enables the background color alternation for odd and even rows.
- First - emphasizes the leftmost column in the table with a special formatting.
- Last - emphasizes the rightmost column in the table with a special formatting.
- Banded - enables the background color alternation for odd and even columns.
The Select From Template section allows you to choose one of the predefined tables styles. Each template combines certain formatting parameters, such as a background color, border style, row/column banding etc.
Depending on the options checked in the Rows and/or Columns sections above, the templates set will be displayed differently. For example, if you've checked the Header option in the Rows section and the Banded option in the Columns section, the displayed templates list will include only templates with the header row and banded columns enabled:
The Borders Style section allows you to change the applied formatting that corresponds to the selected template. You can select the entire table or a certain cells range you want to change the formatting for and set all the parameters manually.
- Border parameters - set the border width using the list (or choose the No borders option), select its Color in the available palettes and determine the way it will be displayed in the cells clicking on the icons:
- Background color - select the color for the background within the selected cells.
The Rows & Columns section allows you to perform the following operations:
Note: the options of the Rows & Columns section are also accessible from the right-click menu.
The Cell Size section is used to adjust the width and height of the currently selected cell. In this section, you can also Distribute rows so that all the selected cells have equal height or Distribute columns so that all the selected cells have equal width. The Distribute rows/columns options are also accessible from the right-click menu.
Adjust table advanced settings
To change the advanced table settings, click the table with the right mouse button and select the Table Advanced Settings option from the right-click menu or click the Show advanced settings link at the right sidebar. The table properties window will be opened:
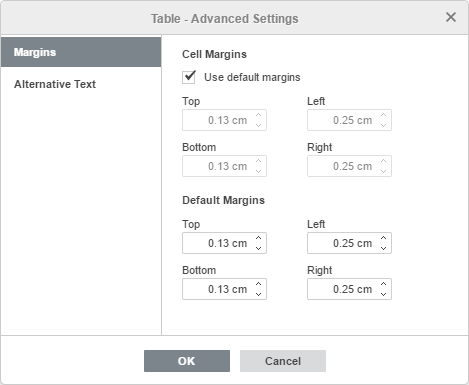
The Margins tab allows to set the space between the text within the cells and the cell border:
- enter necessary Cell Margins values manually, or
- check the Use default margins box to apply the predefined values (if necessary, they can also be adjusted).
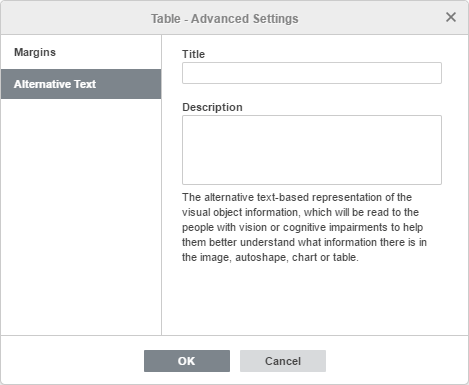
The Alternative Text tab allows to specify a Title and Description which will be read to the people with vision or cognitive impairments to help them better understand what information there is in the table.
To format the entered text within the table cells, you can use icons at the Home tab of the top toolbar. The right-click menu that appears when you click the table with the right mouse button includes two additional options:
- Cell vertical alignment - it allows you to set the preferred type of the text vertical alignment within the selected cells: Align Top, Align Center, or Align Bottom.
- Hyperlink - it allows you to insert a hyperlink into the selected cell.
Alla pagina precedente