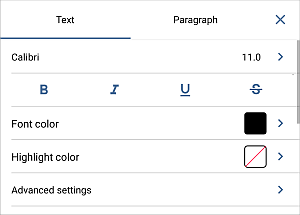
To apply the formatting to the text, select it and open the text and paragraph settings panel by:
- tapping the
 icon at the top toolbar, or
- tapping the
 option in the pop-up menu.
On the Text tab, use one of the available settings. Use the  icon on the left to return to the previous settings section.

- Tap the font name displayed on the left (e.g. Arial) and select a different font from the list of the available ones. To add a new font to the list, click the
 button in the Fonts section and specify the path to a file with the
 .otf extension. The editor will need to be restarted. After these steps, the new font will be imported and available for use.
- Tap the font size displayed on the right (e.g. 11.0) and use the
 or
or
 arrows to decrease or increase the current value.
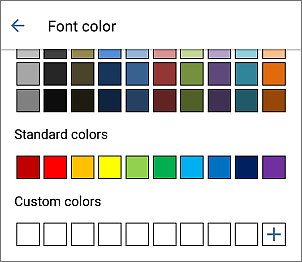
- Font color - is used to change the color of the characters in the text. Tap this option to open the the color palettes panel (swipe up to see more colors). Select the necessary color on the Theme colors or Standard colors palette or create your own Custom color.

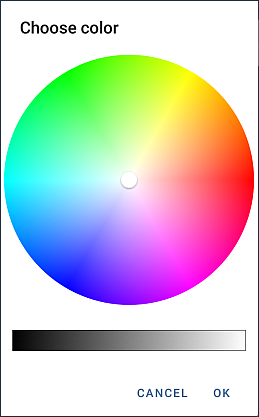
To add a new Custom color, follow these steps:
- tap the
 icon in the Custom colors section.
- using the color palette, choose the necessary color and select its hue level,

- tap the OK button to apply the color to the selected text.
The added color will also be placed in the Custom colors section, where the recently used custom colors are located.
After you change the default font color, you can use the Automatic option on the color palettes panel to quickly restore the automatic color for the selected text passage.
To clear applied formatting, you can use the Clear format option.
- Highlight color - is used to mark the necessary part of the text by adding a color band that imitates highlighter pen effect around the text. Tap this option to open the the color palette panel and select the necessary color.
To clear the highlight color, choose the
 Without filling option.
Close the text settings panel by tapping the  icon on the right.