Insert SmartArt objects
SmartArt graphics are used to create a visual representation of a hierarchical structure by choosing a layout that fits best. Insert SmartArt objects or edit the ones added in third-party editors.
To insert a SmartArt object,
- go to the Insert tab,
- click the SmartArt button,
- hover over one of the available layout styles, e.g., List or Process,
- choose one of the available layout types from the list appeared to the right of the highlighted menu item,
- you can save the SmartArt object as picture on your hard drive using the Save as picture option in the right-click menu.
You can customize the SmartArt settings in the right panel:
Please note that color, style and form type settings can be customized individually.
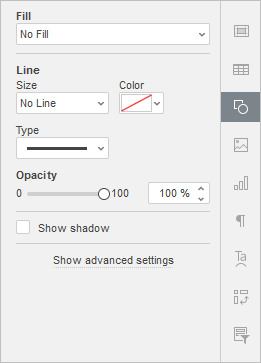
-
Fill - use this section to select the SmartArt object fill. You can choose the following options:
-
Color Fill - select this option to specify the solid color to fill the inner space of the selected SmartArt object.
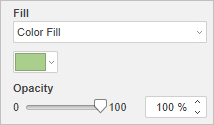
-
Gradient Fill - use this option to fill the shape with two or more fading colors. Customize your gradient fill with no constraints. Click the Shape settings icon to open the Fill menu on the right sidebar:
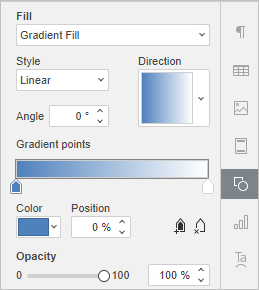
Available menu options:
-
Style - choose between Linear or Radial:
- Linear is used when you need your colors to flow from left-to-right, top-to-bottom, or at any angle you chose in a single direction. The Direction preview window displays the selected gradient color, click the arrow to choose a preset gradient direction. Use Angle settings for a precise gradient angle.
- Radial is used to move from the center as it starts at a single point and emanates outward.
-
Gradient Point is a specific point for transition from one color to another.
- Use the Add Gradient Point button or slider bar to add a gradient point. You can add up to 10 gradient points. Each next gradient point added will in no way affect the current gradient fill appearance. Use the Remove Gradient Point button to delete a certain gradient point.
- Use the slider bar to change the location of the gradient point or specify Position in percentage for precise location.
- To apply a color to a gradient point, click a point on the slider bar, and then click Color to choose the color you want.
-
Picture or Texture - select this option to use an image or a predefined texture as the SmartArt object background.
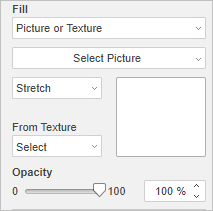
- If you wish to use an image as a background for the SmartArt object, you can add an image From File by selecting it on your computer hard disc drive, From URL by inserting the appropriate URL address into the opened window, or From Storage by selecting the required image stored on your portal.
-
If you wish to use a texture as a background for the SmartArt object, open the From Texture menu and select the necessary texture preset.
Currently, the following textures are available: canvas, carton, dark fabric, grain, granite, grey paper, knit, leather, brown paper, papyrus, wood.
-
In case the selected Picture has less or more dimensions than the SmartArt object has, you can choose the Stretch or Tile setting from the dropdown list.
The Stretch option allows you to adjust the image size to fit the SmartArt object size so that it could fill the space completely.
The Tile option allows you to display only a part of the bigger image keeping its original dimensions or repeat the smaller image keeping its original dimensions over the SmartArt object surface so that it could fill the space completely.
Note: any selected Texture preset fills the space completely, but you can apply the Stretch effect if necessary.
-
Pattern - select this option to fill the SmartArt object with a two-colored design composed of regularly repeated elements.
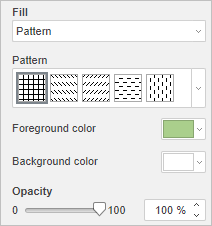
- Pattern - select one of the predefined designs from the menu.
- Foreground color - click this color box to change the color of the pattern elements.
- Background color - click this color box to change the color of the pattern background.
- No Fill - select this option if you don't want to use any fill.
-
Line - use this section to change the width, color or type of the SmartArt object line.
- To change the line width, select one of the available options from the Size dropdown list. The available options are: 0.5 pt, 1 pt, 1.5 pt, 2.25 pt, 3 pt, 4.5 pt, 6 pt. Alternatively, select the No Line option if you don't want to use any line.
- To change the line color, click on the colored box below and select the necessary color.
- To change the line type, select the necessary option from the corresponding dropdown list (a solid line is applied by default, you can change it to one of the available dashed lines).
- To change the line opacity, enter the required value manually or use the corresponding slider bar.
- Show shadow - check this box to make the SmartArt object cast a shadow.
Click the Show advanced settings link to open the advanced settings.
Return to previous page