Add an image
- select the worksheet you want to put the image onto,
- tap the
 icon at the top toolbar to open the new object insertion panel,
- switch to the
 Other tab,
- tap the
 Insert Image option,
- select one of the following options to load the image:
The image will be added. Now you can change its properties and position.
Adjust the image settings
When the image is selected, you can open the shape/image settings panel to change the shape of the image, adjust its border size and color, or change the image position as related to other objects.
- select the image by tapping it,
- open the Shape settings panel by
- tapping the
 icon at the top toolbar, or
- tapping the Edit option in the pop-up menu,
- tap the necessary menu item: Style, Replace or Reorder. Use the
 icon on the left to return to the previous settings section.
The Style section allows to adjust the size and color of the image border. Switch to the BORDER tab and change the border Size by dragging the slider and select the necessary border Color.
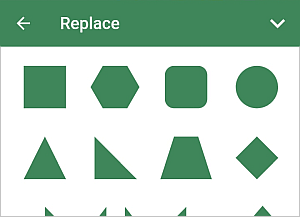
The Replace section allows to change the shape of the image replacing the rectangular shape with another one selected from the menu. The shape of the image will change correspondingly.

The Reorder section allows to set the selected image position as related to other objects when several objects overlap each other. To learn more, please refer to the Manipulate objects section of this guide.
The ACTUAL SIZE button allows to change the current image size to the default one.
- close the shape settings panel by tapping the
 arrow on the right.
Remove the image
Select the image by tapping on it and proceed in one of the following ways:
- tap the Edit option in the pop-up menu, or
- open the shape/image settings panel by tapping the
 icon at the top toolbar and use the REMOVE SHAPE button.