About the ONLYOFFICE and Confluence integration
ONLYOFFICE offers an official connector to integrate ONLYOFFICE Docs with Confluence and edit office documents within the document library. You can install the ONLYOFFICE connector from the Atlassian Marketplace or download it from the GitHub page. The application is distributed under the Apache license.
To learn more about how it works and how to compile the ONLYOFFICE connector for Confluence, please visit our
API documentation.
Start using ONLYOFFICE Docs within Confluence
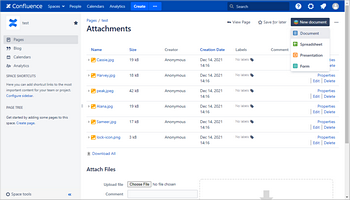
To create a file:
- Open the page where you need to create a file.
- Click the New document button.
- Choose the needed file type.
- Enter the file name in the text field near the file type icon.
- Click the
 Save button.
The document will be opened in the ONLYOFFICE Docs editor.

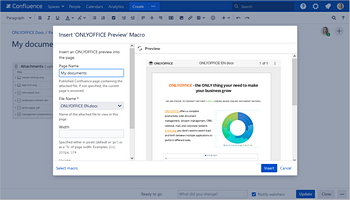
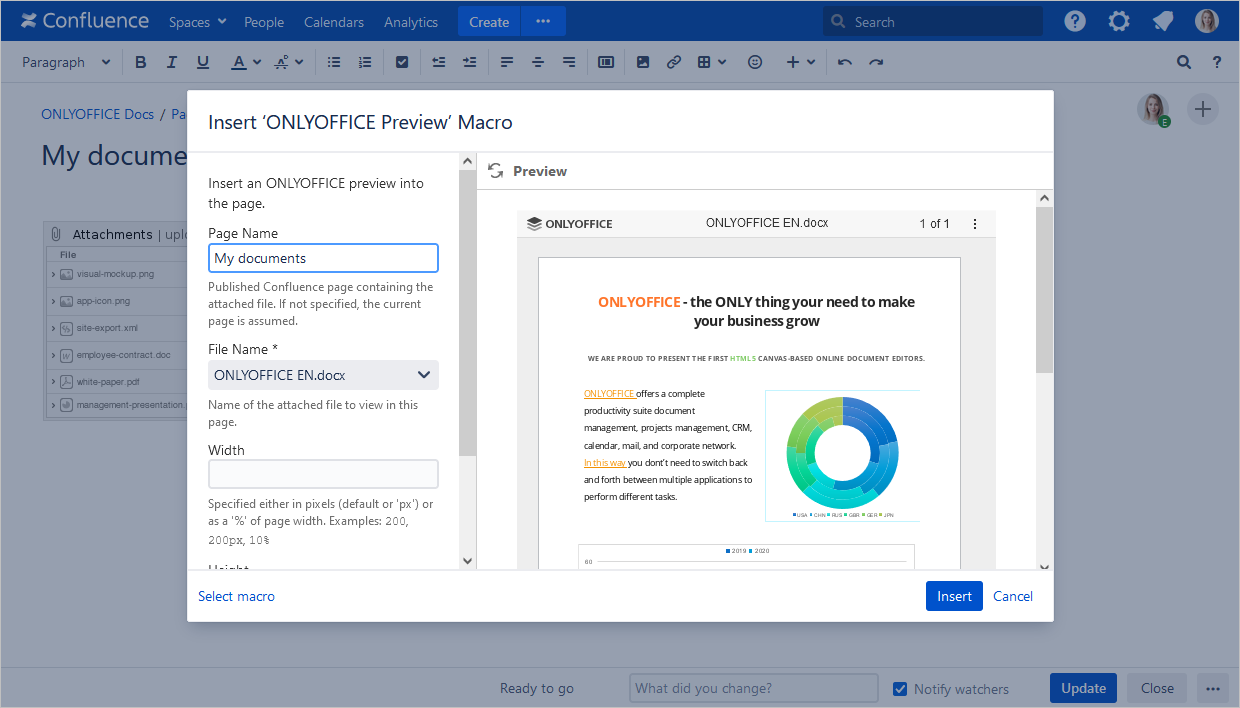
To create a file preview:
- Open any Confluence page for editing.
- Click the Insert more content option.
- Choose the Other macros option.
- Select the ONLYOFFICE Preview option.
- Choose the required file on the Attachments page.
- Adjust the file preview width and height if necessary.
- Click the Insert button.
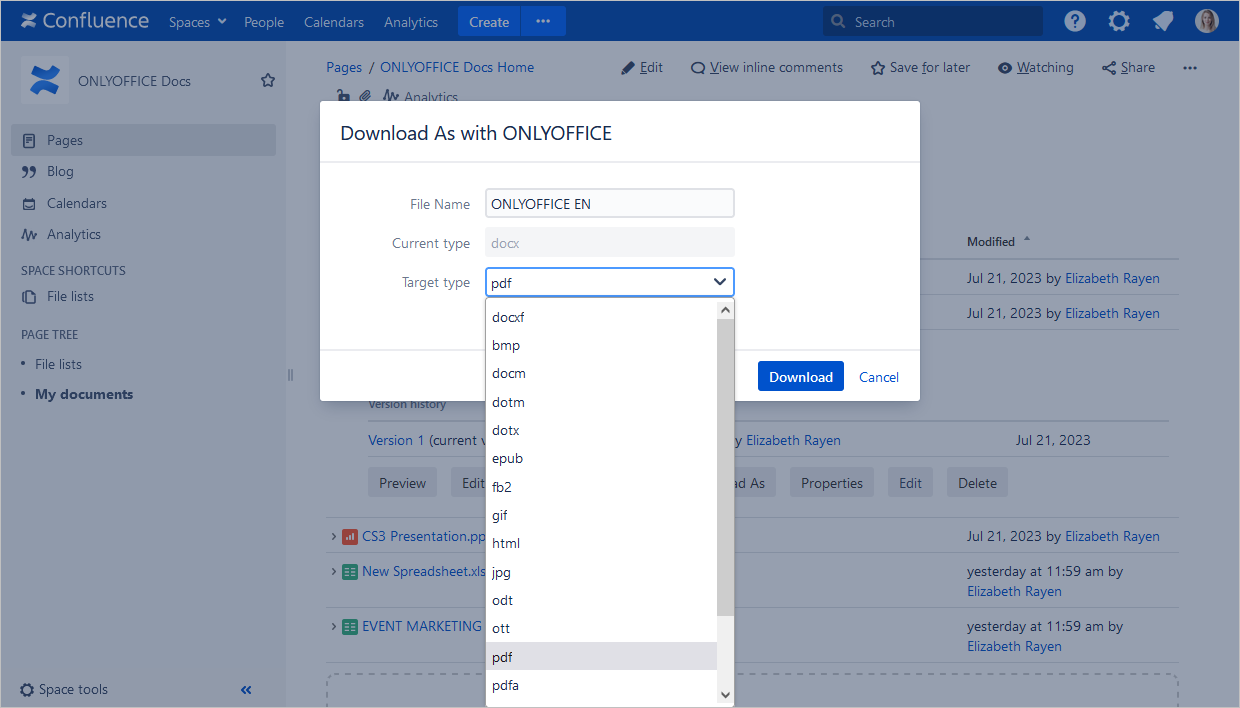
To download a file:
- Open the file context menu by clicking the arrow to the left of its name.
- Click the Download as button. The Download as with ONLYOFFICE window will open.
- Edit the File Name in the corresponding field if necessary.
- Open the Target type drop-down menu and choose the required format.
- Click the Download button.

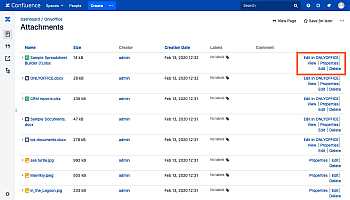
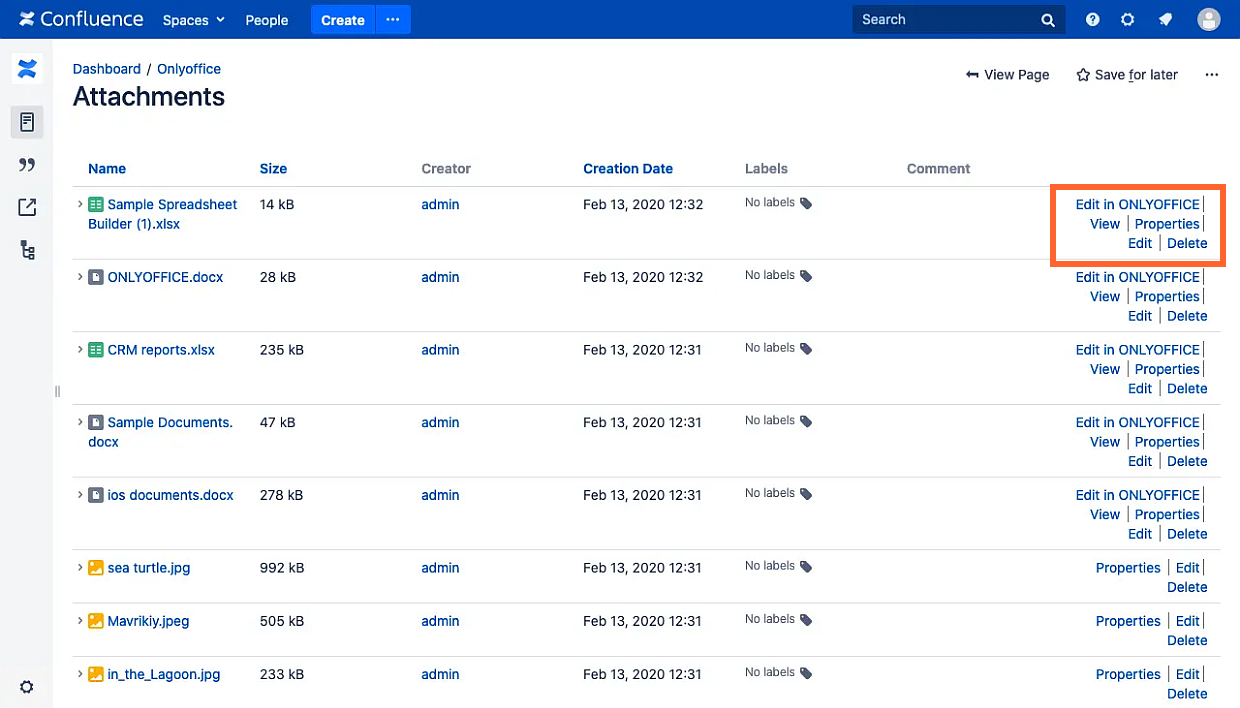
To edit or view a document:
- Find the needed file.
- Click the Edit in ONLYOFFICE button.
The document will be opened in the ONLYOFFICE editor.
To co-edit a document, the authorized users should open the same file together.
To create a form:
- Open the page where you need to create a file.
-
Click the New document button and choose the Form option.
- Enter the file name in the text field near the file type icon.
- Select the .docx file attached to this or other pages or choose the Create from blank option.
- The form will be opened in the ONLYOFFICE Docs editor.
- Save the form as .docxf to have future access to editing, revising or collaborating.
To create a fillable form and restrict file editing by other users:
- Go to the Attachments.
-
Click the Create form using ONLYOFFICE link to the right of the .docxf file. The .oform file will be created in the Attachments section.
To fill out a form:
- Go to the Attachments.
-
Click the Fill form in ONLYOFFICE link to the right of the .oform file.
- The form will be opened in the ONLYOFFICE Docs editor.
To learn more about forms, please read the corresponding articles for
creating and
filling out forms.