Plone
About the ONLYOFFICE and Plone integration
ONLYOFFICE offers an official connector to integrate ONLYOFFICE Docs with Plone and edit documents within the content management system. You can download the ONLYOFFICE connector from PyPi.org and the ONLYOFFICE GitHub page.
To learn more about the ONLYOFFICE and Plone integration connector and how it works in detail, please visit our
API documentation.
Connecting ONLYOFFICE Docs to Plone
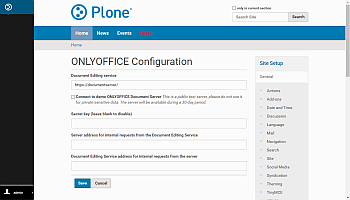
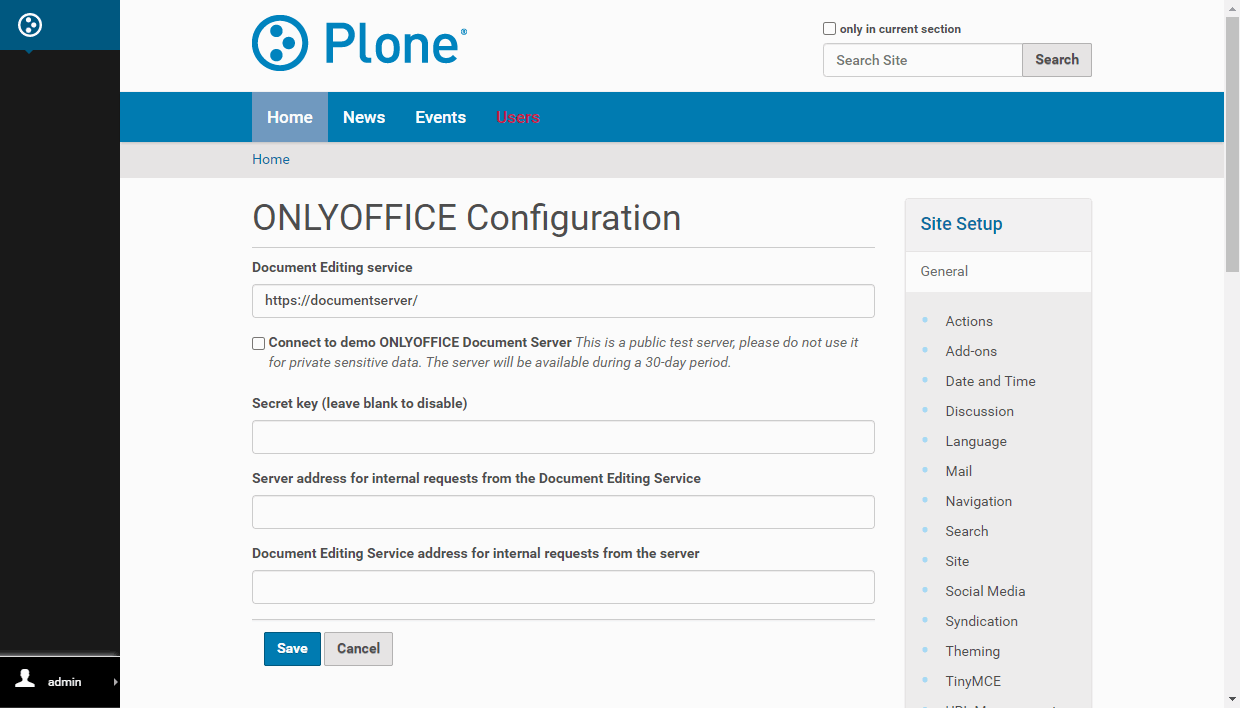
Configuring the ONLYOFFICE integration plugin for Plone
To configure plugin:
- Go to Site Setup.
- Scroll down to the Add-ons Configuration section.
- Press the ONLYOFFICE Configuration button.
-
In the Document Editing service field, specify the URL address where the ONLYOFFICE
Docs is
located.
The address of must be accessible from Plone, as well as the address of Plone must be accessible from ONLYOFFICE Docs.
-
In the Secret key field, specify the secret used to sign the data.
Starting from ONLYOFFICE Docs v7.2, JWT is enabled by default and the secret key is generated automatically. You need to enable it on the Plone side as well: find your secret key in the ONLYOFFICE Docs configuration file, then specify the same secret key in the connector settings. For more details, see the Enabling JWT for the ONLYOFFICE and Plone integration section of this article.
- In the Server address for internal requests from the Document Editing Service field, specify the address that is used to access Plone from Document Editing Service.
- In the Document Editing Service address for internal requests from the server field, specify the address that is used to access Document Editing Service from Plone.
Start using ONLYOFFICE Docs within Plone
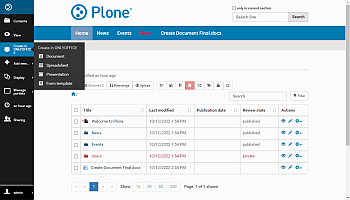
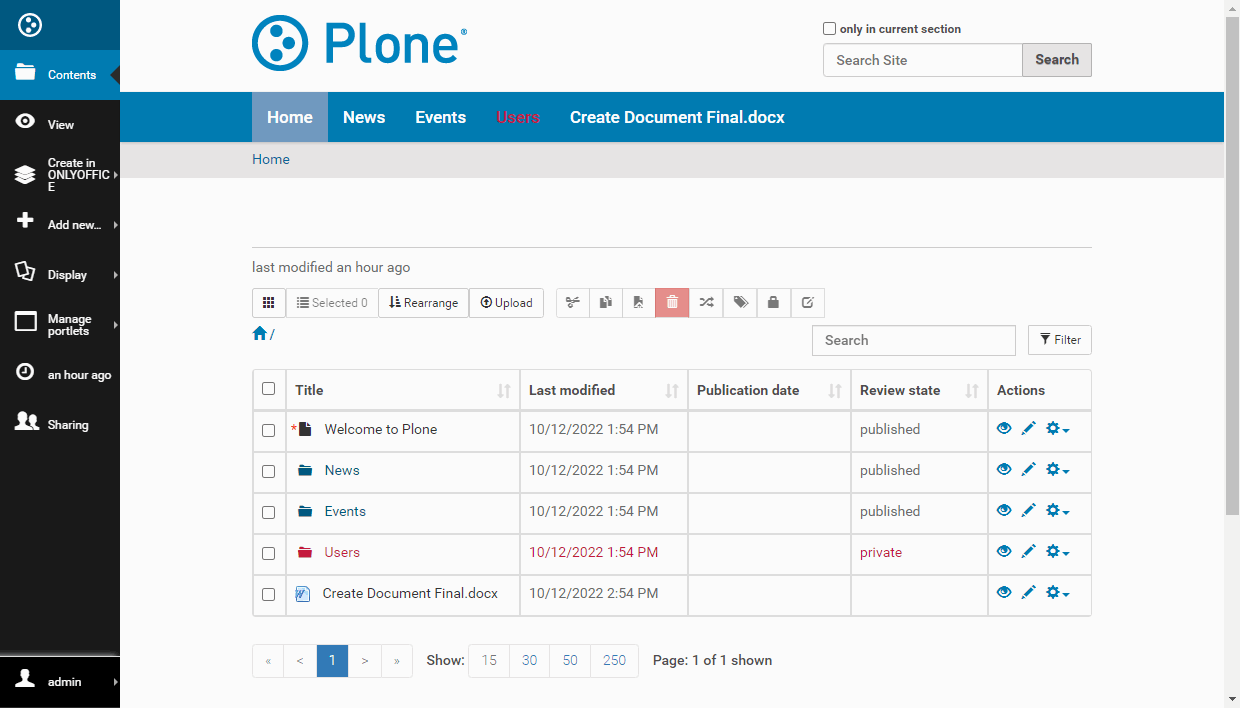
To create a document:
- On the Contents tab, click the Create in ONLYOFFICE menu option on the left.
-
Choose the needed file type: Document, Spreadsheet, or Presentation.

- A new document will be opened for editing.
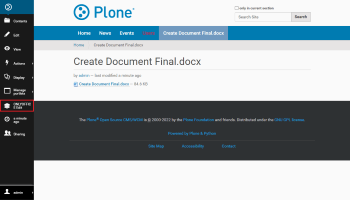
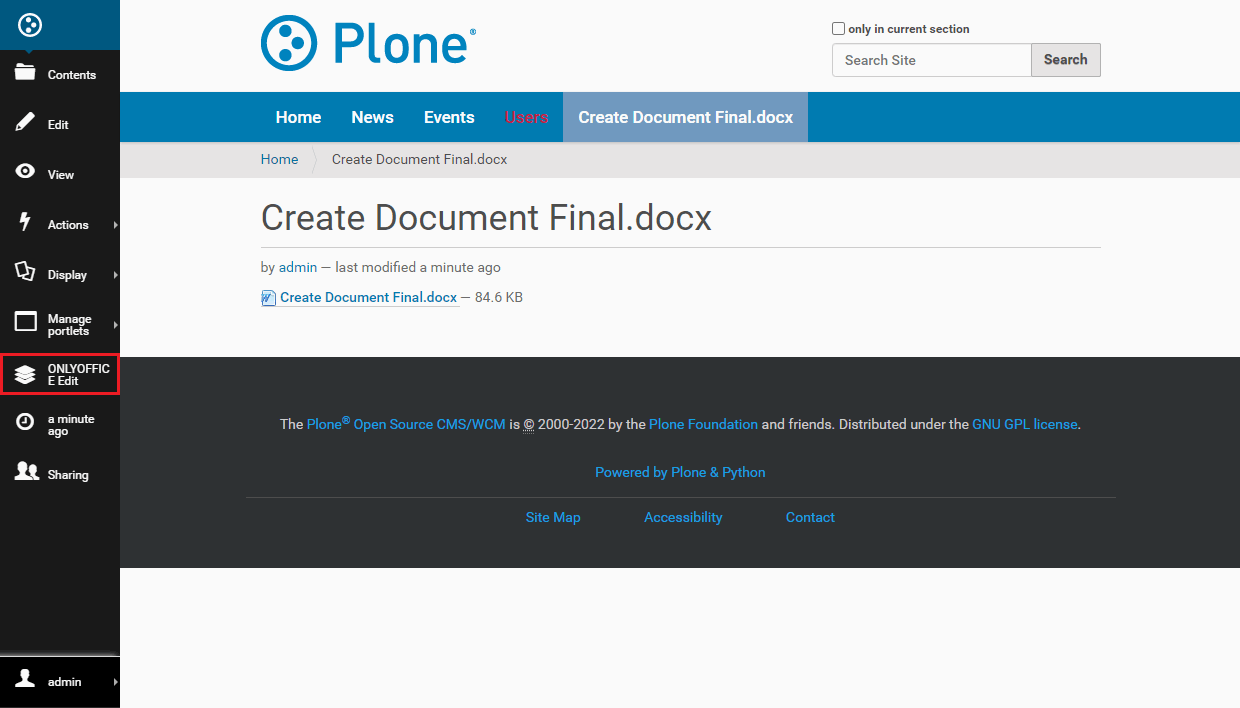
To edit a document:
-
Find the needed document in the Contents tab.
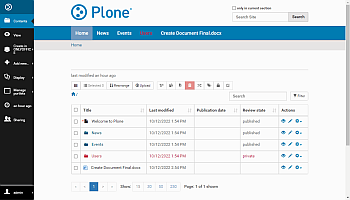
- Click the document.
-
On the opened page, click the ONLYOFFICE Edit menu option to open the document for editing and/or
viewing.
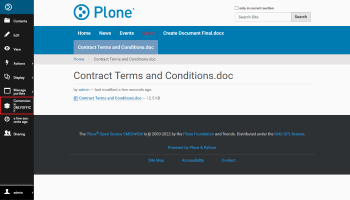
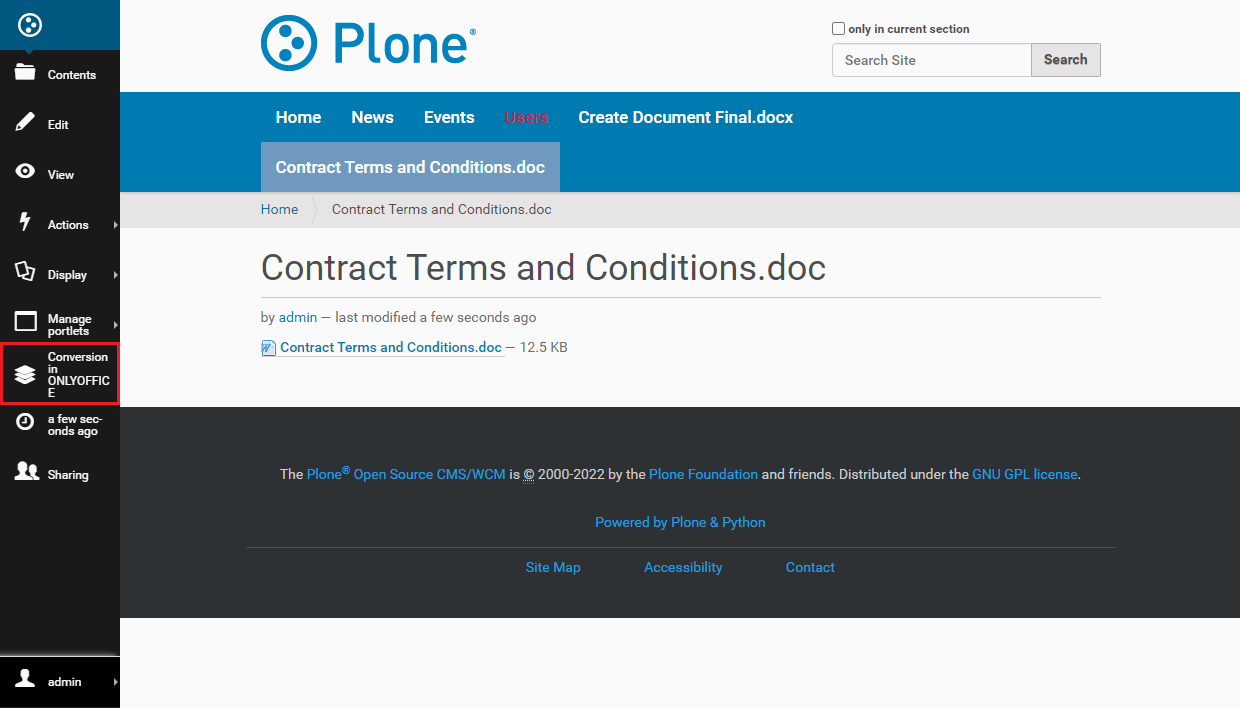
To convert a document to the Office Open XML format:
- Find the needed document in the Contents tab.
- Click the document.
-
On the opened page, click the Conversion in ONLYOFFICE menu option.
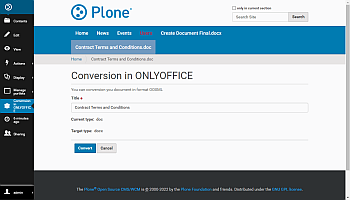
 See the full list of the formats which can be converted into OOXML.
 -
Click the Convert button.

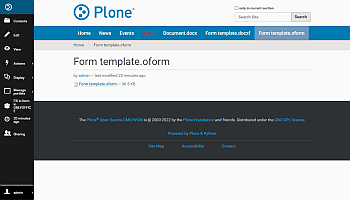
To create a form template:
- On the Contents tab, click the Create in ONLYOFFICE menu option on the left.
- Choose the Form template option.
- A new empty form template will be opened for editing.
To fill in a form:
- Find the needed form on the Contents tab.
- Click the form.
-
On the opened page, click the Fill in form in ONLYOFFICE menu option.

To learn more about forms, please read the corresponding articles on creating
and filling
out forms.
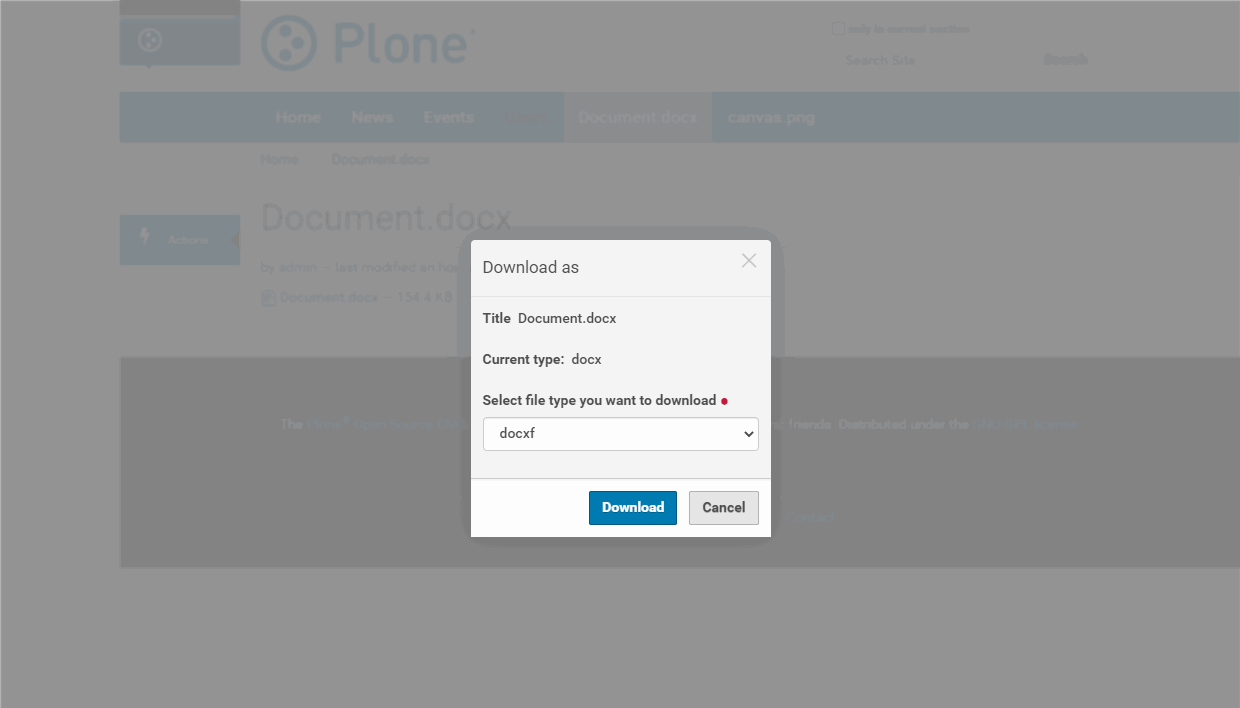
To download a document in a different format:
- Find the needed document in the Contents tab.
- Click the document.
-
On the opened page, click the Actions menu option and choose the Download as menu item.
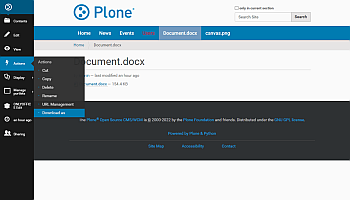

- Select the necessary format from the list.
-
Click the Download button.
Article with the tag:
Browse all tags