Strapi
About the ONLYOFFICE and Strapi integration
Strapi is an open-source content manager system used for building APIs. ONLYOFFICE offers an official connector to integrate ONLYOFFICE Docs with Strapi and edit office documents in your Strapi media library. You can get the ONLYOFFICE integration plugin from the npm library or the GitHub page. The connector is distributed under the Apache-2.0 license.
Connecting ONLYOFFICE Docs to Strapi
Installing the ONLYOFFICE integration plugin for Strapi
-
To allow inserting a frame with the editor and loading api.js, replace the
strapi::securityline in thestrapi/config/middlewares.jsfile with the following config:{ name: "strapi::security", config: { contentSecurityPolicy: { useDefaults: true, directives: { "script-src": ["'self'", "https:", "http:"], "frame-src": ["'self'", "https:", "http:"], }, }, } },If such a config already exists, you just need to add
directives. -
Install the plugin in your Strapi project:
npm install onlyoffice-strapi --save -
Rebuild and restart Strapi to include ONLYOFFICE plugin into admin UI. Run:
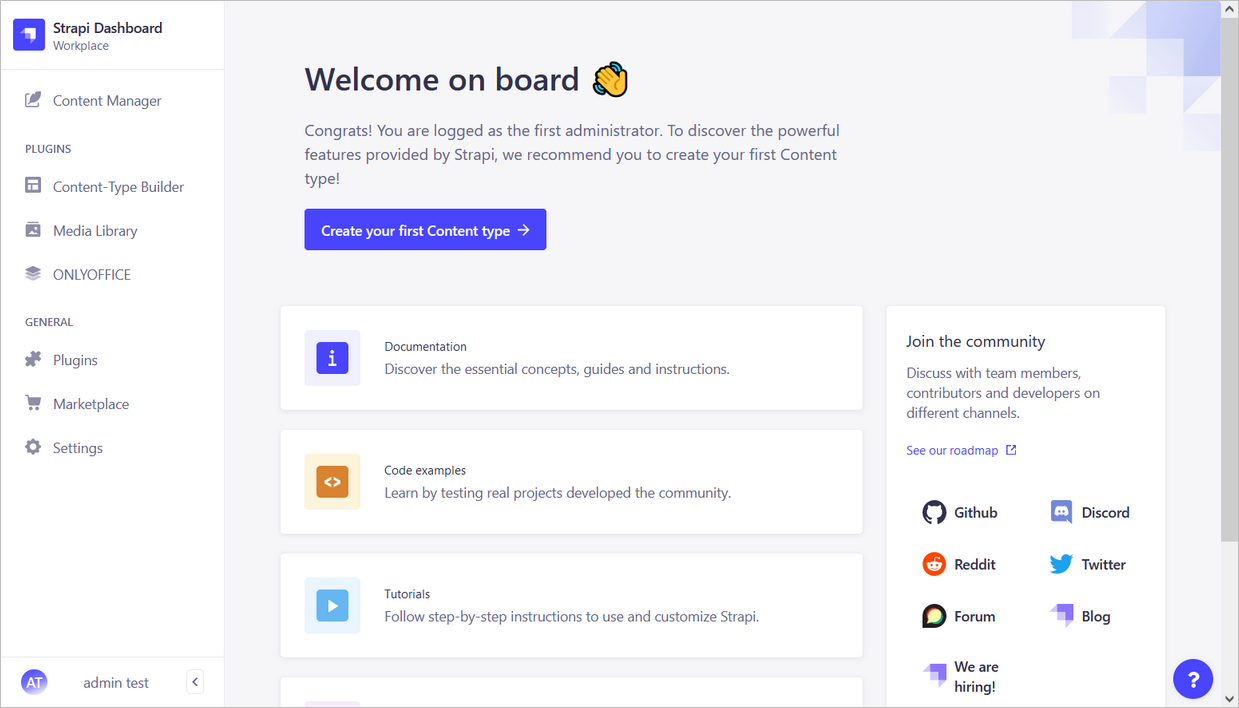
                        # using yarn
                        yarn build
                        yarn develop

                        # using npm
                        npm run build
                        npm run develop
Now the ONLYOFFICE integration plugin for Strapi is installed and ready to be configured. The plugin can be accessed via the left panel in the Plugins section under the name ONLYOFFICE.
Enabling JWT for the ONLYOFFICE and Strapi integration
JWT or JSON Web Token is a string sent from client to server within the HTTP request to validate the authenticity of the client. JWT is saved on the client-side only, so the transmission between parties is protected and digitally signed.
The token is generated using the JWT (JSON Web Tokens) standard. The tokens are signed by the server's key, so the client is able to verify that the token is legitimate.
ONLYOFFICE Docs validates the token. The data from the payload is considered valid and is used instead of the corresponding data from the main parameters. If the token is invalid, the command is not executed. To learn more, please read the API Security guide.
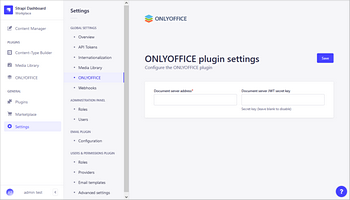
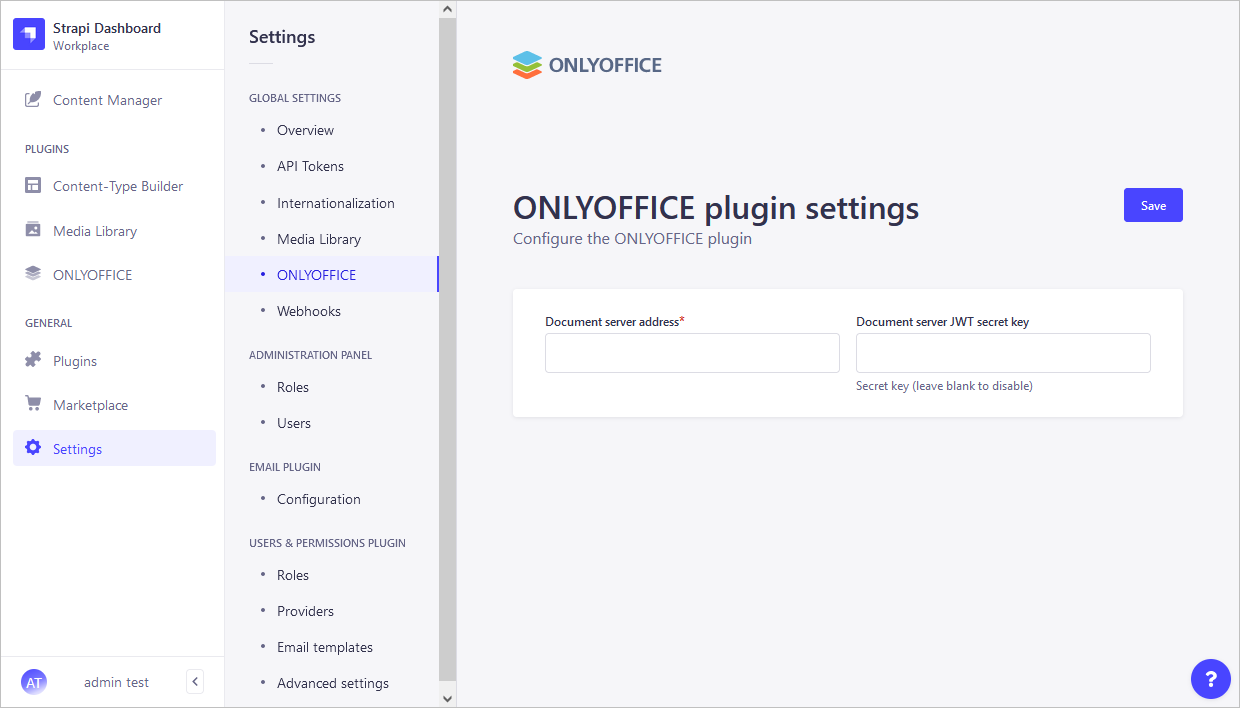
To protect your documents with JWT,
- Open the Settings section in the left panel.
- In the Global settings section, click the ONLYOFFICE menu item.
-
On the ONLYOFFICE settings page, enter the secret key in the Document server JWT secret key field. Further information can be found here.
Now that the ONLYOFFICE integration plugin is configured, you can start using it.
Start using ONLYOFFICE Docs within Strapi
To let users edit the office documents from Strapi in the ONLYOFFICE Docs editors and save the changes back to Strapi, upload the files and set corresponding access rights.
Uploading files to Strapi
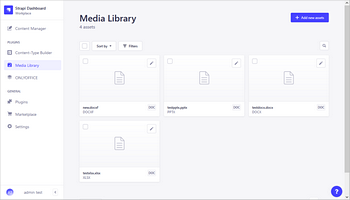
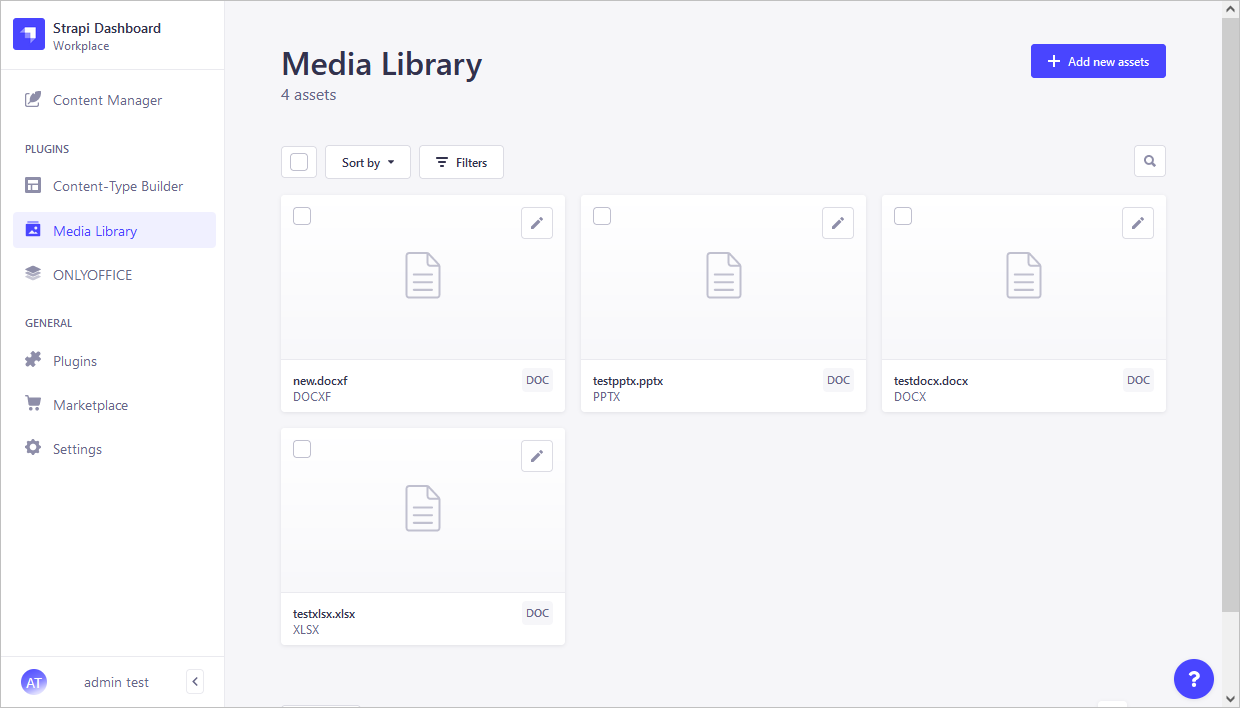
- In the Plugins section in the left panel, open the Media Library page.
-
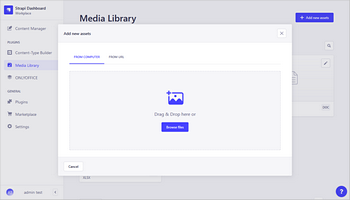
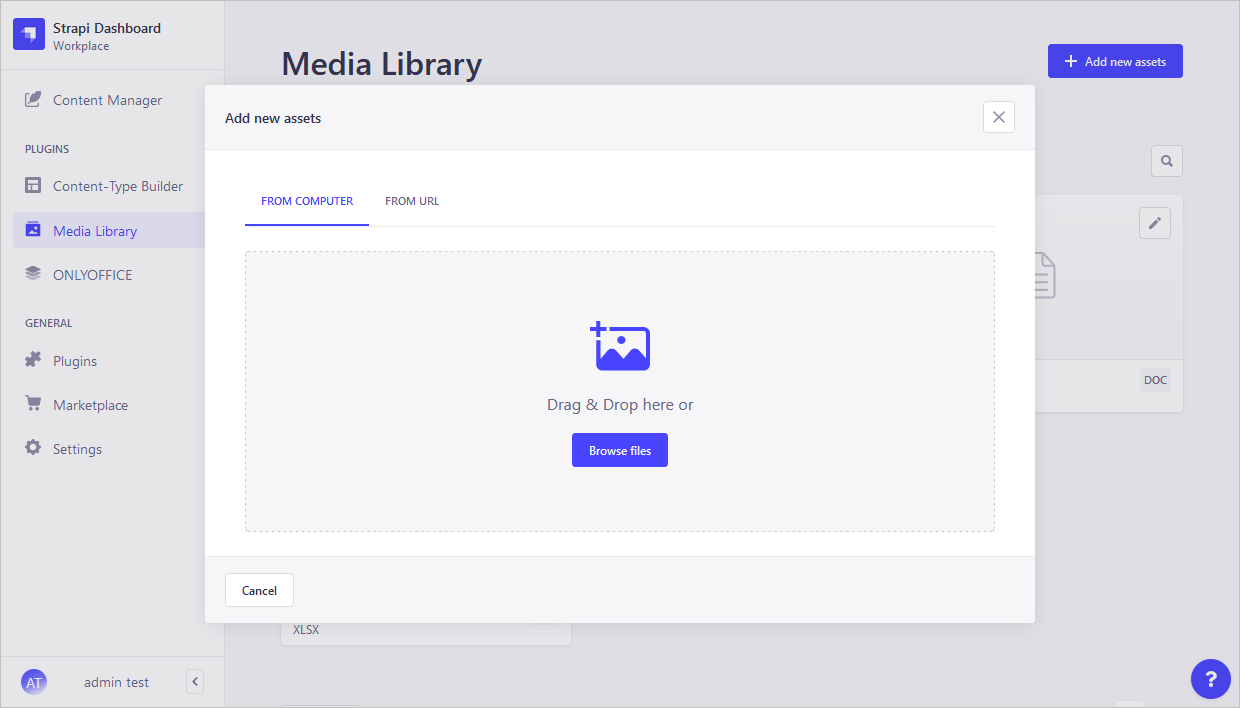
Click the Add new assets button in the top right corner.
-
The Add new assets window opens. Choose whether you want to upload a file from your computer or from URL clicking the corresponding tab in the top panel.
Viewing, editing and managing files in Strapi
To view, edit, and co-author documents added to the Strapi Media Library,
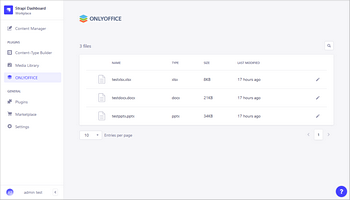
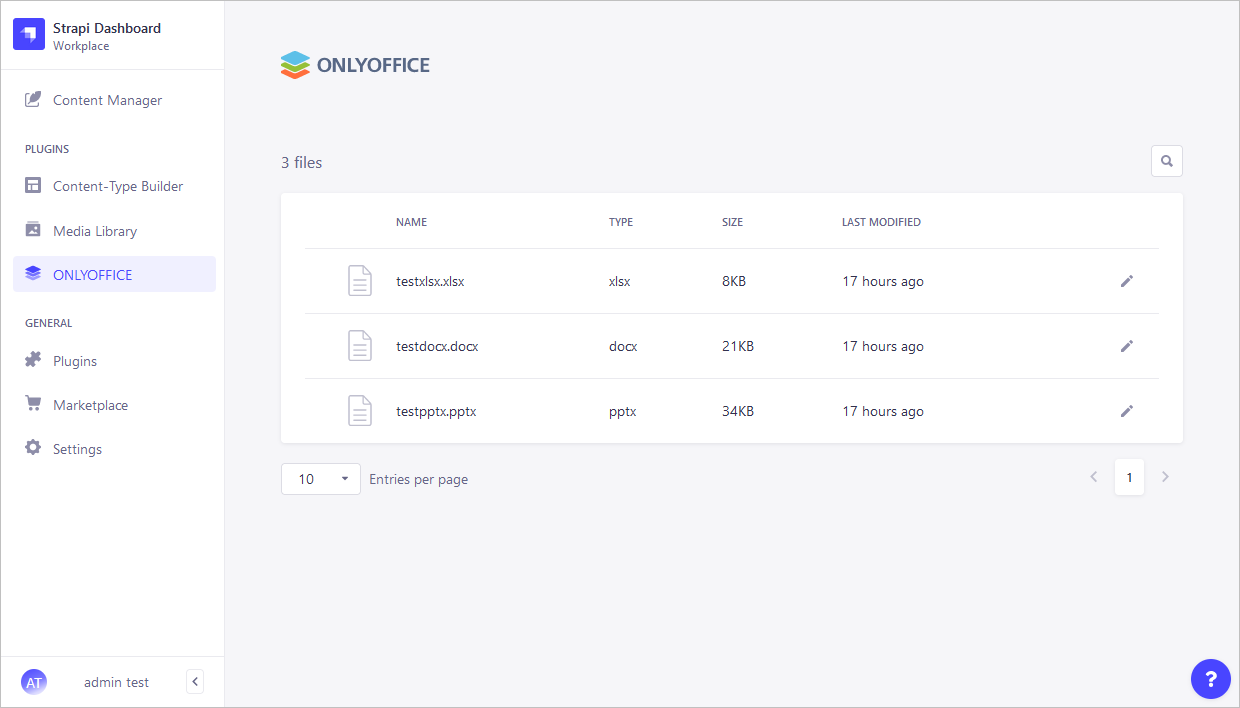
- In the Plugins section in the left panel, open the ONLYOFFICE file page within Strapi.
-
To open the file in the ONLYOFFICE editor, click the file name or click the Edit in ONLYOFFICE button to the right.
To save files in the required format right in the editor,
- Go to the File tab.
- Click the Download as... option and choose the required format.
To mark files as favorite right in the editor, click the ![]() Mark as favorite icon in the top toolbar.
Mark as favorite icon in the top toolbar.
To return to the file list,
- Go to the File tab.
- Click the Open file location option in the menu to the right.