Drupal
About the ONLYOFFICE and Drupal integration
Drupal is an open-source content management system used for building websites and APIs. ONLYOFFICE offers an official module to integrate ONLYOFFICE Docs with Drupal and edit office documents in your Drupal media library. You can get the ONLYOFFICE integration module either from the official Drupal website by choosing the required version, or add it with Composer, or refer to the GitHub page. The module is distributed under the GNU General Public License v.2.0.
Connecting ONLYOFFICE Docs to Drupal
Installing the ONLYOFFICE integration module for Drupal
There are two ways to install the ONLYOFFICE integration module for Drupal, either through the Drupal user interface or using Composer.
Installing through the Drupal user interface
- On the Admin toolbar project page on drupal.org, scroll to the Releases section at the bottom of the page. Click the View all releases link.
- Choose the required version from the list.
- Copy the address of the tar.gz link. Depending on your device and browser, you might do this by right-clicking and selecting Copy link address.
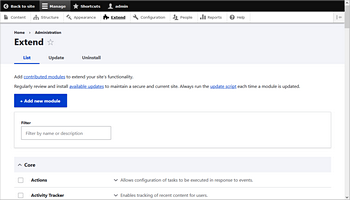
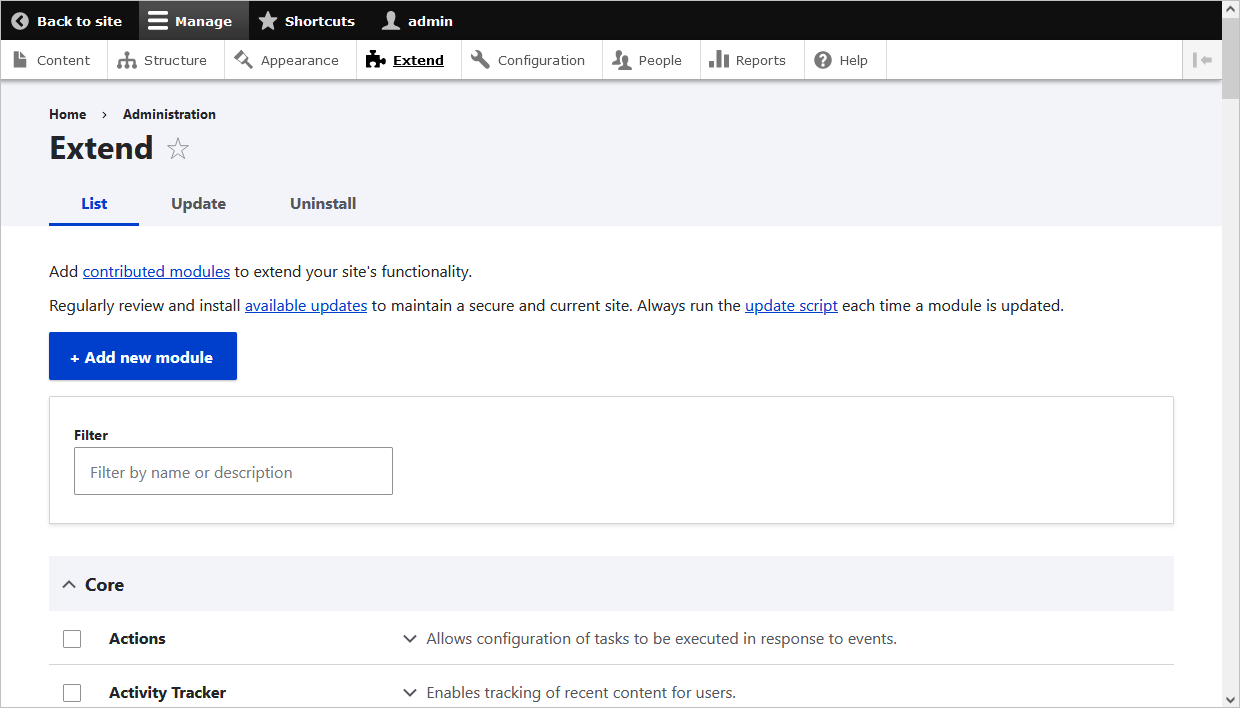
- In the Manage administrative menu, navigate to Extend (admin/modules). The Extend page appears.
-
Click the Add new module button. The Add new module page appears.
-
Paste the copied download link into the Add from a URL field.

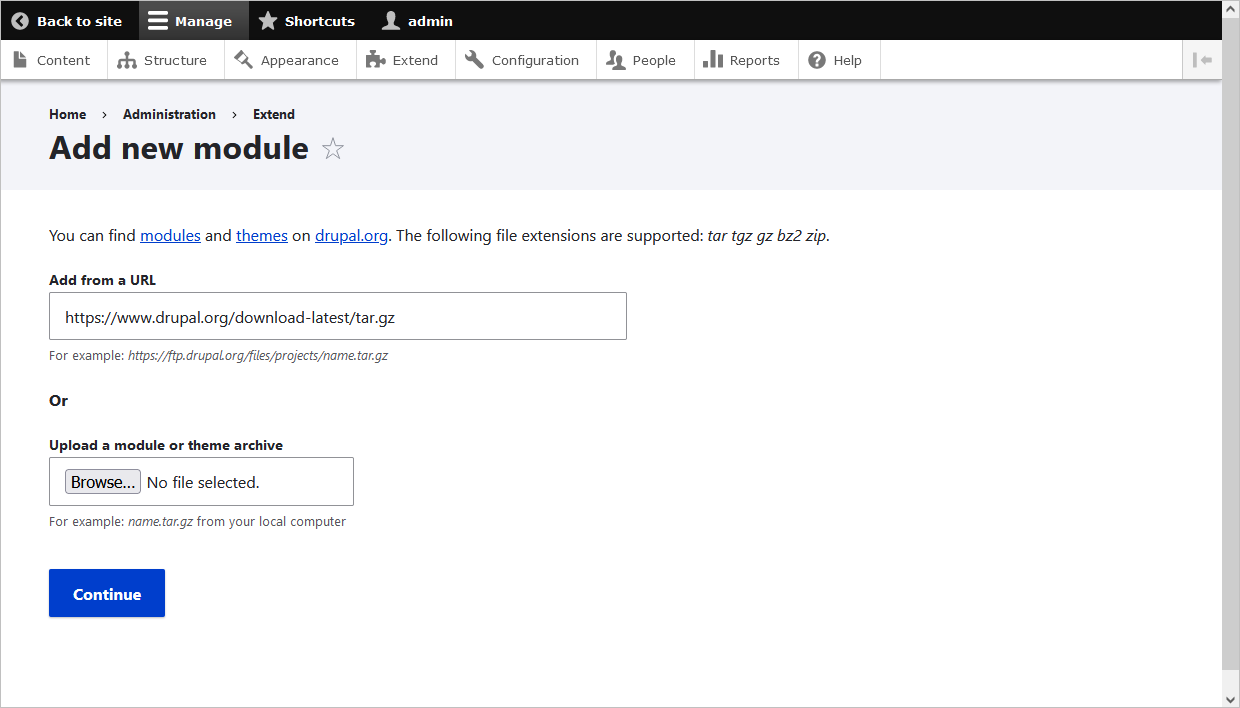
- Click Install to upload and unpack the new module on the server. The files are downloaded to the modules directory.
-
To apply the localization settings, please run the following commands:
drush locale-checkdrush locale-update
Enabling the ONLYOFFICE integration module for Drupal
There are two ways to enable the ONLYOFFICE integration module for Drupal, either using the Drupal user interface or via command line.
Enabling the ONLYOFFICE integration module through the Drupal user interface
- Open the Extend page (admin/modules) via the Manage administrative menu.
-
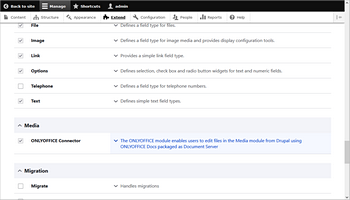
Locate the ONLYOFFICE Connector module and check the corresponding box.
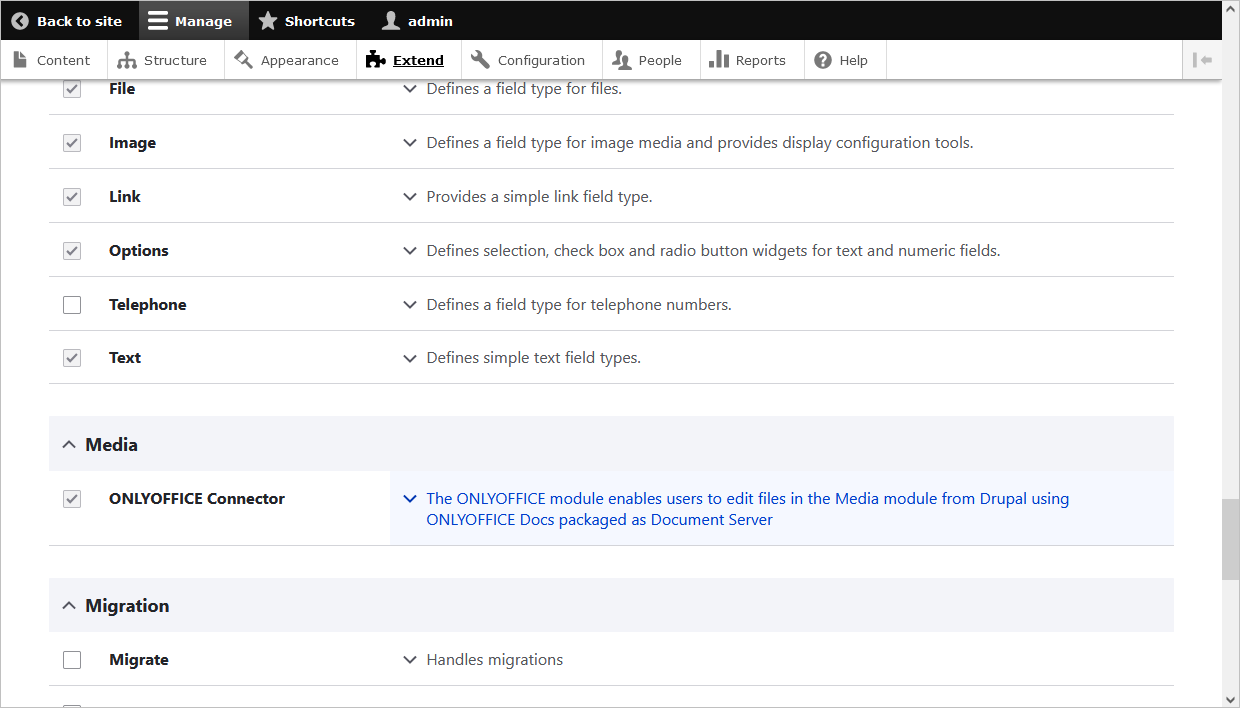
- Click Install to enable the module.
Configuring the ONLYOFFICE integration module for Drupal
In Drupal, open the ~/config/system/onlyoffice-settings page with administrative settings for the ONLYOFFICE section. Alternatively, follow these steps:
- Open the Extend page (admin/modules) via the Manage administrative menu.
- Click the arrow in the description of the ONLYOFFICE Connector module to open a drop-down list.
- Choose the Configure option.
-
Enter the address into the Document Editing Service address field to connect ONLYOFFICE Document Server:
https://documentserver/
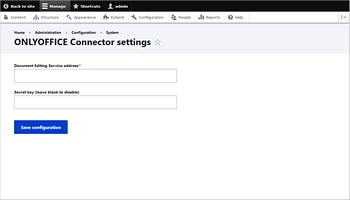
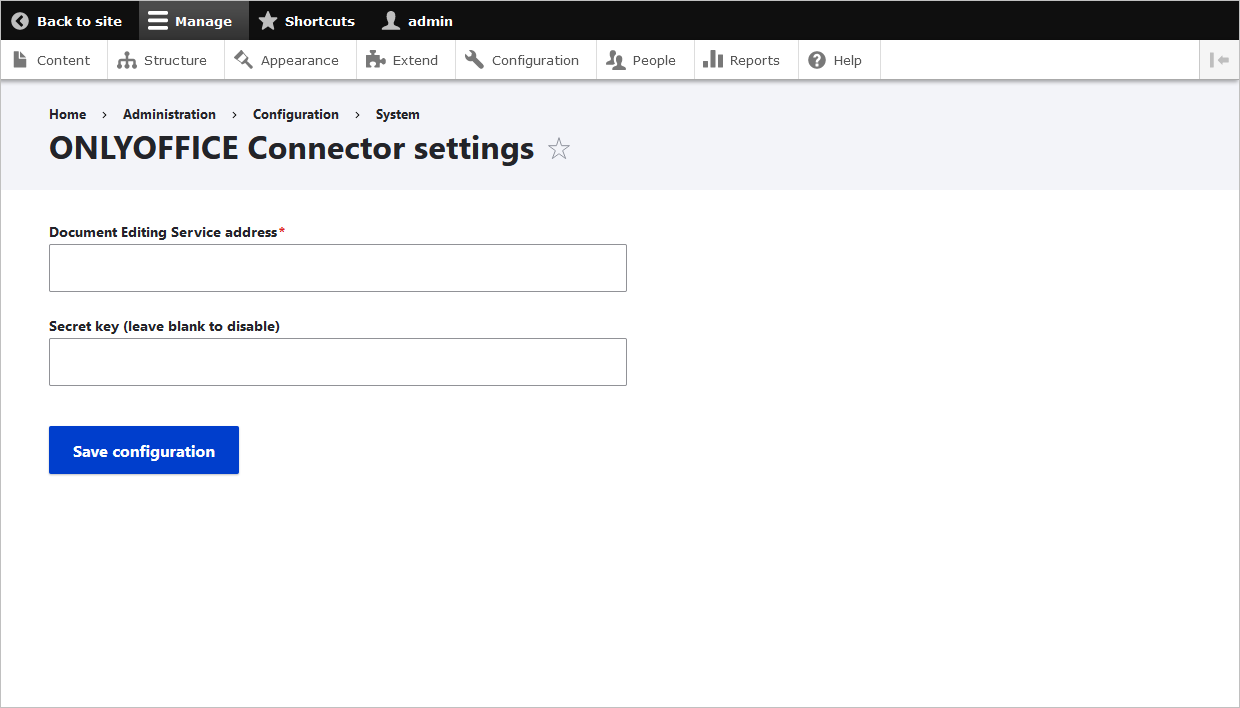
Where documentserver is the name of the server with the ONLYOFFICE Document Server installed. The address must be accessible for the user browser and from the Drupal server. The Drupal server address must also be accessible from ONLYOFFICE Document Server to ensure the correct operation.
To restrict access to ONLYOFFICE Document Server and for security reasons and data integrity, the encrypted signature is used. Specify the Secret key in the Drupal administrative configuration. In the ONLYOFFICE Document Server config file, specify the same secret key and enable the validation.
Enabling JWT for the ONLYOFFICE and Drupal integration
JWT, or JSON Web Token, is a string sent from client to server within the HTTP request to validate the authenticity of the client. JWT is saved on the client-side only, so the transmission between parties is protected and digitally signed.
The token is generated using the JWT (JSON Web Tokens) standard. The tokens are signed by the server's key, so the client is able to verify that the token is legitimate.
ONLYOFFICE Docs validates the token. The data from the payload is considered valid and is used instead of the corresponding data from the main parameters. If the token is invalid, the command is not executed. To learn more, please read the API Security guide.
To protect your documents with JWT in Drupal, open the ~/config/system/onlyoffice-settings page with administrative settings for the ONLYOFFICE section. Alternatively, follow these steps:
- Open the Extend page (admin/modules) via the Manage administrative menu.
- Click the arrow in the description of the ONLYOFFICE Connector module to open a drop-down list.
- Choose the Configure option.
-
Enter the secret key in the Secret key field.
- In the ONLYOFFICE Document Server config file, specify the same secret key and enable the validation.
Start using ONLYOFFICE Docs within Drupal
To edit the office documents in Drupal using the ONLYOFFICE Docs, upload the files to Drupal.
Viewing, editing, and managing files in Drupal
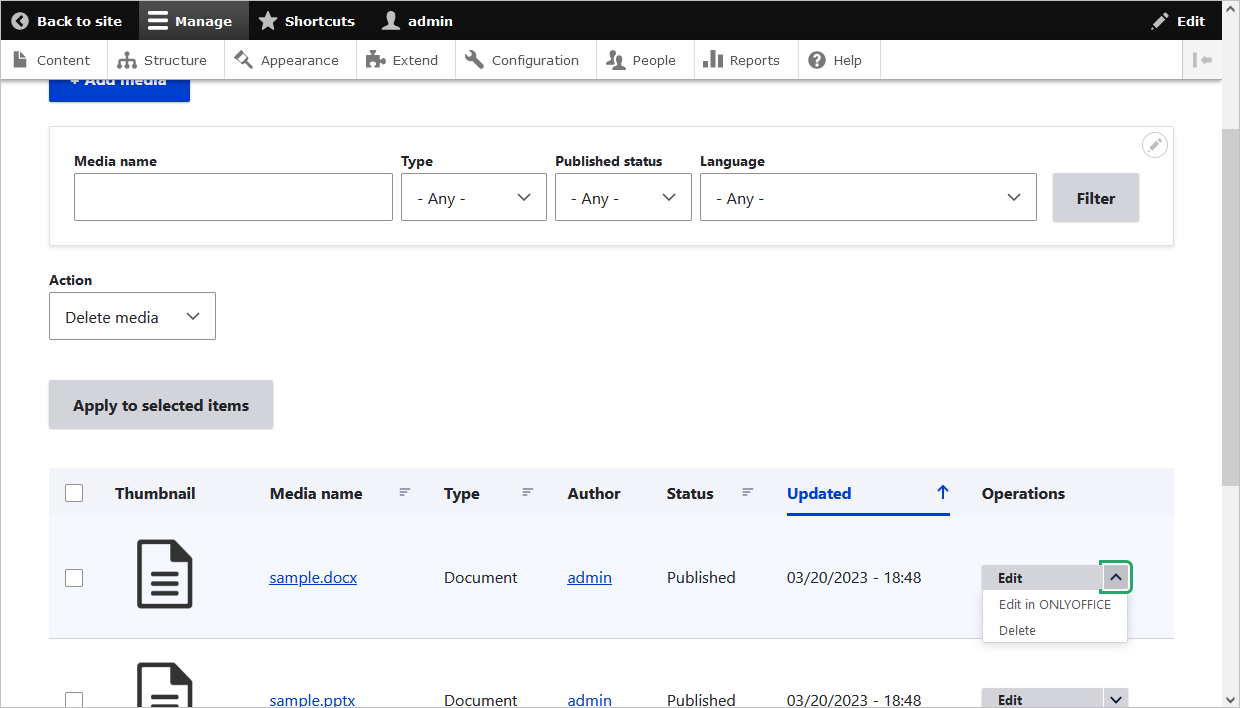
- Go to Manage > Content.
- Switch to the Media tab at the top of the screen.
- Find the required file in the list or use the search field at the top.
-
Click the arrow in the Operations column to choose whether you want to Edit the file properties, Edit in ONLYOFFICE or Delete the file.

Adding files to posts
When creating a post, you can add the new ONLYOFFICE element.
-
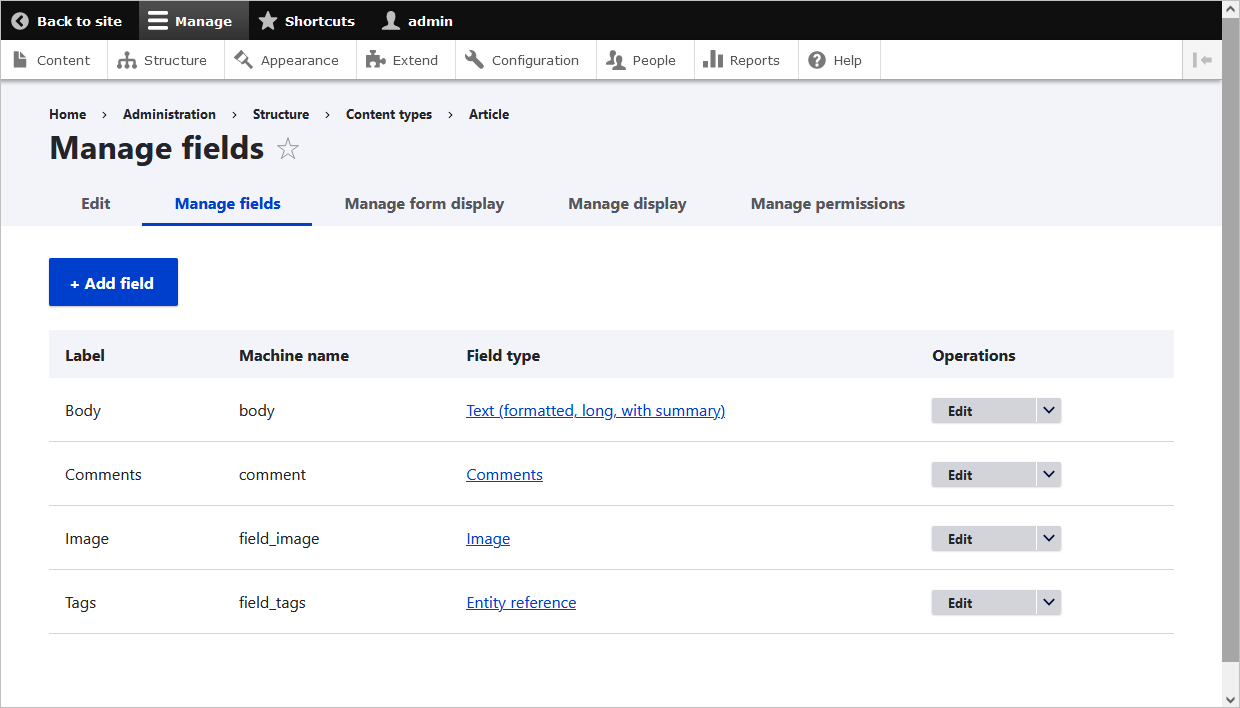
Go to Structure > Content types > click Manage fields next to the required content field. On the opened page, click Add field. Add a new field: General, Number, Reference, or Text. Set the label and save.

-
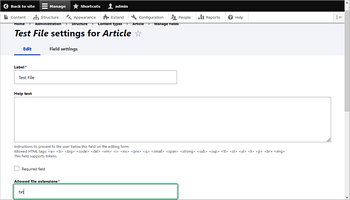
For the added File field, specify the file extensions. Go to Structure > Content types > Manage fields, or stay on the opened page. In the Allowed file extensions field, specify the file formats that will be shown in the editors (docx, xlsx, pptx).
-
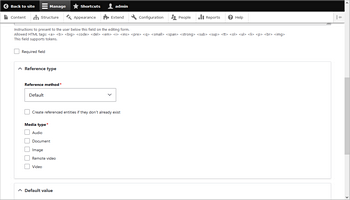
For the added Media field, click the Document checkbox.

-
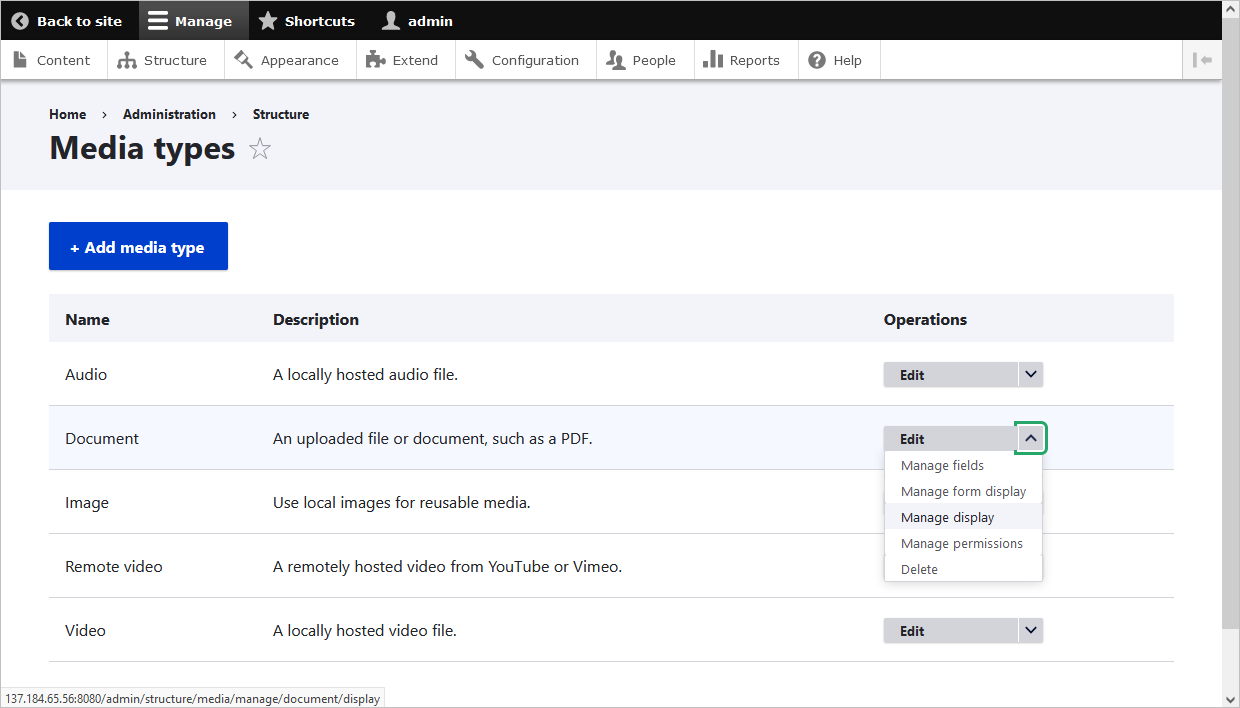
Go to Structure > Media types > Document > open the drop-down list and choose the Manage display option.

-
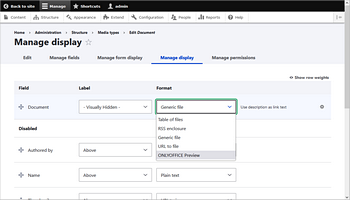
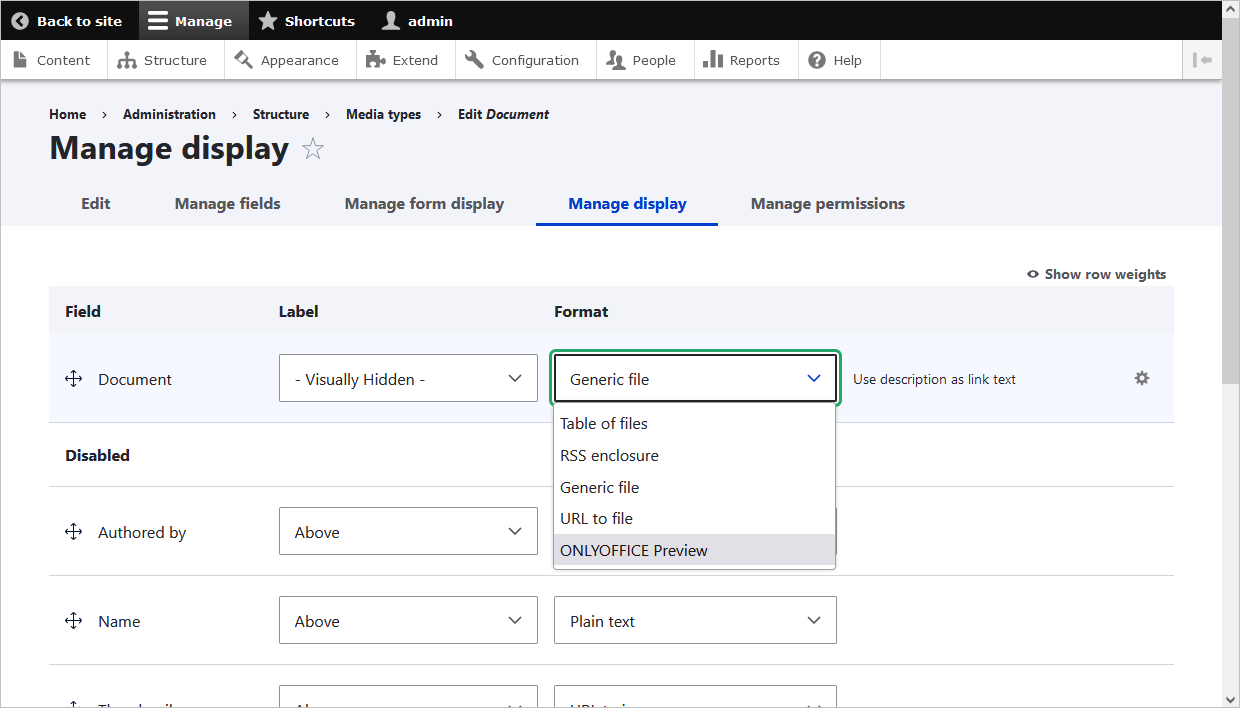
For the Document field, specify the ONLYOFFICE Preview format. By clicking on the gear symbol, you can specify the dimensions of the embedded editor window.
When you are done with the pre-settings, you can create posts on the Content tab. Click on the Add content button and select the created content.
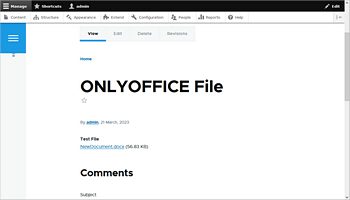

- Specify a title and select a file (if the content contains File fields).
- For the Media section, specify the name of the previously uploaded file.
- Your site visitors will also be able to view the created page (People > Permissions > View published content).