Once a room in ONLYOFFICE DocSpace is created, admins or power users should add documents to this room to start collaboration. It’s possible to upload the existing files and folders, create new ones, and control the collaboration process by managing versions, locking files for co-authors etc. Admins can also rename documents, move or copy them to another room, delete unnecessary files.
Users can work with existing documents, spreadsheets, presentations, forms, PDF files, ebooks as well as view multimedia and image files using the ONLYOFFICE Online Editors.
It’s also possible to adjust the room manager settings.
Uploading files and folders
To upload a file,
- open the necessary room where you want to upload your files,
- click the Actions button in the left upper corner,
- select the
 Upload files option from the menu,
- choose the files you want to upload to the room in the file manager window and click the Open button.
Or simply drag-and-drop a file or several selected files from your computer to the working area to upload them to your DocSpace even more easily.
The uploading process will start. If the file format differs from Office Open XML, the file will be converted into the .docx/.xlsx/.pptx format for faster editing. A notification window will appear where you will be able to select if you want to save both files (a file in its original format and a file in the Office Open XML format). If you don't need files in the original format in the room, you can uncheck the Save the file copy in the original format box. It'll be taken into consideration during the next uploading operations, and a converted file will be added as a new version of the original file rather than as a new separate file.
If an original file is protected with a password, the password will be required to convert the file. If you click the
 Convert & Open icon to the right of the uploaded document in the file list, a new window will open where you need to enter a password.
If the file with the same name already exists in the room, a copy of the file will be created by default.
The current status of downloads and conversions can be found by clicking the  icon.
The Upload and convert files menu will open. It displays documents that have already been uploaded and converted, as well as the ones that are still in the queue.
icon.
The Upload and convert files menu will open. It displays documents that have already been uploaded and converted, as well as the ones that are still in the queue.
To cancel uploading a file, click the  cross icon next to the file.
To stop uploading all files at once, click the
cross icon next to the file.
To stop uploading all files at once, click the
 gray cross icon in the upper right corner. To hide the Uploads menu, click the
 icon. The history of uploaded and converted documents will be deleted.
To upload a folder that contains nested subfolders and documents:
- click the Actions button in the left upper corner,
- select the Upload folder option from the menu,
- choose the folder you want to upload to the room in the file manager window and click the Open button.
This can also be done by dragging the necessary folder from the file manager window to the working area.
To upload a PDF form to a form filling room:
- click the Actions button in the left upper corner, or the
 Plus icon.
- select the necessary option:
- select the Upload PDF form -> From DocSpace option, choose the form in the room and click the Select button.
- select the Upload PDF form -> From device option, choose the form in the file manager window and click the Open button.
- select the Choose from Templates option, choose the template and click the Create button.
Creating new files and folders
To create new files or folders,
- open the needed room where you want to create a new file,
- click the Actions button in the left upper corner, or the Plus icon above the list of documents, or right-click within the room and select one of the following options:
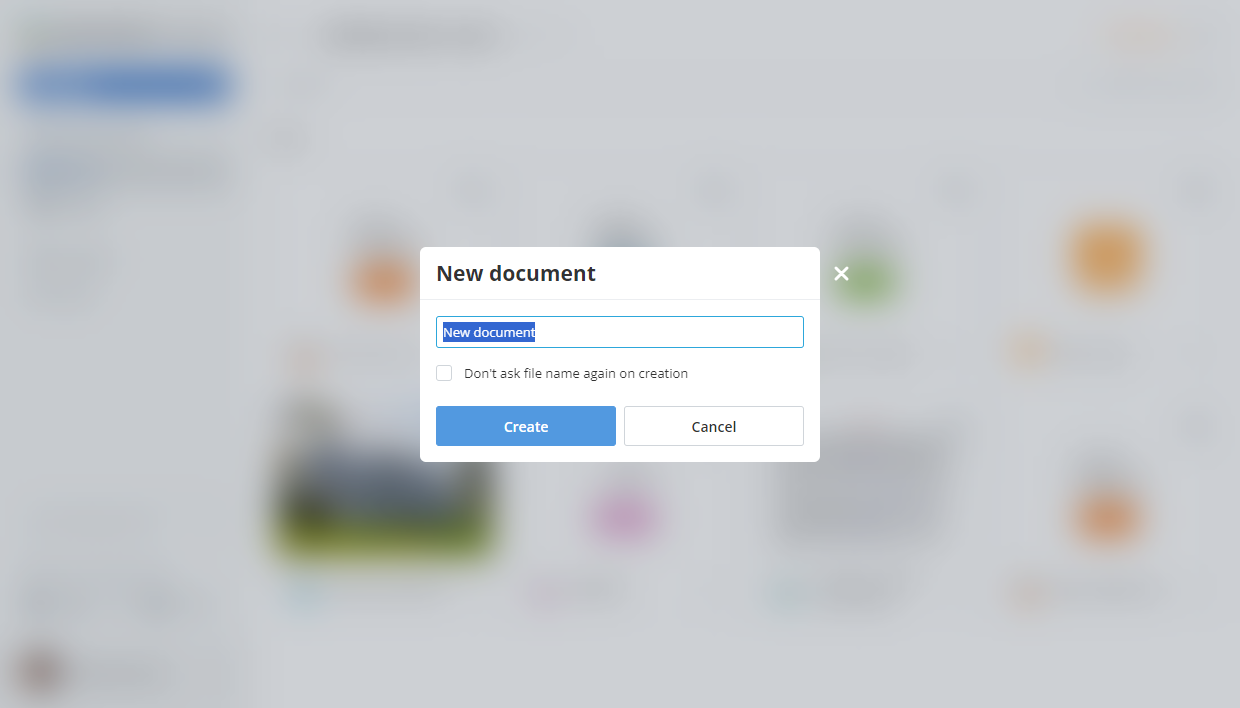
- enter a name for your file or folder into the appropriate field and click the Create button.
if you don't want to enter the file name, you can check the Don't ask file name again on creation box or use the corresponding option in the room manager settings.

Managing documents
To quickly find a necessary document, make use of the filter at the top of the document list.
Click the
 button, and specify the necessary search and filter parameters:
- To exclude subfolders from search, select the Exclude subfolders option.
- Check the Search by file contents box if necessary. (In the SaaS version, this is a Paid feature (available for the paid Business plan only).)
- To filter items by Author, click Me or use the Other option and select the necessary user from the list.
- To filter items by Type, choose one of the following options: Folders, Files, Documents, Spreadsheets, Presentations, Forms, Archives, Images, Media.
- Click the Apply button to apply filters. To clear the filter, use the
 icon in the upper right corner.
Enter a document title, entirely or partially, in the search field and press the Enter key to display the found item(s). If you want to go to the folder where the found file is located, right-click the file and use the  Open location option. To go to the parent folder that is one level up from the current folder, use the
 arrow.
Sort documents by parameters (Name, Last modified date, Size) using the  button. Click the arrow next to the selected parameter to change the sort order.
Use the
 or
or  buttons on the right to switch between the available display modes: Thumbnails view and Compact view. Thumbnails are not generated for connected third-party services.
The corresponding Thumbnails view display mode:
The Thumbnails view is not available for Virtual Data rooms (only when indexing is enabled).
Use the  icon to display or hide the Author, Created, Modified, Size, Type columns in the document list (Compact view).
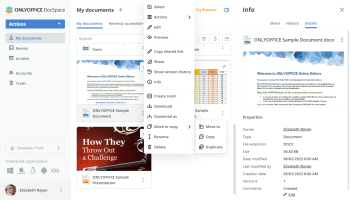
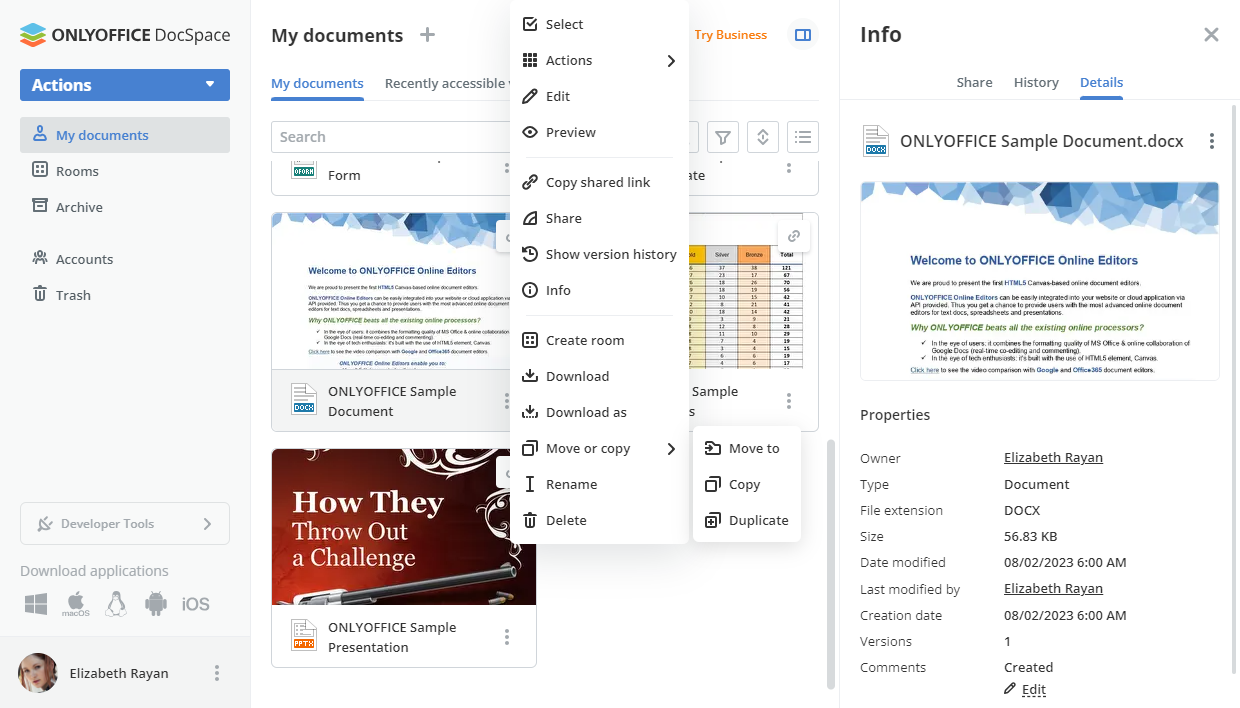
Using the contextual menu, you can perform the following operations with your documents:
Group operations with files can be performed using buttons on the top or the contextual menu. To download, move, copy, or delete several files at once,
- open the needed room by clicking the corresponding option at the left-side panel,
- hover over the file icon and check the boxes for the files you want to manage,
- click the needed button at the top depending on the operation you want to perform.
Viewing/editing documents
You can view and edit your documents, spreadsheets, presentations and fillable forms right in DocSpace rooms using the multi-functional Online Editors. You can also view media files in the most popular formats, including avi, mpg, mpeg, mp3, mp4, webm etc., as well as the bmp, jpg, jpeg, png, gif, tif, tiff, webp images and fb2, epub e-books.
To edit a document, just click its title or click the  icon next to it, select the
  Edit option, and it will be opened in a new tab of the Internet browser.
If the file is currently being edited, you will see the colored pencil
Edit option, and it will be opened in a new tab of the Internet browser.
If the file is currently being edited, you will see the colored pencil  icon.
To find out more about the editors' features, visit this page.
icon.
To find out more about the editors' features, visit this page.
Once you edit a document, spreadsheet, presentation and save changes you made, both versions of your file will be available, so that you'll be able to restore the previous one if necessary. To learn more about versions, please refer to this article.
To view a file, click the icon next to it and select the
 Preview option. This will open the file with the corresponding online office Viewer. Image files will open in the same window, text files will be shown in a new tab of your Internet browser.
The online office Viewers offer standard tools to zoom in/out your files, adjust their size, navigate between their pages, download or print them.
Preview option. This will open the file with the corresponding online office Viewer. Image files will open in the same window, text files will be shown in a new tab of your Internet browser.
The online office Viewers offer standard tools to zoom in/out your files, adjust their size, navigate between their pages, download or print them.
When viewing media files with the online viewer, you can use the corresponding buttons to start or pause the playback, adjust volume level or switch to the full screen mode, go to the previous or next media file, download or delete the file.
When viewing image files with the online viewer, you can use the corresponding buttons to zoom in or zoom out the image, go to the previous or next image, display the image actual size (if the image has been zoomed in or out), rotate the image clockwise or counterclockwise, go to the previous or next image, download or delete the file.
Sharing files and folders
To share files stored in the Documents section via a link:
- Right-click the file and select the Share option or open the Info panel and switch to the Share tab.
- Click Create and copy.
- Select who will have public access to your file: Anyone with the link or DocSpace users only.
- Provide different access permissions:
- Editing – a user has unrestricted access to the shared file or folder.
- Review – a user can edit the file but the changes should be accepted or rejected by the file owner.
- Custom filter – a user can view .xlsx files as per their own filter.
- Form filling – a user can only fill out forms.
- Comment – a user can comment the content of the file without editing it.
- Read only – a user can only view the file.
- Set the time period after which the link will expire: 12 hours, 1 day, 7 days, Unlimited, Custom.
You can also click the  Copy shared link icon next to the file in the Compact view. The external link for viewing for anyone will be created and copied to the clipboard.
To share a folder stored in the Documents section:
- Right-click the folder and select the Share option or open the Info panel and use the Share option in the Actions menu.
- The Share folder window will open. Click the Create room button.
- Follow the instruction for creating rooms.
A new room will be created and all the contents of the selected folder will be copied there. Afterward, you can invite other users to collaborate on the files within a room.