Статьи с тэгом :
Закрыть
История изменений
Закрыть
Попробовать в облаке
Справочный центр
Интеграция

About the ONLYOFFICE and Mattermost integration

ONLYOFFICE offers an official connector to integrate ONLYOFFICE Docs with Mattermost to collaborate on office documents sent in private or group chats. You can download it from the official website or GitHub. The application is distributed under the Apache license.

To learn more about how it works and how to compile the ONLYOFFICE connector for Mattermost, please visit our API documentation.

Main features

  • View and edit text documents, spreadsheets, and presentations using the Open file in ONLYOFFICE option.
  • Manage access rights (Edit or Read) from the context menu with the Change access rights option.
  • Co-editing documents in real-time: two co-editing modes (Fast and Strict).
  • View the file changes history.
  • JWT support to secure your traffic so no one besides the users with proper rights has access to your documents.

Supported formats

  • For editing and viewing: DOCX, XLSX, PPTX
  • For viewing only: XLS, XLSX, CSV, XLSM, XLT, XLTM, ODS, FODS, OTS, PPS, PPSX, PPSM, PPT, PPTX, PPTM, POT, POTX, POTM, ODP, FODP, OTP, DOC, DOCX, DOCM, DOT, DOTX, DOTM, ODT, FODT, OTT, RTF

What's new in version 1.1.1

Changed

  • Fixed work with s3 bucket
  • Fixed editor loader
  • Updated dependencies

The full change log is available here.

Connecting ONLYOFFICE Docs to Mattermost

Requirements

  • ONLYOFFICE Docs (Document Server) 6.4.0 or later

    You need an instance of ONLYOFFICE Docs that is resolvable and connectable both from Mattermost and any end clients. It must be able to POST to Mattermost directly.

    Please refer to the official documentation page to learn more about installing ONLYOFFICE Docs.

    You can also use ONLYOFFICE Docs Cloud (SaaS version).

  • Mattermost v. 5.37.2 or later
  • ONLYOFFICE Connector v1.1.1 for Mattermost

Installing the ONLYOFFICE connector for Mattermost

To connect Mattermost, follow these steps:

  1. Get the Mattermost ONLYOFFICE integration app. There are several ways to do that:
    • Download the latest version from the application release page on GitHub.
    • Clone the application source code and compile it yourself:
      1. Clone the master branch.
      2. Go to the project root.
      3. Install the dependencies:
        npm install --legacy-peer-deps
        To build the plugin, you need to have Node.js v.15.14.0 installed on your machine.
      4. Run the following command:
        make dist
  2. Go to (your_mattermost_host)/admin_console/plugins/plugin_management
  3. Choose the downloaded tar.gz file or the compiled plugin from your dist folder and press Upload.

Configuring the ONLYOFFICE Connector for Mattermost
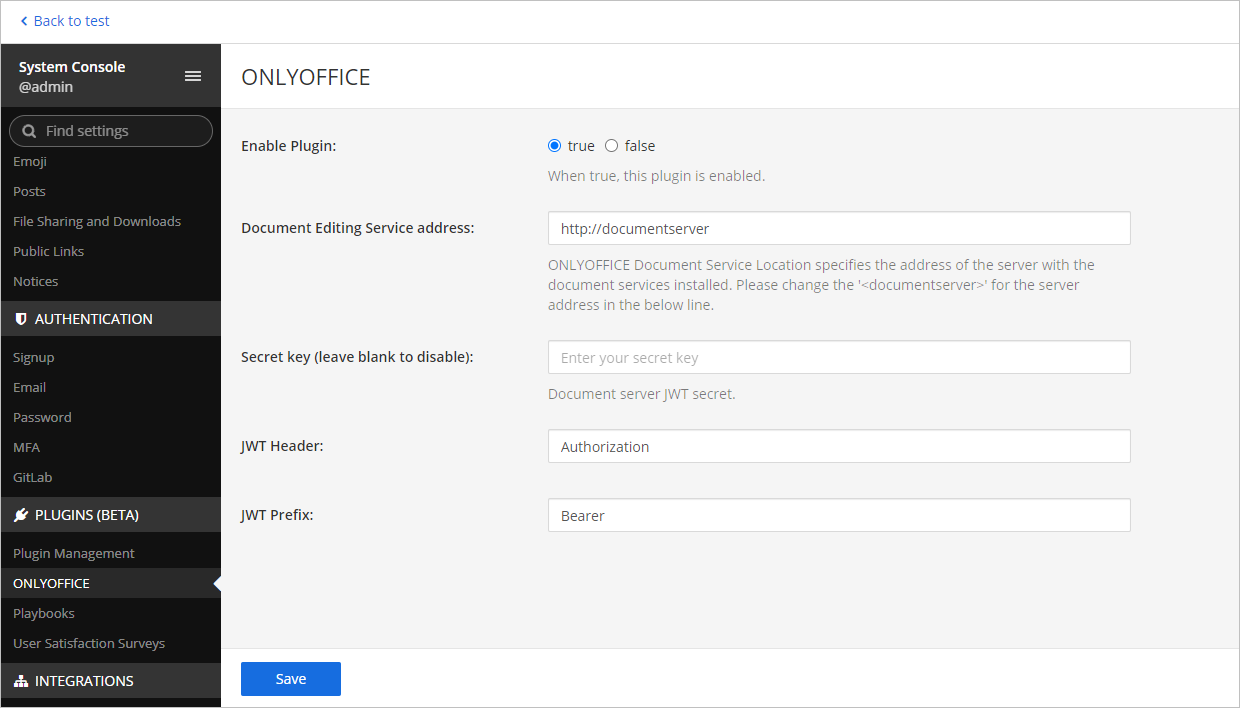
Go to System Console -> find the ONLYOFFICE plugin via search -> Configure. Enable the plugin in the corresponding field and specify the following parameters:

  1. Document Editing Service address - enter the URL address where ONLYOFFICE Docs is installed (e.g. https://documentserver).
    ImportantThe address of ONLYOFFICE Docs must be accessible from Mattermost, as well as the address of Mattermost must be accessible from ONLYOFFICE Docs.
  2. Secret key - the document server JWT secret used to sign the data.
    Starting from ONLYOFFICE Docs v7.2, JWT is enabled by default and the secret key is generated automatically. You need to enable it on the Mattermost side as well: find your secret key in the ONLYOFFICE Docs configuration file, then specify the same secret key in the connector settings. For more details, see the Enabling JWT for the ONLYOFFICE and Mattermost integration section of this article.
  3. JWT Header - specify the JWT header.
    ImportantIf JWT protection is enabled, it is necessary to specify a custom header name since the Mattermost security policy blocks external 'Authorization' Headers. This header should be specified in the ONLYOFFICE Docs signature settings as well (further information can be found here).
  4. JWT Prefix - specify the JWT prefix.
ONLYOFFICE_configuration ONLYOFFICE_configuration

Enabling JWT for the ONLYOFFICE and Mattermost integration

To protect documents from unauthorized access, ONLYOFFICE editors use the JSON Web Token (JWT). The token is added in the configuration when the Document Editor is initialized and during the exchange of commands between inner ONLYOFFICE Docs services. The secret key is used to sign the JSON web token and validate the token upon the request to ONLYOFFICE Docs.

Starting from ONLYOFFICE Docs v7.2, JWT is enabled by default and the secret key is generated automatically. You need to find your secret key in the ONLYOFFICE Docs configuration file, then specify the same secret key in the connector settings.

Step 1: Find your secret key in the ONLYOFFICE Docs configuration file

  1. Open the local.json file with any available text editor.
    • For Linux - /etc/onlyoffice/documentserver/local.json
    • For Windows - %ProgramFiles%\ONLYOFFICE\DocumentServer\config\local.json
    • For Docker – enter the ONLYOFFICE Docs container using the docker exec -it <containerID> bash command and open /etc/onlyoffice/documentserver/local.json

      Alternatively, you can use the following command to find the default secret key without opening local.json:

      sudo docker exec <containerID> /var/www/onlyoffice/documentserver/npm/json -f /etc/onlyoffice/documentserver/local.json 'services.CoAuthoring.secret.session.string'

    The local.json file should look like this:

    {
      "services": {
        "CoAuthoring": {
          "token": {
            "enable": {
              "request": {
                "inbox": true,
                "outbox": true
              },
              "browser": true
            }
          },
          "secret": {
            "inbox": {
              "string": "yoursecret"
            },
            "outbox": {
              "string": "yoursecret"
            },
            "session": {
              "string": "yoursecret"
            }
          }
        }
      }
    }
    
  2. The true value is specified in three sections. It means that token validation is enabled.
    • services.CoAuthoring.token.enable.browser
    • services.CoAuthoring.token.enable.request.inbox
    • services.CoAuthoring.token.enable.request.outbox
  3. The automatically generated secret key is specified in three sections. You can replace the default secret value with your own secret key. The secret key must be the same in three sections.
    • services.CoAuthoring.secret.inbox.string
    • services.CoAuthoring.secret.outbox.string
    • services.CoAuthoring.secret.session.string
  4. If you make changes, save them and restart the services for the config changes to take effect.
    supervisorctl restart all

Step 2: Specify the same secret key in the connector settings

In the connector settings, specify the same secret in the Secret key field and save the settings.

Getting Started

Viewing and editing files

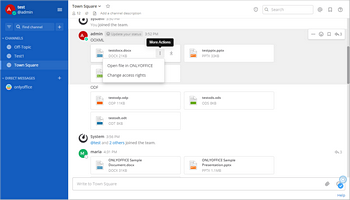
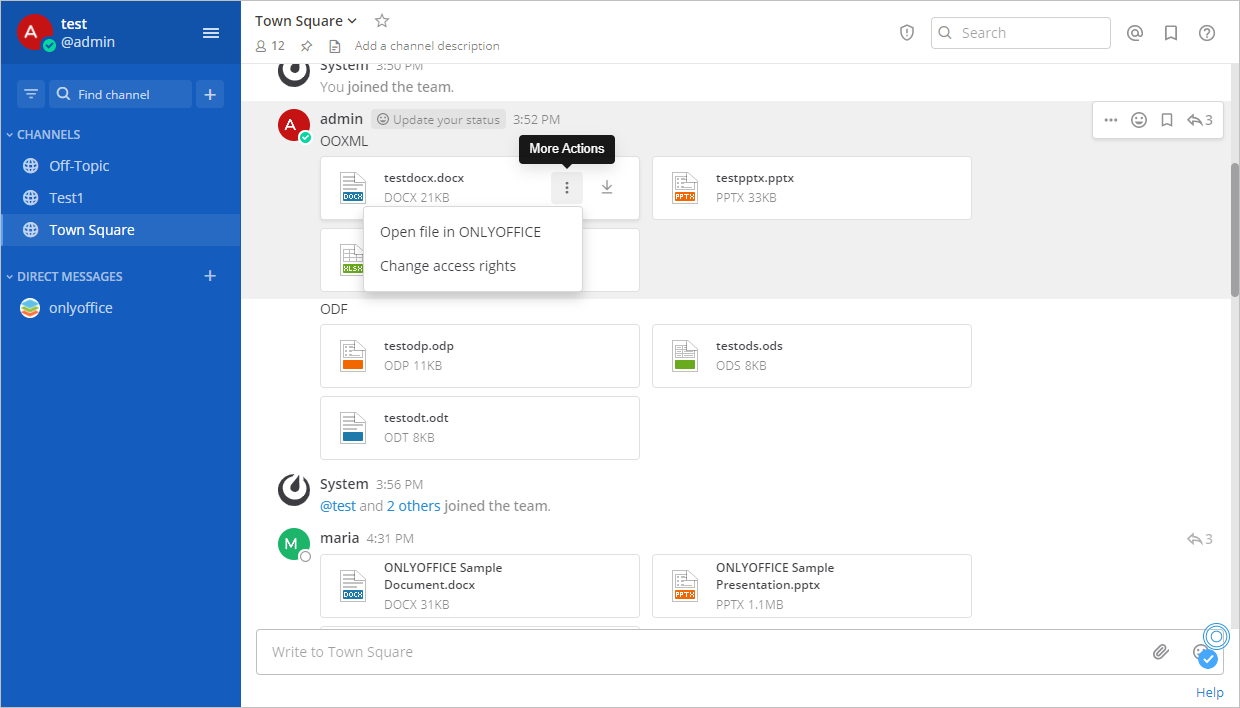
  • Click the More Actions button More Actions button next to a file sent in a Mattermost chat.
  • Choose the Open file in ONLYOFFICE option from the context menu.
    ONLYOFFICE_filemenu ONLYOFFICE_filemenu

or

  • Click the file name.
  • The file preview window will appear. To share the file with other users, click the Share button. To proceed with the editing, click the Edit in ONLYOFFICE button.
    ONLYOFFICE_previewfile ONLYOFFICE_previewfile

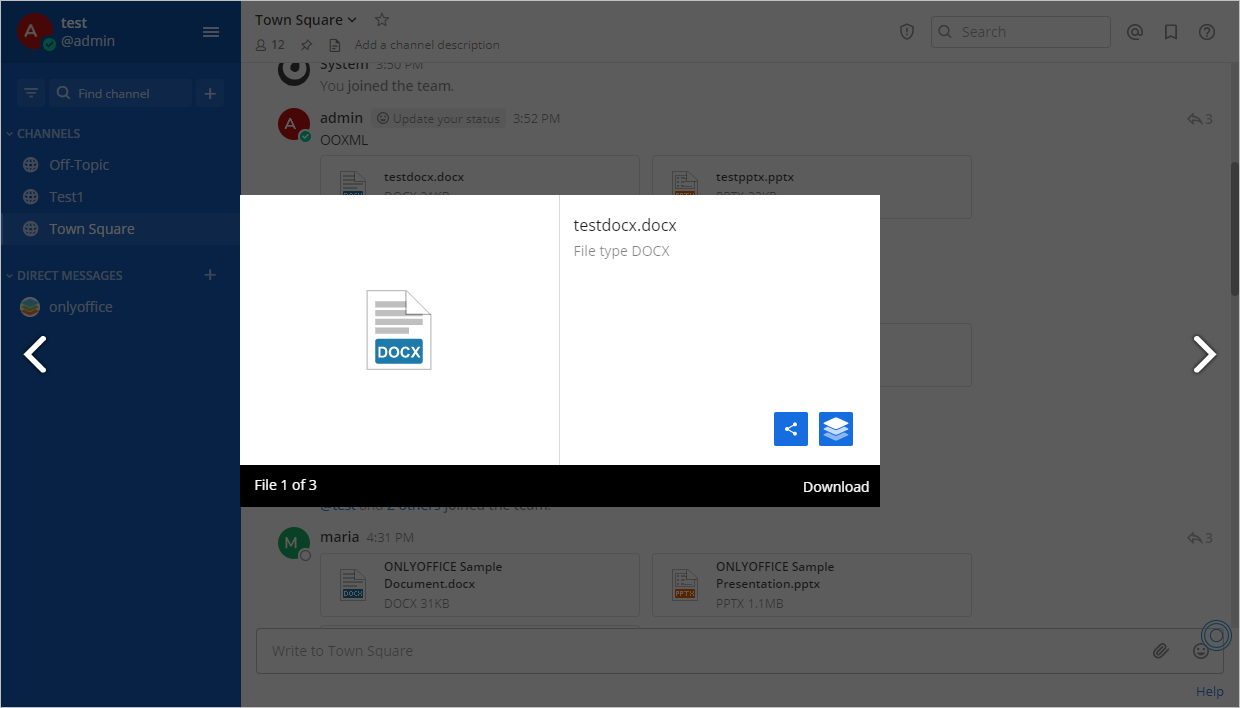
The file will be opened in the corresponding ONLYOFFICE editor.

Changing access rights

The sender has editing access rights and the recipient has reading access rights by default. To change them, use the Change access rights option available in the file context menu. This option is available only for the sender.

To co-edit a document, the authorized users should open the same file together.
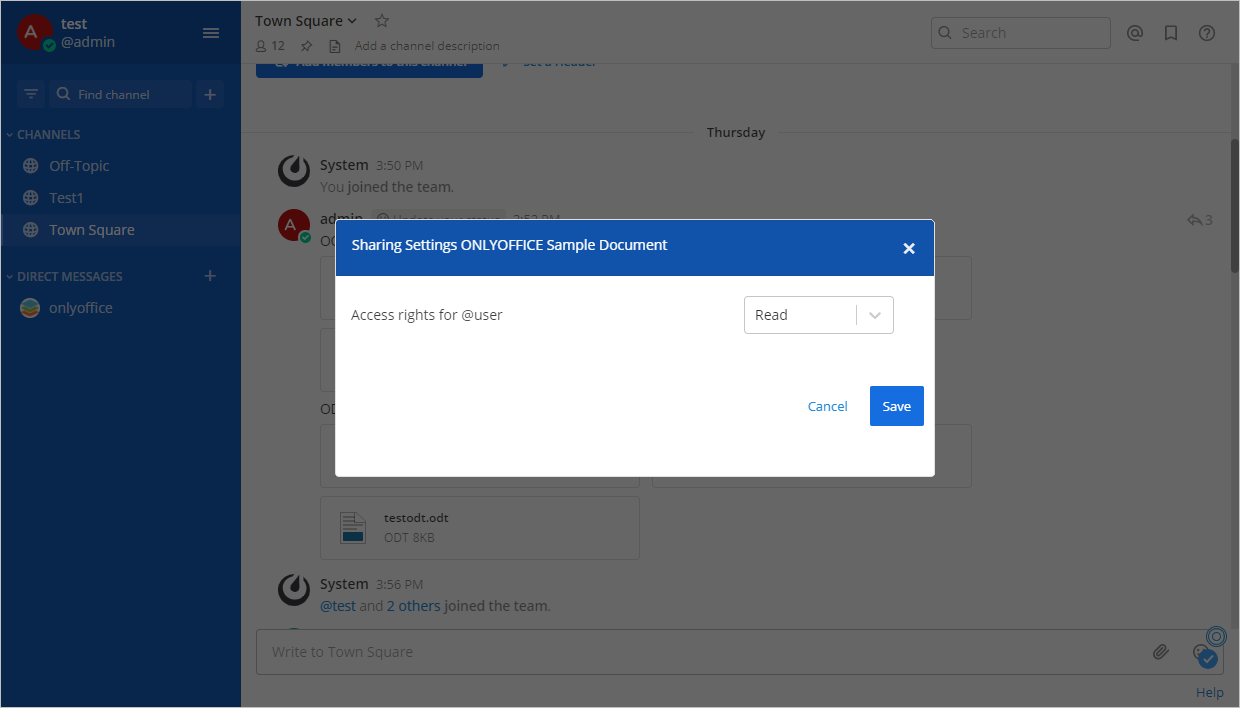
In a private chat:

  • Use the drop-down menu in the Access rights for @user field.
    ONLYOFFICE_privatechat ONLYOFFICE_privatechat

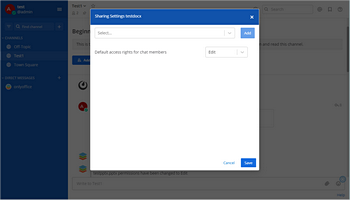
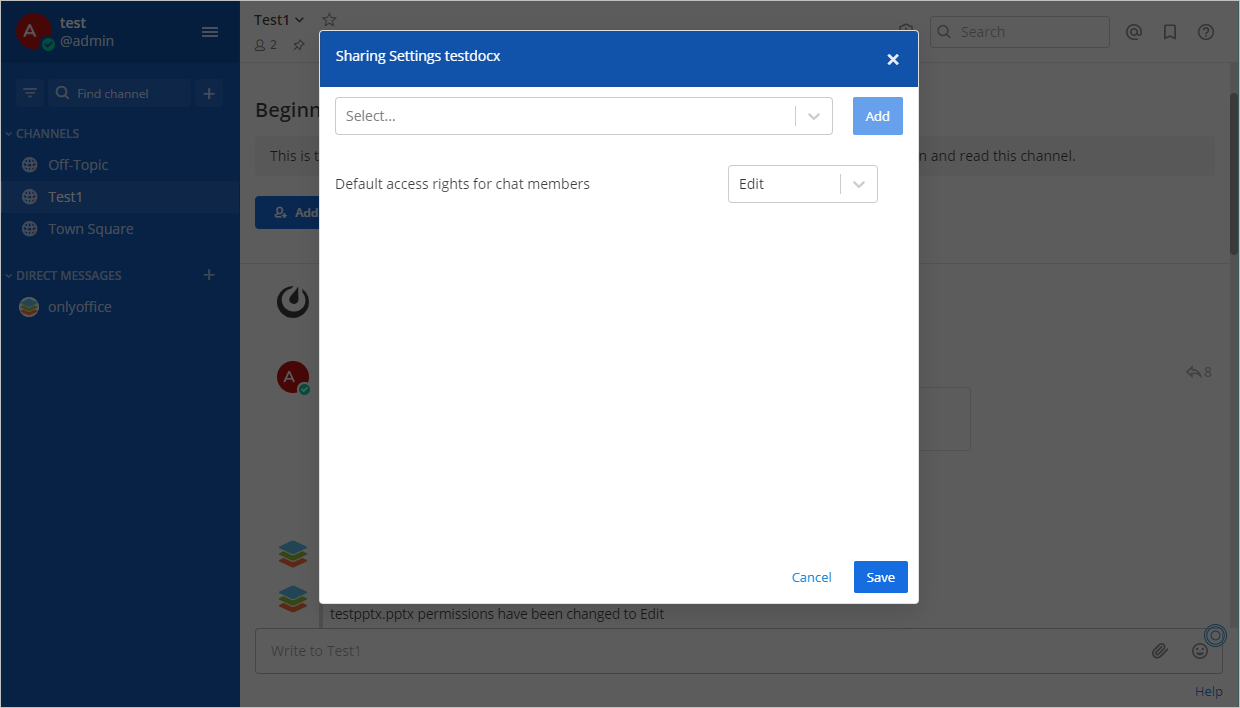
In a group chat for all members:

  • Use the drop-down menu in the Default access rights for chat members field.
    ONLYOFFICE_groupchatall ONLYOFFICE_groupchatall

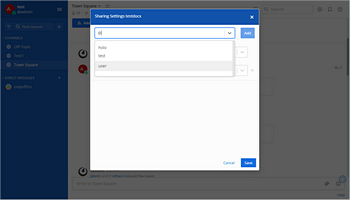
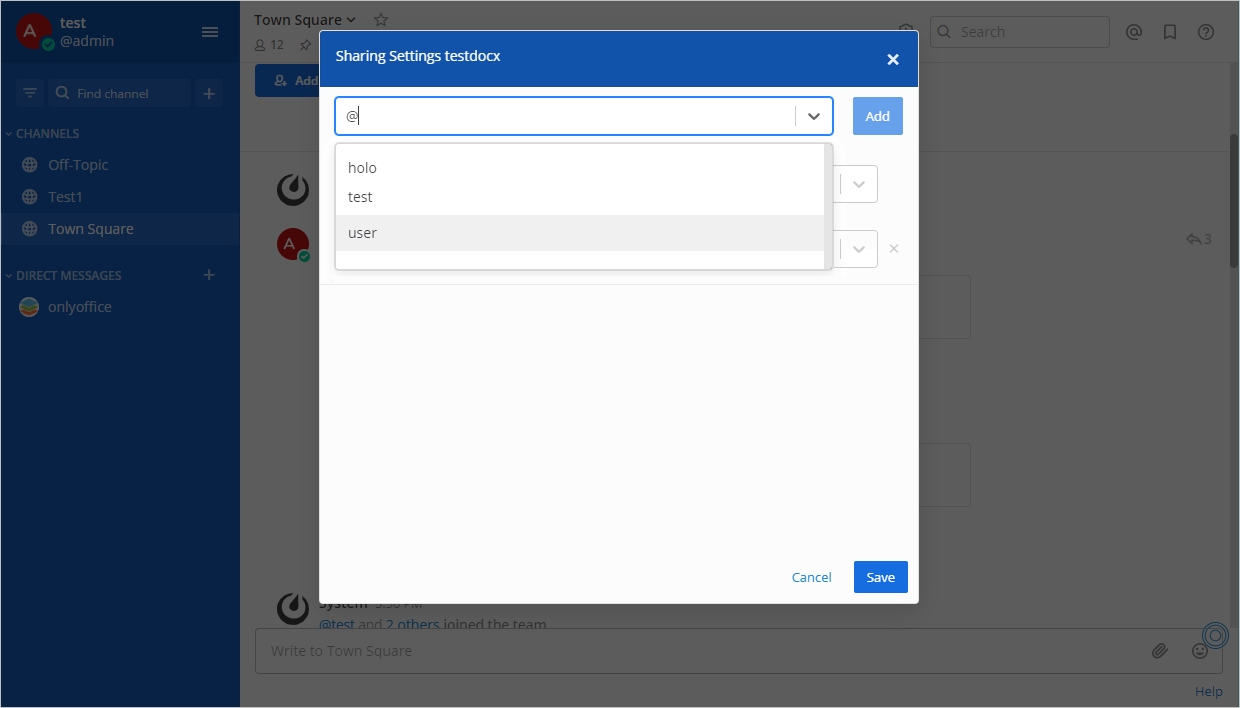
In a group chat for a certain user:

  • Use the drop-down menu at the top, choose the required user, and click the Add button to the right.

    ONLYOFFICE_groupchatcertain ONLYOFFICE_groupchatcertain

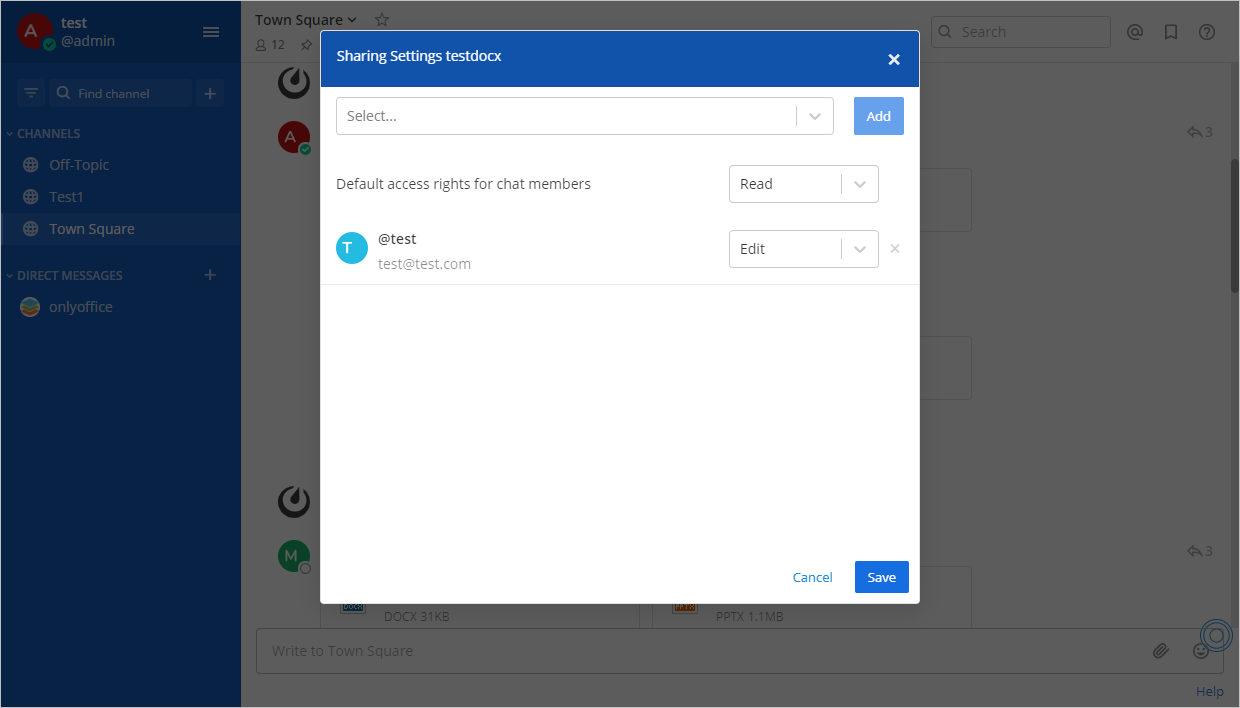
  • The user will appear in the list below. Change their access rights via a drop-down menu on the right.
    ONLYOFFICE_groupchatcertain ONLYOFFICE_groupchatcertain
Managing access rights will send a bot notification to the corresponding party.

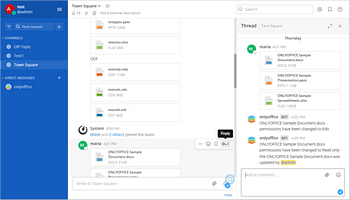
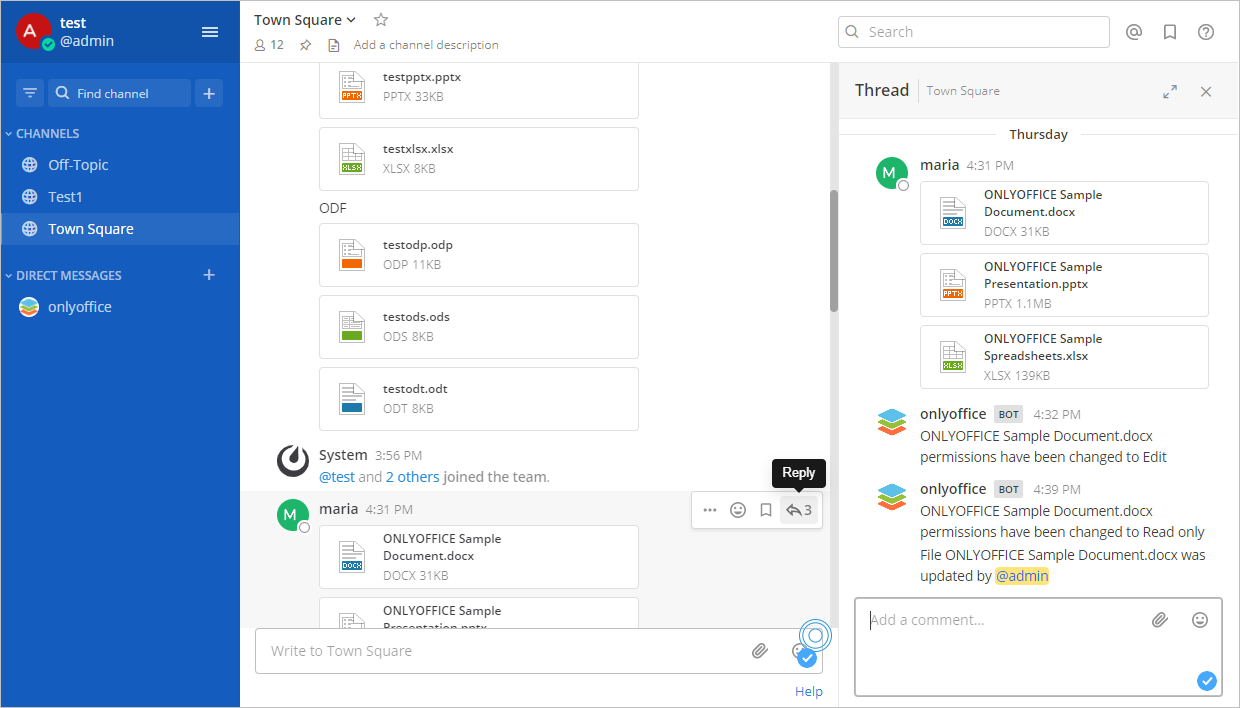
Viewing changes history

All changes to the file will be sent as notifications containing the username.

ONLYOFFICE_versionhistory ONLYOFFICE_versionhistory

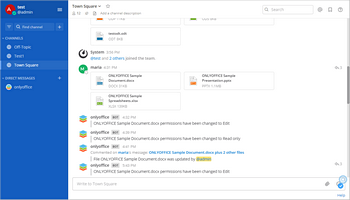
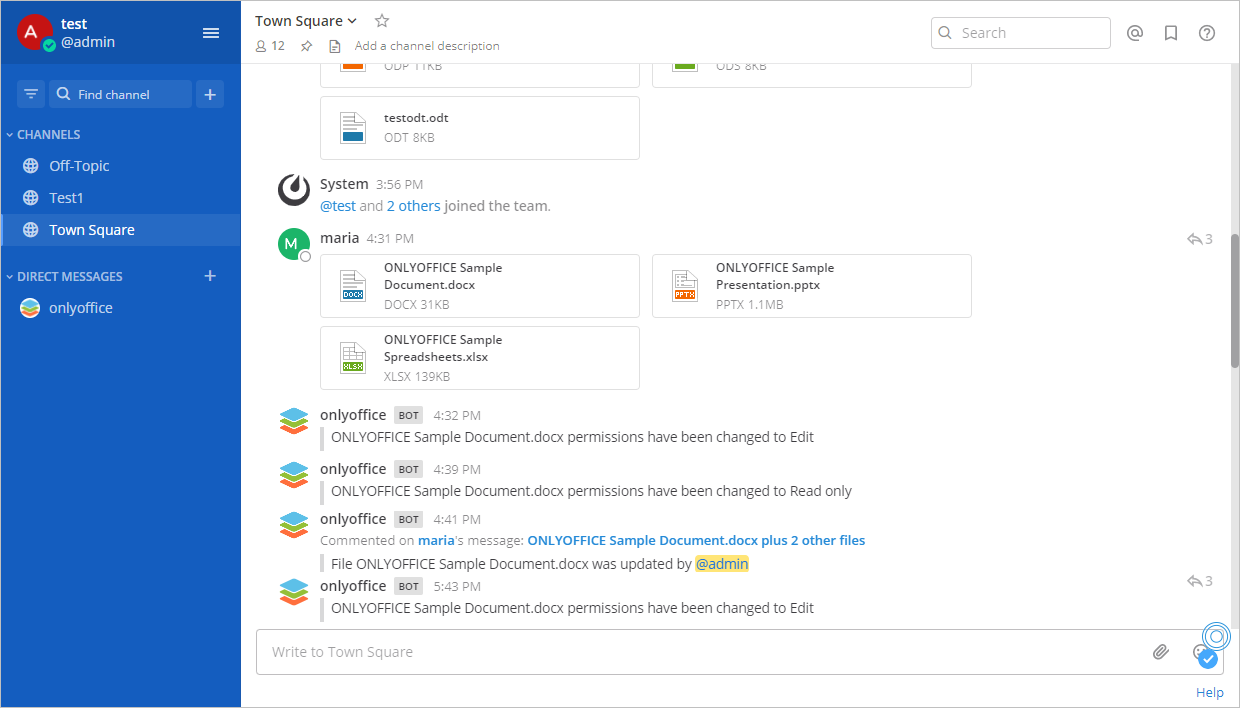
The notifications are available in a dedicated thread. To open the thread, click the arrow to the right of the file.

ONLYOFFICE_versionhistory ONLYOFFICE_versionhistory
Скачать Лучшие редакторы на вашем сайте Совместно просматривайте и редактируйте
все типы текстовых файлов, таблиц и презентаций
Вас также может заинтересовать:
Закрыть