Getting started
Overview
ONLYOFFICE Desktop Editors is an open-source office suite distributed under AGPL v.3. The application does not require a constant connection to the Internet and allows you to work with documents stored on your computer.
You can create, view, and edit text documents, spreadsheets, and presentations of the most popular formats: DOCX, ODT, XLSX, ODS, CSV, PPTX, ODP, etc. You can also create forms and fill out PDF fillable forms. View all the formats supported by Document Editor, Spreadsheet Editor, Presentation Editor, and PDF Editor.
Installing
ONLYOFFICE Desktop Editors is a cross-platform solution. You can install it on Windows, Linux, or Mac OS.
To download the latest version of the ONLYOFFICE Desktop Editors for your operating system, visit our website and follow our installation guides for Windows, Linux, and Mac OS.
Creating and editing documents
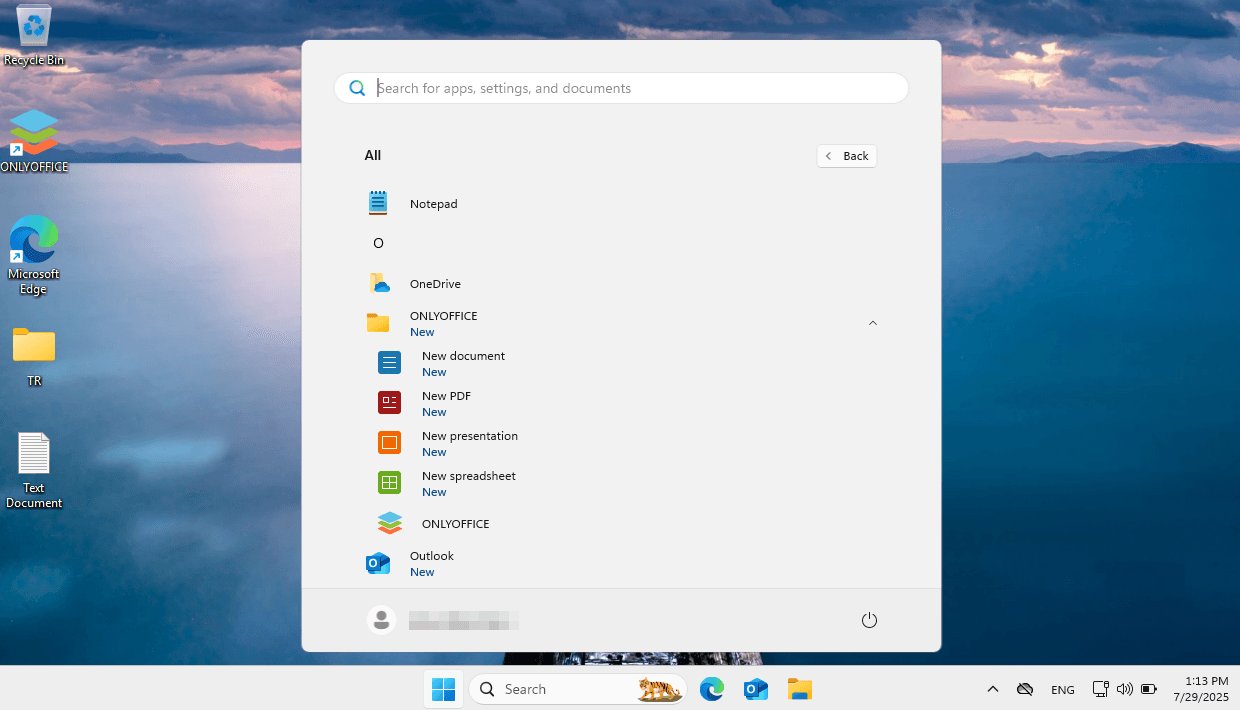
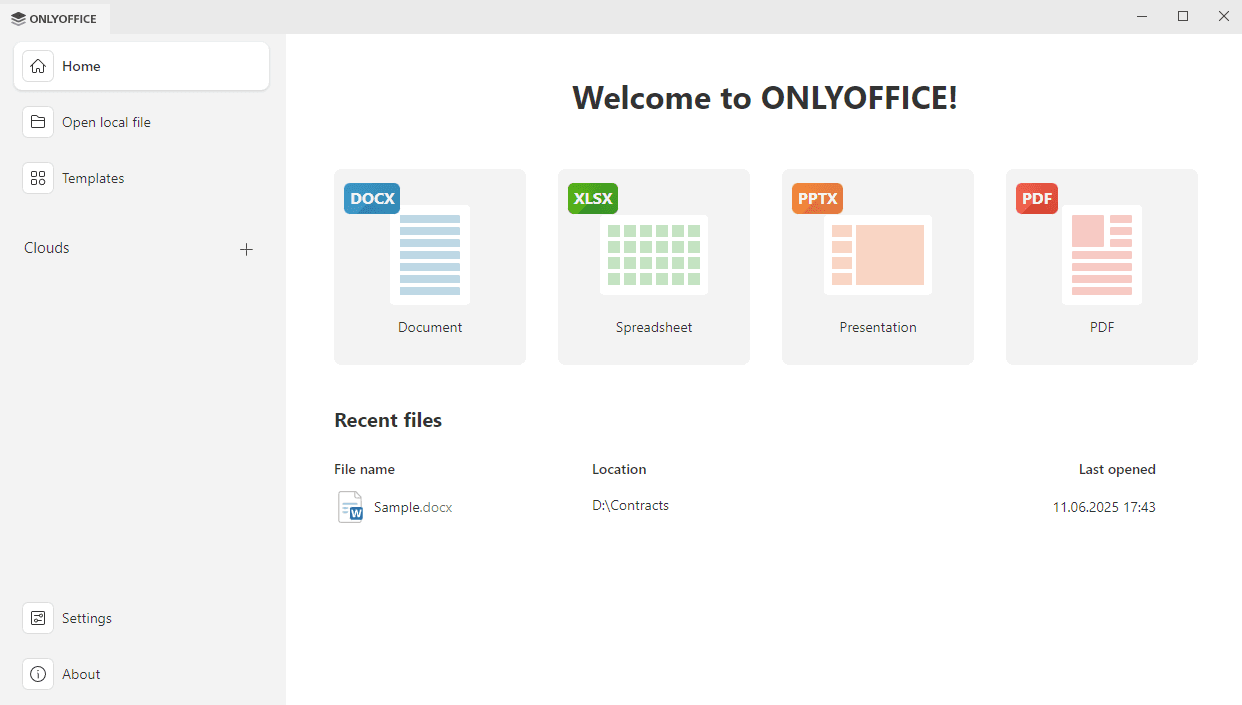
To create a new document, spreadsheet, presentation, or PDF form, click the corresponding icon on the Home tab on the left navigation panel.


On Windows 7 and later, you can also use shortcuts in the Start menu or in the taskbar and choose the necessary option from the task list.
A new file will open in a new tab or in a new window, subject to the option you choose. To select the needed option, go to the Settings section in the left side menu, scroll down to the Open file, click the arrow to open the drop-down menu, and select In its own tab or In its own window. To differentiate between active and inactive windows, the inactive window appears in lower contrast. Click the Apply button at the bottom of the page for changes to take effect.
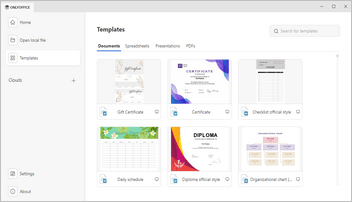
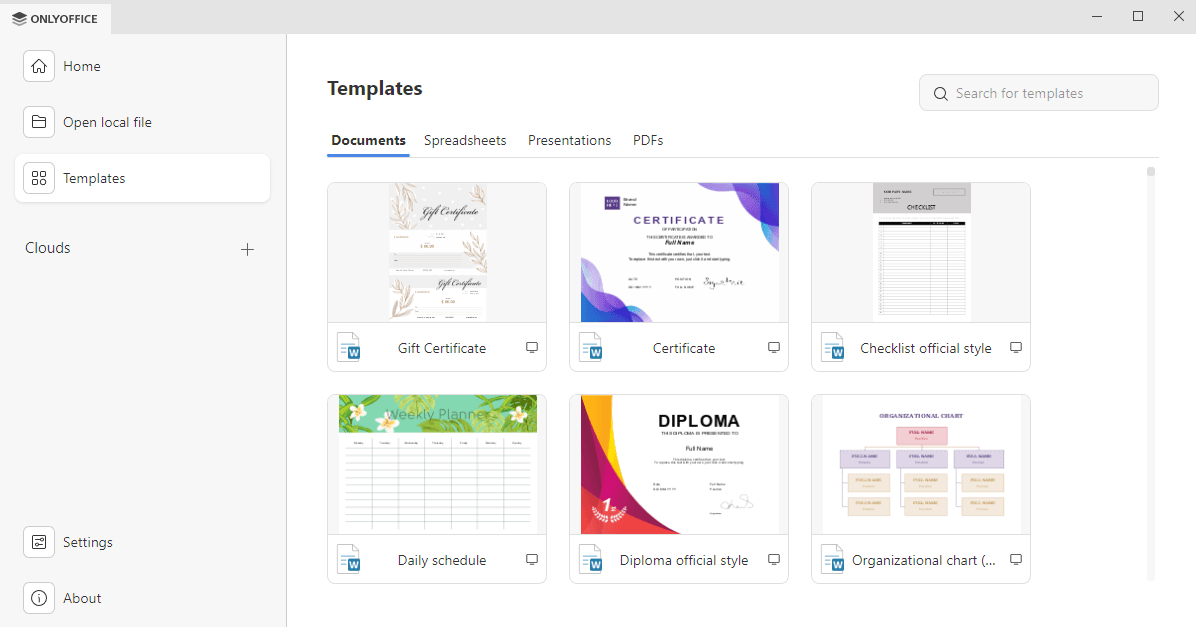
To quickly create a new document, spreadsheet, presentation, or PDF, use the Templates tab on the left navigation panel. Search for the necessary template from the Search box.

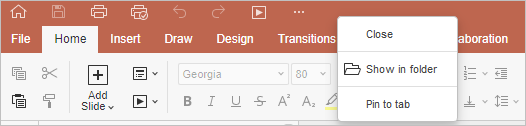
To manage tabs, you can also use the tab context menu. Right-click the tab to open the menu, and choose one of the available options

Context menu is also available with the unpinned windows. Right-click the editor header to access the menu, and choose one of the available options:
To save the created document, click the Save ![]() icon at the top toolbar. In a new window that opens, select the location on your computer where you want to store the file, specify the file name, choose the necessary format, and click the Save button.
icon at the top toolbar. In a new window that opens, select the location on your computer where you want to store the file, specify the file name, choose the necessary format, and click the Save button.


To quickly access recently opened documents, go to the Home tab on the of the left navigation panel, and use the Recent files section. Click a file to open it.

If you right-click a file, you can use one of the available contextual menu options:
- Open – to open the file in a new tab.
- Show in folder - to show the location of the file.
- Remove from list – to remove the file from the Recent files list (the files will not be deleted from your hard disk drive, they will just disappear from the list of recent files).
- Clear – to remove all the files from the Recent files list.
The Open local file tab on the left navigation panel allows to access all documents stored on your computer. Click the Browse button. A new window will open where you can select the file you need.
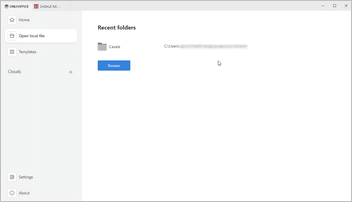
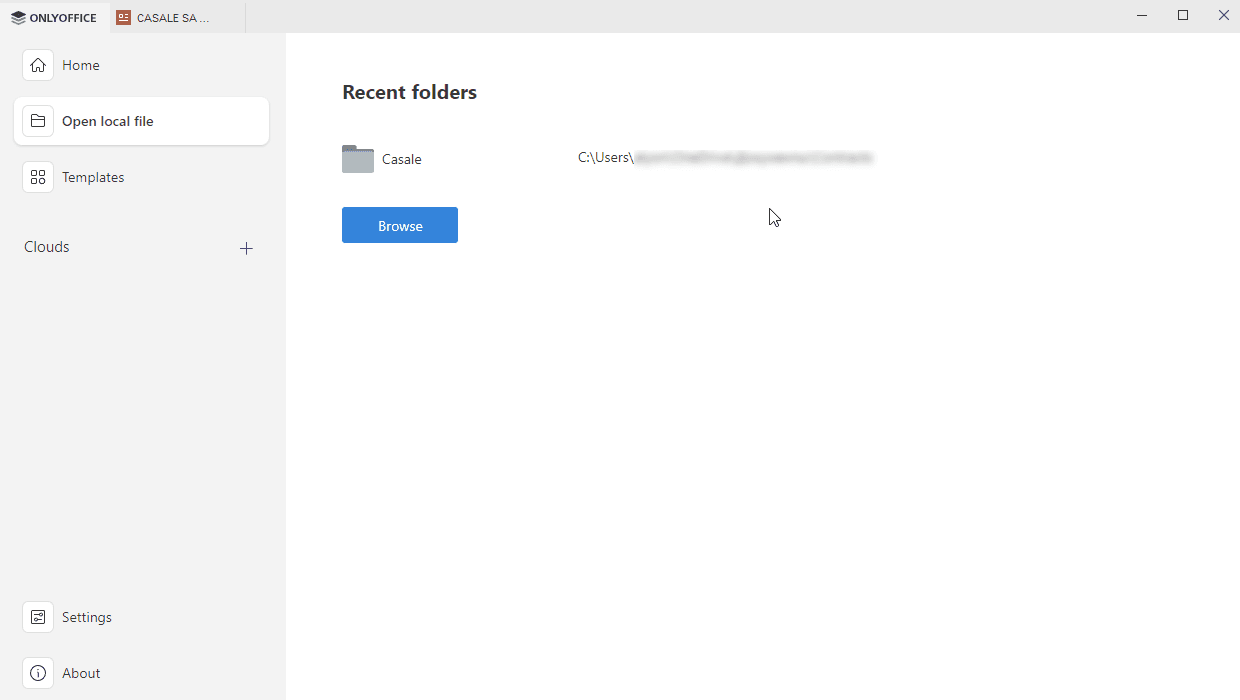
All the directories that you have accessed using ONLYOFFICE Desktop Editors will be displayed in the Recent folders list so that you can quickly access them afterward. Click the necessary folder to select one of the files stored in it.
You can edit documents, spreadsheets, and presentations and fill in PDF forms using a great number of formatting and styling tools. To learn more, you can refer to the corresponding sections of the documentation for Document Editor, Spreadsheet Editor, Presentation Editor, and PDF Editor.
Connecting to the cloud
Connecting ONLYOFFICE Desktop Editors to the cloud allows you to get access to:
- collaborative features
- online features
- private rooms
You can easily connect the desktop application to the ONLYOFFICE cloud (cloud service, cloud for personal use, or server version) or third-party cloud storage (Nextcloud, ownCloud, Seafile, Liferay, KDrive) and use all the product capabilities. In this case, an Internet connection is required.
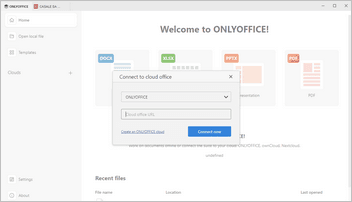
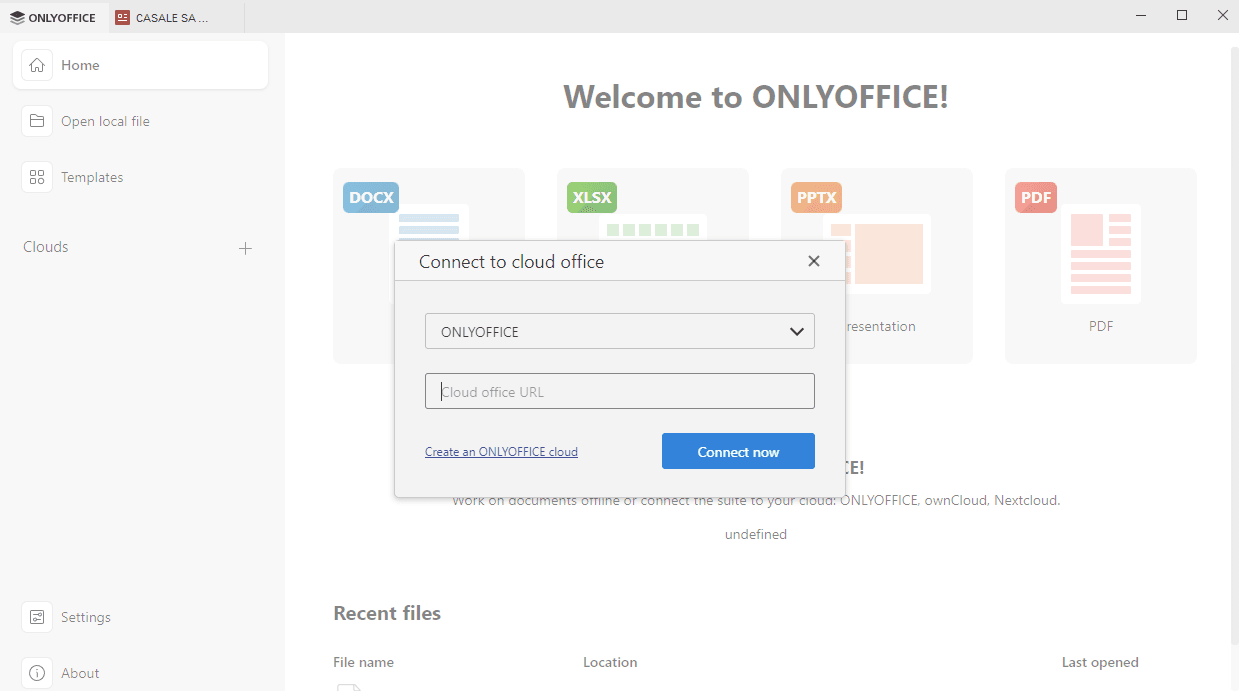
Read the detailed instructions on how to connect ONLYOFFICE Desktop Editors to ONLYOFFICE DocSpace cloud, ONLYOFFICE server version, Nextcloud, ownCloud, Seafile, Liferay, KDrive, and Moodle.
Collaborative features
Connecting ONLYOFFICE Desktop Editors to the cloud, you get access to the following collaborative features:
- collaborative editing,
- reviewing (for text documents only),
- commenting,
- communicating via the built-in chat.
Online features
Some editing features are only available in the online version (both in the paid ONLYOFFICE cloud and in the free Community version). You can use them through the ONLYOFFICE Desktop Editors interface only after connecting to the cloud:
- Mail Merge in the Document Editor.
Private rooms
After connecting to the ONLYOFFICE Cloud (server version), you can securely edit and co-author your documents within the Private Room, a special section in the Documents module where all documents and data transferred during collaboration are encrypted with the AES-256 encryption algorithm.
To learn more, you can refer to this article: Using the Private Room to work on your documents securely.
Adding plugins to the ONLYOFFICE Desktop Editors
Plugins are designed to expand the capabilities and add new features to Desktop Editors.
Starting with ONLYOFFICE Desktop Editors 8.2.0, Send is the only plugin supplied by default with Desktop Editors.
To extend the editors' functionality, you are free to add plugins that meet your needs. It only takes a few minutes and can easily be done by following the instructions below:
- Open the ONLYOFFICE Editors app, switch to the Plugins tab of the top toolbar, and click the Plugin Manager button. The Plugin Manager window will open.


- Open the Marketplace tab to view the available plugins and click the Install button under the required plugin.
- Open the Available plugins tab to manage the installed plugins.
The plugin will be added to the opened editors and all the editors you will open afterward and displayed within the Plugins tab.


To remove the added plugin, open the Plugin Manager and click the Remove button under the plugin you want to uninstall.
To learn more about the Plugin Manager, please refer to the Plugin Manager guide.
To find out how to remove default plugin from the ONLYOFFICE Desktop Editors, refer to this page: Uninstall default plugins from the desktop editors.
The plugin structure and the procedure of creating plugins are described in the Plugins and macros section of the https://api.onlyoffice.com website.
Changing application settings
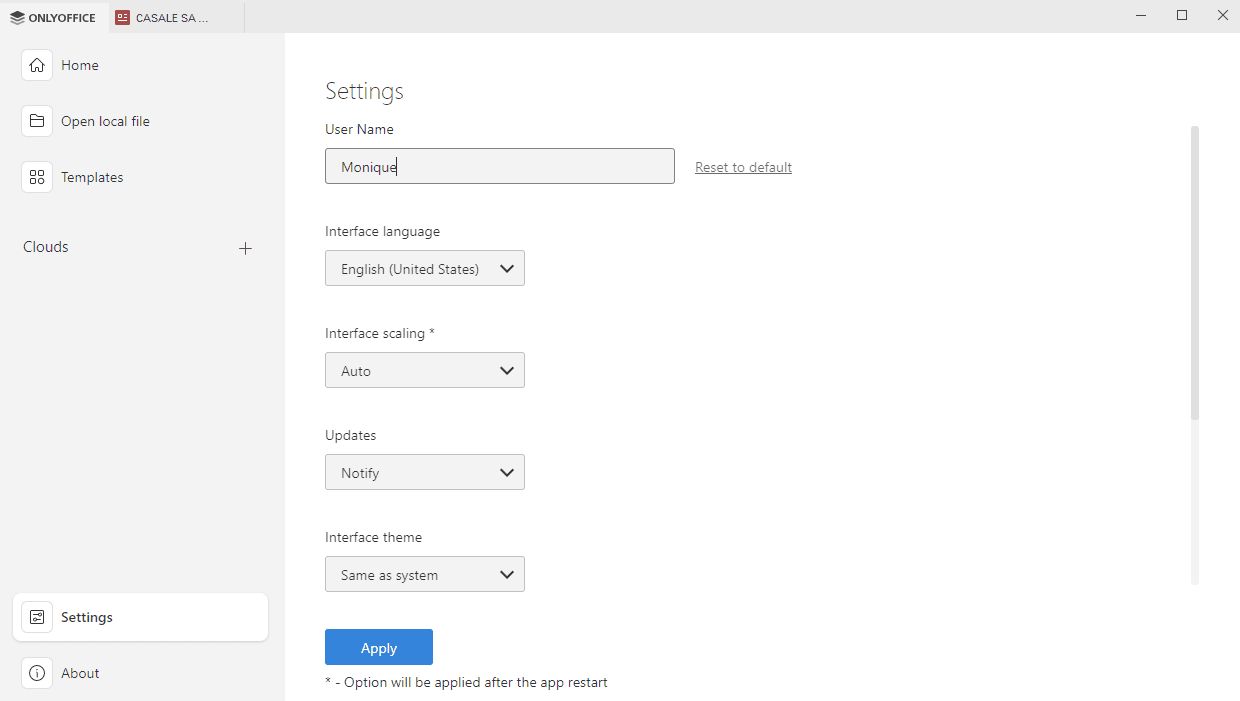
The Settings section in the left side menu of the main program window allows you to:
- change the user name displayed in the header of each opened document.
- select the interface language. The list of the available languages can be found here.
- enable the RTL Interface (Beta) option for RTL languages.
- adjust interface scaling (on Windows and Linux only). The available values are Auto, 100%, 125%, 150%, 175%, 200%, 225%, 250%, 275%, 300%, 350%, 400%, 450%, and 500%.
-
enable or disable automatic checking for updates. Select the necessary option: Silent mode, Ask to download, Disable.
you can also check for updates manually using the Check for updates button in the About section of the main program window.
- select the interface theme. The available themes are Same as system, Light, Classic Light, Dark, Contrast Dark, Gray, Modern Light, and Modern Dark. You can also add a local theme on Windows and Linux. If you select the Add local theme option, the dialog window will open where you can select the theme
jsonfile. The file will be copied to the user's application folder. - select the Editor’s launch mode when you open a new editor: In its own tab or In its own window. This will not affect your portal's launch mode. Portals always open in a tab.
- enable or disable Spelling language detection when switching the keyboard language (on Windows and Linux). The available options are Auto and Disabled. When the Auto option is selected, the spell-checking language is detected automatically when you switch the keyboard language and start typing. When the Disabled option is selected, the spell-checking language does not depend on the keyboard language.
Make the necessary changes, scroll down, and click the Apply button at the bottom of the page.
Security settings
To protect your documents, spreadsheets, or presentations, you can set a password or sign a file using a digital signature. To learn more, you can refer to these instructions:
Additional operations
You might also need to perform some additional operations, for example, install additional fonts or associate office document files with ONLYOFFICE Desktop Editors on Windows. To learn more, you can refer to these instructions: