DocSpace
Introdução
Depois de instalar o ONLYOFFICE Desktop Editors em seu computador, você pode facilmente conectar o aplicativo à sua nuvem DocSpace existente ou criar uma nova para que possa usar todas as capacidades do produto:
- recursos colaborativos, como edição colaborativa, revisão, comentários e comunicação via chat integrado,
- recursos online, como Mala Direta no Editor de Documentos.
Passo 1. Criar uma nova nuvem
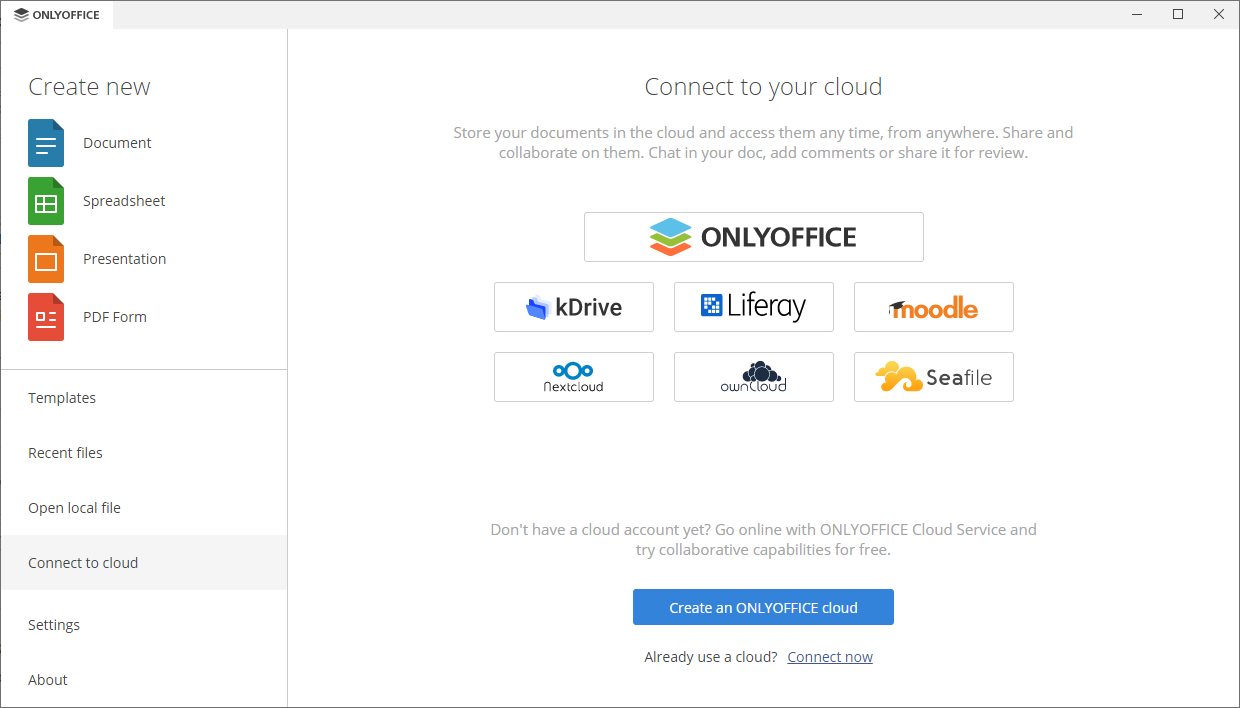
Se você ainda não tem DocSpace, execute o Desktop Editors, mude para a seção Conectar à nuvem no painel lateral esquerdo e clique no botão Criar uma nuvem ONLYOFFICE.

O formulário de inscrição da versão em nuvem será aberto em uma nova aba da interface do Desktop Editors. Passe por algumas etapas fáceis para preencher todos os campos do formulário de registro.


Você precisará especificar as seguintes informações:
- digite seu Nome e Sobrenome;
- especifique um Endereço de email válido e seu número de Telefone;
- digite o nome da sua empresa;
-
digite um Nome para seu portal no campo Criar nome da conta.
O nome do portal NÃO PODE ter menos de 6 caracteres.
- defina uma Senha que você usará para acessar seu portal. Por padrão, a senha deve ter pelo menos 8 caracteres.
- especifique se você quer ser informado sobre as possibilidades do serviço, depois revise os Termos e Condições do serviço.
Quando todos os campos estiverem preenchidos, clique no botão INICIAR AGORA.
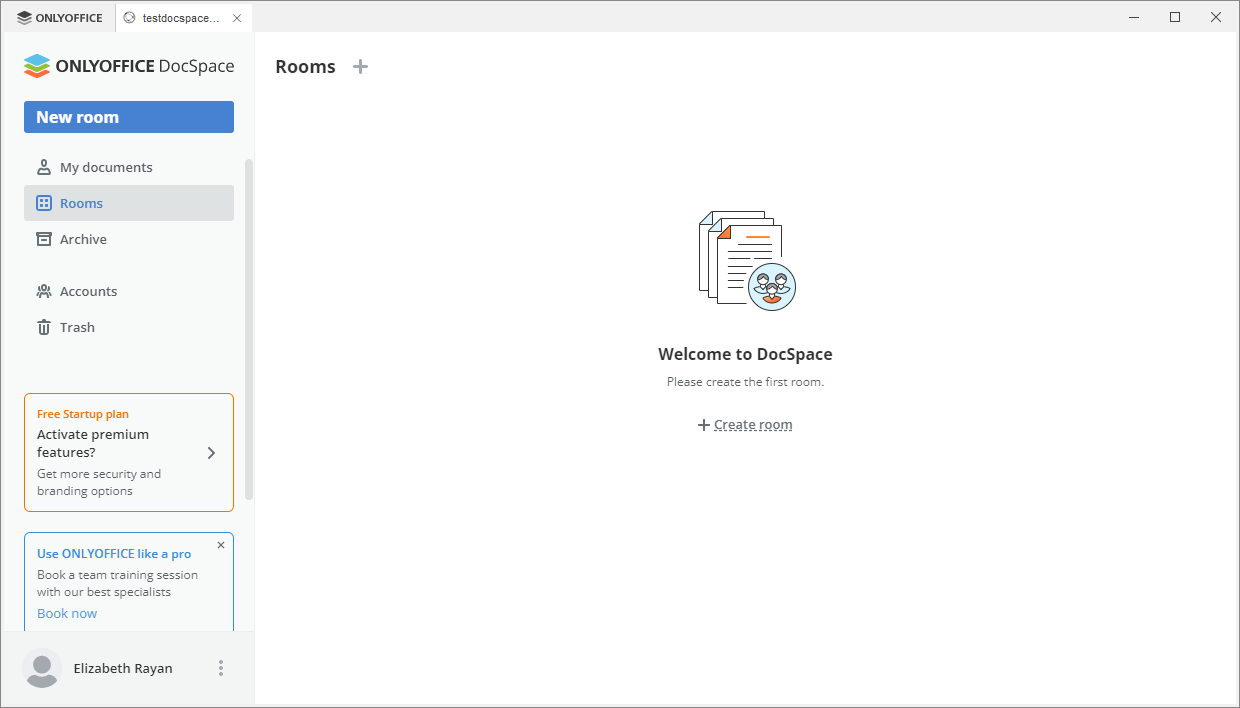
A seção Salas do seu DocSpace será aberta em uma nova aba da interface do Desktop Editors. Você pode prosseguir para o Passo 3.
Passo 2. Conectar a uma nuvem existente
Para conectar o Desktop Editors à sua conta DocSpace em nuvem existente, execute as seguintes ações:
- Mude para a seção Conectar à nuvem no painel lateral esquerdo.
-
Clique no botão ONLYOFFICE para conectar a um portal existente. Alternativamente, você pode usar o link Conectar agora na parte inferior.
-
A janela Conectar ao escritório em nuvem se abre com a opção ONLYOFFICE selecionada.
-
no campo URL do escritório em nuvem, digite o endereço da sua nuvem ONLYOFFICE na forma nomeportal.onlyoffice.com ou https://nomeportal.onlyoffice.com. Quando estiver pronto, clique no botão Conectar agora.
Você também pode digitar personal.onlyoffice.com neste campo para conectar à sua conta para uso pessoal.


-
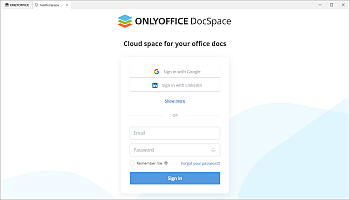
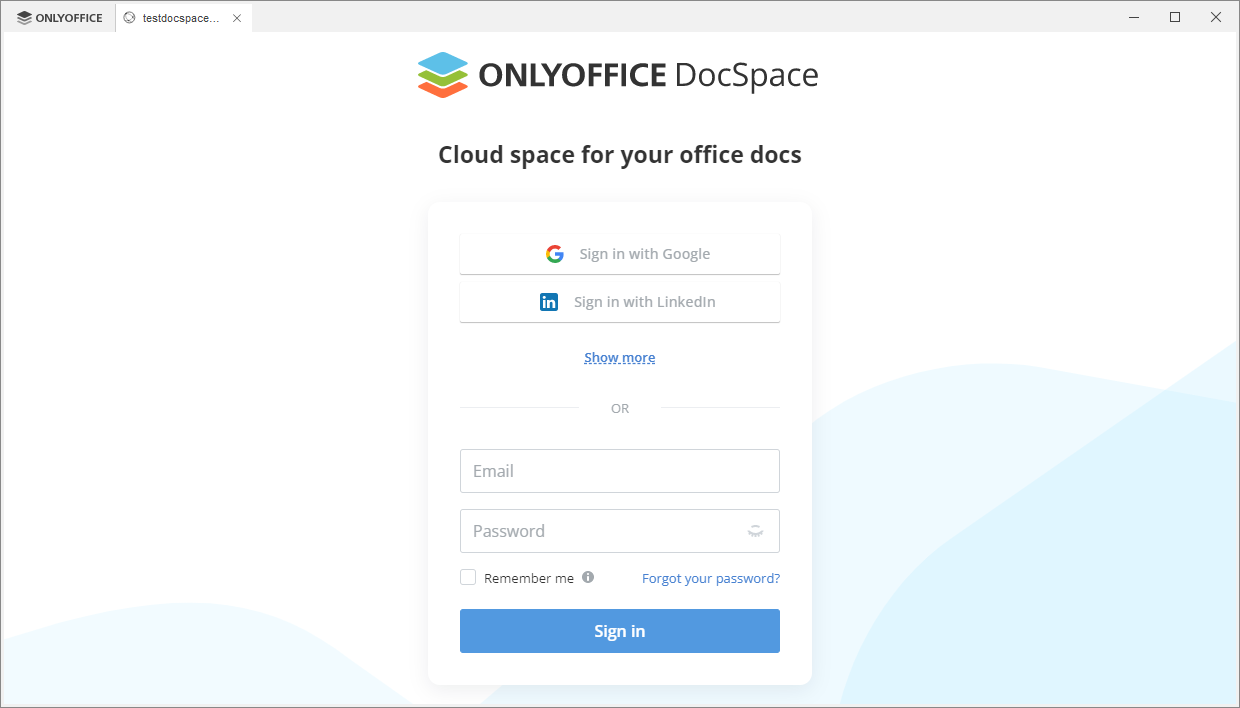
A página de login da nuvem ONLYOFFICE será aberta em uma nova aba da interface do Desktop Editors.
- Especifique seu email e a senha que você usa para acessar sua conta,
- Clique no botão Entrar.
Se a autenticação de dois fatores estiver habilitada em seu escritório em nuvem, uma nova janela se abre onde você deve inserir o código de verificação gerado pelo seu aplicativo autenticador.
-
no campo URL do escritório em nuvem, digite o endereço da sua nuvem ONLYOFFICE na forma nomeportal.onlyoffice.com ou https://nomeportal.onlyoffice.com. Quando estiver pronto, clique no botão Conectar agora.
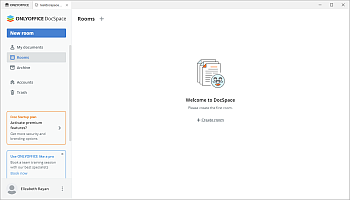
Seu DocSpace será aberto.
Passo 3. Gerenciar documentos no seu DocSpace
Uma vez que você conecte o Desktop Editors ao seu DocSpace, você pode criar salas, gerenciar seus documentos, criar ou carregar novos e visualizá-los e editá-los junto com outros usuários.
- Criar salas - criar espaços com configurações flexíveis para qualquer finalidade e editá-los. Escolha um dos tipos de sala de colaboração disponíveis, dependendo dos seus objetivos, convide usuários e atribua níveis de permissão a eles.
- Criar e gerenciar documentos - criar novos documentos, planilhas, apresentações e formulários para uso pessoal na seção Meus documentos, ou compartilhar estes arquivos com outros usuários de uma determinada sala. Participantes da sala poderão realizar ações dependendo do seu nível de acesso.
- Edição de documentos - usar as capacidades versáteis de edição de documentos fornecidas pelos Editores Online ONLYOFFICE.
- Editar perfil - editar seus dados pessoais, incluindo nome, email, senha, idioma, foto, personalização e obter acesso a recursos de segurança.
Passo 4. Gerenciar suas contas conectadas
Clique no logo no canto superior esquerdo da interface do Desktop Editors para retornar à janela principal do programa, depois mude para a seção Conectar à nuvem para visualizar a lista Nuvens conectadas. Clique com o botão direito em um escritório em nuvem conectado e use uma das opções disponíveis no menu contextual:
- Abrir - para mudar para a aba do escritório em nuvem correspondente se você já estiver logado nesta conta, ou para abrir a janela Conectar ao escritório em nuvem se você não estiver logado no momento (neste caso, você precisará inserir suas credenciais),
-
Sair - para sair da sua conta,
Você também pode clicar no ícone
 à direita da conta para sair dela.
- Remover da lista - para desconectar a conta selecionada e removê-la da lista.
Se você tem várias contas ou nuvens, use o botão Adicionar nuvem para conectar mais uma conta.

