DocSpace
Introduction
Une fois l'éditeur de bureau ONLYOFFICE est installé sur votre ordinateur, vous pouvez facilement connecter ou créer votre cloud DocSpace pour utiliser toutes les fonctionnalités du produit:
- les options de collaboration, par exemple travail en mode collaboratif, révision, commentaires et la communication via le chat incorporé,
- les fonctionnalités en ligne, par exemple Fusion et publipostage dans l'éditeur de document.
Étape 1. Créer un nouveau cloud
Si vous n'avez pas encore de l'espace DocSpace, lancez l'éditeur de bureau, passez à la section Clouds sur le panneau de gauche et cliquez sur le bouton Plus  .
.
La page de connexion au cloud s'ouvrira dans un nouvel onglet de l'éditeur de bureau. Remplissez tous les champs du formulaire d'enregistrement en quelques étapes simples:
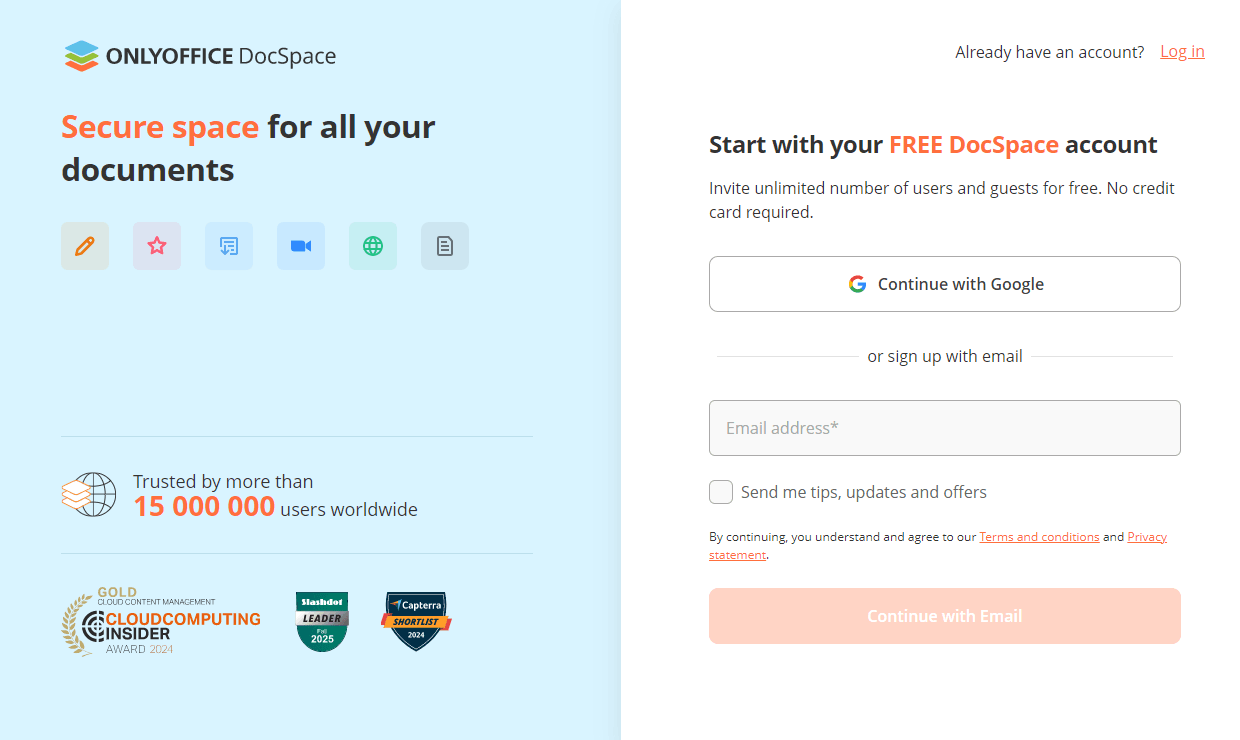
Il y a deux options de connexion:
- Continue with Google (Continuer avec Google) - utiliser vos identifiants Google pour créer un compte DocSpace. Consultez la Politique de confidentialité et les Conditions d'utilisation d'ONLYOFFICE, ensuite cliquez sur le bouton Continue (Continuer) pour donner votre consentement.
- Sign up with email (S'inscrire avec votre adresse e-mail) - saisissez votre adresse e-mail et cliquez sur le bouton Continue with Email (Continuer avec l'e-mail). En cliquant sur ce bouton, vous acceptez les Conditions générales et la Politique de confidentialité. Vous recevrez un e-mail de confirmation. Cliquez sur Se connecter à Docspace et vous serez redirigé vers la page de configuration du portail pour terminer l'activation de votre compte. Le lien est valable pendant 60 minutes et on ne peut aller sur le lien qu'une seule fois.
Vous pouvez également vous connecter à un compte existant en utilisant le lien Log in (Se connecter) dans le coin supérieur droit du formulaire d'inscription.
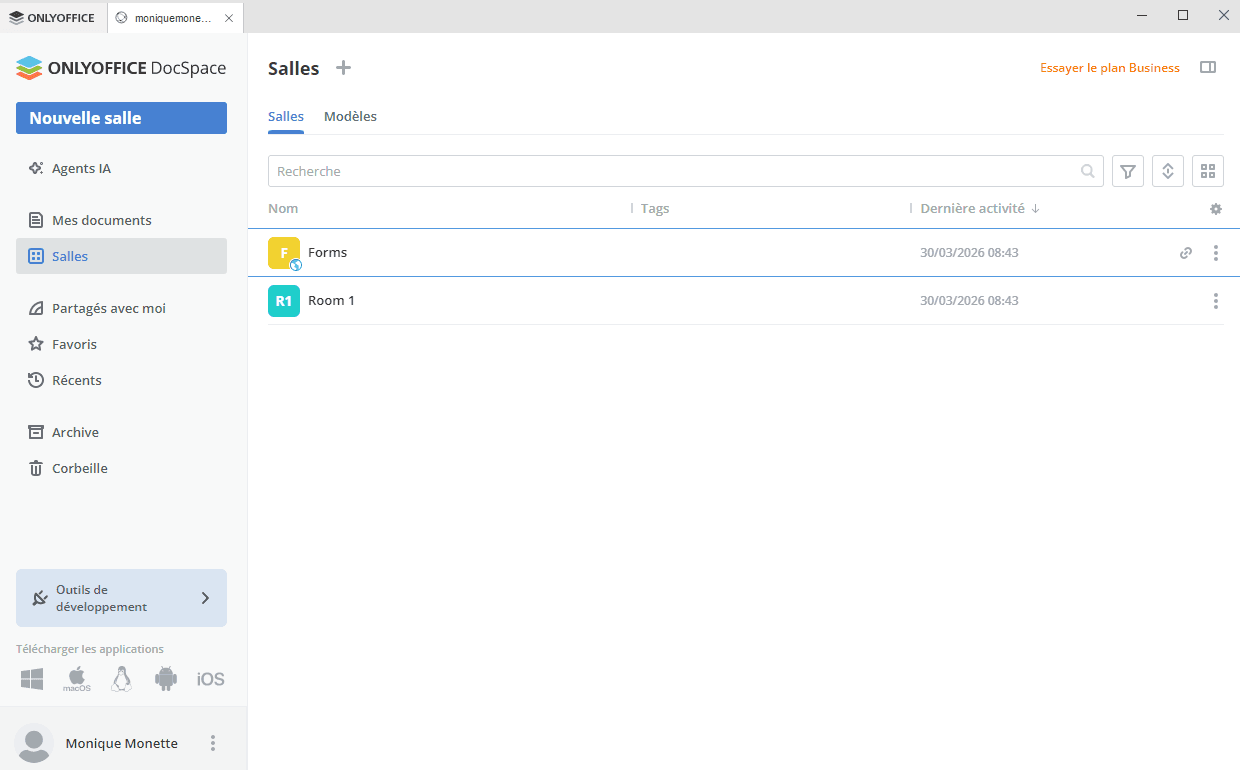
La section Salles de votre espace DocSpace s'ouvrira dans un nouvel onglet de l'interface de l'éditeur de bureau. Vous pouvez passez à l'étape 3.
Étape 2. Connecter au cloud existant
Procédez comme suit pour connecter les éditeurs de bureau à votre cloud DocSpace existant:
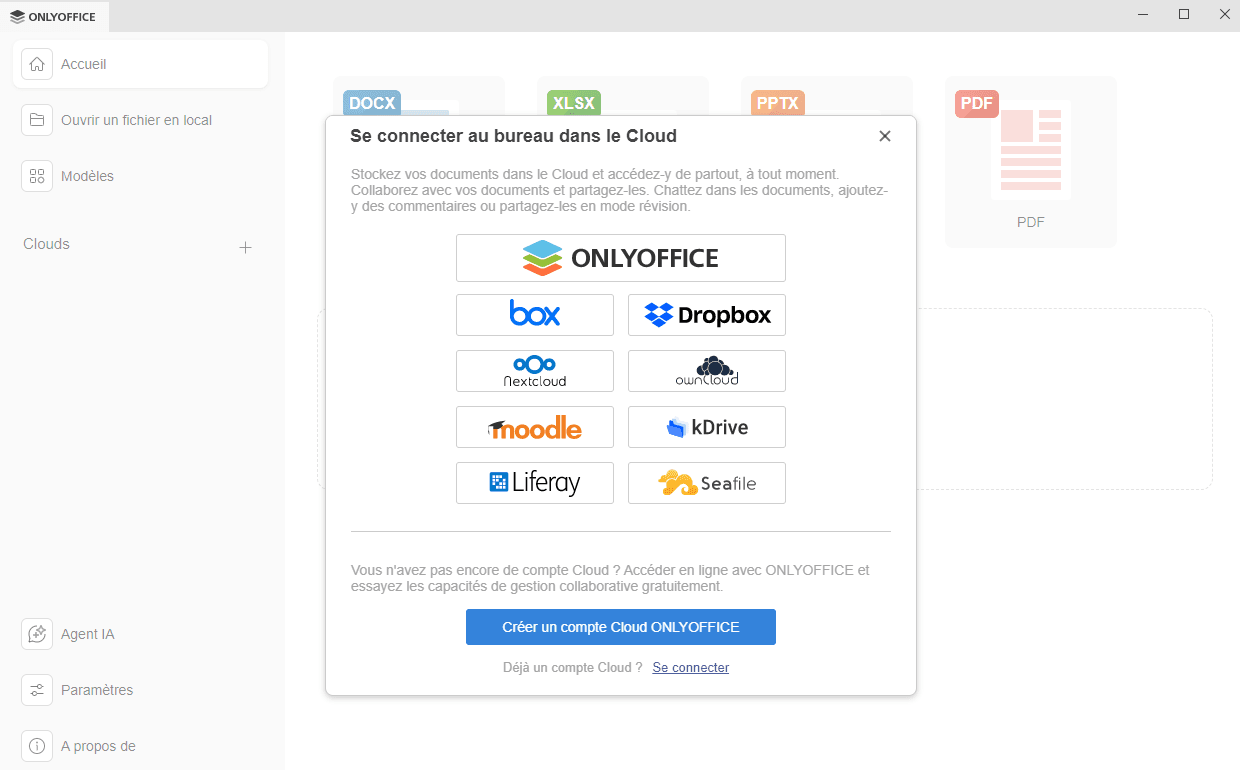
- Cliquez sur le bouton Plus à côté de la section Clouds sur le volet latéral gauche.
- Cliquez sur le bouton du service ONLYOFFICE ou utilisez le lien Se connecter en bas.
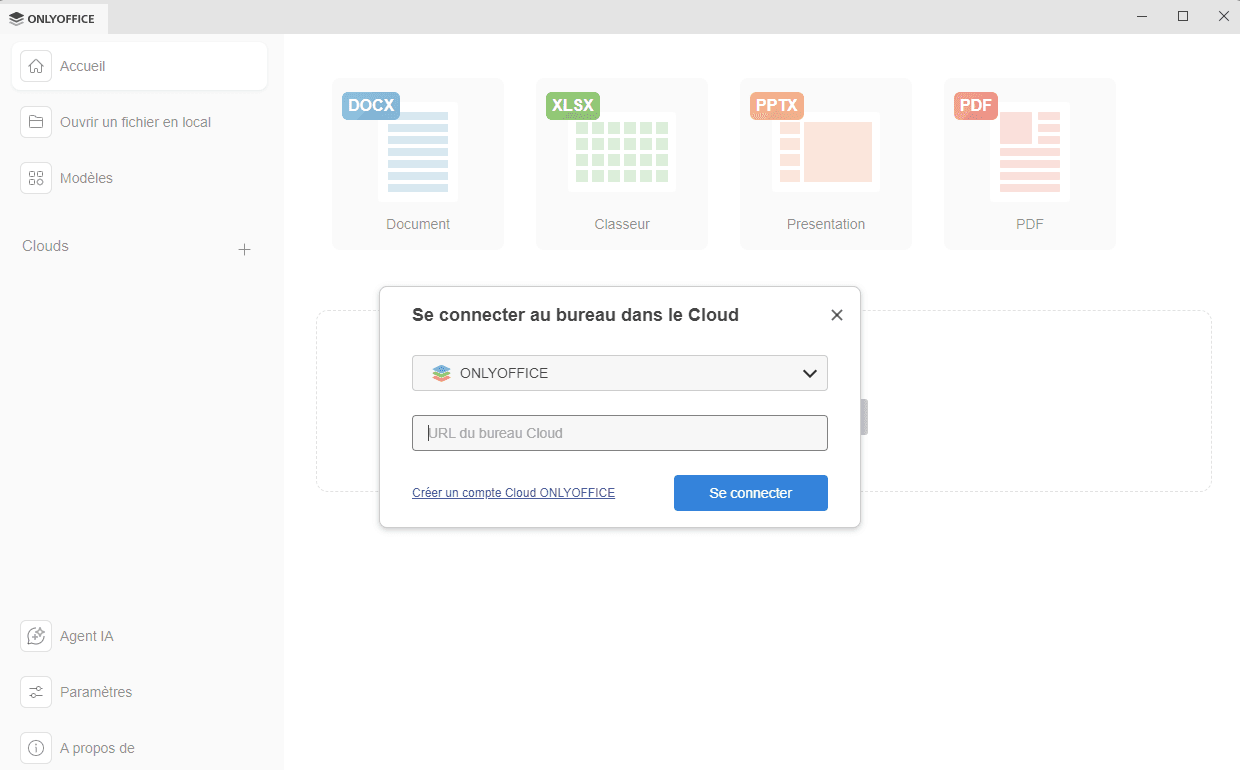
- La fenêtre Se connecter au bureau dans le cloud s'affiche où l'option ONLYOFFICE est déjà sélectionné.
- dans le champ URL du bureau cloud du formulaire, saisissez l'adresse du cloud ONLYOFFICE portalname.onlyoffice.com or https://portalname.onlyoffice.com. Une fois que vous avez terminé, cliquez sur Se connecter.
-
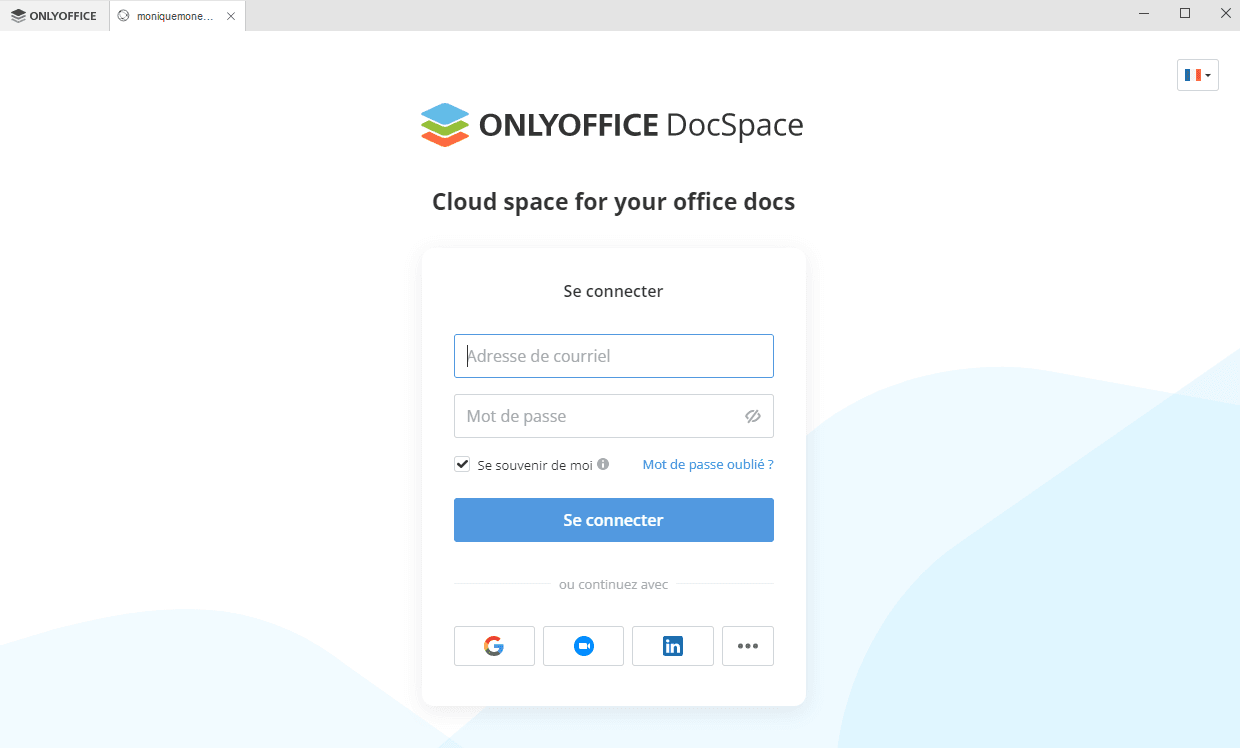
La page de connexion au cloud ONLYOFFICE s'ouvrira dans un nouvel onglet de l'éditeur de bureau.
- Saisissez votre adresse e-mail et mot de passe que vous utilisez pour accéder à votre compte,
- Cliquez sur Se connecter.
Lors de l'activation de l'authentification à deux facteurs pour votre bureau dans le cloud, une nouvelle fenêtre s'affiche où on doit saisir le code de validation généré par votre application d'authentification.
- dans le champ URL du bureau cloud du formulaire, saisissez l'adresse du cloud ONLYOFFICE portalname.onlyoffice.com or https://portalname.onlyoffice.com. Une fois que vous avez terminé, cliquez sur Se connecter.
Votre espace DocSpace s'ouvrira.
Étape 3. Gérer des documents dans votre DocSpace
Lors de la connexion de l'éditeur de bureau à votre DocSpace, vous pouvez créer des salles, gérer vos documents, créer ou télécharger de nouveaux documents, afficher ou modifier des documents avec d'autres utilisateurs.
- Créer des salles - créer et modifier les espaces en utilisant les configurations flexibles à toutes fins utiles. Choisissez l'un des types de salles de collaboration selon vos objectifs, inviter des utilisateurs et définissez les niveaux d'accès .
- Créer et gérer des documents - créer de nouveaux documents, feuilles de calcul, présentations et formulaires pour un usage personnel dans la section Mes documents ou partager ces fichiers avec d'autres utilisateurs dans une salle. Les participants à la salle pourront effectuer des actions en fonction de leur niveau d'accès.
- Modifier des documents - utiliser des possibilités variées d'édition des documents fournies par les éditeurs en ligne ONLYOFFICE.
- Modifier le profil - modifiez vos informations personnelles, y compris le nom, l'adresse e-mail, le mot de passe, la langue, la photo, la personnalisation et l'accès aux fonctionnalités de sécurité.
Étape 4. Gérer les comptes connectés
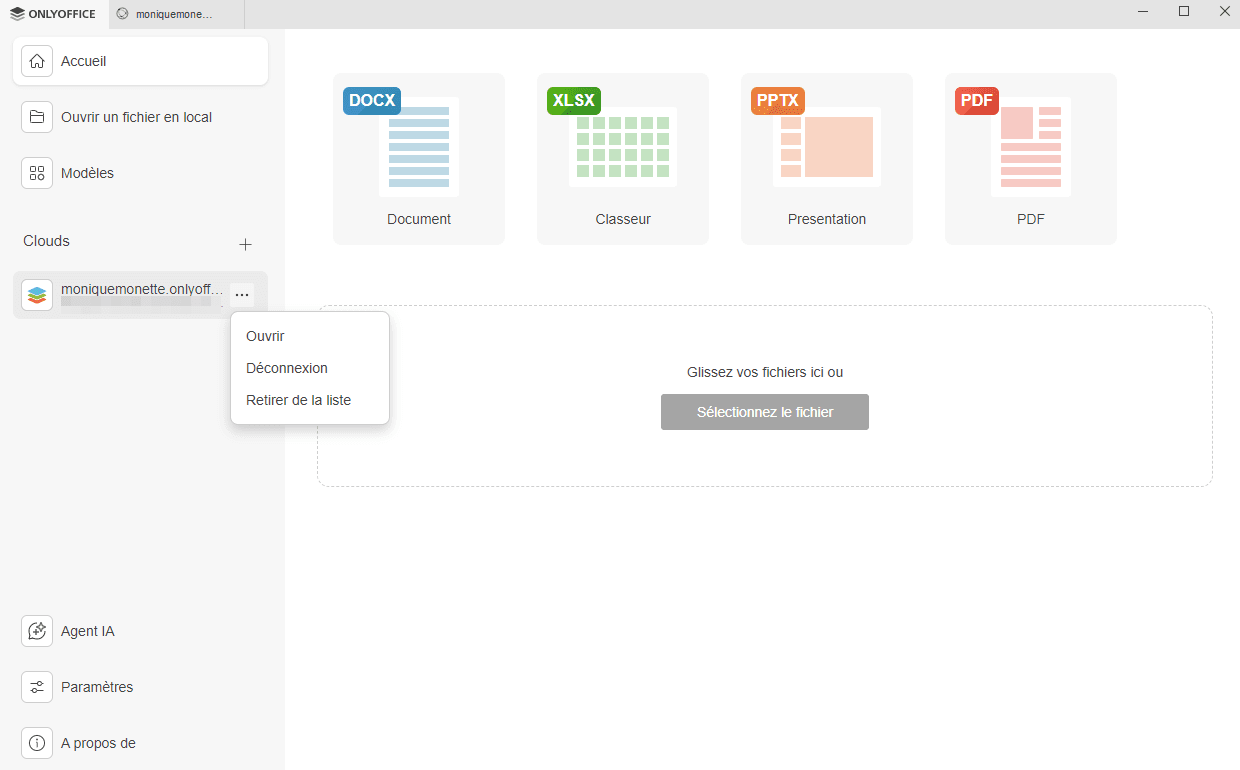
Cliquez sur le logo dans le coin supérieur gauche de l'application Éditeur de bureau pour revenir à l'écran principal. Tous les comptes connectés s'affichent sur le volet latéral gauche au-dessous de la section Clouds. Cliquez sur les trois points  qui apparaissent lorsque vous passez la souris sur le service en nuage connecté pour accéder aux options du menu contextuel du nuage:
- Ouvrir - pour passer à l'onglet du bureau dans le cloud si vous êtes déjà connecté à ce compte, ou pour ouvrir la fenêtre Se connecter au bureau de cloud si vous n'êtes pas encore connecté à ce compte (dans ce cas, il faut saisir des informations d'identification),
- Déconnexion - pour vous déconnecter de votre compte,
- Retirer de la liste - pour vous déconnecter de votre compte et le retirer de la liste.
Pour ajouter plusieurs comptes ou services en nuage, cliquez sur le bouton Plus à côté de la section Clouds sur le volet latéral gauche.