Comenzando
Visión general de las secciones del módulo
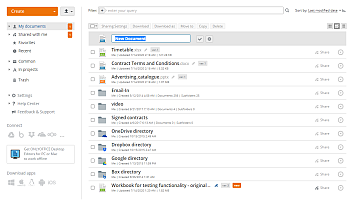
Documentos es un módulo para almacenar, ver, editar y compartir documentos, hojas de cálculo, presentaciones, formularios rellenables, imágenes, etc. Contiene las siguientes secciones:
 Mis documentos es un espacio de almacenamiento privado, cada miembro del portal (con la excepción de los invitados) tiene esta sección donde pueden subir, importar o crear documentos para uso personal únicamente;
 Compartidos conmigo contiene documentos que fueron compartidos con un miembro del portal por otros miembros;
 Favoritos contiene documentos y carpetas que fueron marcados como favoritos por el usuario actual. Los usuarios pueden ocultar o mostrar esta sección en la Configuración Común del módulo Documentos. Esta sección no está disponible para invitados;
 Recientes contiene todos los archivos abiertos recientemente en el editor por el usuario actual (excepto documentos encriptados y archivos de nubes de terceros). Los usuarios pueden ocultar o mostrar esta sección en la Configuración Común del módulo Documentos. Esta sección no está disponible para invitados;
 Sala Privada es una sección especial para trabajar de manera segura con documentos. Esta sección solo está disponible en la versión del servidor. El trabajo en la Sala Privada solo está disponible a través de Desktop Editors;
 Común es un espacio de almacenamiento común que contiene archivos y carpetas disponibles para todos los miembros del portal;
 En proyectos contiene carpetas correspondientes a proyectos existentes y representa un lugar de almacenamiento para todos los documentos del módulo Proyectos;
 Papelera es una sección donde se almacenan todos los archivos eliminados y pueden ser restaurados o eliminados más tarde.
Agregar/crear archivos y carpetas
Para transferir todos tus archivos al módulo Documentos, puedes subir documentos existentes desde el disco duro de tu computadora o integrar tu cuenta de Google Drive, Box, Dropbox, OneDrive, Nextcloud, ownCloud, SharePoint, OneDrive for Business, kDrive o Yandex Disk con la oficina en línea.
Subir archivos y carpetas
Para subir un archivo,
- abre la sección o carpeta necesaria a la que deseas subir tus archivos seleccionando las opciones correspondientes en el panel lateral izquierdo,
- haz clic en el botón
 en la esquina superior izquierda dentro del módulo Documentos,
 - selecciona la opción Subir archivos del menú,
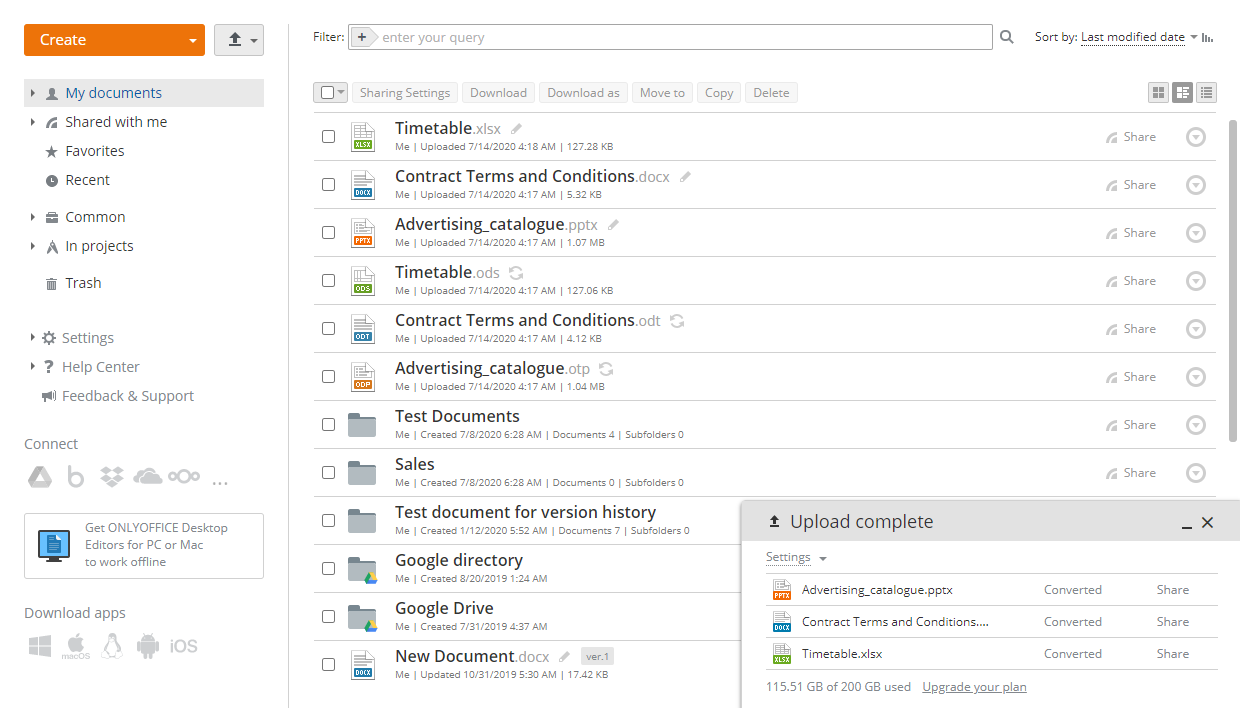
- elige los archivos que deseas subir a la oficina en línea en la ventana del gestor de archivos y haz clic en el botón Abrir.
O simplemente arrastra y suelta un archivo o varios archivos seleccionados desde tu computadora al área de trabajo para subir documentos a tu portal de manera aún más fácil.
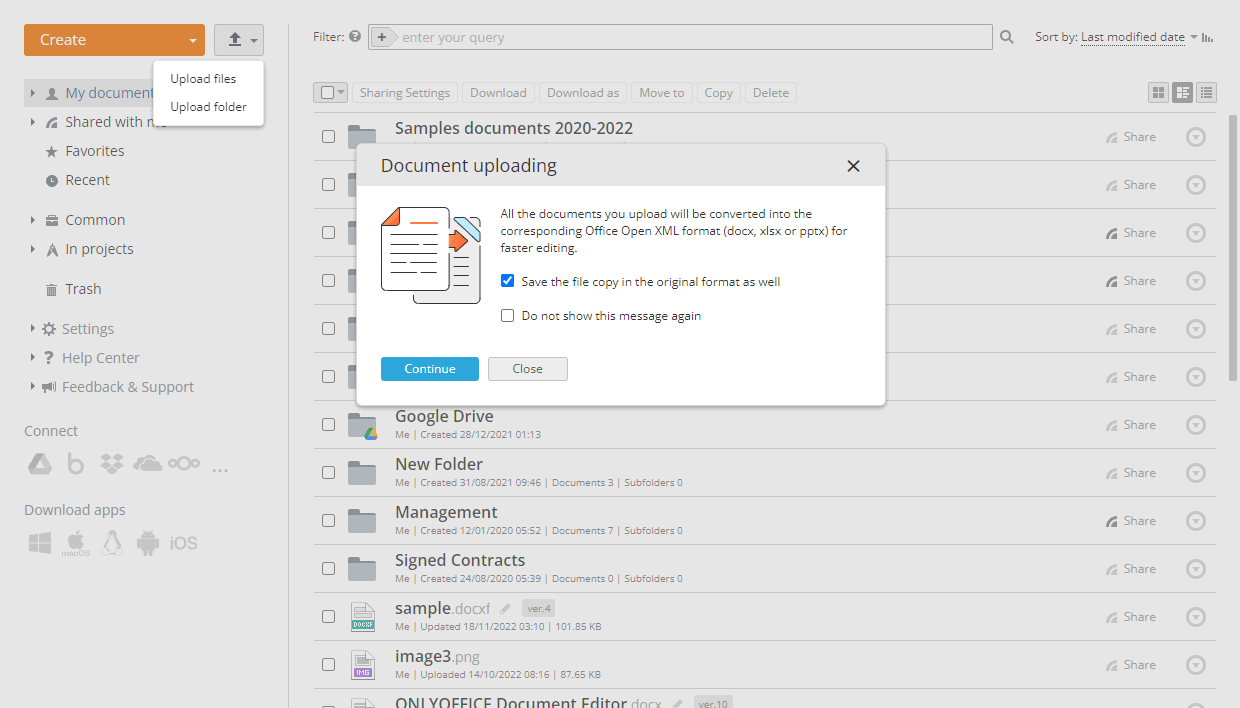
El proceso de subida comenzará. Si el archivo no está en formato Office Open XML, se convertirá a .docx/.xlsx o .pptx para una edición más rápida. Aparecerá una ventana de notificación donde podrás seleccionar si deseas guardar ambos archivos (un archivo en su formato original y un archivo en el formato Office Open XML). Si no necesitas archivos en un formato original en el portal, puedes desmarcar la casilla Guardar también la copia del archivo en el formato original. Esta configuración se aplicará a las subidas posteriores, el archivo convertido se guardará como una nueva revisión del original en lugar de como un archivo separado. También es posible habilitar o deshabilitar la opción Guardar también la copia del archivo en el formato original en la Configuración Común del módulo Documentos.
Si el archivo original está protegido con contraseña, se te pedirá que ingreses la contraseña antes de la conversión. Puedes hacer clic en la opción Ingresar contraseña en la ventana de notificación e ingresar la contraseña en el campo a continuación. También es posible hacer clic en el icono  Convertir y Abrir a la derecha del documento subido en la lista de archivos; en este caso, se abrirá una nueva ventana donde necesitas ingresar una contraseña.
Para subir una carpeta que contiene subcarpetas anidadas y documentos:
- haz clic en el botón en la esquina superior izquierda,
- selecciona la opción Subir carpeta del menú,
- elige la carpeta que deseas subir a la oficina en línea en la ventana del gestor de archivos y haz clic en el botón Abrir.
Esto también se puede hacer arrastrando la carpeta necesaria desde la ventana del gestor de archivos al área de trabajo del portal.
Para integrar tu cuenta de Google Drive, Box, Dropbox, OneDrive, Nextcloud, ownCloud, SharePoint, OneDrive for Business, kDrive o Yandex Disk con el módulo Documentos, utiliza los botones correspondientes en el menú lateral izquierdo después de leer las instrucciones adecuadas.
Crear nuevos archivos y carpetas
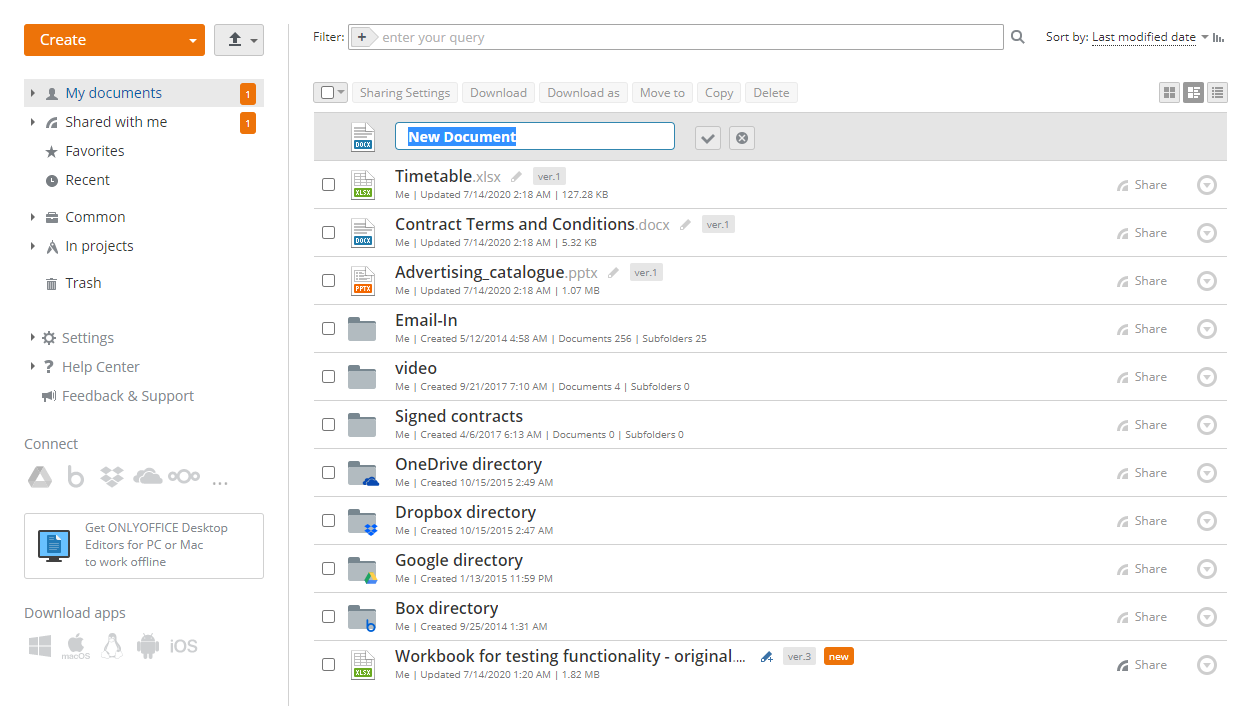
También puedes crear nuevos archivos o carpetas dentro del módulo Documentos. Para hacerlo,
- abre la sección o carpeta necesaria donde deseas crear un nuevo archivo seleccionando las opciones correspondientes en el panel lateral izquierdo,
- haz clic en el botón Crear en la esquina superior izquierda y selecciona una de las siguientes opciones:
- Documento para crear un nuevo documento de texto
- Hoja de cálculo para crear una nueva hoja de cálculo
- Presentación para crear una nueva presentación
- Formulario PDF para crear un nuevo archivo .pdf que permita editar texto y trabajar con campos de formulario. Elige una de las opciones:
- En blanco para crear un archivo .pdf vacío.
- Desde archivo del portal para crear un archivo .docxf basado en un documento .docx existente almacenado en tu portal. Selecciona el archivo deseado y haz clic en Crear.
- Desde archivo local para crear un archivo .pdf basado en un documento .docx existente almacenado en tu computadora. Selecciona el archivo necesario y haz clic en Abrir.
Para obtener más información sobre cómo crear un formulario rellenable, puedes consultar esta sección.
- Carpeta para crear una nueva carpeta
- ingresa un nombre para tu archivo o carpeta en el campo correspondiente y haz clic en el icono
 .
.
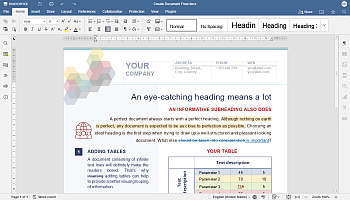
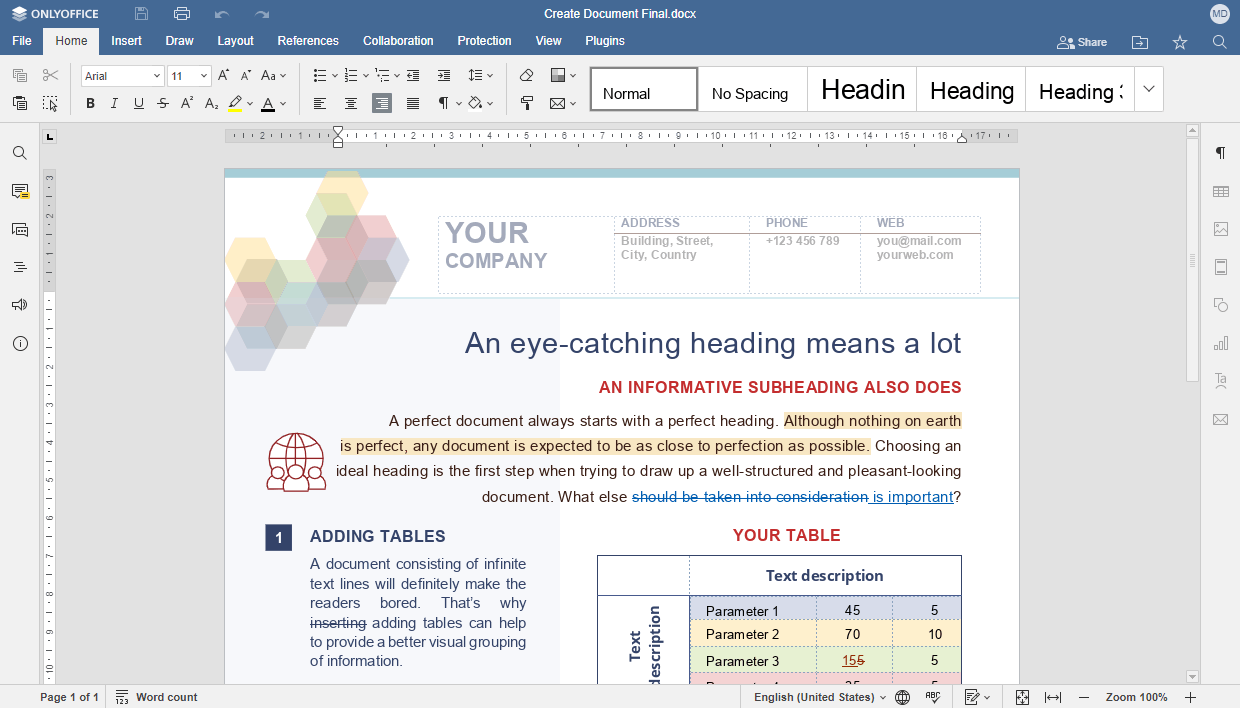
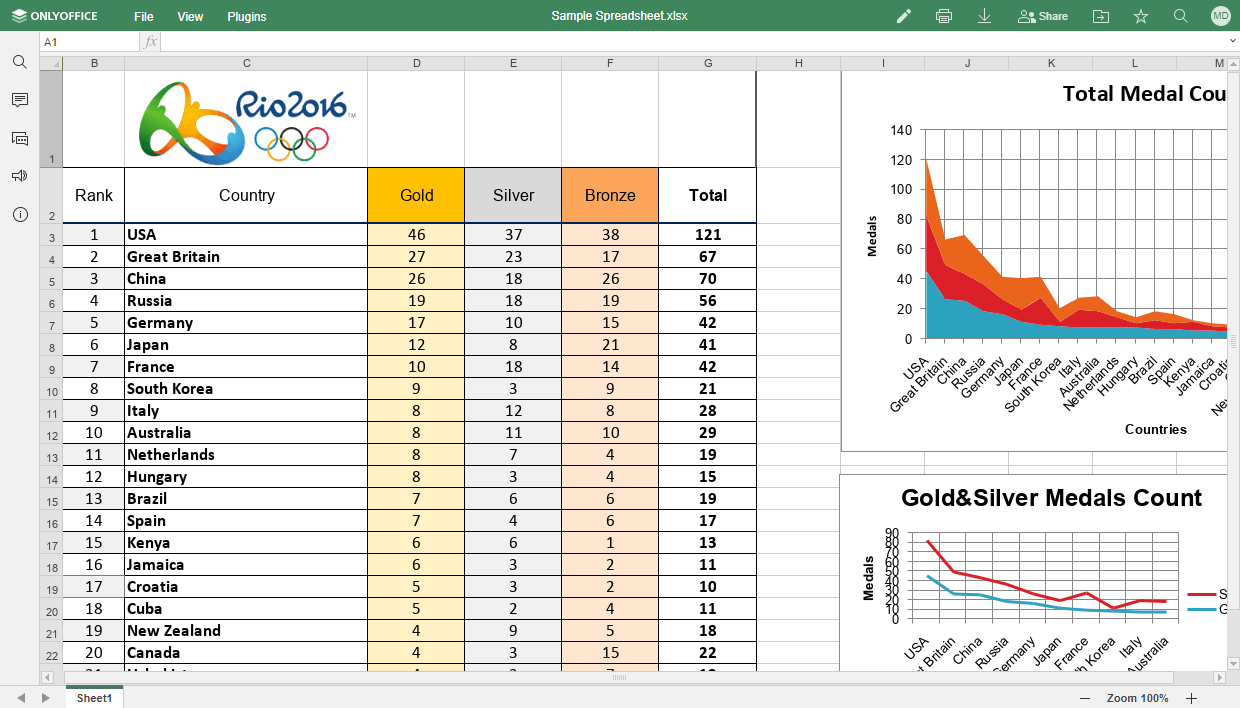
Visualización/edición de archivos
Puedes ver y editar tus documentos, hojas de cálculo y presentaciones directamente en el portal utilizando los editores en línea multifuncionales. También puedes ver archivos multimedia almacenados en el portal en los formatos más populares, incluyendo avi, mpg, mpeg, mp3, mp4, webm, etc., así como imágenes bmp, jpg, jpeg, png, gif, tif, tiff, webp.
Para editar un documento, simplemente haz clic en su título o en el icono ![]() a la derecha del título del archivo, y se abrirá en una nueva pestaña del navegador web.
Si un archivo está siendo editado por otro usuario, verás un icono de lápiz de color. Coloca el cursor del ratón sobre este icono
a la derecha del título del archivo, y se abrirá en una nueva pestaña del navegador web.
Si un archivo está siendo editado por otro usuario, verás un icono de lápiz de color. Coloca el cursor del ratón sobre este icono  para ver quién está editando el archivo en ese momento.
Haz clic en él para abrir y editar este documento simultáneamente con otros usuarios del portal.
para ver quién está editando el archivo en ese momento.
Haz clic en él para abrir y editar este documento simultáneamente con otros usuarios del portal.
Una vez que edites un documento, hoja de cálculo o presentación y guardes los cambios realizados, ambas revisiones de tu archivo estarán disponibles, para que puedas restaurar la anterior si es necesario. Las revisiones disponibles pueden agruparse en versiones. Para obtener más información, consulta la guía de historial de versiones.
Si no tienes derechos para editar el documento, al hacer clic en su título se abrirá con el visor de oficina en línea correspondiente. Los archivos de imagen se abrirán en la misma ventana, y los archivos de texto se abrirán en una nueva pestaña de tu navegador web. Los visores de oficina en línea ofrecen herramientas estándar para acercar y alejar tus archivos, ajustar su tamaño, navegar entre páginas, y descargarlos o imprimirlos.
Al ver archivos multimedia con el visor en línea, puedes usar los botones correspondientes para iniciar o pausar la reproducción, ajustar el nivel de volumen o cambiar al modo de pantalla completa, ir al archivo multimedia anterior o siguiente, o descargar o eliminar el archivo.


Al ver archivos de imagen con el visor en línea, puedes usar los botones correspondientes para acercar o alejar la imagen, ir a la imagen anterior o siguiente, mostrar el tamaño real de la imagen (si la imagen ha sido ampliada o reducida), rotar la imagen en el sentido de las agujas del reloj o en sentido contrario, ir a la imagen anterior o siguiente, y descargar o eliminar el archivo.
Gestión de archivos y carpetas
Para encontrar un documento deseado, utiliza el filtro en la parte superior de la lista de documentos.
Haz clic en el botón  y especifica los parámetros de filtro necesarios:
- Para filtrar elementos por TIPOS elige una de las siguientes opciones: Carpetas, Documentos, Presentaciones, Hojas de cálculo, Imágenes, Medios, Archivos, o Todos los archivos.
- Para filtrar elementos por AUTOR haz clic en la opción Usuario o Grupo y elige el usuario o grupo adecuado.
- Para excluir subcarpetas de la búsqueda, haz clic en la opción Sin subcarpetas en la sección BÚSQUEDA.
Introduce un título de documento, total o parcialmente, en el campo de filtro y presiona la tecla Enter para mostrar el(los) elemento(s) encontrado(s). La ubicación de búsqueda se muestra sobre los resultados de búsqueda. Si es necesario, puedes excluir subcarpetas de la búsqueda haciendo clic en el enlace todas las subcarpetas. Si deseas ir a la carpeta donde se encuentra el archivo encontrado, haz clic derecho en el archivo y usa la opción Abrir ubicación. Para ir a la carpeta principal que está un nivel arriba de la carpeta actual, usa la flecha ![]() .
.
Por defecto, todos los archivos están ordenados por Fecha de última modificación en orden descendente (los más recientes primero). Si es necesario, puedes ordenar los elementos por Fecha de creación, Título, Tipo, Tamaño o Autor abriendo la lista desplegable Ordenar por a la derecha del campo Filtro y eligiendo la opción adecuada. Para cambiar el orden de clasificación de Descendente a Ascendente haz clic en el icono ![]() .
.
Usa los botones ![]() a la derecha para cambiar entre los modos de visualización disponibles: Vista de miniaturas, Vista común y Vista compacta. No se generan miniaturas para servicios de terceros conectados.
a la derecha para cambiar entre los modos de visualización disponibles: Vista de miniaturas, Vista común y Vista compacta. No se generan miniaturas para servicios de terceros conectados.
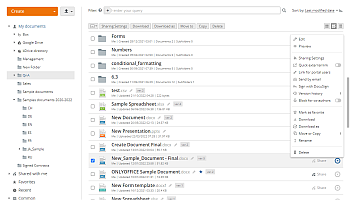
Puedes realizar las siguientes operaciones con tus documentos:
- Editar un archivo.
- Rellenar el formulario - esta opción solo está disponible para los formularios rellenables
.pdf. - Vista previa de un archivo.
- Configuración de compartición para configurar opciones de compartición y compartir un documento con varios usuarios del portal a la vez.
- Enlace externo rápido para copiar un enlace a un archivo con permisos predeterminados para personas fuera del portal. El tipo de acceso predeterminado se especifica en Configuración/Común/Derechos de acceso predeterminados en la configuración de compartición/Derechos de acceso predeterminados para un tipo de archivo específico.
- Enlace para usuarios del portal para copiar un enlace a un archivo o carpeta para compartir con usuarios del portal.
- Enviar un archivo por correo electrónico.
- Firmar un archivo con DocuSign.
- Historial de versiones y restaurar una de ellas.
- Finalizar la versión actual de un archivo y crear una revisión para una nueva.
- Bloquear para coautores un archivo para su posterior edición por otros usuarios con los derechos de edición correspondientes.
- Marcar un archivo como favorito.
- Descargar un archivo en el formato original a tu disco duro.
- Descargar como un archivo en el formato seleccionado a tu disco duro.
Si se eligen varios archivos para descargar, se empaquetarán en un archivo .zip o .tar.gz (dependiendo de la opción que especificaste en la Configuración común del módulo Documentos) y se guardarán en tu disco duro.
- Mover o copiar incluye las siguientes opciones:
- Mover a otra sección o carpeta dentro del módulo Documentos.
- Copiar un archivo y mover la copia creada a la sección seleccionada del módulo Documentos.
- Crear una copia de un archivo en la carpeta actual.
- Renombrar un archivo
- Eliminar un archivo, moviéndolo a la sección Papelera del módulo Documentos.
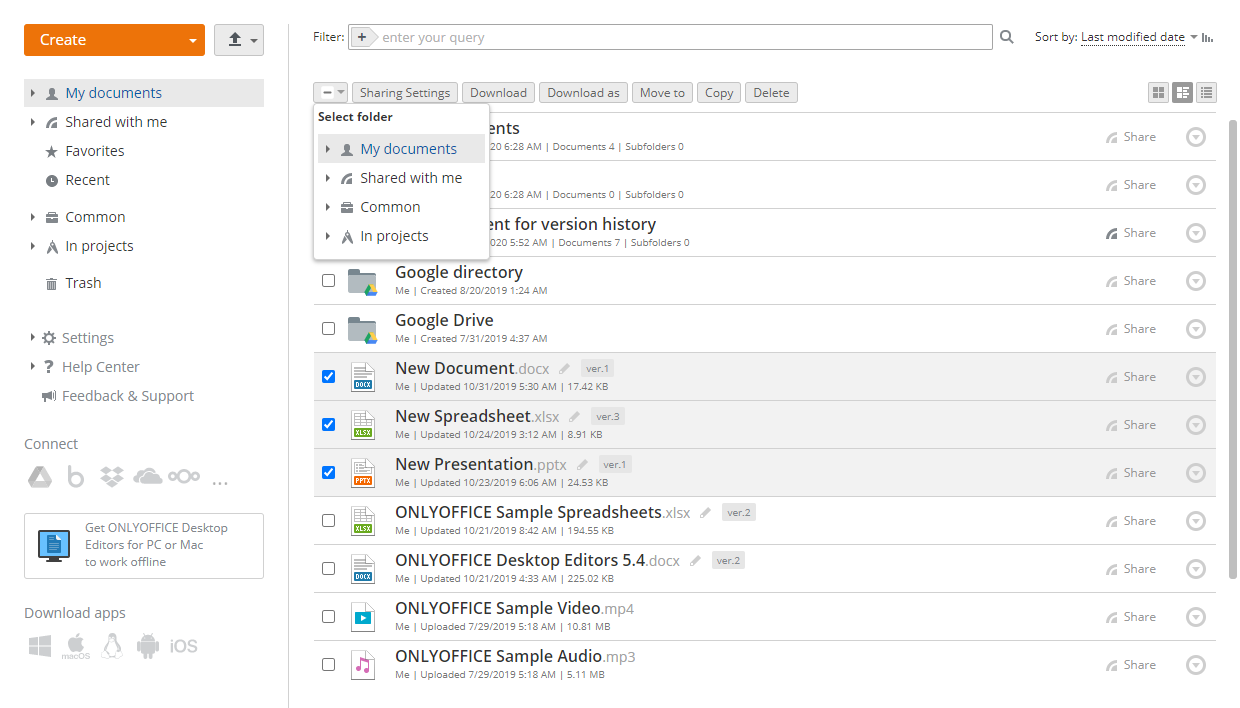
Operaciones en grupo con archivos se pueden realizar usando botones en la parte superior o el menú contextual. Para compartir, enviar por correo electrónico, marcar como favoritos, descargar, mover, copiar o eliminar varios archivos a la vez:
- Abre la sección necesaria del módulo Documentos haciendo clic en la opción correspondiente en el panel lateral izquierdo.
- Marca las casillas junto a los archivos que deseas gestionar.
- Haz clic en el botón necesario en la parte superior dependiendo de la operación que deseas realizar, o haz clic derecho en uno de los archivos seleccionados y usa las opciones del menú contextual.
Algunas operaciones solo se pueden realizar con un solo archivo usando el menú contextual. Para renombrar, firmar con DocuSign, bloquear para coautores, finalizar, ver el historial de versiones de un archivo, o copiar el enlace a él:
- Abre la sección necesaria del módulo Documentos haciendo clic en la opción correspondiente en el panel lateral izquierdo.
- Encuentra el documento necesario y haz clic en el icono
 junto a él.
 - Selecciona la opción correspondiente dependiendo de la operación que deseas realizar. Para obtener más información sobre las opciones disponibles del menú contextual, por favor lee este artículo.

Para renombrar un documento almacenado en el módulo Documentos, también puede marcar la casilla a la izquierda del archivo necesario en la lista y presionar la tecla F2. También es posible renombrar un documento directamente desde la interfaz del editor mientras se edita. Para hacerlo,
- haga clic en la pestaña Archivo de la barra de herramientas superior y seleccione la opción Renombrar...,
- en la nueva ventana que se abre, ingrese el Nombre del archivo necesario y haga clic en OK.
Añadir documentos a Favoritos
La sección Favoritos contiene todos los archivos y carpetas marcados como favoritos de todas las secciones del módulo Documentos. Para añadir un archivo/carpeta a Favoritos:
- abra la sección necesaria del módulo Documentos haciendo clic en la opción correspondiente en el panel lateral izquierdo,
- encuentre el archivo/carpeta necesario y haga clic en el icono junto a él,
- seleccione la opción Marcar como favorito.
Alternativamente:
- abra el documento necesario desde el módulo Documentos,
- haga clic en el botón
 Marcar como Favorito en la esquina superior derecha.
El archivo estará disponible en la sección Favoritos y marcado con el icono  en la lista de archivos.
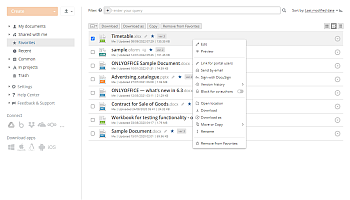

Dentro de la sección Favoritos, puede usar la opción Abrir ubicación en el menú contextual para cambiar a la carpeta que contiene este archivo.
Para eliminar un archivo añadido de Favoritos, use la opción Eliminar de Favoritos en el menú contextual o haga clic en el icono junto al nombre del archivo.
Para eliminar varios archivos a la vez de Favoritos, márquelos en la lista de archivos dentro de la sección Favoritos y haga clic en el botón Eliminar en la parte superior.
Puede ocultar o mostrar nuevamente la sección Favoritos en los Ajustes Comunes del módulo Documentos.
Compartir archivos y carpetas
Puede compartir archivos y carpetas almacenados en las secciones Mis documentos y Común tanto con usuarios del portal como con invitados externos.
Para acceder a la configuración de compartición, vaya al módulo Documentos, cambie a la sección correspondiente, marque el archivo o carpeta necesario en la lista de archivos y abra la ventana de Configuración de Compartición de una de las siguientes maneras:
- haga clic en el botón Configuración de Compartición en la parte superior;
- haga clic en el botón
 Compartir a la derecha del nombre del archivo o carpeta;
 - haga clic en el icono Acciones a la derecha y use la opción Configuración de Compartición.


En la ventana de Configuración de Compartición, puede:
- Compartir archivos/carpetas con los usuarios de su espacio de trabajo. Proporcionar acceso a usuarios individuales, un grupo de usuarios, o solo a administradores del portal. Gestionar la lista de usuarios añadiendo y eliminando los necesarios. Notificar a los usuarios sobre archivos/carpetas compartidos o obtener un enlace directo para compartirlo más tarde.
- Compartir archivos/carpetas con usuarios fuera de su lugar de trabajo. Acortar un enlace y compartirlo por correo electrónico o redes sociales haciendo clic en el icono correspondiente.
- Obtener un código para incrustar el archivo necesario en su página web. Use uno de los preajustes de tamaño o ajuste el tamaño manualmente.
- Proporcionar diferentes permisos de acceso y cambiarlos para cada usuario:
- Acceso Completo – un usuario tiene acceso sin restricciones al archivo o carpeta compartido.
- Revisión – un usuario puede editar el archivo, pero los cambios deben ser aceptados o rechazados por el propietario del archivo.
- Filtro Personalizado – un usuario puede ver archivos .xlsx según su propio filtro.
- Relleno de Formularios – un usuario solo puede completar formularios.
- Comentario – un usuario puede comentar sobre el contenido del archivo sin editarlo.
- Solo Lectura – un usuario solo puede ver el archivo.
- Establecer restricciones adicionales. No permitir que los usuarios con permisos de Solo Lectura & Comentario impriman, descarguen y copien documentos o cambien la configuración de compartición (para Acceso Completo).
Cambiar la configuración del módulo
La sección Configuración en la barra lateral izquierda le permite cambiar la configuración del módulo Documentos. Contiene varias subsecciones.
Ajustes Comunes
Esta sección está disponible para todos los usuarios. Los invitados también pueden acceder a esta sección con funcionalidad limitada.
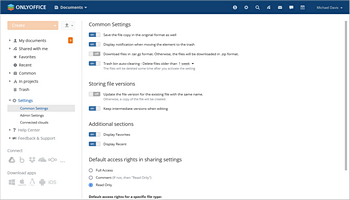

- Guardar también la copia del archivo en el formato original (disponible para usuarios e invitados) - se utiliza al cargar archivos en formatos que difieren de
.docx/.xlsx/.pptx. Cuando esta opción está habilitada, permite colocar un archivo convertido como un nuevo archivo separado. Si esta opción está deshabilitada, un archivo convertido se colocará como una nueva revisión del archivo original. - Mostrar notificación al mover archivos a la papelera (disponible para usuarios e invitados) - se utiliza para ocultar o mostrar notificaciones al mover elementos a la Papelera.
- Descargar archivos en formato .tar.gz. De lo contrario, los archivos se descargarán en formato .zip. (disponible para usuarios e invitados) - se utiliza para seleccionar el formato de descarga para varios archivos. Cuando esta opción está habilitada, los archivos se descargarán en el formato
.tar.gz. Si esta opción está deshabilitada, los archivos se descargarán en el formato.zip. - Auto-limpieza de la papelera - Eliminar archivos más antiguos que... – se utiliza para eliminar permanentemente archivos en la carpeta Papelera. Después de activar el interruptor, puede elegir el período de tiempo preferido: 1 semana, 2 semanas, 1 mes, 2 meses, 3 meses. Este período se establece individualmente para cada usuario. El período de tiempo seleccionado se mostrará bajo el nombre del archivo en la carpeta Papelera.
Almacenamiento de versiones de archivos
- Actualizar la versión del archivo para el archivo existente con el mismo nombre (disponible para usuarios) - se utiliza al cargar un archivo con el mismo nombre. Cuando esta opción está habilitada, permite actualizar la versión del archivo existente. Si esta opción está deshabilitada, se creará una copia del archivo.
- Mantener versiones intermedias al editar (disponible para usuarios) - se utiliza para crear una nueva revisión intermedia cada vez que el usuario guarda el archivo usando Ctrl+S o el icono de Guardar.
Secciones adicionales
- Mostrar Favoritos (disponible para usuarios) - se utiliza para ocultar o mostrar la sección Favoritos.
- Mostrar Recientes (disponible para usuarios) - se utiliza para ocultar o mostrar la sección Recientes.
Derechos de acceso predeterminados en la configuración de compartición
- Derechos de acceso predeterminados en la configuración de compartición – se utiliza para establecer el tipo de acceso seleccionado como predeterminado para todos los archivos compartidos en el futuro, así como para tipos de archivos específicos, es decir, hojas de cálculo. El usuario puede elegir uno de los siguientes tipos de acceso: Acceso Completo, Revisión, Relleno de Formularios, Comentario, Solo Lectura. Para obtener más información sobre los tipos de acceso, por favor lea el siguiente artículo.
Configuración de Administrador
Esta sección está disponible para el propietario del portal, administradores con acceso completo o los administradores del módulo Documentos.
Esta sección permite cambiar la configuración para todos los usuarios del portal:
-
Almacenamiento de versiones de archivos
- Mantener todas las versiones intermedias guardadas se utiliza para permitir a los usuarios del portal almacenar todas las revisiones intermedias.
-
Cuentas de terceros
- Permitir a los usuarios conectar almacenamientos de terceros se utiliza para permitir a los usuarios del portal conectar nubes de terceros.
-
Configuración de compartición
- Habilitar acceso a enlaces externos se utiliza para permitir compartir archivos/carpetas no solo con usuarios del portal, sino también con terceros mediante compartición pública. Esta configuración está habilitada por defecto.
- Mostrar botones de redes sociales para compartición externa se utiliza para permitir a los usuarios compartir archivos/carpetas en cuentas de redes sociales conectadas usando los botones correspondientes, por ejemplo, Facebook o Twitter. Si está deshabilitado, los usuarios solo pueden compartir enlaces a archivos/carpetas mediante correo electrónico.
Esta configuración está disponible solo si la opción Habilitar acceso a enlaces externos está habilitada.
-
Nubes conectadas
Esta sección está disponible para todos los usuarios (excepto invitados) si la configuración Permitir a los usuarios conectar almacenamiento de terceros está habilitada en la sección Configuración de administrador.
Esta sección muestra todas las nubes conectadas a la cuenta del usuario y permite conectar otras nubes de terceros.