Artículos con :
Cerrar
Changelog
Cerrar
Pruébelo en la nube

Creating ONLYOFFICE DocSpace in a cloud

Introduction

ONLYOFFICE DocSpace Cloud is a SaaS version of a document hub where you can connect users and documents in one place to boost collaboration.

You don't need to install, configure, and update ONLYOFFICE DocSpace, just fill in the registration form to get your ONLYOFFICE DocSpace in a cloud.

Step 1. Filling in the registration form

Open the DocSpace registration form page of our official website. Go through several easy steps to fill in all the fields of the registration form:

  • enter your First and Last Name;
  • specify a valid Email address;
  • enter your valid Phone number;
  • enter a Name for your DocSpace in the Create account name field;
    Creating ONLYOFFICE DocSpace in a cloud? Step 1 Creating ONLYOFFICE DocSpace in a cloud? Step 1
  • set a Password you will use to access your DocSpace the next time. By default, the password must be at least 8 but no more than 30 characters long;
  • specify, if you want to be informed about the service possibilities, then review the service Terms and Conditions.

When all the fields are filled in click the START NOW button.

Confirm the email address used to register your DocSpace. The Email Activation message will be sent to the email you have specified during the DocSpace registration. Follow the link provided in this letter to complete your email activation procedure.

Step 2. Configuring DocSpace settings

Before you start working in your DocSpace, you can adjust some settings, if necessary.

To open the DocSpace settings, use the Options icon menu in the lower left corner and select the DocSpace Settings option. The Customization -> General section will open.

Creating ONLYOFFICE DocSpace in a cloud? Step 2 Creating ONLYOFFICE DocSpace in a cloud? Step 2
  • Drop-down the Language list and select an appropriate language to display all DocSpace pages and notifications.
  • Select the Time Zone that corresponds to your location from the drop-down list so that all the events of the portal will be shown with the correct date and time. When the necessary Language and Time Zone Settings are set, click the Save button below this section.
  • Adjust some other settings, if necessary: you can change the DocSpace name that you have specified during the registration, etc.

    For more information on your DocSpace settings, please refer to the Configuring DocSpace settings section of our Help Center.

Step 3. Buying a subscription

Initially, the free Startup pricing plan is available for your DocSpace.

If you want to add more than 1 administrator/power user, you need more disk space, more rooms, and you want to use advanced features, such as Login History, Audit Trail, SSO, intergations with third-party services, automatic backup and restore, etc., you need to buy the Business subscription. Your pricing plan will depend on the number of admins/power users you added.

To buy a subscription, go to the Payments section of the DocSpace Settings.

Creating ONLYOFFICE DocSpace in a cloud? Step 3 Creating ONLYOFFICE DocSpace in a cloud? Step 3
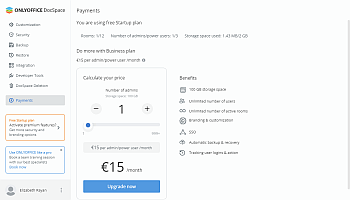
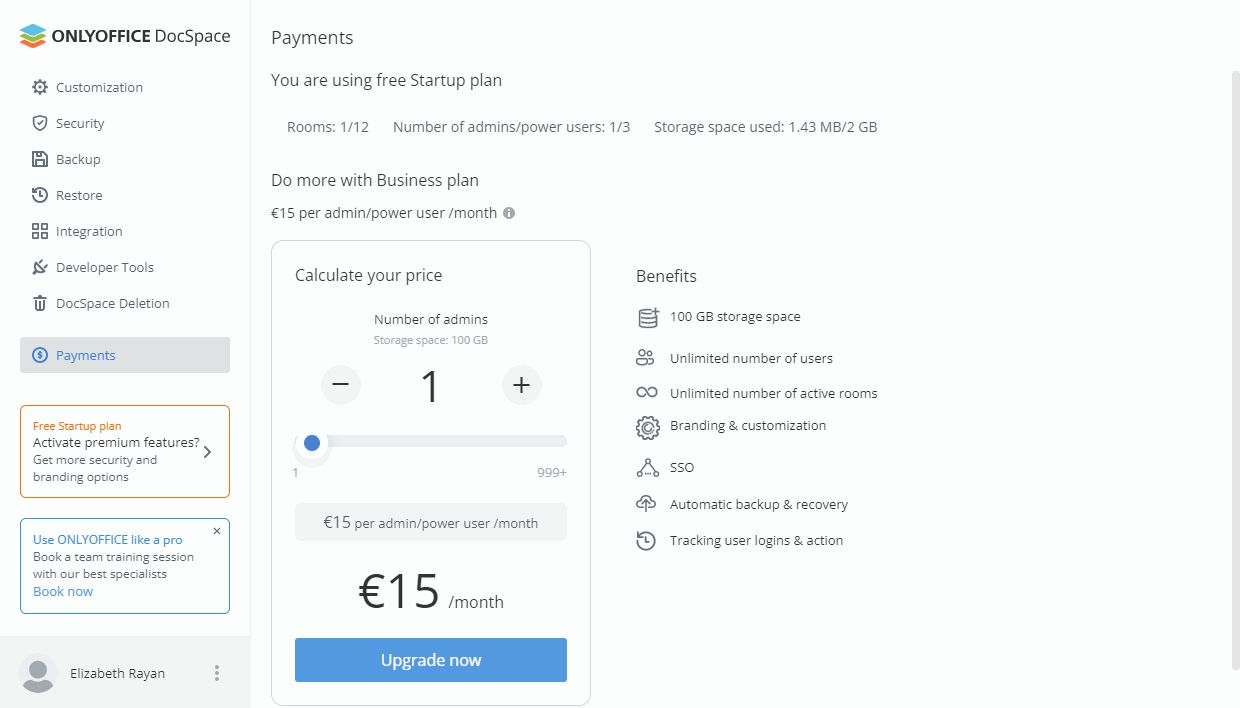
  • Set the necessary number of admins/power users and click Upgrade now.
  • You will be redirected to the checkout.stripe.com payment page. In the section on the left, you can see the details of your subscription. The amount of your fee depends on the number of admins/power users you added.
    • If you have a discount coupon, copy the coupon code, paste it in the Add promotion code field and click Apply.
    checkout.stripe.com payment page checkout.stripe.com payment page
  • In the section on the right, provide payment details of your card for future payments. You can use Google Pay clicking the GPay button or fill in the required fields manually:
    1. In the Shipping information section, specify the following information:
      • In the Email field, enter your active Email address.
      • In the Shipping address section, specify your real Name, select a Country and fill in the Address field. You can also click the Enter address manually option and fill in separate fields. The fields may differ depending on the selected country, for example:
        • For United States, the fields are the following: Address line 1, 2, City, ZIP, State.
        • For United Kingdom and other European countries, the fields are the following: Address, Address line 2, Town or city, Postal code.
        • For China, the fields are the following: Postal code, Province, City, District, Address line 1, 2.
      • Enter your phone number.
      • For customers within the European Union, the VAT information may be required. If you represent a company, check the I'm purchasing as a business option and provide the VAT information: your Business name and VAT ID.
    2. In the Payment method section, choose a payment method. The available methods may differ depending on your country, for example:
      • For United States, the Card is selected by default.
      • For European countries, you can choose Card or SEPA Direct Debit.

      If you select the Card, specify the information about the card you want to use to pay for the subscription:

      • Enter your Card number.
      • Enter your Card expiration date (month and year).
      • Enter your card CVC code (the last three digits located on the back of the card. For the American Express cards, it is a four-digit code printed on the front side of the card, to the right and above the card number).
    3. Click the Subscribe button.
Probar ahora gratis Pruebe y tome su decisión No se necesita instalar algo para
ver todas las posibilidades en la acción
También le podría gustar:
Cerrar