在 Cloudron 中部署 ONLYOFFICE 文档企业版
介绍
现在,您可以轻松地在 Cloudron 中部署 ONLYOFFICE 文档 企业版。Cloudron 是一个完整的解决方案,可以通过 Cloudron 应用商店 提供的应用程序,只需几次点击即可在您的服务器上运行应用程序。
功能
- 文档编辑器
- 电子表格编辑器
- 演示文稿编辑器
- 移动网页查看器
- 移动网页编辑器
- 协作编辑
- 象形文字支持
- 支持所有流行格式:DOC、DOCX、TXT、ODT、RTF、ODP、EPUB、ODS、XLS、XLSX、CSV、PPTX、HTML
查看 ONLYOFFICE 文档 企业版 的详细功能列表。
一旦您的 ONLYOFFICE 企业版 应用启动后,您可以将其与一个云存储平台集成,例如 Alfresco、Confluence、Chamilo、Liferay、Nextcloud、ownCloud、SharePoint、HumHub、Plone、Nuxeo 等。访问 集成 部分以查找所有可用的连接器。
步骤 1. 在您的 Cloudron 上安装 ONLYOFFICE 企业版应用程序
登录到您的 Cloudron 帐户并转到 Cloudron 应用商店。
在 文档 类别中找到 ONLYOFFICE 企业版 并打开它。
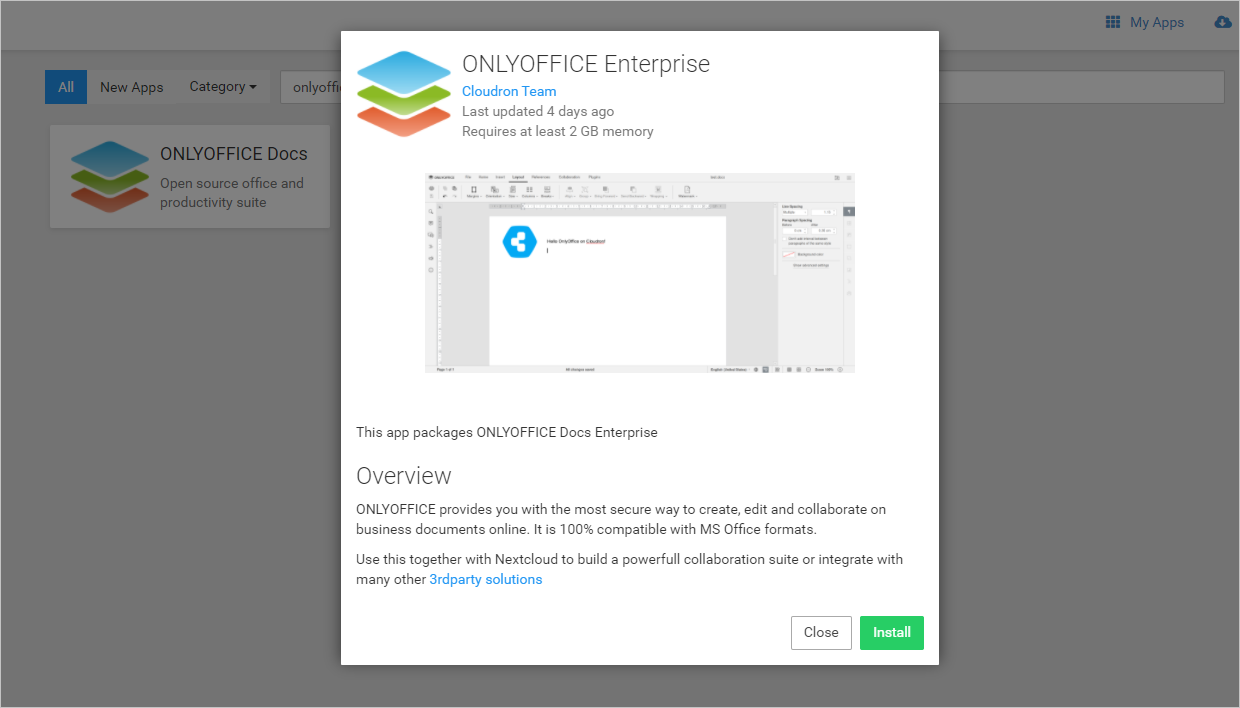
在打开的窗口中,点击 安装 按钮并配置以下参数:
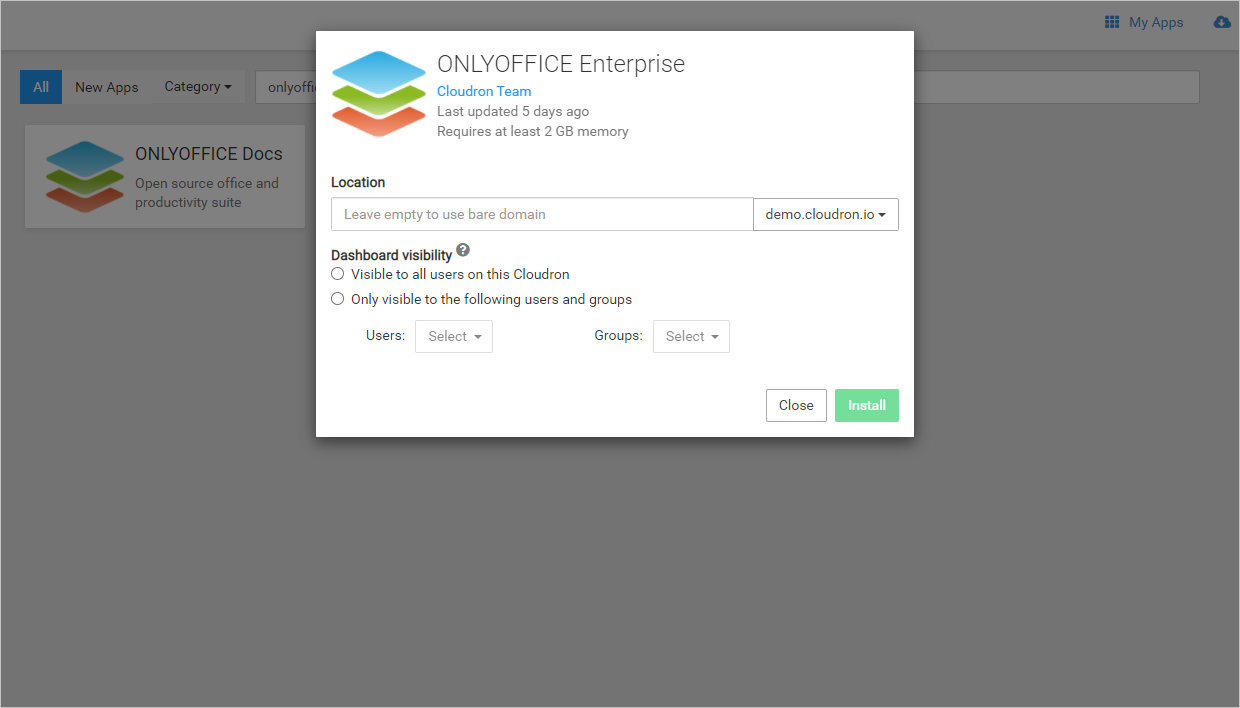
- 位置 - 添加一个子域或将空白处留空以使用裸域。此路径将是 ONLYOFFICE 企业版的路径。
- 仪表板可见性 - 指定哪些用户组可以使用该应用程序:
- 对该 Cloudron 上的所有用户可见,或
- 仅对以下用户和组可见。
等待 ONLYOFFICE 企业版安装并在几分钟内自动启动。
步骤 2. 配置 ONLYOFFICE 企业版应用程序
在 我的应用 中找到最近安装的 ONLYOFFICE 企业版,并点击 ![]() 按钮进入应用设置部分。
按钮进入应用设置部分。
然后打开 文件管理器 以访问应用的文件系统,编辑 /app/data/config/production-linux.json 文件,并将默认密钥更改为您自己的唯一密钥。
"secret": {
        "string": "mysecret"
        "outbox": {
        "string": "mysecret"
        }
其中 mysecret 是您用于签署数据的新密钥。它是用于验证请求到 ONLYOFFICE 文档的 JSON Web 令牌的密钥。
接下来,您需要添加一个 许可证密钥。将 license.lic 文件放置到以下应用程序文件夹中:
/app/data/license.lic重启 ONLYOFFICE 企业版应用程序以应用许可证并更新密钥。
步骤 3. 与第三方解决方案集成
ONLYOFFICE 企业版 可以与多种平台集成。例如,您可以在 Cloudron 中安装 Confluence、Moodle、Nextcloud 和 Redmine,并通过相应的连接器和插件将它们与 ONLYOFFICE 文档连接。
要了解有关如何将 ONLYOFFICE 文档 连接到其他服务的更多信息,请访问我们的 集成 部分,了解 Confluence、Moodle、Nextcloud 和 Redmine。