Creating custom task status
Introduction
Once a task is created, a status can be assigned to it. By default, there are only two statuses: Closed and Open. However, there might be a need for additional statuses for specific tasks. Full access administrators and module administrators can add custom task statuses in addition to the default ones.
Follow the steps below to add custom taskn statuses:
Access the Projects
Sign in to your portal and click Projects.
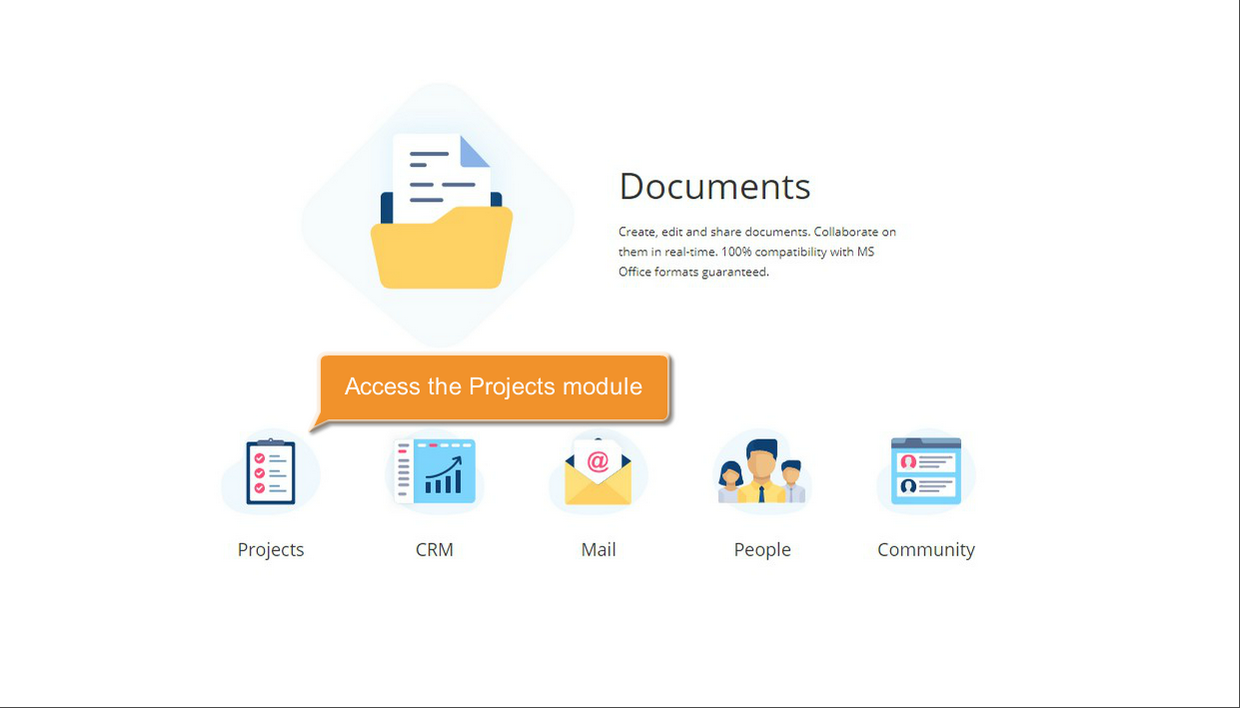
If you are already signed in, access the Projects module from the drop-down list in the top-left corner of the page and select the corresponding option.
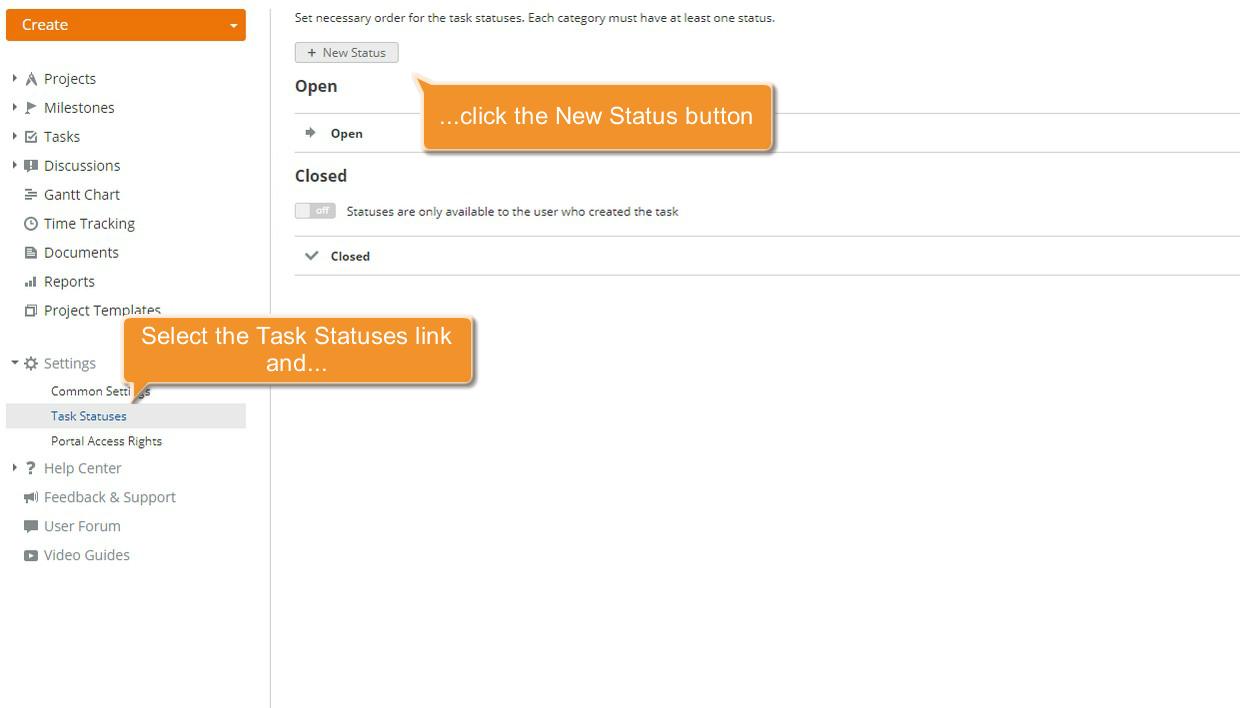
Create a new task status
Click the arrow next to Settings on the left-side panel and select Task Statuses.

To add a new status, follow these steps:
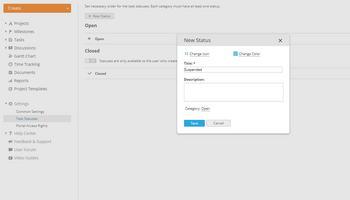
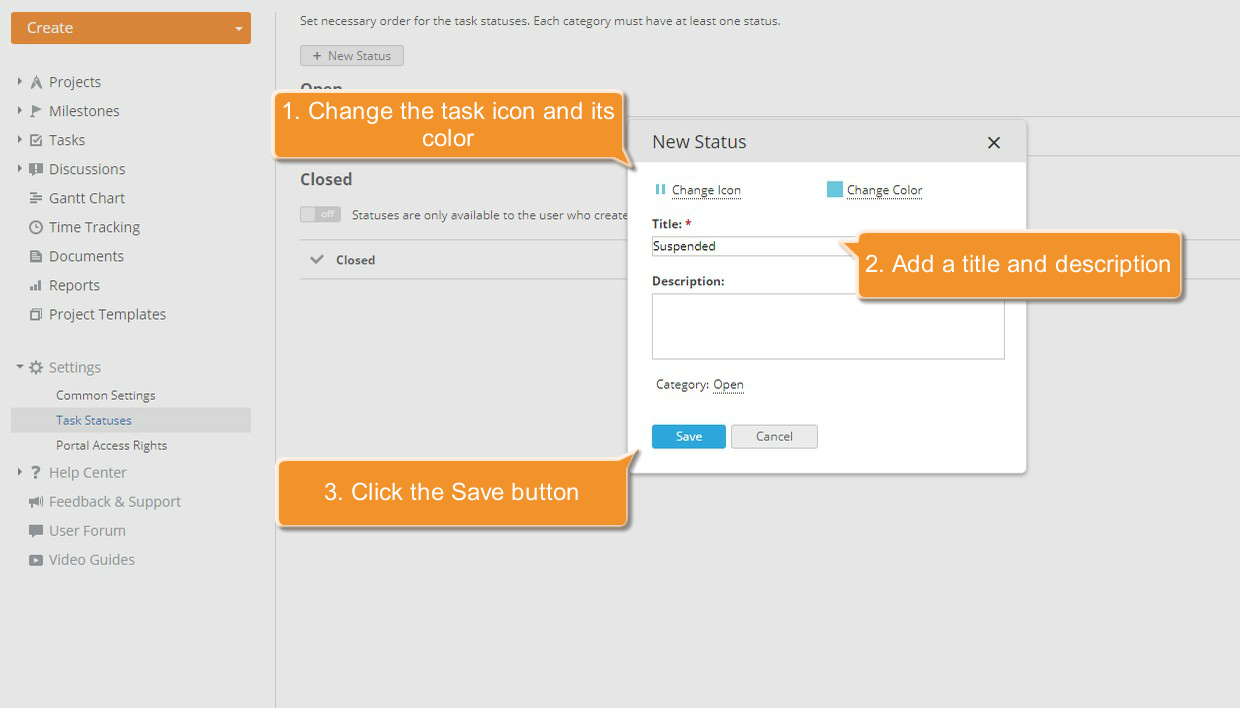
click New status to open the pop-up window;
change the task icon. To do this, select one of the default icons or upload your own. Use a 16x16
svgorsvgzformat image;change the color for this icon;
add a title and description;
specify the category this status will belong to;
once all the information has been entered, click Save at the bottom.
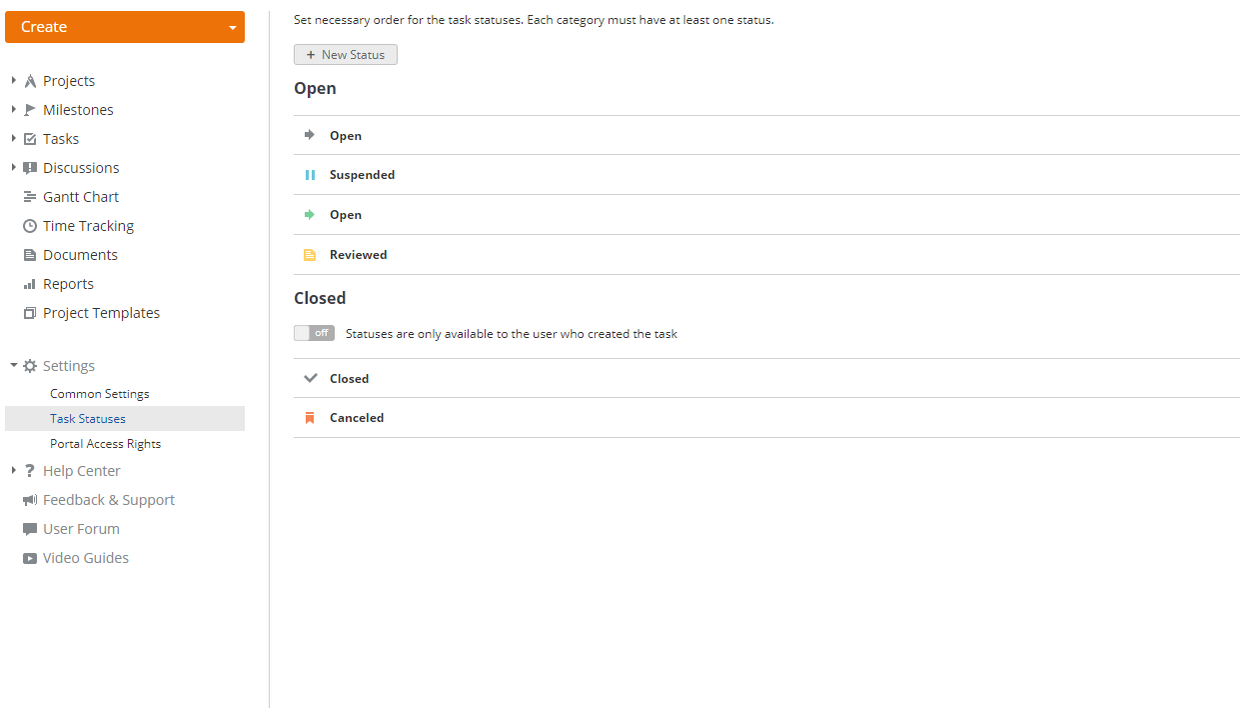
The new task status will be added to the Task Statuses list in the selected category. Additional statuses can be added in the same way.
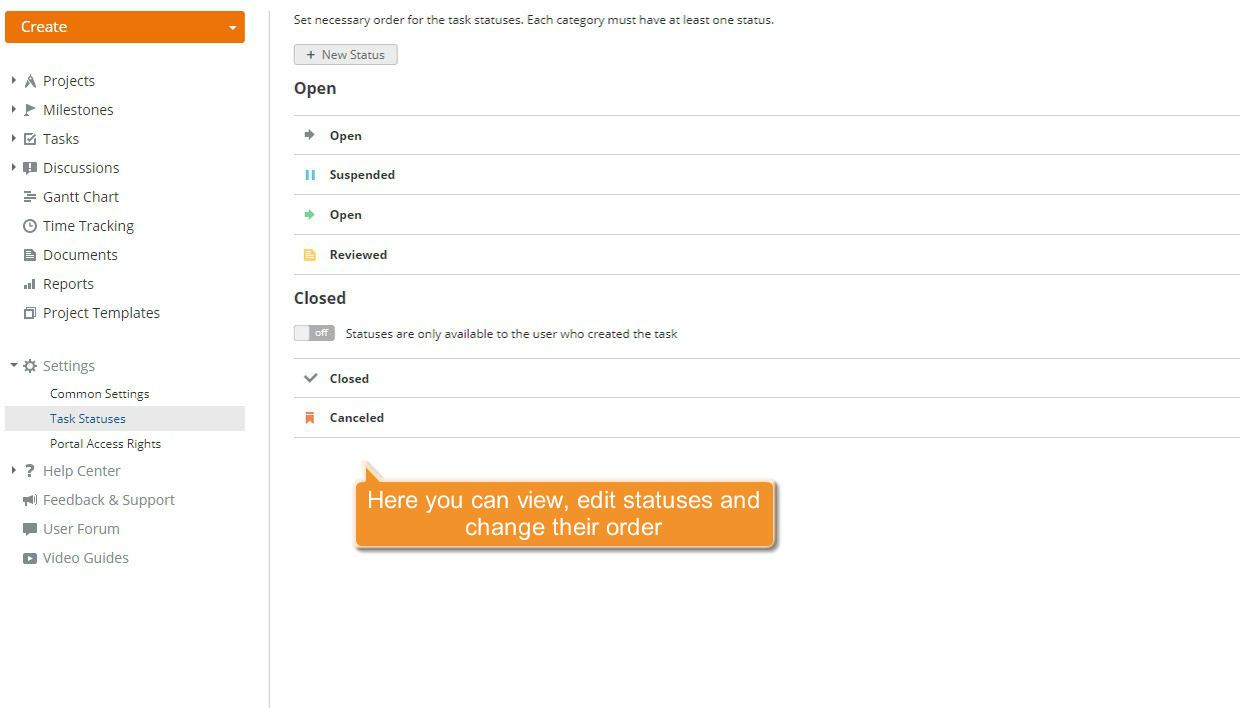
To edit or delete a status click the  button to the right of it.
You can reorder task statuses by dragging them up or down.
Select the Statuses are only available to the user who created the task option to prevent other users from using custom task statuses.
You can now assign the new tasks statuses.
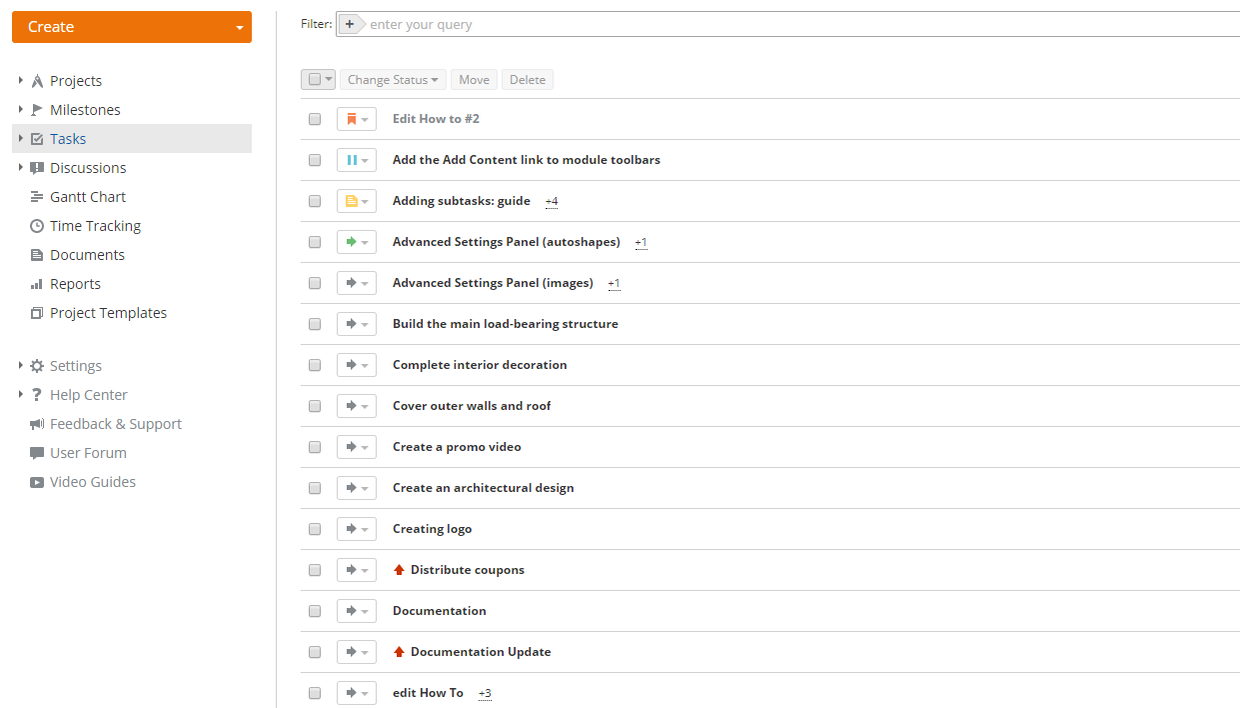
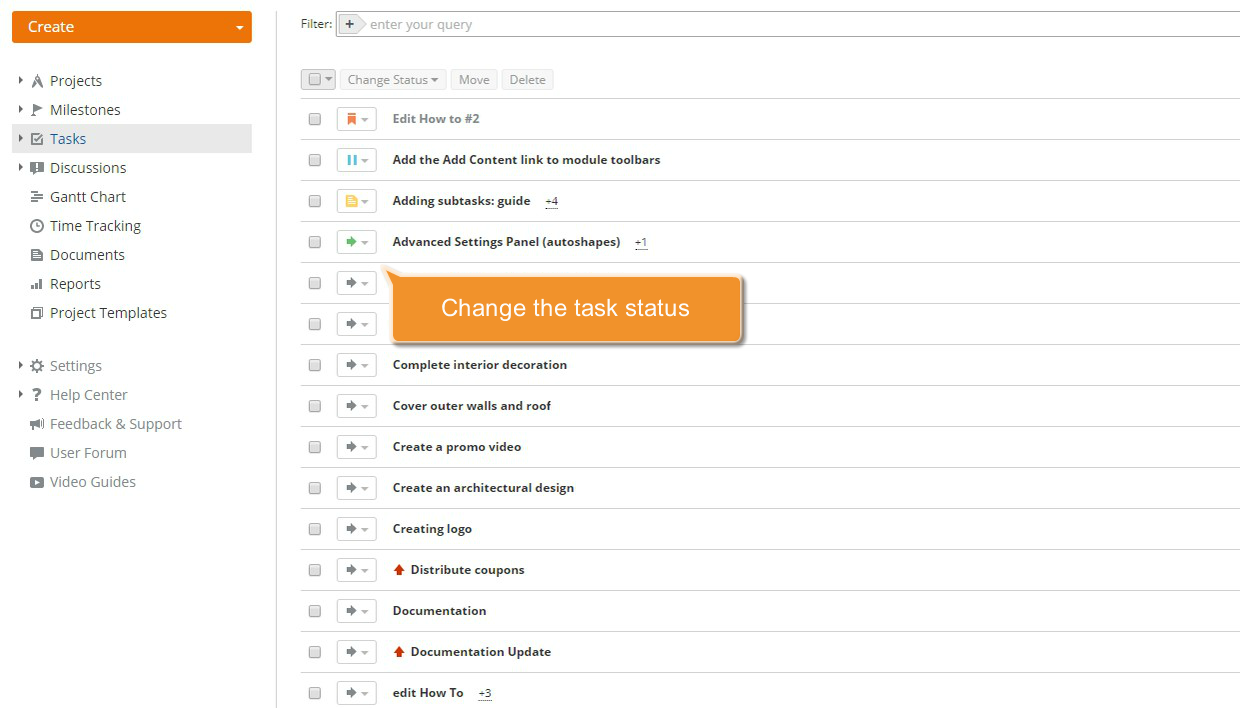
Assign a custom status
To do so, click the Tasks link on the left-side panel. A new page opens with a list of all created tasks. Use the filter at the top of the list to find the relevant task.
Click  to the left of the task name and select the appropriate status from the list.