Linking tasks within your project
Introduction
Once the tasks are created, you need to determine the order in which they will be completed, i.e., link them by creating task dependencies. Projects allows you to link tasks in two different ways: on the task description page or using the Gantt Chart view.
This guide describes how to determine the dependency relationships between tasks in a few easy steps.
Step 1. Access the Projects
Sign in to your portal and click the Projects link.
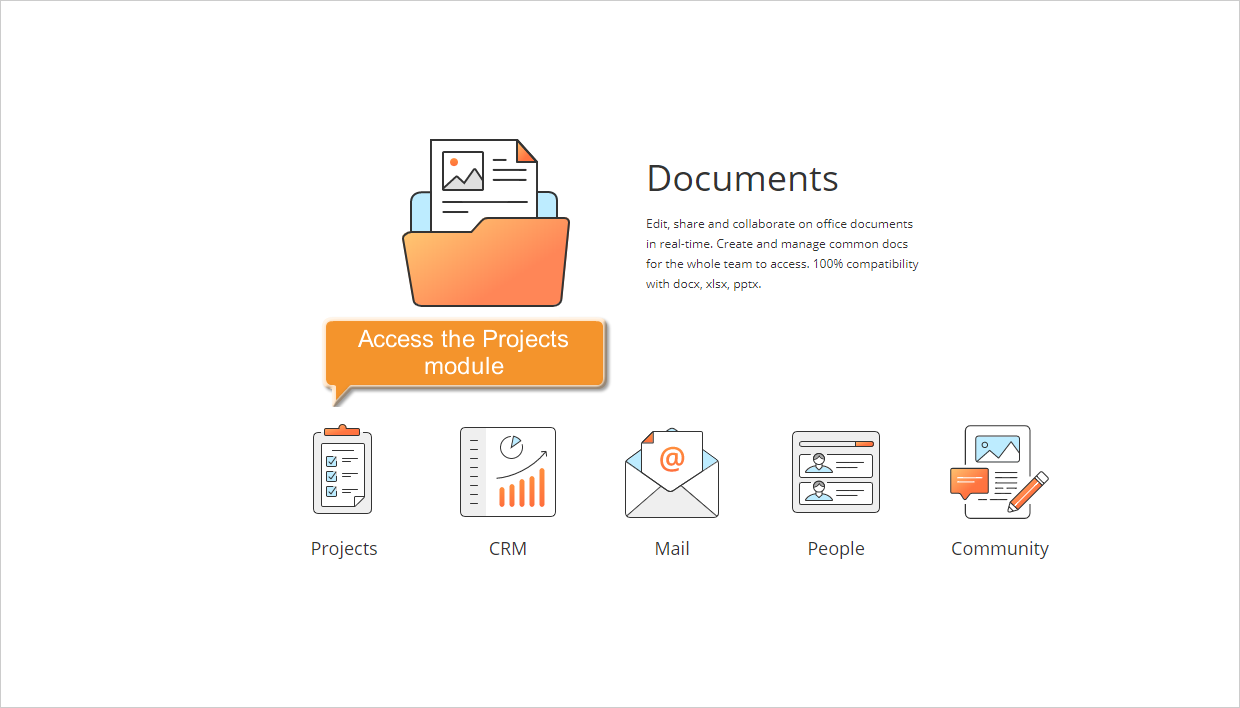
If you are already signed in and have been using the portal for some time, you can access the Projects module from any portal page: use the drop-down list in the upper-left corner of the page and select the corresponding option.
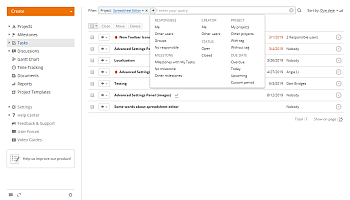
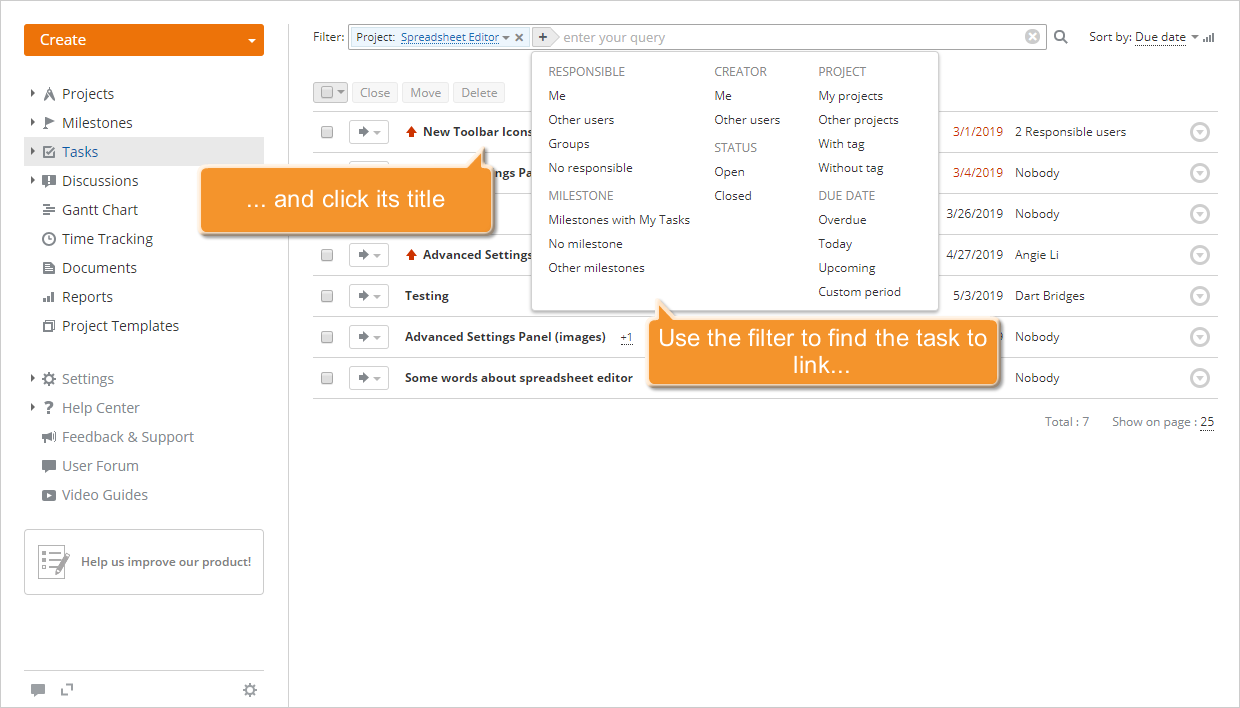
Step 2. Select the task to link
Click the Tasks link in the left-side panel. A new page opens with the list of all the created tasks. To find the task you need, use the filter at the top of the list, or enter the task name, entirely or partially, in the filter field and press the Enter key.
Once you have found the task, click its title. The task overview page will open.
To create a new task, refer to these instructions.
Step 3. Link the task on its overview page
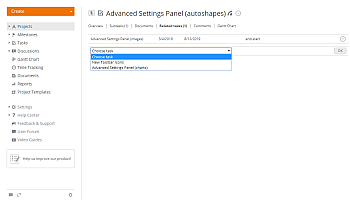
Go to the Related tasks section and click the Create new link link. If this link is disabled, it means that there are no tasks to link with or you do not have sufficient rights to do it.
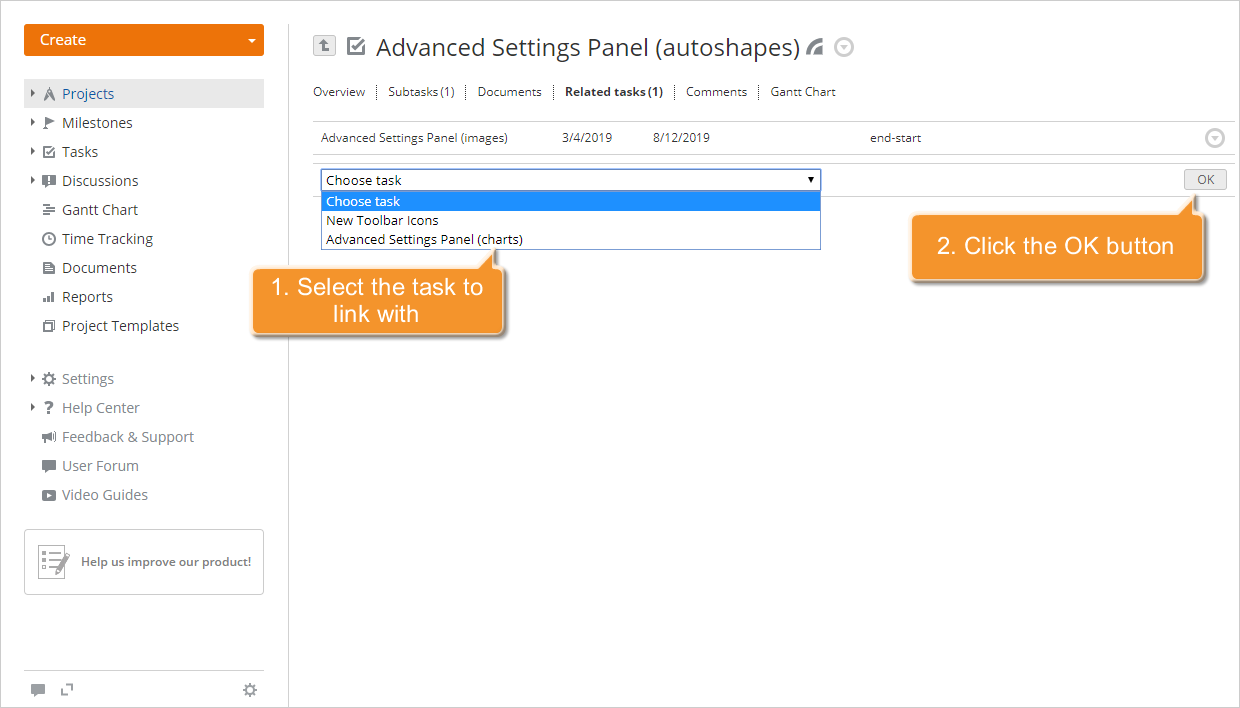
Open the Choose task drop-down list. You will see all the open tasks assigned to the same milestone as the selected one. Select the task you want to link with and click OK to the right.
The End-Start link will be created. This type of link means that the task you link with cannot begin until the task you link is completed.
The linked task will be added to the Related tasks list. In the same way, you can link as many tasks within the same milestone or outside milestones as you need.
If the start date of the task you link with is set before the due date of the task you link, the created link will be highlighted in red as invalid. To make it valid, correct the task dates manually.
To edit or delete the created link, click the ![]() icon to the right of the link title and select the corresponding option from the drop-down list.
icon to the right of the link title and select the corresponding option from the drop-down list.
Step 4. Link tasks using the Gantt chart
On the task overview page, switch to the Gantt Chart tab.
In the Gantt chart, all the project tasks grouped by milestones are displayed in the left-side panel. Find the task you need to link and click it. The Gantt chart will automatically scroll to its start date, i.e., the beginning of the bar representing this task.
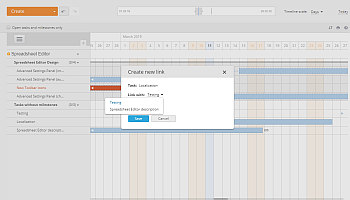
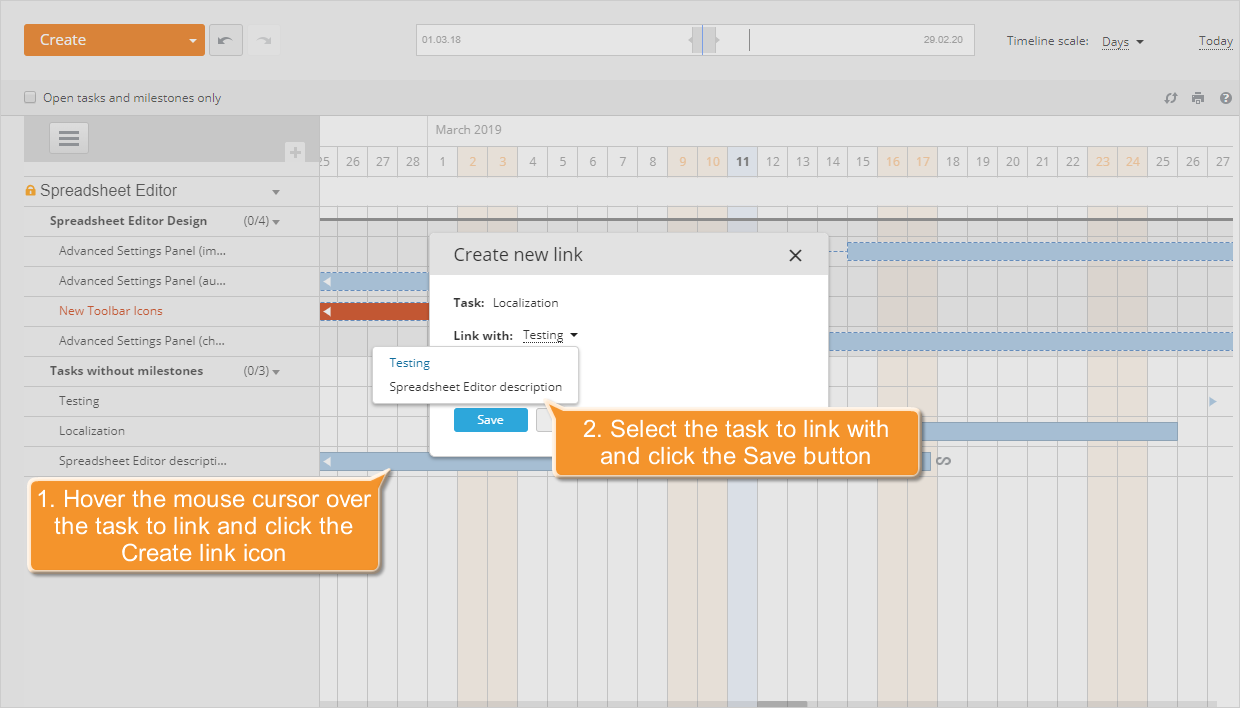
Hover the mouse over the task bar and click the ![]() button in the task floating menu that appears above it. The Create new link window will open. Select the task you want to link with from the corresponding drop-down list and click Save.
button in the task floating menu that appears above it. The Create new link window will open. Select the task you want to link with from the corresponding drop-down list and click Save.
Alternatively, you can:
- Place the cursor at the end of the task bar you need to link.
- Left-click the square mark
 that appears.
 - Without releasing the mouse button, drag to the beginning of the task bar you need to link with.

The created link will be represented by a blue dashed line. A red dashed line means that the created link is invalid. To make it valid, correct the task dates.
To learn more about managing tasks using the Gantt chart view, refer to this article.