Linking project to a CRM contact
Introduction
Linking your project with contacts, persons or companies, from your customer database allows you to know which companies are involved in specific projects and manage them more easily.
This guide describes how to do it in a few easy steps.
Step 1. Access the Projects
Sign in to your portal and click the Projects link.
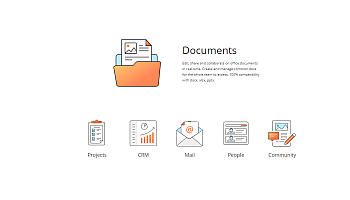
If you are already signed in and have been using the portal for some time, you can access the Projects module from any portal page: use the drop-down list in the upper-left corner of the page and select the corresponding option.
Step 2. Select your project
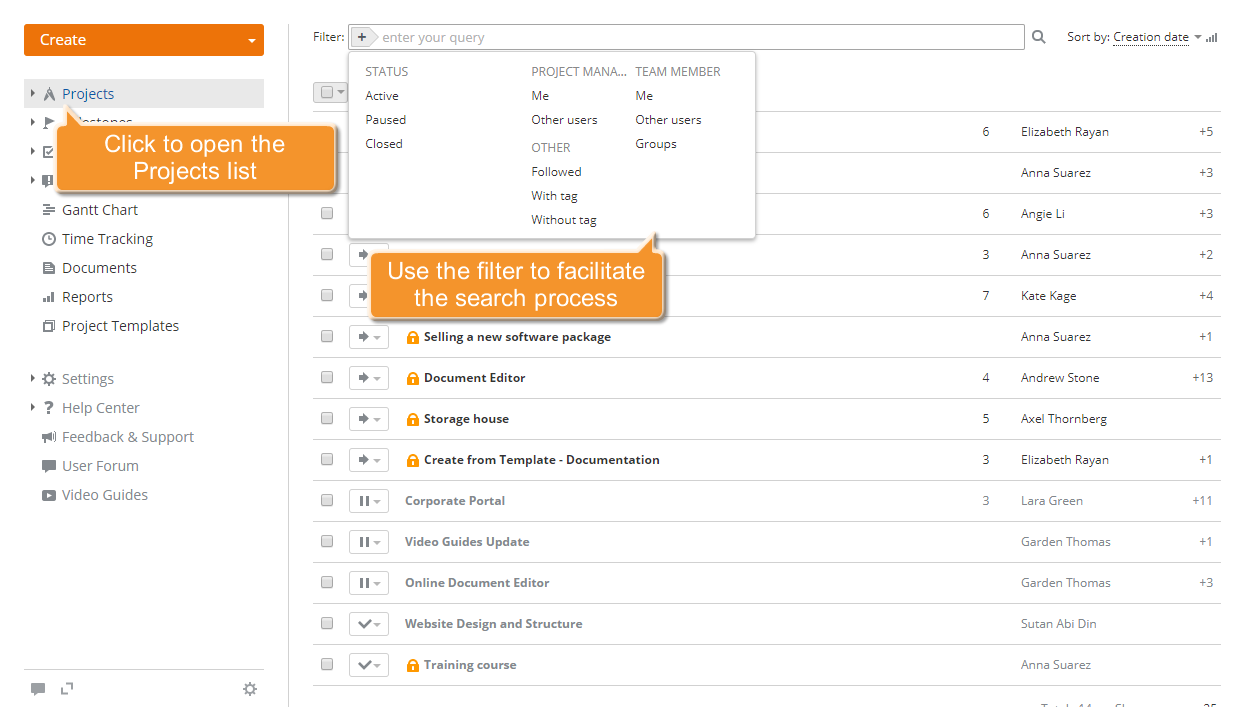
Click the Projects link on the left-side panel. A new page opens with the list of all the created projects. To find the project you need, use the filter at the top of the list.
Click the  button and select one of the options:
-
use the STATUS list to display the projects you are working on (Active), you have temporarily suspended the work on (Paused), or you have already completed (Closed);
-
use the PROJECT MANAGER list to display the projects managed by you or by a specific user;
-
use the TEAM MEMBER list to display the projects you or a specific user or group participate in;
-
use the OTHER list to display the projects you do not participate in but keep track of (Followed), or the projects with a specified tag, or the projects without tags;
You can also enter a project title, entirely or partially, in the field and press the Enter key to find the project.
Once you have found the project, click its title. The project overview page will open.
To start a new project, refer to these instructions.
Step 3. Choose CRM contacts to link
Select the Contacts tab. If the contact list is empty, click the Link or add contact link in the center.
Select the contact you need, a person or a company, from the existing ones by entering its name in the search field. If there is no such contact in your database, the system will offer to add a new person or company. Click the corresponding link and complete the form.
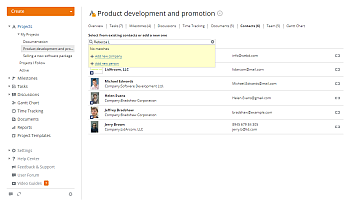
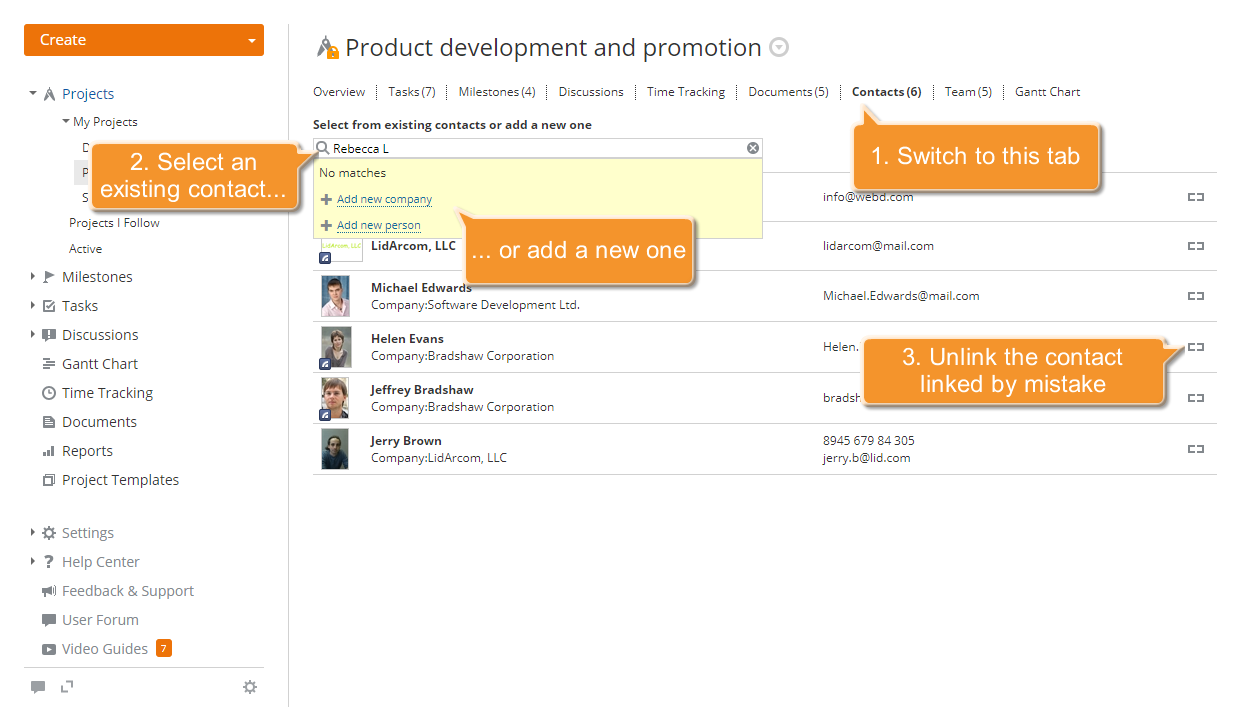
The selected contact will be added to the list. In the same way, you can link as many contacts as you want.
To unlink a contact linked by mistake, click the  icon to the right of this contact.
Step 4. Restrict access to the linked contacts
By default, each project member (except guests) can view the contacts linked with the project. To restrict access to them for specific users, select the Team tab.
All the project members will be listed in alphabetical order. Find the user you want to restrict access for and click the Contacts link to the right.
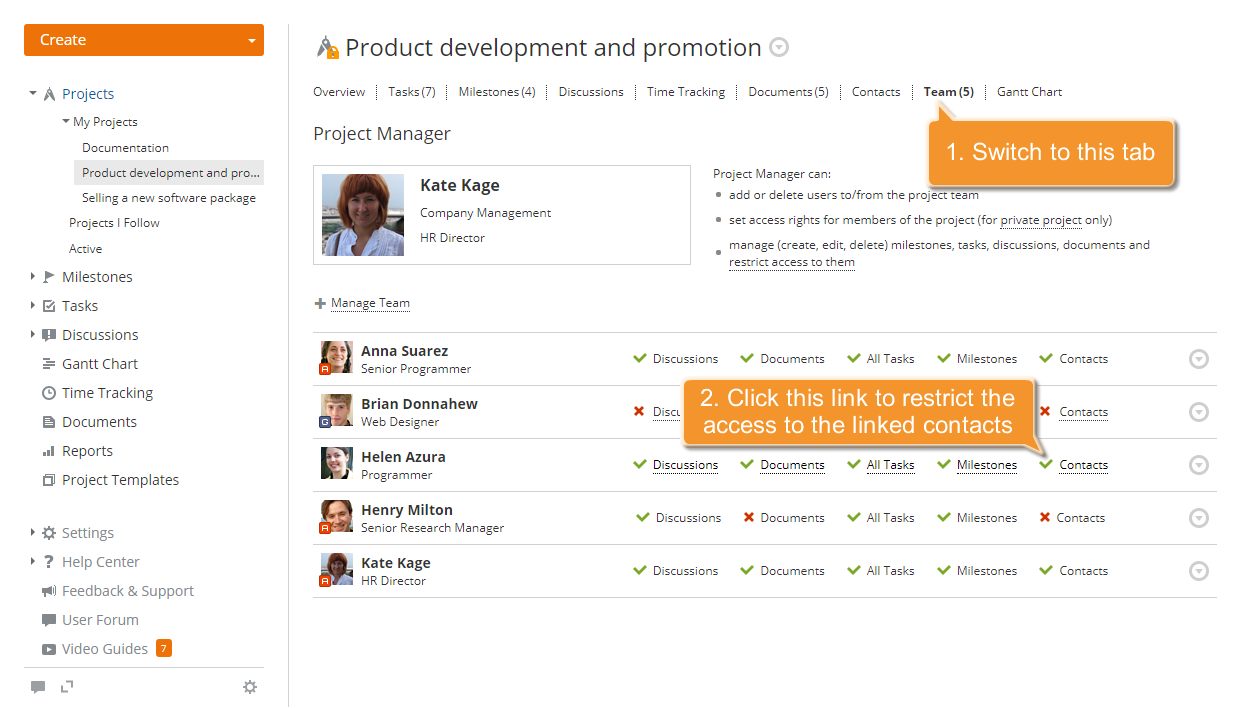
In the same way, you can restrict access for any other user who does not have project administrator privileges.