Restricting access to projects
Introduction
If you are a project manager and need to restrict access to your project so that only your team members can access it, save it as private. This guide describes how to do it.
Step 1. Access the Projects
Sign in to your portal and click the Projects link.
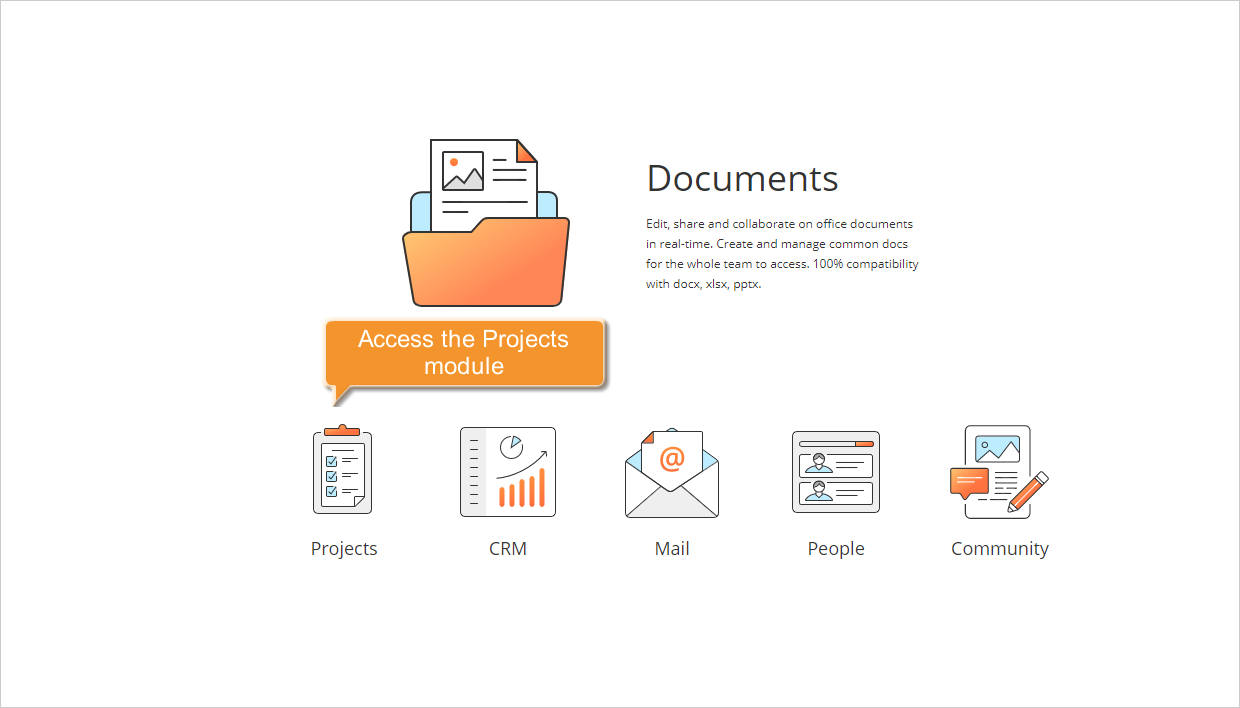
If you are already signed in and have been using the portal for some time, you can access the Projects module from any portal page: use the drop-down list in the upper-left corner of the page and select the corresponding option.
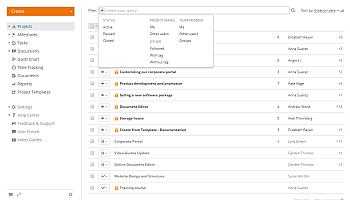
Step 2. Select your project
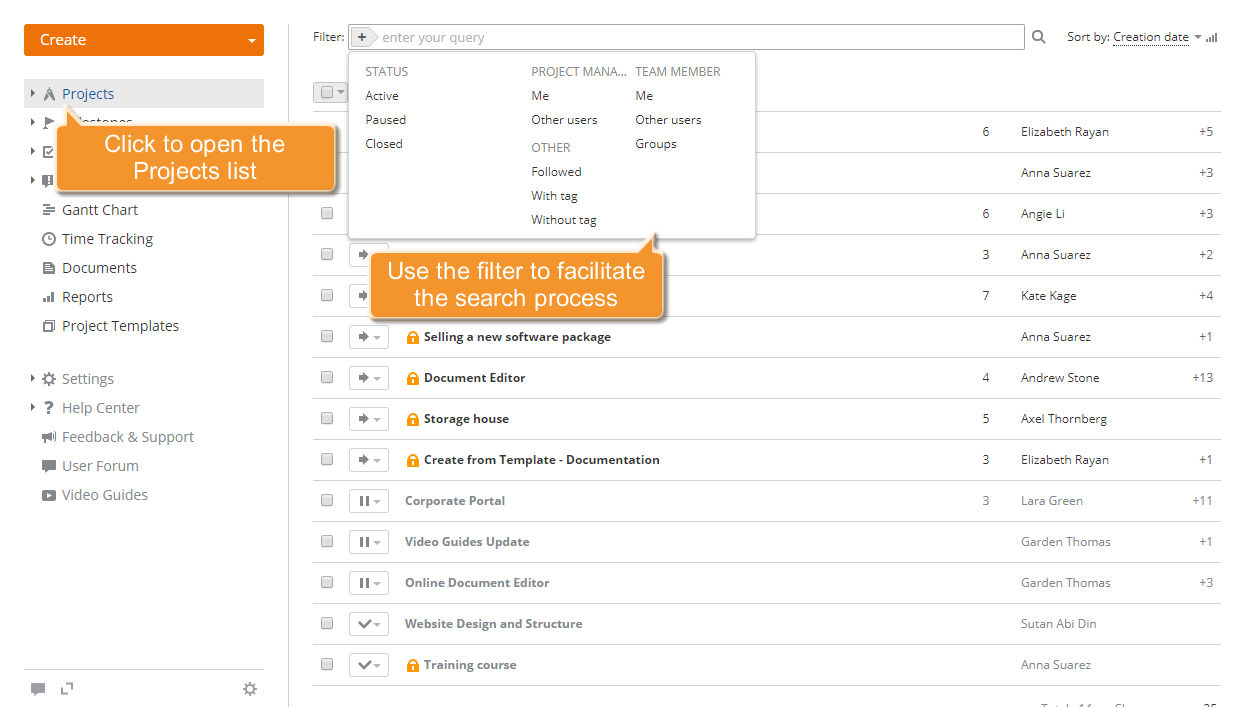
Click the Projects link in the left-side panel. A new page opens with the list of all the created projects. To find the project you need, use the filter at the top of the list.
Click the  button and select one of the options:
use the STATUS list to display the projects you are working on (Active), you have temporarily suspended the work on (Paused) or you have already completed (Closed);
use the PROJECT MANAGER list to display the projects managed by you or by a specific user;
use the TEAM MEMBER list to display the projects you or a specific user or group participate in;
use the OTHER list to display the projects you do not participate in but keep track of (Followed) or the projects with a specified tag, or the projects without tags.
You can also enter the project title, entirely or partially, in the field and press the Enter key to find the project you need.
When the project is found, click its title. The project overview page will open.
To start a new private project, refer to these instructions.
Step 3. Edit your project settings
Click the ![]() icon to the right of the project title and select the Edit option from the drop-down list.
icon to the right of the project title and select the Edit option from the drop-down list.
Scroll down the page.
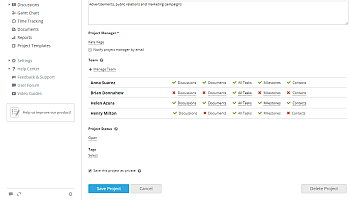

Select the Save the project as private checkbox.
Once this option is selected, you can proceed to setting access rights for your team members.
Apply all the changes you made by clicking Save Project.