Tracking potential sales
Introduction
An opportunity is used to keep track of the potential sales, their estimated due date, budget, and success probability and help you manage your sales more easily and effectively.
This guide describes how to create and manage your opportunities.
Step 1. Access the CRM
Sign in to your ONLYOFFICE portal and click the CRM link.

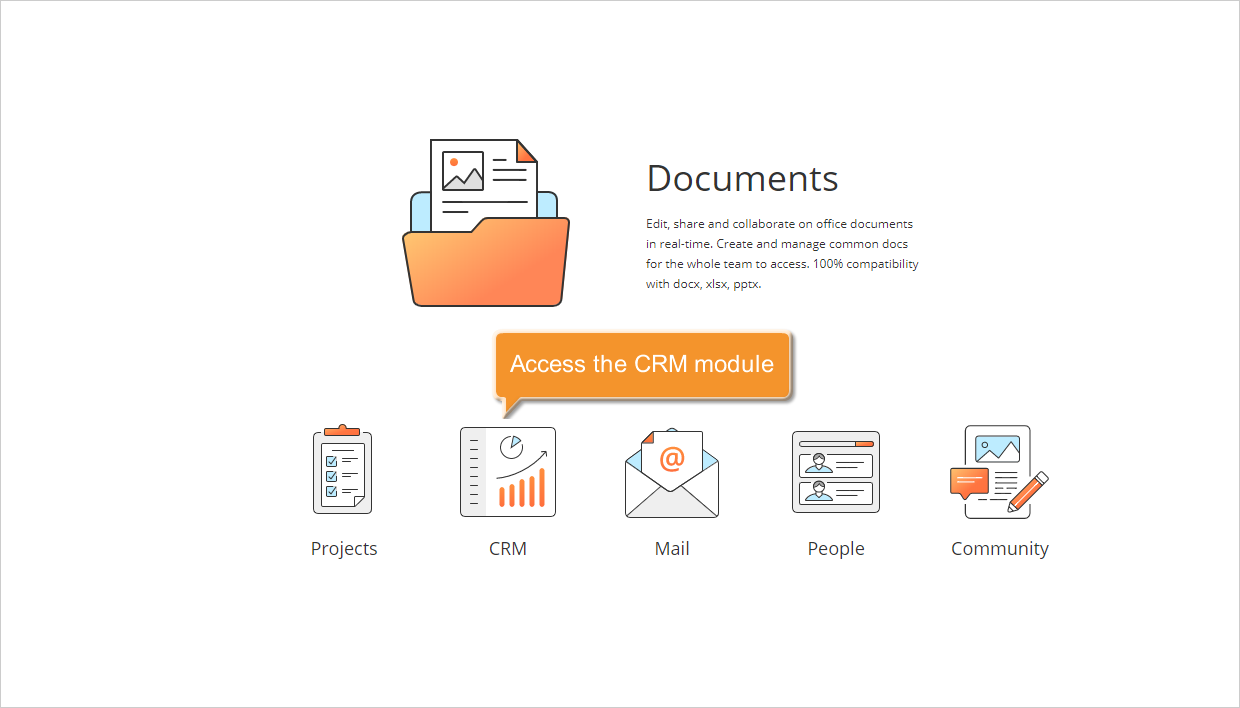
If you are already signed in and have been using the portal for some time, you can access the CRM module from any portal page: use the drop-down list in the upper-left corner of the page and select the corresponding option.
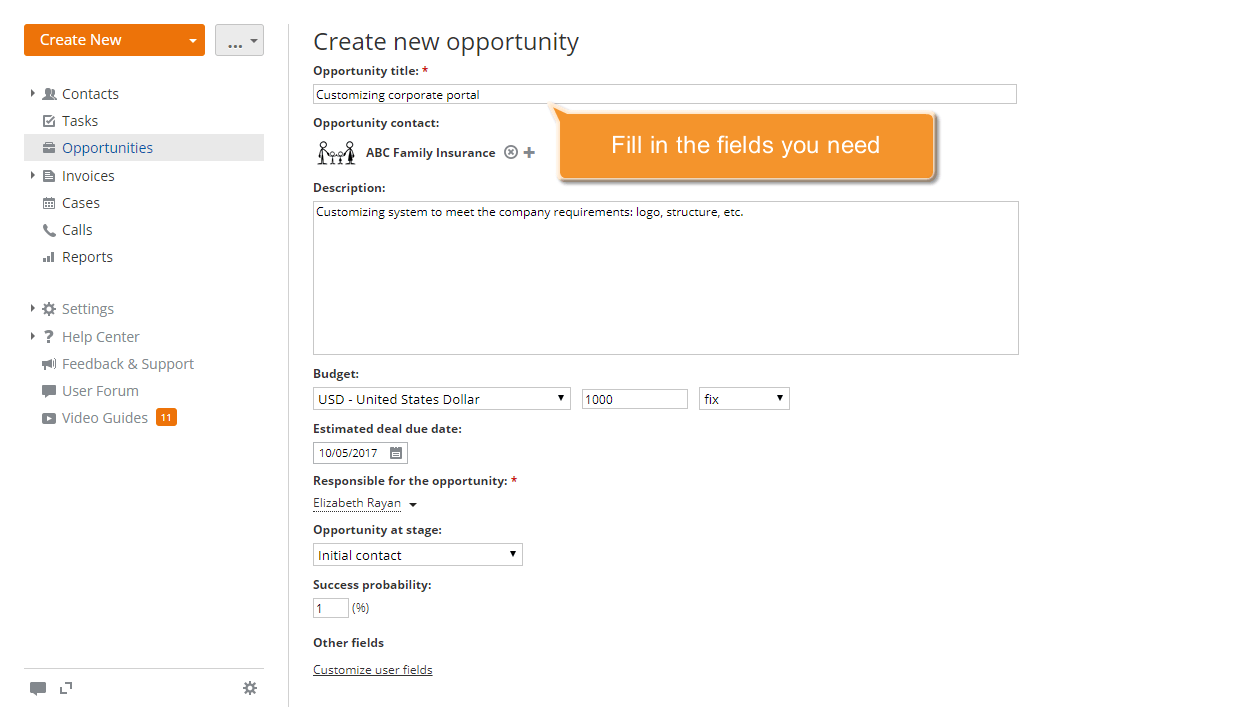
Step 2. Create an opportunity
Click the Create New... button in the upper-left corner and select the Opportunity option from the drop-down list.
You will be presented with the Create new opportunity form. Complete the fields you need:
- enter a Title for your opportunity;
- find an opportunity Contact, a person or company, in your customer database;
- add a short Description;
- set the Estimated deal due date using the calendar;
- specify your opportunity Budget currency, amount, and type;
- select a Responsible person for your opportunity from the drop-down list;
- set an opportunity Stage using the drop-down list. The Success probability in percent will be set accordingly.
If you want to restrict access to the created opportunity, select the Restrict access checkbox and add the users you want to grant access to.
Finally, click Save at the bottom.
The created opportunity will be added to the Opportunities list.
Step 3. Change your opportunity stage
When you create an opportunity, you can select one of the available stages from the list. It will help you track your sales pipeline. By default, it is set to Initial contact.
To go to a new stage, select the opportunity you need from the list and click its title.
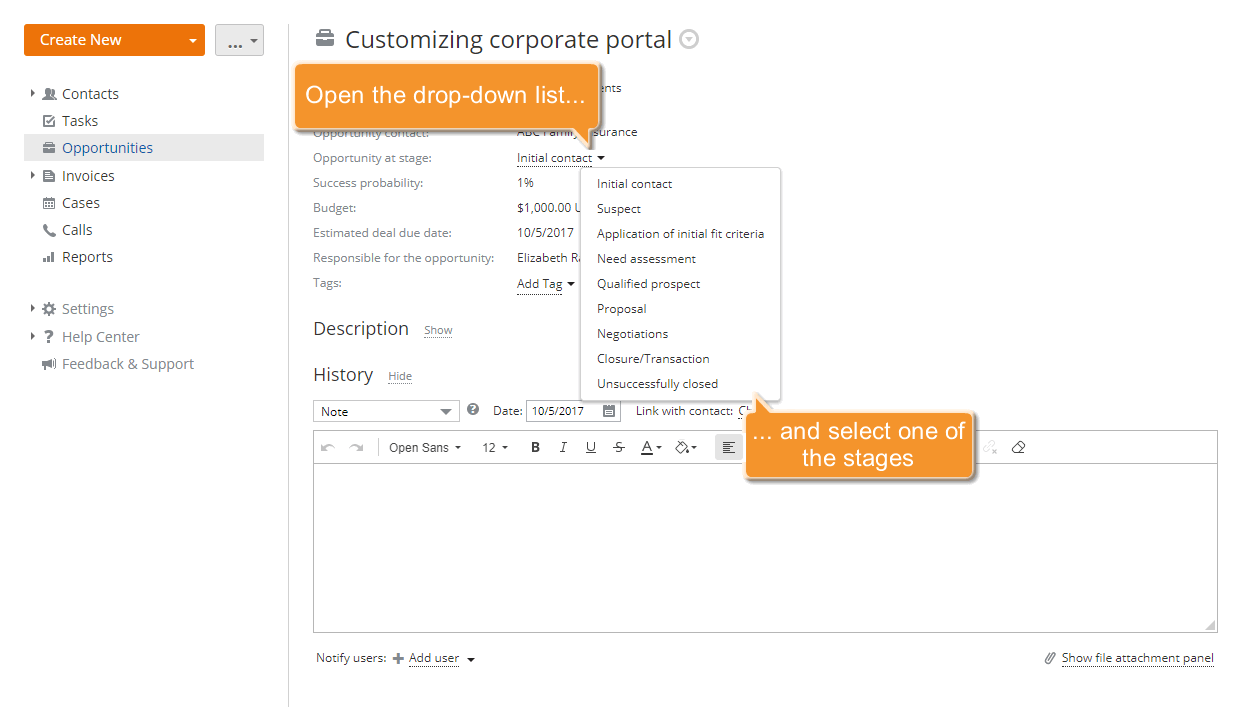
Open the Opportunity at stage list and select the stage you need; the success probability value will be changed accordingly.
Step 4. Add tasks
Before you close an opportunity, you need to accomplish some tasks and actions. Creating tasks is an effective way of getting things done on time. You can use them as simple reminders for yourself or to organize your team's work on the opportunity.
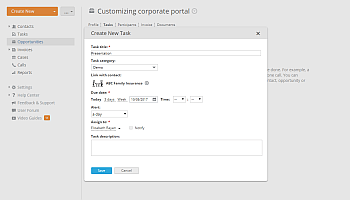
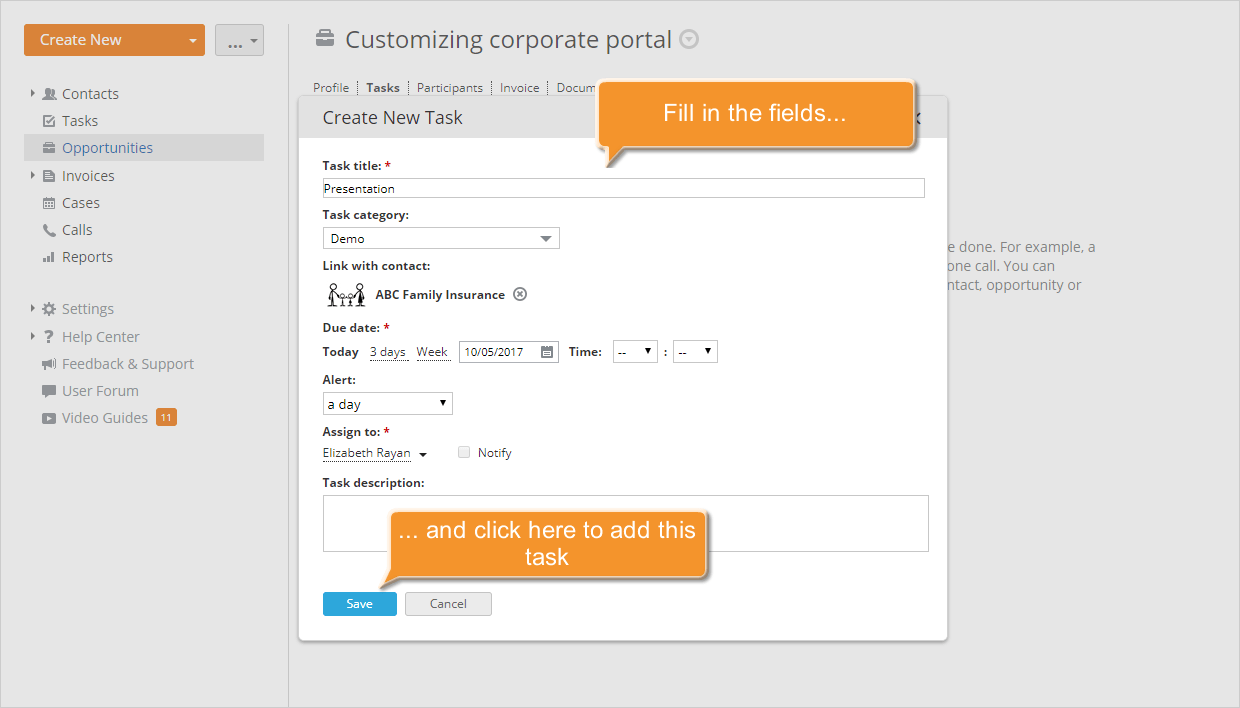
To add a new task, switch to the Tasks tab on the selected opportunity page. Click the Create task link if there is no task, or use the Create New... button in the upper-left corner and select the Task option from the drop-down list. Complete the form: enter a Title for the task, select one of the task categories, set the desired Due date (date and time) and the reminder time using the Alert drop-down list, select a responsible person from the Assign to list, and add a short Description.
When all the necessary information is specified, click Save at the bottom.
The created task will be added to the Tasks list of the selected opportunity. Once the task is completed, close it directly in the list by opening the drop-down list next to the task title and selecting the Closed option.
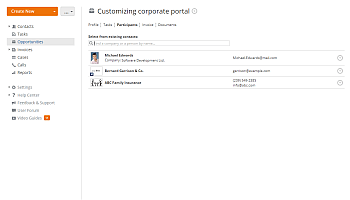
Step 5. Manage your opportunity participants
Working on an opportunity, you can always add or remove its participants.
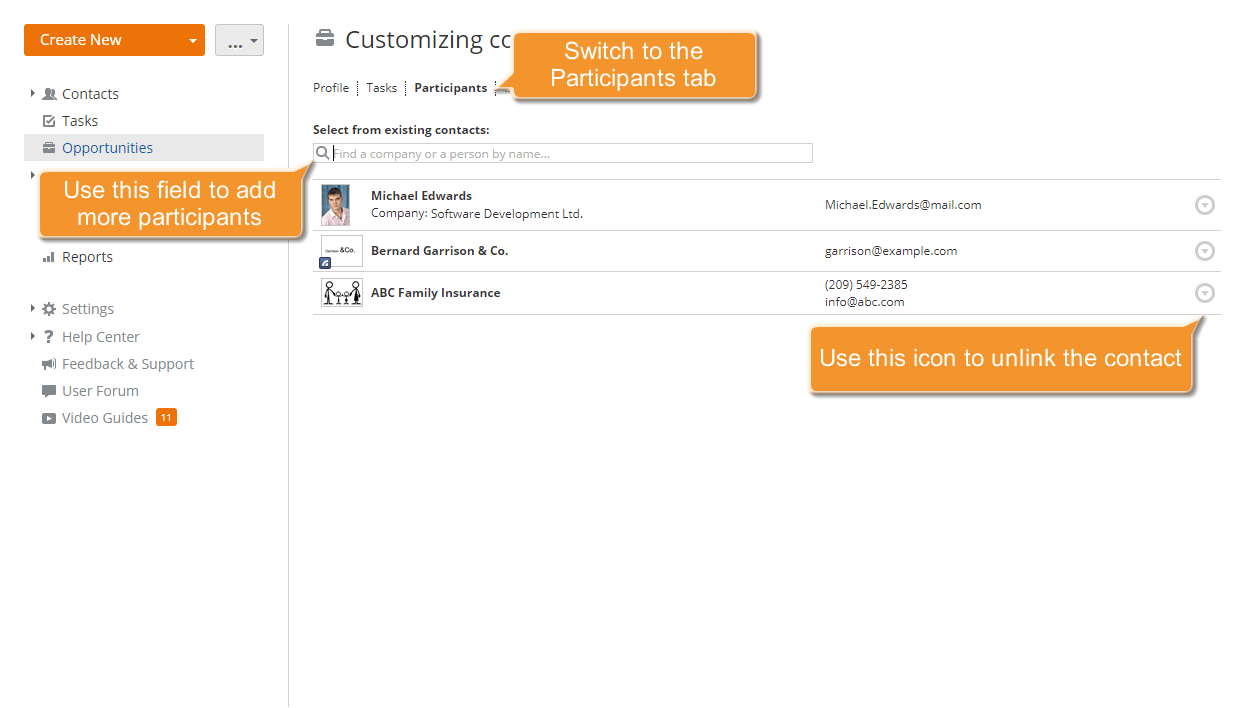
To add more participants, select the Participants tab on the selected opportunity page and select the contact you need, a person or company, from the existing ones by entering it in the search field. The selected contact will be added to the Participants list.
To remove a participant from the list, click the ![]() icon to the right of the participant you want to remove and select the Unlink contact option from the drop-down list.
icon to the right of the participant you want to remove and select the Unlink contact option from the drop-down list.
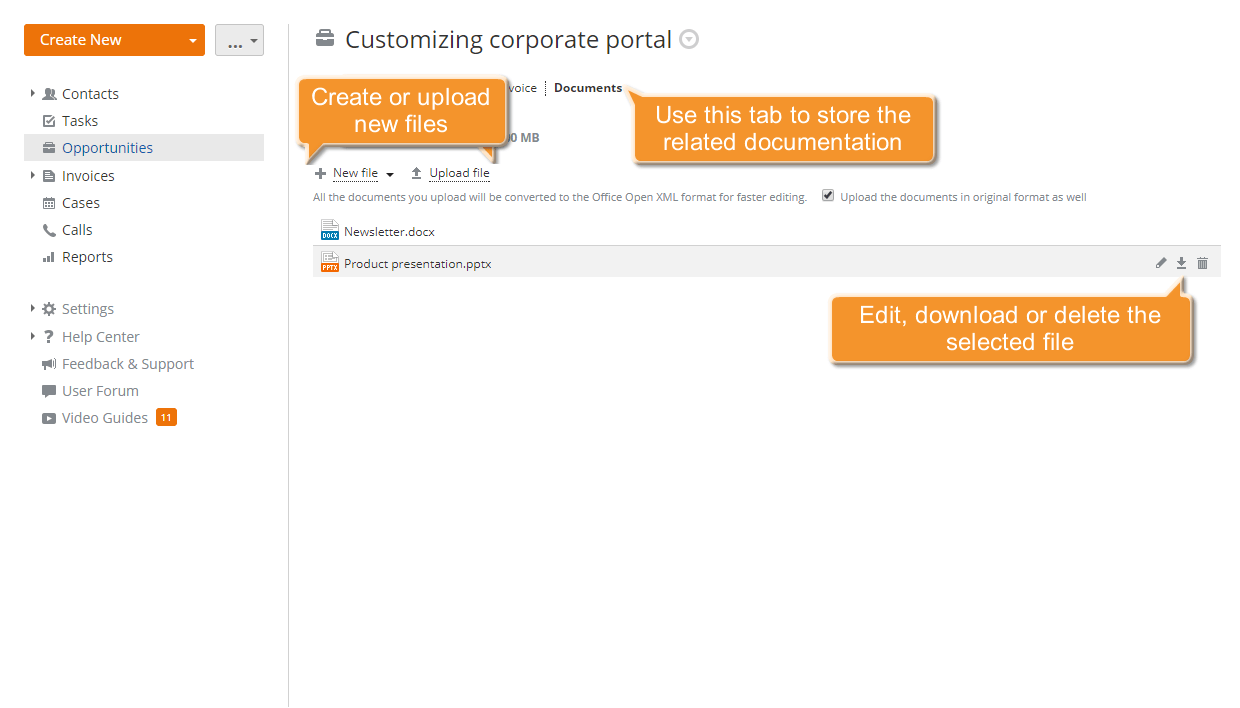
Step 6. Store the related documentation
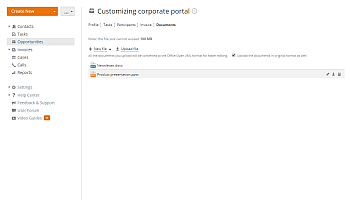
To keep all the documentation related to your opportunity in one place, use the Documents tab on the selected opportunity page. Here you can:
- create a new document, spreadsheet, or presentation by clicking the New File link and selecting the file type from the list;
- edit an existing document by clicking the
 icon that appears to the right of the needed document when you hover the mouse cursor over its line;
 - upload documents from your hard disk drive by clicking the Upload File link;
- download an existing document to your hard disk drive using the
 icon that appears to the right of the needed document when you hover the mouse cursor over its line.
Step 7. Track history
All the completed tasks, actions, and activities related to the selected opportunity are displayed and can be tracked within the Profile tab.
Here you can not only view the information about the completed tasks, uploaded documents, sent and received correspondence, etc., but also add events related to this opportunity: note, email, phone call, appointment. Select an event type from the list, set its date, add a description, and click Add This Event.
To notify other users about the created event, click the Add user link and select the users you want from the list before adding this event.
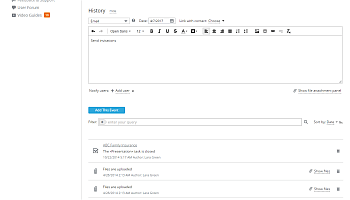

All the selected users will receive a notification about the newly added event.
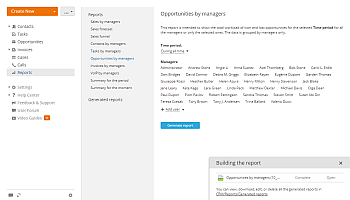
Step 8. Generate reports
To get a report of the opportunities and assess the managers' productivity, click the Reports link on the left-side panel and select the Opportunities by managers report type from the list that opens. This report displays the total workload of won and lost opportunities for the specified time period for the selected managers.
Now you need to specify what you want to include in your report by configuring the report parameters:
- set the Time period you need;
- select the Managers whose productivity you want to assess. You can select all portal users, all employees of a specific group, or multiple users from different departments.
When all the parameters are set, click Generate Report.
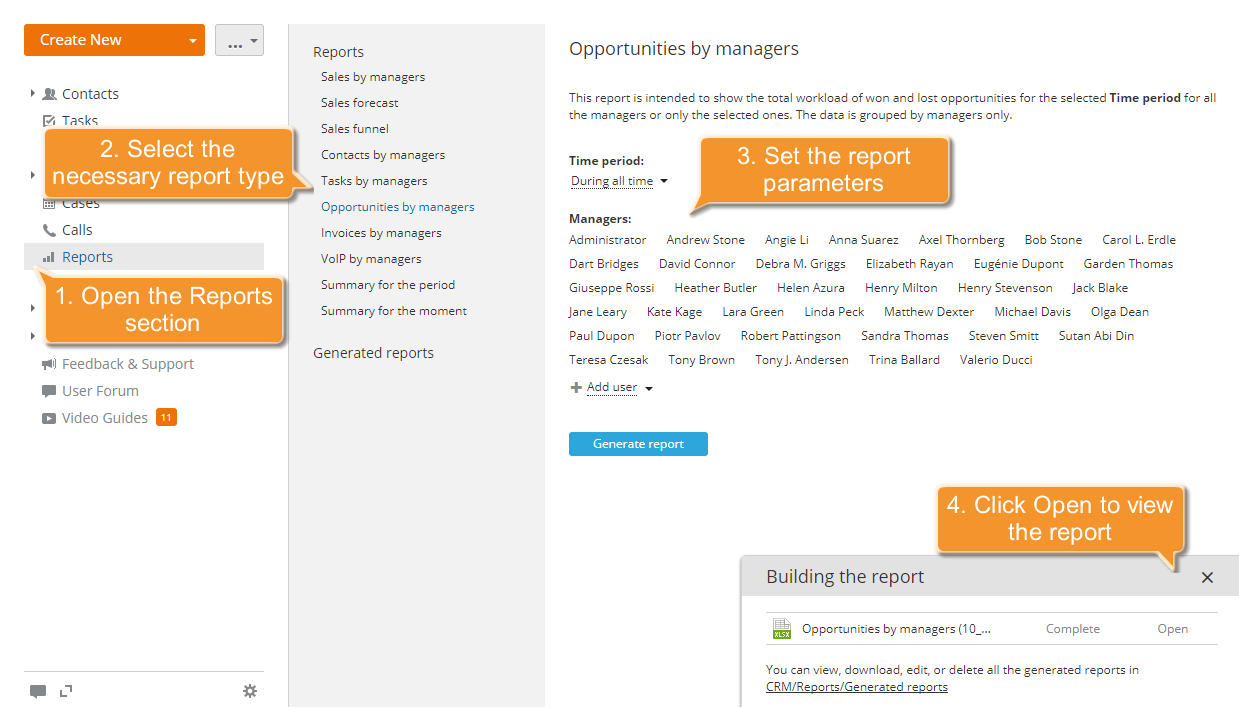
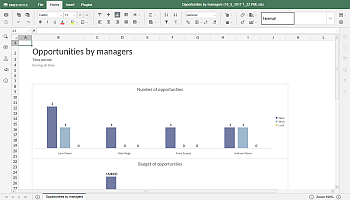
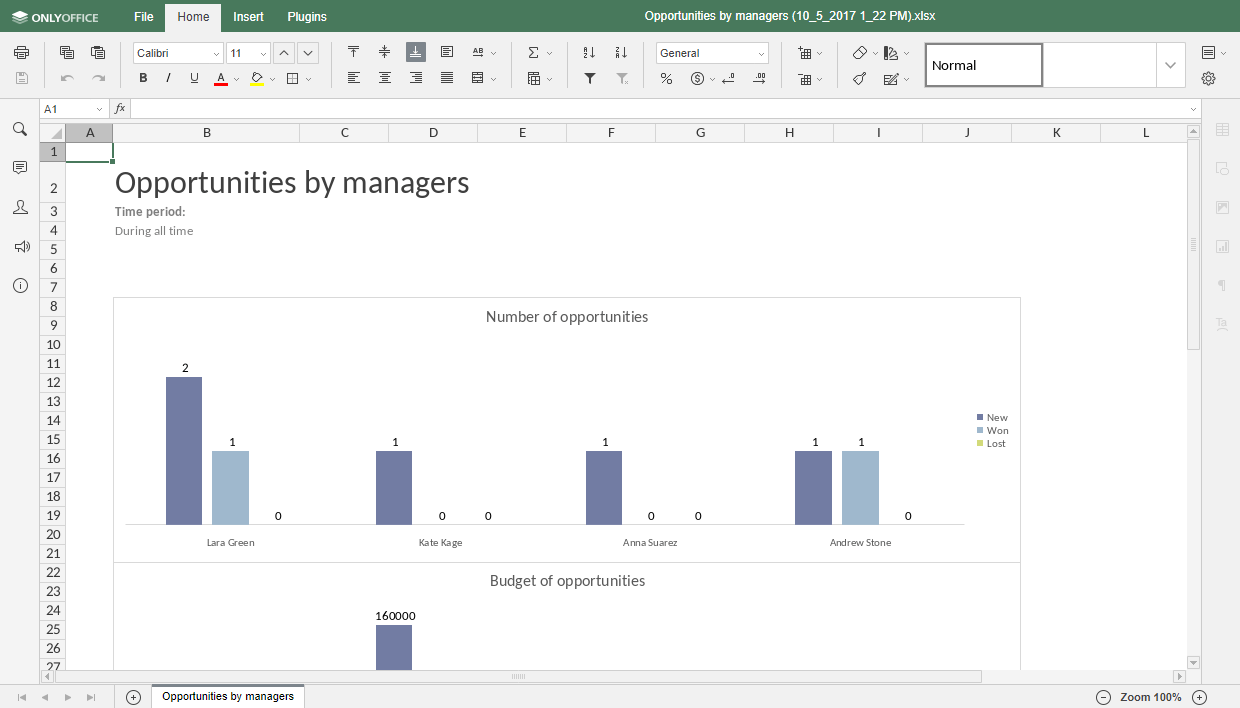
Once the report is generated, click the Open link in the lower-right corner to view the report. The file will open in the Spreadsheet Editor, and you will be able to edit, print, or download it if necessary.
You can also generate other types of reports, e.g., Sales forecast, Sales funnel, etc. All the generated reports are available in the Generated reports list of the Reports section, where you can edit, download, or delete them using the corresponding icons next to the file you need.
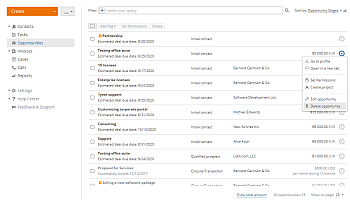
Step 9. Delete an opportunity
To delete an opportunity, locate it in the Opportunities list, click the ![]() icon to the right, and select the Delete opportunity option from the drop-down list.
icon to the right, and select the Delete opportunity option from the drop-down list.

Your opportunity with all the related information will be removed from your system.