Adding contacts in bulk
Introduction
Building a customer database is essential for getting started with your CRM system. The Import contacts feature facilitates this process by allowing you to add multiple contacts at once instead of entering them one by one manually.
This guide will show you how to transfer your contacts from a CSV file to CRM and restrict access to them.
Step 2. Access the CRM
Enter your ONLYOFFICE portal and click the CRM link.

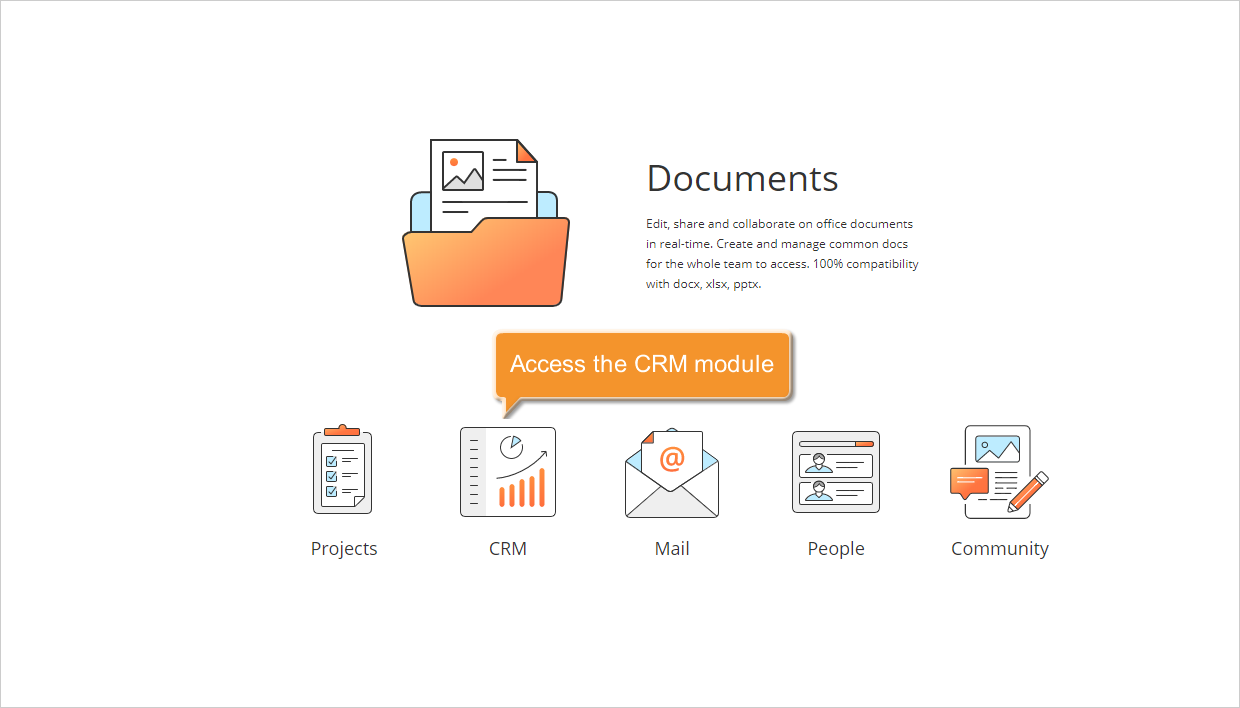
If you are already logged in to the portal, you can access the CRM module from any page using the drop-down list in the top-left corner.
Step 3. Locate your CSV file
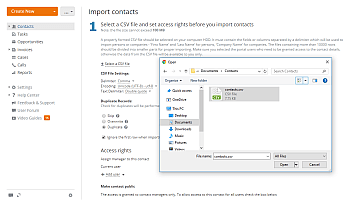
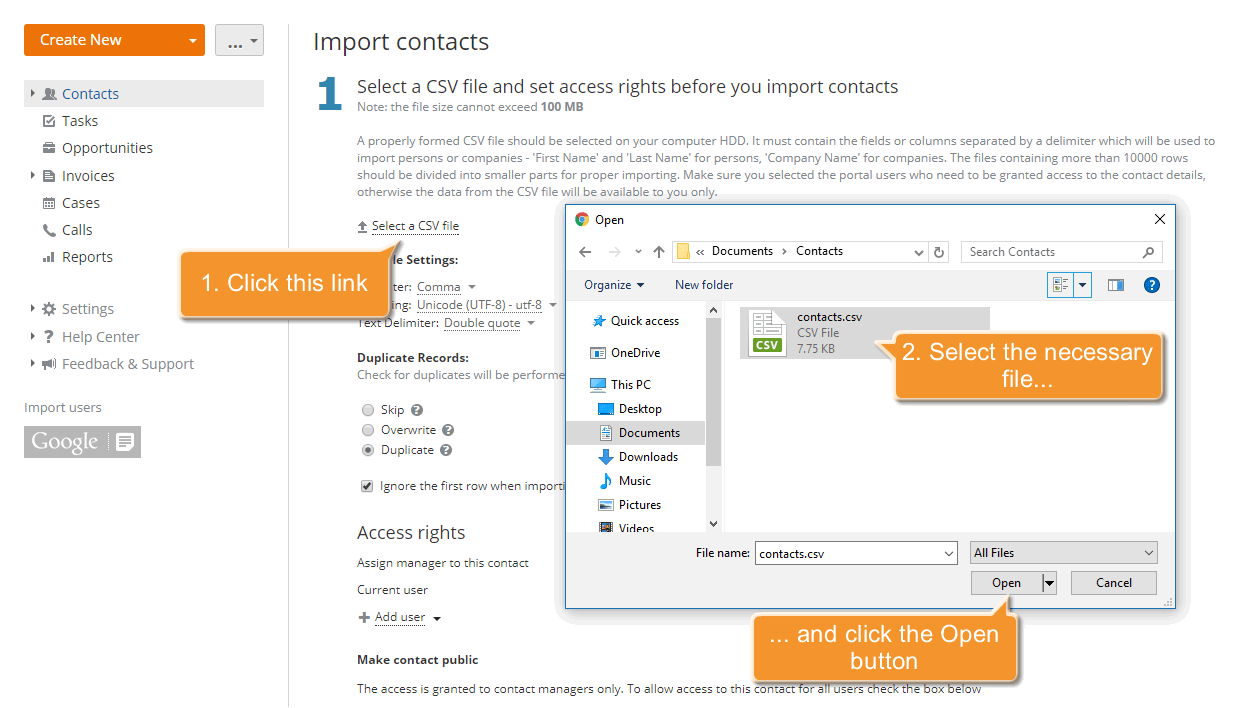
Click the button next to the Create New... button in the upper-left corner and select the Import contacts from the drop-down list. The Import Contacts page will open.
Click the Select a CSV file link. Browse your computer for the required file. Once the file is located click the Open button to load it into the system.
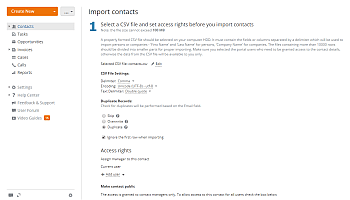
The file will be loaded and displayed in place of the link. To replace it use the Edit link next to the file name.
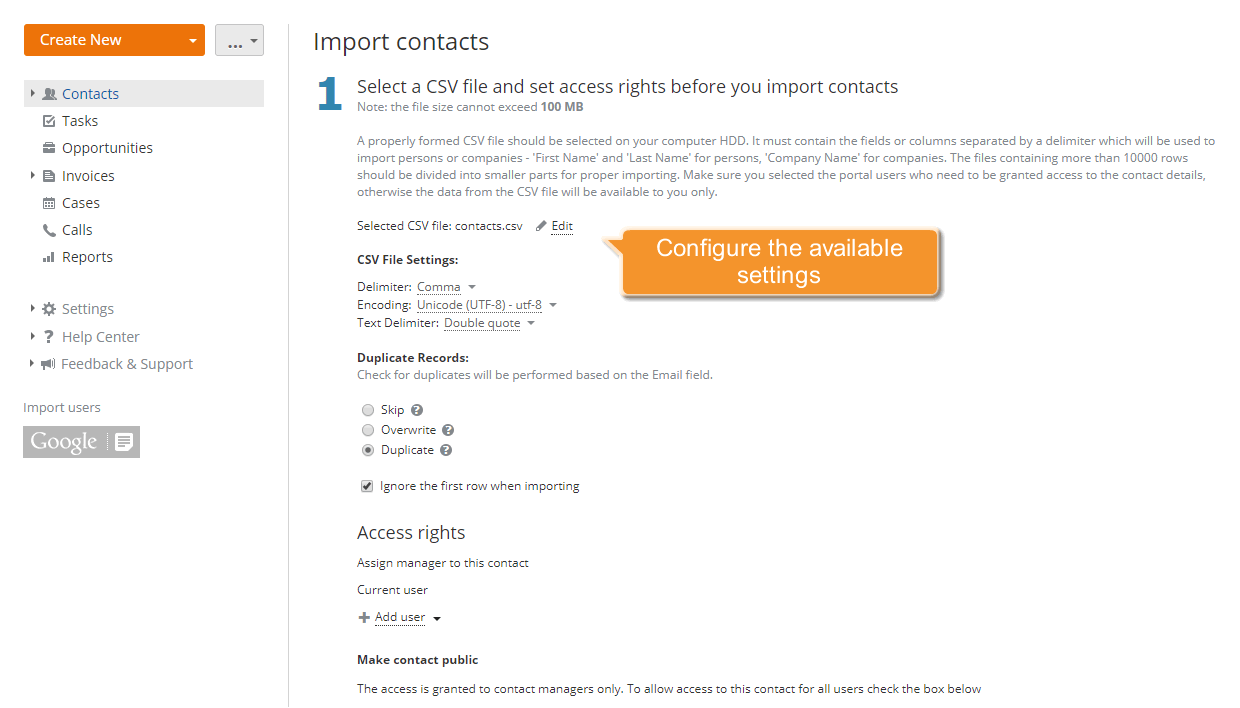
Step 4. Configure the CSV file settings
For proper importing you need to set your CSV file settings:
- Delimiter
A CSV file uses commas to separate values; however, many implementations of CSV import and export tools allow other delimiters to be used: semicolon, colon, tabulation, space. Use this drop-down list to select the character used to separate values in your CSV file.
- Encoding
Specify the encoding type used while saving your CSV file. The default type is UTF-8.
- Text Delimiter
Use this drop-down list to specify the character used to enclose the fields in your CSV file.
After that select the action which will be performed with the duplicate records in case there are some. Select Skip to import contacts while retaining existing records, use the Overwrite option if you wish to import them overwriting the existing ones or leave the default Duplicate option checked if you need to duplicate the coinciding contacts. You will be able to merge them later following the instructions here.
If your CSV file has a header row with the column titles ensure that the Ignore the first row when importing option is selected.
Step 5. Set a desired access level
By default, the access to the imported contacts will be granted to the current user only.
To assign managers to these contacts click the Add user link and select a person from the list. Use the filter field at the top to facilitate the search.
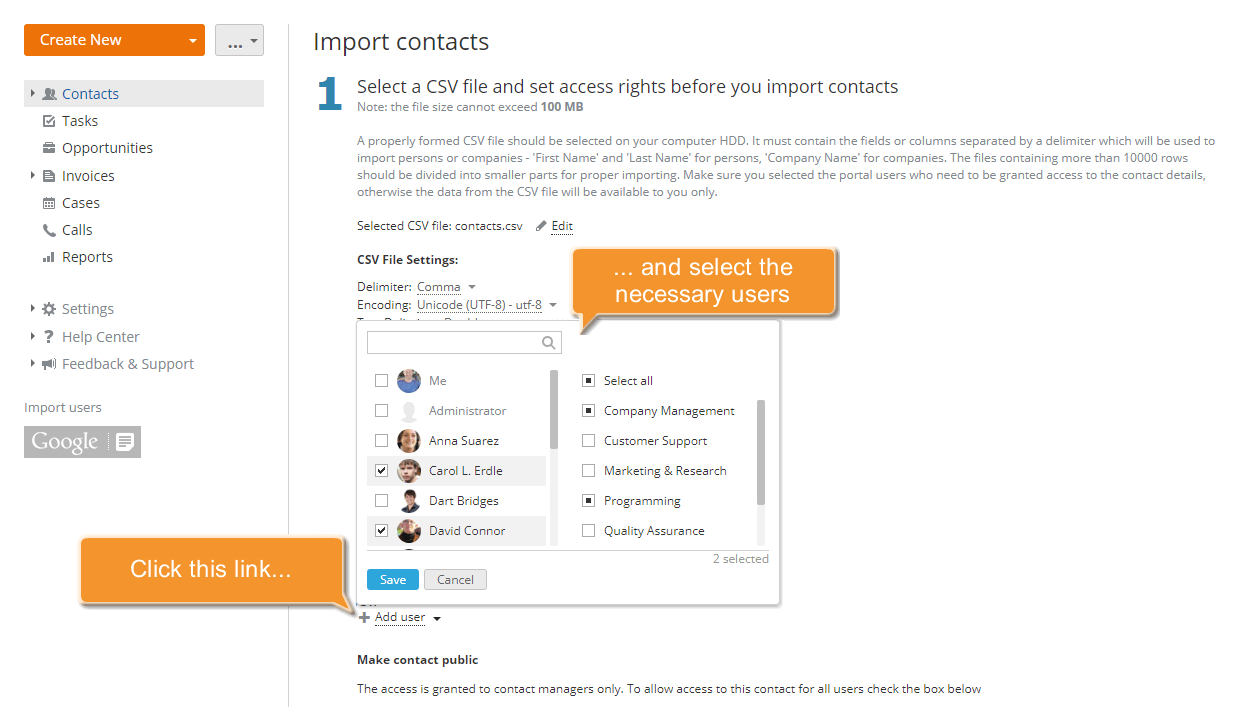
To make these contacts public and grant access to all the CRM users, check the Allow all CRM users access this contact option.
When the file is selected and all the parameters are set click the Continue button at the bottom to proceed to the next step.
Step 6. Verify the contact information and start importing
Before importing your customer data you need to verify the available information. A table with three columns will be displayed:
File column - the first row of your CSV file containing the column/field names.
Corresponding CRM field - the CRM field corresponding to the field/column name from your file if there is one.
If the system does not find any corresponding CRM field automatically, open the drop-down list and select the necessary one manually.
Value - the available file column value. To verify all the file information use the Next record/Previous record links at the top.
To be able to import persons you need to match at least one column from your file with the First Name and another with the Last Name fields of the CRM. The same is for the company import, you will need to match the Company Name field to be able to import a company.
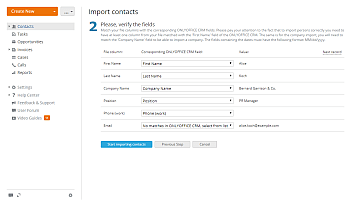
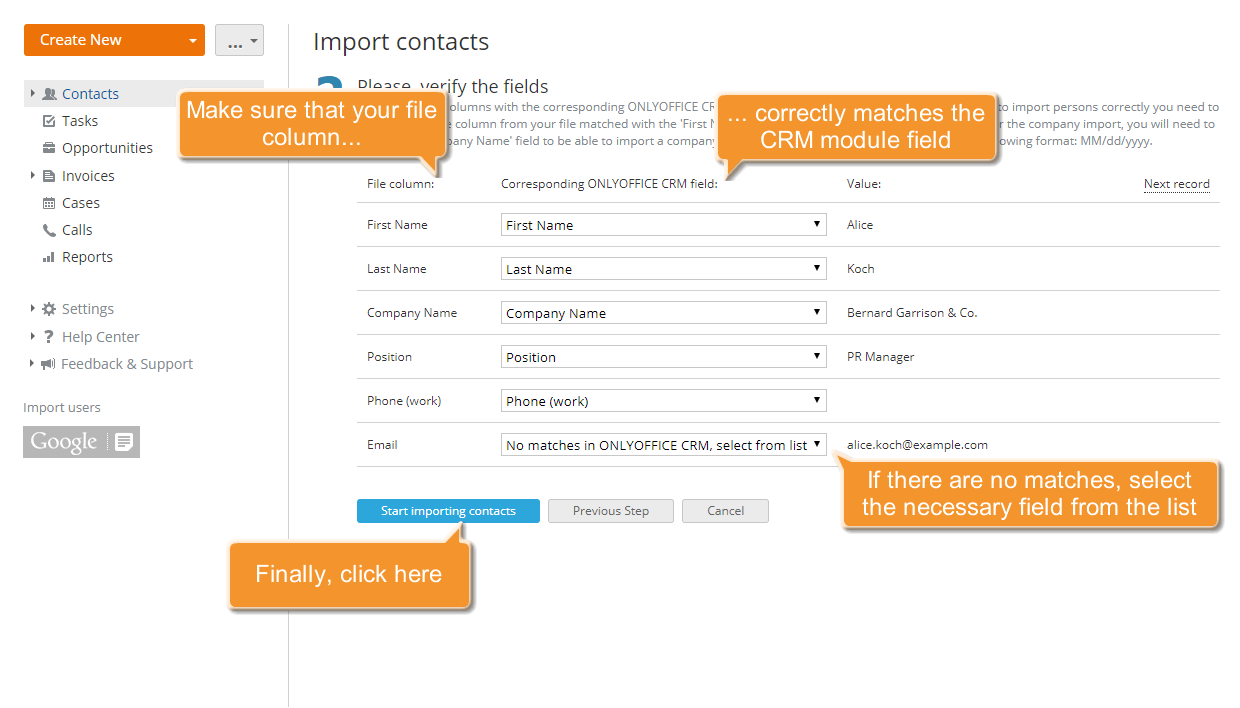
After you check the customer data click the Start importing contacts button below the contact list to launch the process.
All the selected contacts will be imported and displayed in the Contacts list. Remember to keep your contacts up-to-date.