Implementación de ONLYOFFICE Docs en Vultr
Introducción
Ahora puedes desplegar fácilmente la versión Docker de ONLYOFFICE Docs en la infraestructura de Vultr utilizando una aplicación de un solo clic proporcionada en el Vultr Marketplace.
La aplicación de un solo clic es una imagen que incluye todos los componentes preconfigurados necesarios para desplegar los editores en línea de ONLYOFFICE en un servidor Vultr que ejecuta el sistema operativo Ubuntu:
- Servicio Docker,
- ONLYOFFICE Docs.
Una vez que tu instancia de ONLYOFFICE Docs esté en funcionamiento, puedes integrar ONLYOFFICE Docs con una de las plataformas de almacenamiento en la nube, como Alfresco, Confluence, Liferay, Nextcloud, ownCloud, SharePoint, HumHub, Plone, Nuxeo, etc.
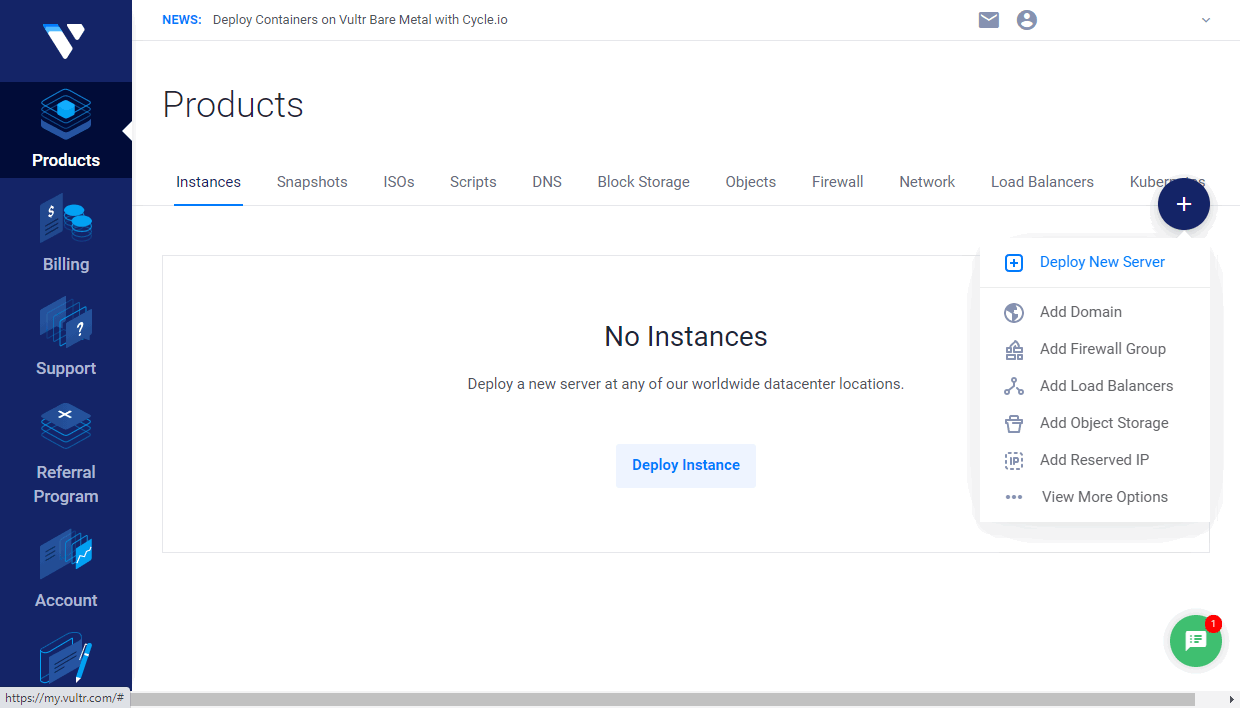
Paso 1. Crea tu instancia en Vultr
Inicia sesión en tu cuenta de Vultr y haz clic en el botón Deploy Instance, o utiliza el icono de Más y elige la opción Deploy New Server.

Si es necesario, puedes elegir un tipo de servidor adecuado en la sección Choose Server: High Frequency, Cloud Compute, Bare Metal, o Dedicated Cloud.
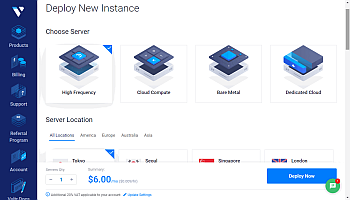

También puedes elegir la ubicación más cercana a ti en la sección Server Location: América, Europa, Australia, Asia.
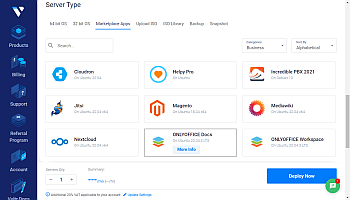
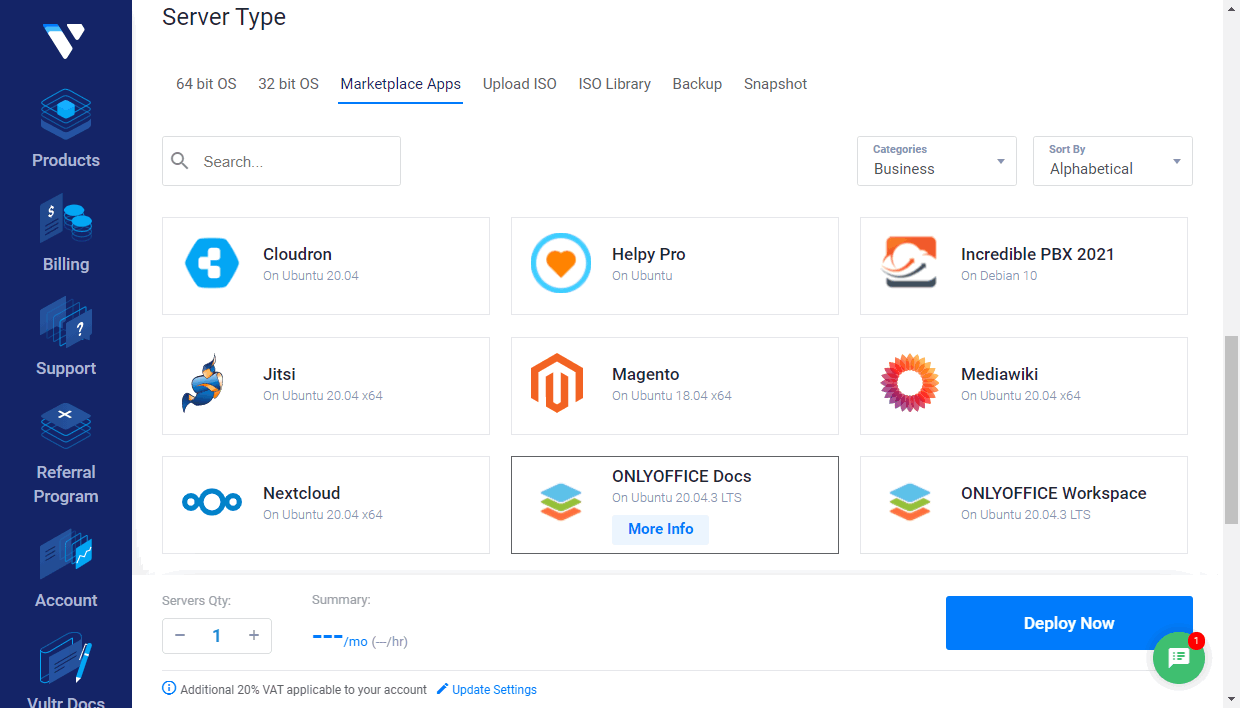
En la sección Server Type, cambia a la pestaña Marketplace Apps. Encuentra ONLYOFFICE Docs en la categoría Business y haz clic para seleccionar. Si iniciaste la instancia desde la página de detalles, la aplicación ONLYOFFICE Docs se selecciona automáticamente.
En la sección Server size, puedes seleccionar el tamaño del servidor que deseas usar o dejar el predeterminado. Las opciones disponibles pueden variar dependiendo de la ubicación del servidor seleccionada.


Opcionalmente, puedes configurar algunas características adicionales: habilitar la red IPv6, Copias de seguridad automáticas, Protección DDOS (esta opción está disponible solo para ciertas ubicaciones), o Red privada.
La sección SSH Keys te permite añadir una clave SSH pública si deseas conectarte a tu servidor usando una clave SSH en lugar de una contraseña. Si has añadido previamente claves públicas SSH en tu cuenta de Vultr, se mostrarán en esta sección. Puedes elegir la clave pública necesaria o añadir una nueva. La clave privada debe almacenarse en tu máquina local. Para obtener más información sobre cómo crear pares de claves SSH y añadir la clave pública a una instancia, puedes consultar la documentación de Vultr.
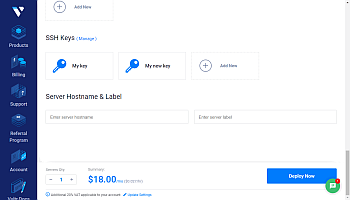
Si es necesario, especifica el nombre de host y la etiqueta del servidor.
Haz clic en el botón Deploy Now.
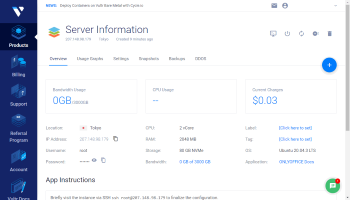
La nueva instancia creada se mostrará en la página de Productos de Vultr. Espera mientras se instala la instancia. Cuando su estado cambie a 'Running', haz clic en el nombre del servidor o utiliza la opción Server Details para abrir la página de información del servidor.
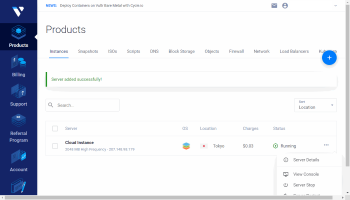
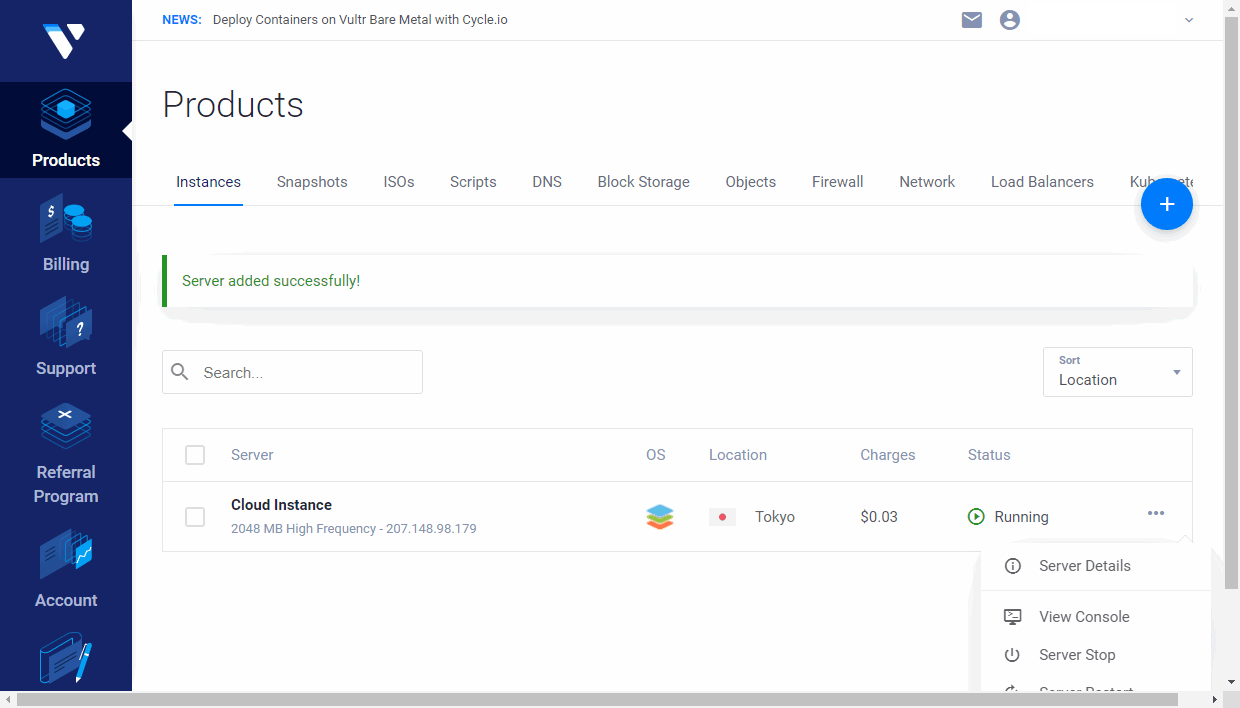
Haz clic en el icono  para copiar la dirección IP del servidor.
En la página de información del servidor, también puedes encontrar tu contraseña de root, que es necesaria para acceder a la instancia.

Paso 2. Conéctate a tu servidor vía SSH para finalizar la configuración
En Windows, puedes utilizar la utilidad PuTTY.
Introduce la dirección IP de la instancia, asegúrate de que el puerto 22 esté especificado y que el tipo de conexión SSH esté seleccionado.
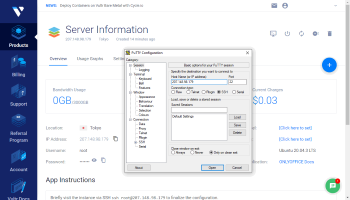

Si añadiste una clave SSH pública al crear la instancia, especifica la ruta a tu clave privada correspondiente almacenada en tu máquina local en la sección Connection -> SSH -> Auth.
Haz clic en el botón Open. Luego haz clic en Yes en la ventana de PuTTY Security Alert.
- Si no has añadido claves SSH al crear la instancia, usa
rootcomo usuario e introduce tu contraseña de root que se puede encontrar en la página de información del servidor. - Si añadiste una clave SSH, serás autenticado usando tu clave privada.
En Linux, puedes usar un cliente SSH como OpenSSH. Introduce ssh root@tu_dirección_ip_de_instancia en tu terminal y escribe yes para continuar conectándote al servidor.
- Si no has añadido claves SSH, se te pedirá tu contraseña de root que se puede encontrar en la página de información del servidor.
- Si tienes múltiples claves SSH, es posible que necesites especificar la ruta a tu clave privada:
ssh -i /ruta/a/clave/privada root@tu_dirección_ip_de_instanciaSerás autenticado usando tu clave privada.
El contenedor Docker onlyoffice-document-server se iniciará automáticamente.
Para explorar la funcionalidad de la solución, habilita nuestro ejemplo de prueba, que te permitirá cargar tus archivos locales para probar. Para hacerlo, ejecuta el siguiente comando:
sudo docker exec $(sudo docker ps -q) sudo supervisorctl start ds:exampleAñade el ejemplo al inicio automático:
sudo docker exec $(sudo docker ps -q) sudo sed 's,autostart=false,autostart=true,' -i /etc/supervisor/conf.d/ds-example.confPaso 3. Accede a ONLYOFFICE Docs a través de un navegador web
Una vez que el ejemplo esté iniciado, introduce http:// + <tu dirección IP de instancia> en la barra de direcciones de un navegador web y haz clic en el botón GO TO TEST EXAMPLE.
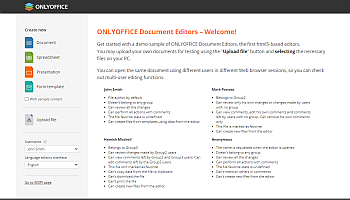
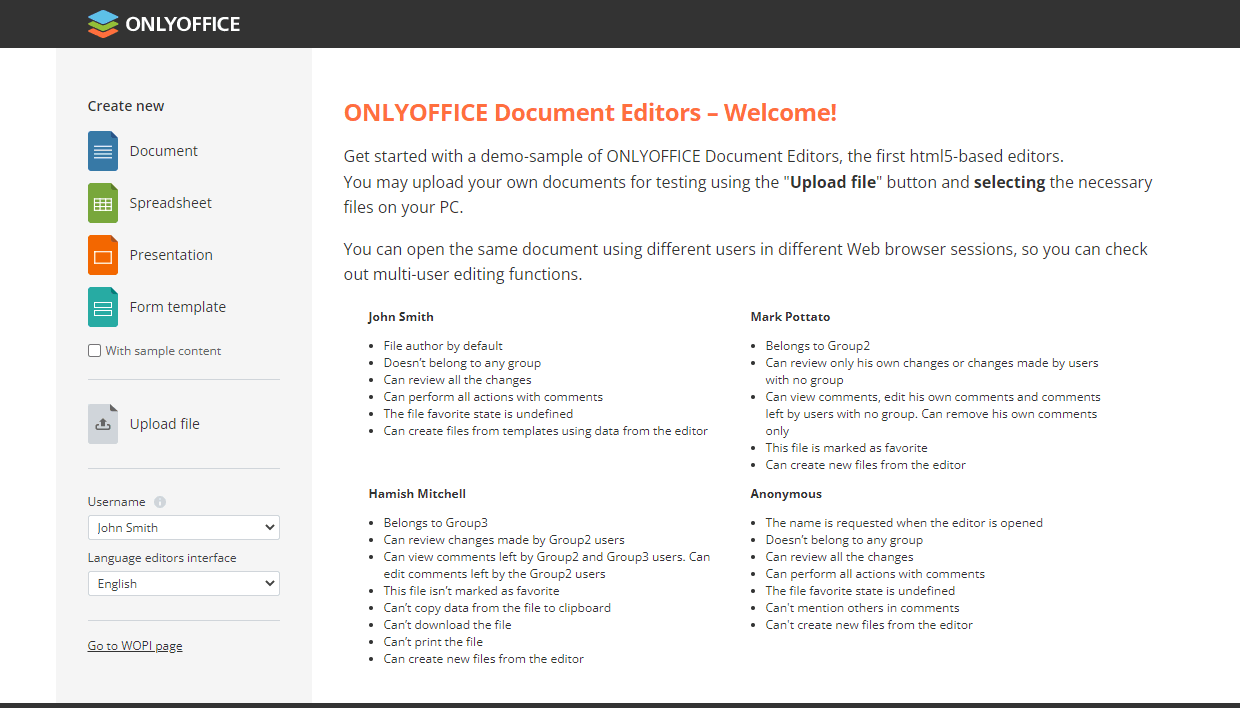
Se abrirá la página de ejemplo de ONLYOFFICE Docs. Aquí puedes:
- Subir un archivo almacenado en tu PC usando la opción Upload file.
- Crea un nuevo documento de texto en blanco, hoja de cálculo, presentación o plantilla de formulario utilizando las opciones Crear nuevo -> Documento, Hoja de cálculo, Presentación o Plantilla de formulario. Si deseas crear un archivo con contenido de muestra, primero marca la casilla Con contenido de muestra.
El archivo subido o creado se abrirá en una nueva pestaña del navegador con el correspondiente Editor en línea de ONLYOFFICE para que puedas probar las capacidades de edición.
El archivo también aparecerá en la lista Tus documentos en la página de ejemplo de Docs Community Edition.
Si deseas comprobar las capacidades de coedición, selecciona otro usuario de prueba de la lista Nombre de usuario y luego haz clic en el mismo documento en la lista Tus documentos para abrirlo en una nueva pestaña del navegador.
Para integrar ONLYOFFICE Docs con tu propia aplicación web, puedes consultar la Documentación API.