Spaces
Managing Spaces
The Spaces section of the server version allows you to create several independent spaces and centrally manage them. To open the Spaces settings, use the  menu in the lower left corner and select the Spaces option.

To create several spaces, you need to have a registered domain name. In your domain DNS settings, create the following records:
- Create the A record that points your domain name to the IP address of the server where DocSpace is installed.
- Create the wildcard A record specifying the asterisk "*" as a name to enable subdomains.
In the Spaces settings, specify your domain name in the Domain entry field. Then enter any portal name you like in the DocSpace name field and click the Connect button.
After that, the Space created dialog window will open where you are asked to go to the space or stay in the settings. Click Go to space to perform initial setup or Stay in Settings to continue creating spaces.
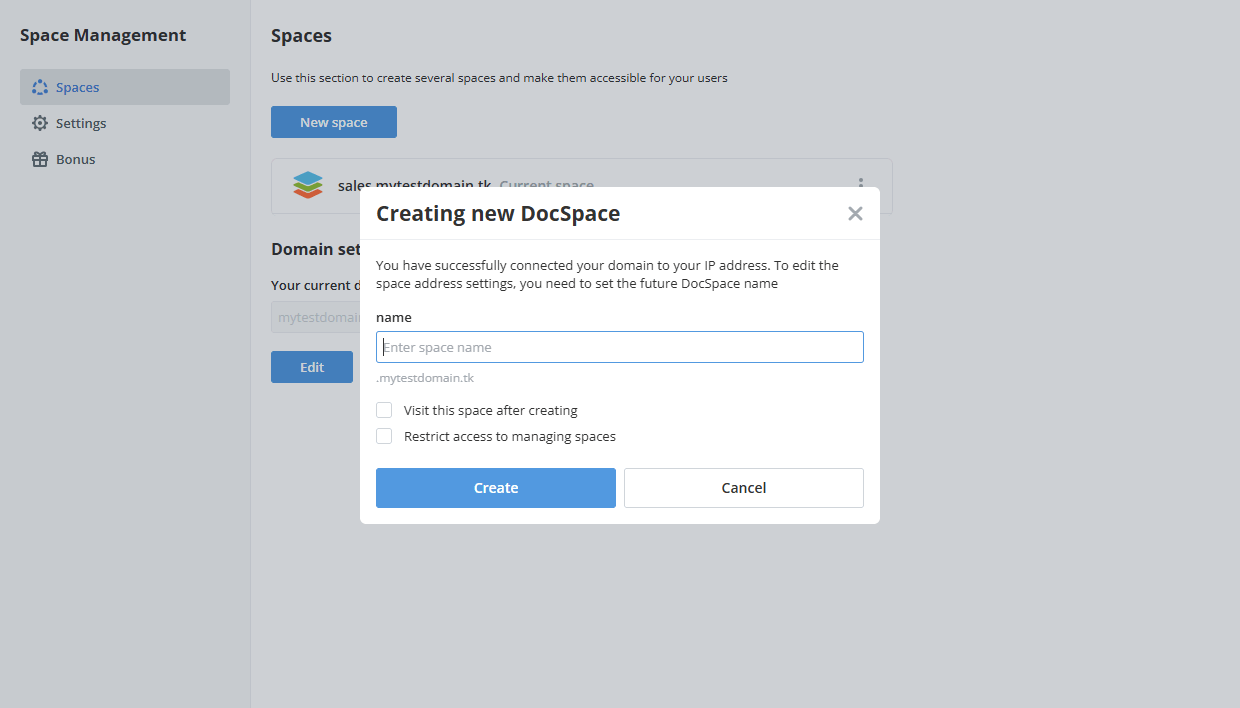
To create a new space, click the New space button in the settings. Specify a name for your second space and click Create to save the settings.
If you check the Visit this space after creating option, you will be redirected to the new space that is available at the newspacename.domainname.com address.
If necessary, check the Restrict access to managing spaces to allow the portal administrator to manage the current portal only. If this option is unchecked, the portal administrator will be able to manage all portals.
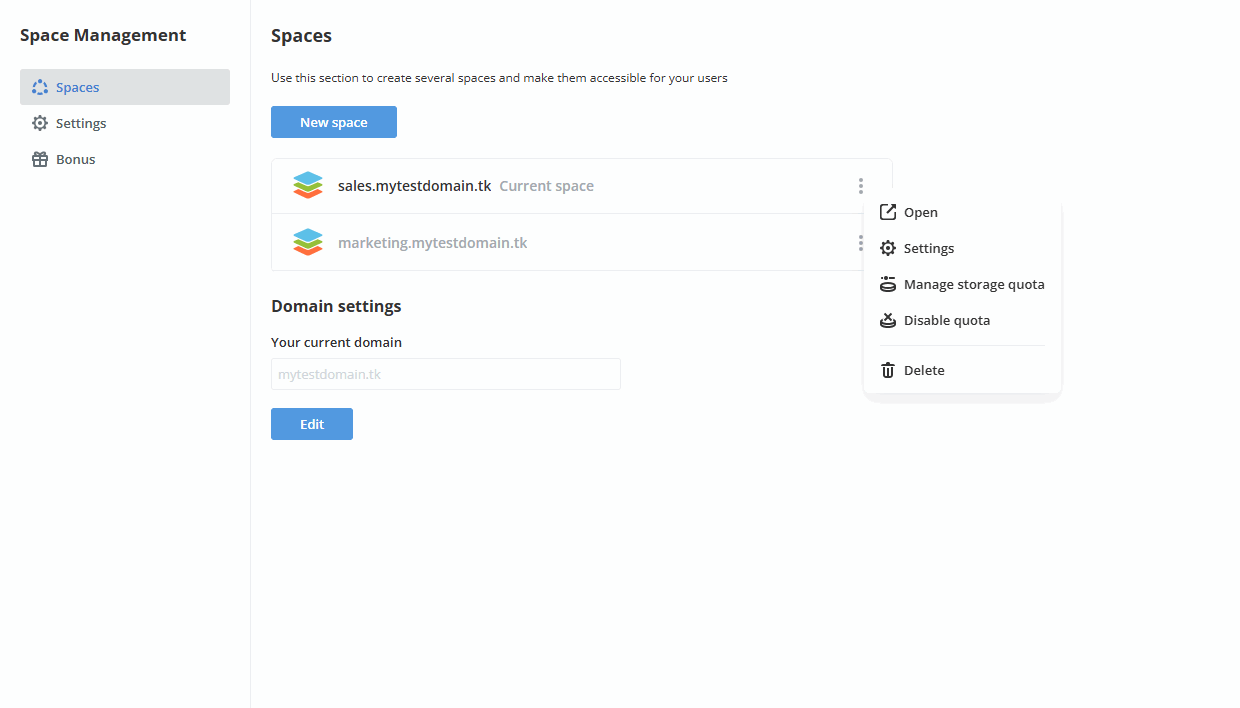
You can access Spaces management client from each of the created spaces. All the created space addresses are displayed at the Spaces tab. You can navigate between them clicking the space you want to go to.
Use the Actions icon next to the space name to open the space, access settings, manage or disable storage quota, delete the space.
After creating several spaces, you can:
- Set up branding for all portals using the Branding menu item. This can be done in the same way as described in the Branding section.
- Perform backup/auto backup of all portals using the Backup menu item. This can be done in the same way as described in the Data backup section.
- Restore backups for of all portals using the Restore menu item. This can be done in the same way as described in the Restore section.
- Encrypt data at rest for of all portals using the Storage menu item. Read the instructions.
- Go to the Payments page using the corresponding menu items.