Backup and Restore
Creating backup
The Backup section of the settings allows you to backup your DocSpace data.
- This is a Paid feature. Free backups are not available on the Startup tariff / Non-profit portals. You can enable the Backup features in the Services section.
- All portal administrators can make backups. Only the payer can connect the Backup service in the Services section.
- If the Backup service is connected in the Services section, the Third-party storages (Amazon AWS S3, Google Cloud Storage, Rackspace Cloud Storage) and Restore sections are still only available on the Business tariff, not on the Startup one.
- On the Business tariff, 2 backups per month are available for free.
- Once all free backups are used up, you will need to connect the Backup service in the Services section if you need to make more backups per month.
- If you started making a backup, but there is not enough money in the account, a warning will be displayed with the option for the payer to immediately top up the Wallet. When you click the Top up your wallet link, you will be redirected to the Wallet with the recommended replenishment amount, which will be enough for 1 backup.
- If the portal is blocked due to non-payment of the Business tariff, the backup remains free and unlimited.
Data backup
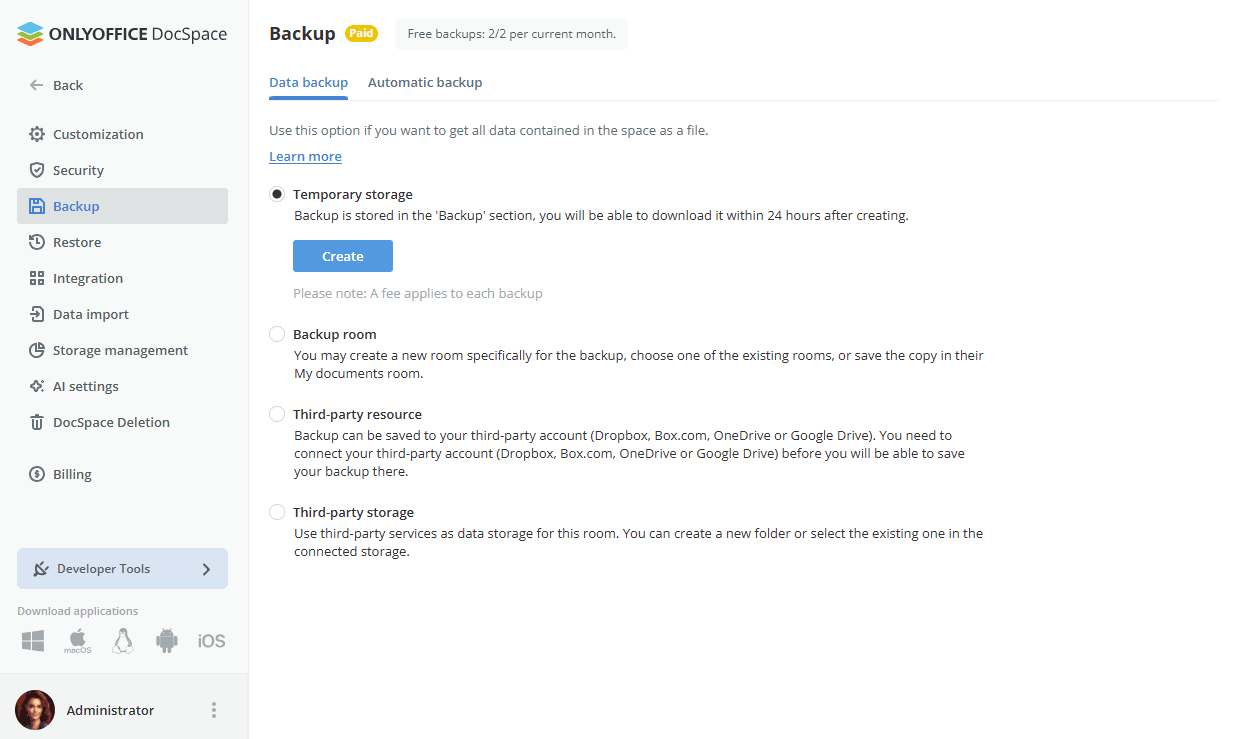
To create your DocSpace data backup manually, use the Data backup section:
-
select the desired Storage for your backup files:
- select the Temporary storage radio button if you wish to download the backup to your local drive when the backup process is over. A download link will appear below.
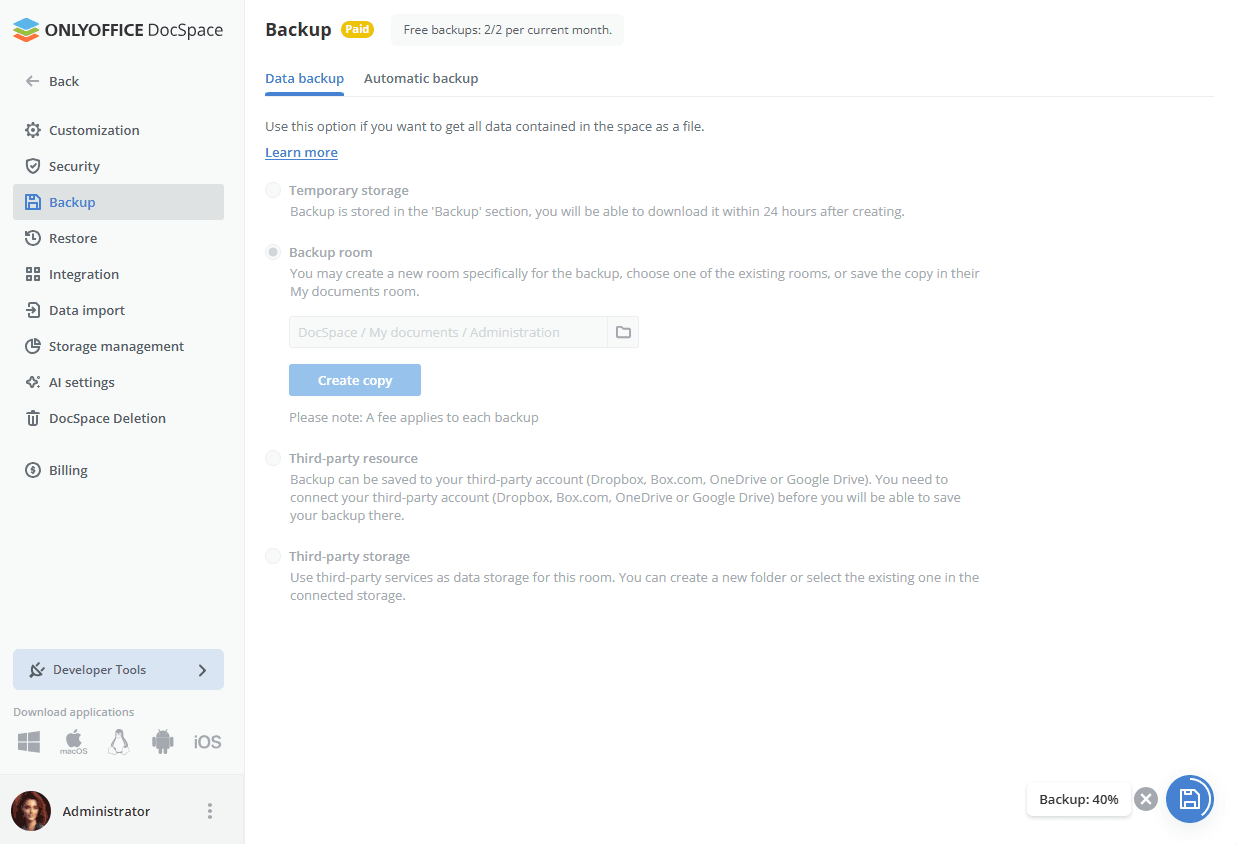
- select the Backup room radio button if you want to store the backup in one of the existing rooms. Click the
 button next to the field that appears below. Set a room where you wish to store your backup and click the Save here button.
 -
select the Third-party resource radio button to save backup to your third-party account (Dropbox, Box.com, OneDrive). You need to connect your third-party account (Dropbox, Box.com, OneDrive) before you will be able to save your backup there.
You can also use Nextcloud, ownCloud, kDrive, or another WebDav service. Select the necessary service from the list, then click Connect. In the Connecting account window, specify the connection URL, your login and password, and click Save.
-
select the Third-party storage radio button and choose one of the available services from the list: Amazon AWS S3 (Amazon Simple Storage Service), Google Cloud Storage or Rackspace Cloud Storage. Enter the required credentials to access the selected third-party storage in the fields below.
The corresponding service must be previously connected in the Integration section. Otherwise, the following settings will be disabled.
-
For the Amazon AWS S3 service, the following fields are available:
- Bucket - a unique Amazon bucket name, e.g. my-new-test-bucket-12345.
- Region - an AWS region where your Amazon bucket resides, e.g. us-east-2.
- Service Url - this is an optional property; change it only if you want to try a different service endpoint. Leave this field empty to use the default value.
- Force Path Style - when true, requests will always use path style addressing. Leave this field empty, as the Service Url property is not specified.
- Use Http - if this property is set to true, the client attempts to use the HTTP protocol, if the target endpoint supports it. By default, this property is set to false. Set it to true or leave this field empty to use the default value.
- Server Side Encryption Method - the server-side encryption algorithm used when this object is stored in S3. The possible values are none, aes256, awskms. Leave this field empty to use the default aes256 value.
- For the Google Cloud Storage service, the following field is available: Bucket.
- For the Rackspace Cloud Storage service, the following fields are available: Public container, Private container and Region.
-
For the Amazon AWS S3 service, the following fields are available:
- click the Create copy button.
Once the backup process is completed you will find the backup .tar.gz file (DocSpace-name_date_time.tar.gz) in the specified folder. If you've selected the Temporary storage, the link to download the created backup will be available for 24 hours.
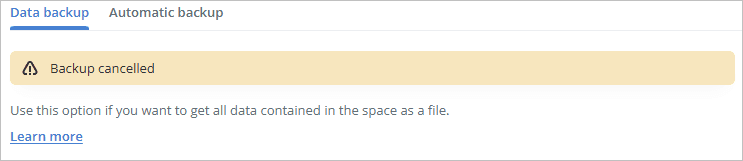
 Cancel button that appears next to the progress indicator.
Automatic backup
To automate the backup process, use the Automatic backup section. In the SaaS version, this is a Paid feature (available for the paid Business plan only).
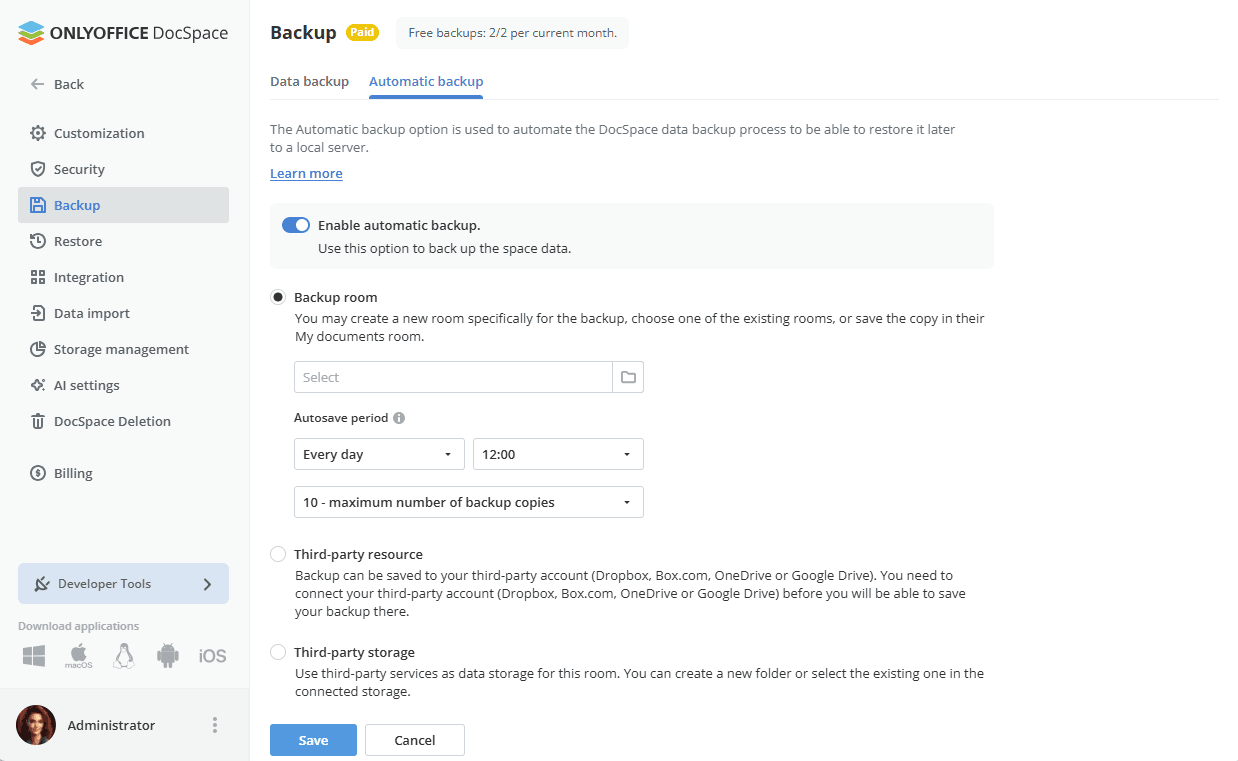
- turn on the Enable automatic backup switcher.
- select the desired Storage for your backup files (the available options are the same as those described above, except for the Temporary storage which is only available in the Data backup section).
- specify the time interval at which backups should be created: Every day with an indication of the necessary time of the day, Every week with an indication of the necessary day of the week and time of the day, or Every month with an indication of the necessary day of the month and time of the day.
- set The maximal number of backup copies to be stored by selecting the necessary value from the corresponding drop-down list.
- click the Save button.
Backups will be created automatically with the specified periodicity.
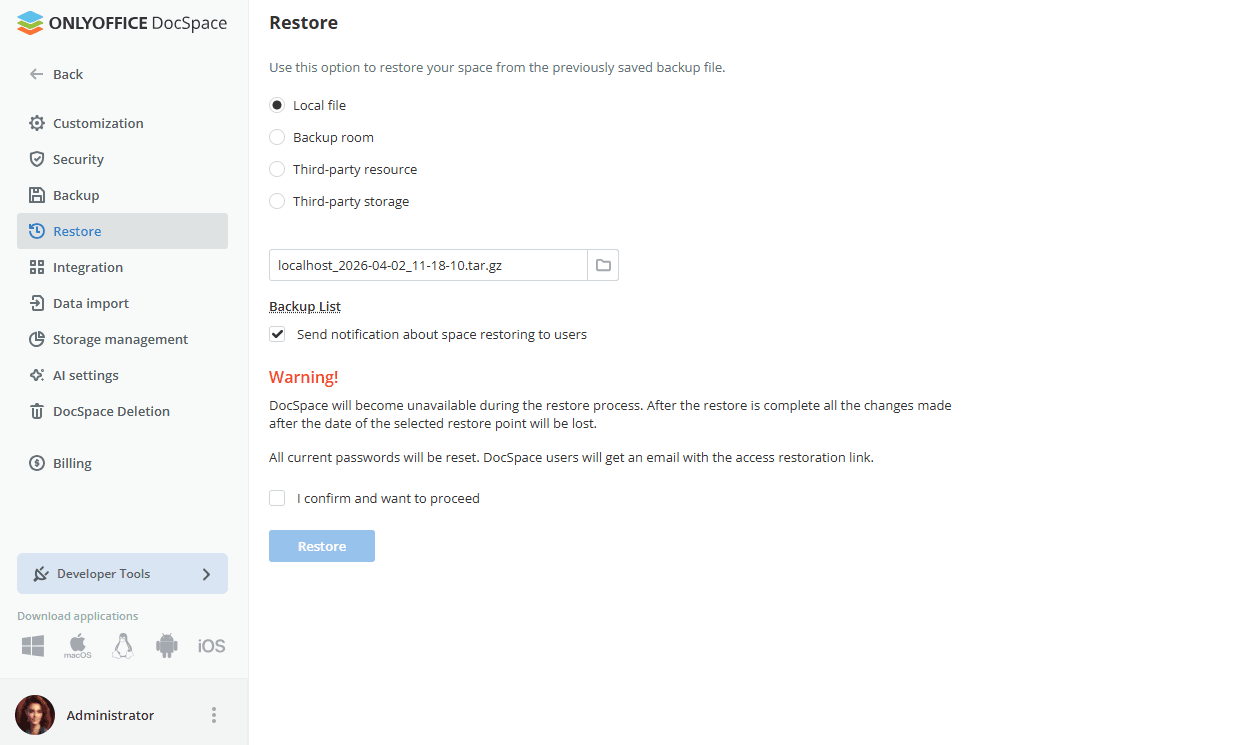
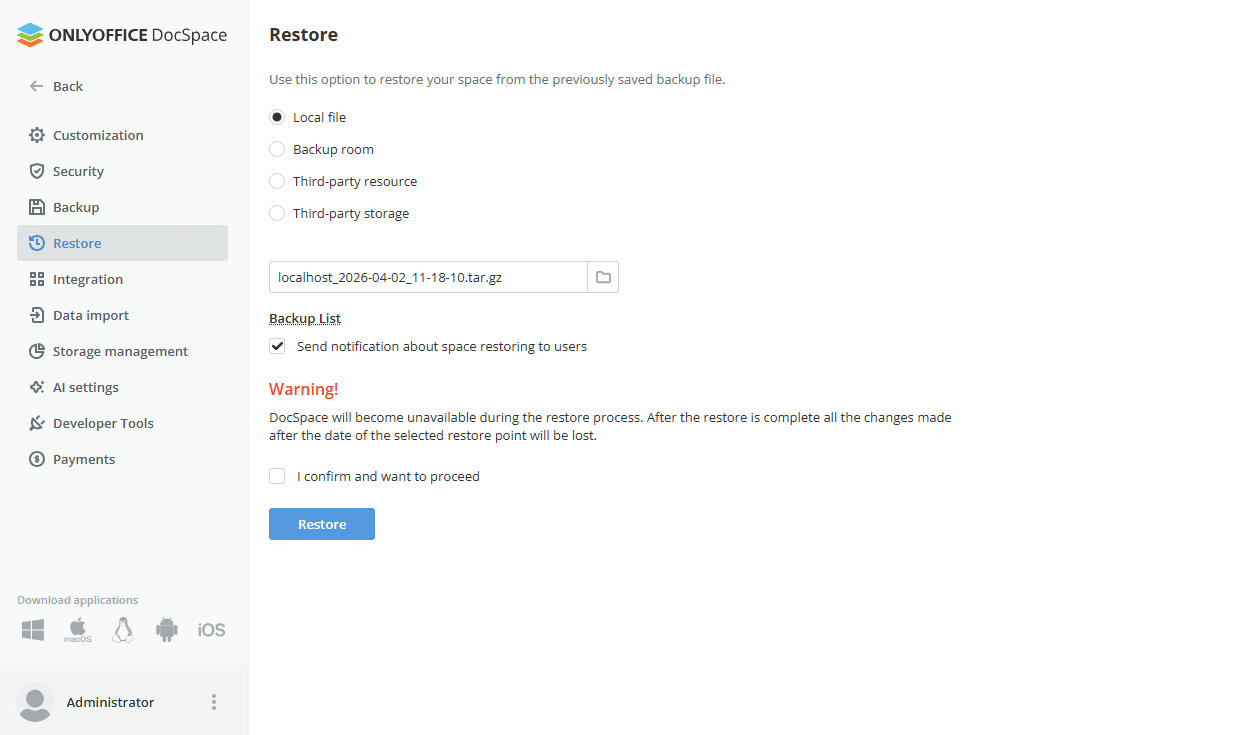
Data restore
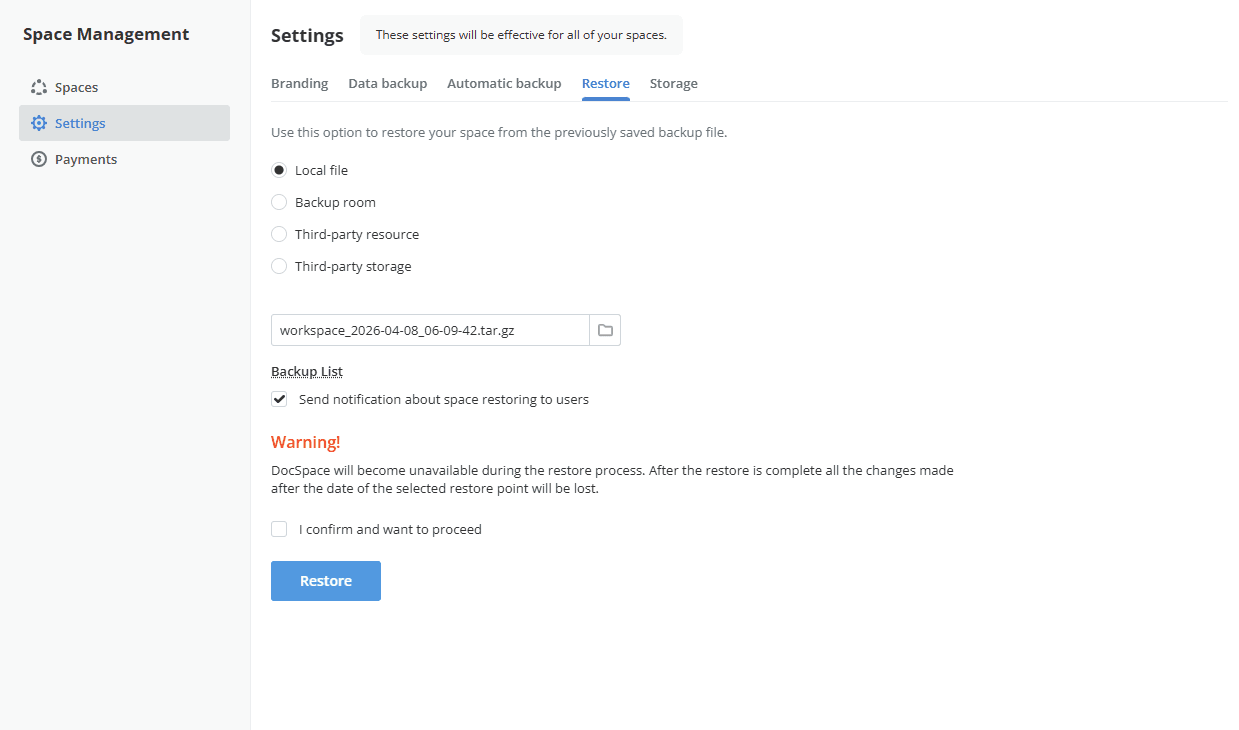
In the SaaS version, this is a Paid feature (available for the paid Business plan only). To restore your DocSpace from the previously created backup file,
-
Select the Source where the backup is stored.
- select the Local file option, click the Choose button below, and browse for the necessary backup file stored on your local drive.
- select the Backup room option and click the button below. In the Select file window, choose the necessary backup file and click Save.
- select the Third-party resource option (Dropbox, Box.com, OneDrive or services connected via the WebDAV protocol) and click the Choose button below. In the Select file window, choose the necessary backup file stored in the third-party resource directory and click OK.
-
select the Third-party storage option, choose the necessary third-party storage previously connected in the Integration section and enter the credentials required to to access the chosen storage.
Instead of selecting a backup file from a certain Source, you can just click the Backup List link below the Choose field to select the necessary backup file from the backup history (if a backup file was deleted manually from the storage, it will not be available in the list). Click the Restore link next to the necessary backup file. To delete a backup file from the list, click the
 icon.
icon.
-
Leave the Send notification about space restoring to users box checked to notify your DocSpace users.
After restoring the backup, current passwords will be reset and users will need to restore their access via the email addresses specified in their profiles by specifying the password which will be used for signing in.
- Check the I confirm and want to proceed box.
- Click the Restore button.
Backup and restore for server versions
With server versions, the ONLYOFFICE DocSpace backup and restore strategy differs depending on whether your system is single-space or multi-space, and whether you want to back up an individual space or all spaces under one domain. In general, the backup process for server (self-hosted) versions follows the same steps as described in the Data backup and Data restore sections above, however the backup paths differ.
Prerequisites
- Perform all actions with root rights.
- Verify that your server meets the system requirements for the latest version before proceeding: DocSpace Enterprise, DocSpace Developper, and DocSpace Community.
- The backup file must be accessible from the server where the new version will be installed.
Using core.machinekey
The core.machinekey is a security parameter used to encrypt certain portal data. When restoring a backup on a different server or a new version, note the following:
- Restoring with or without the original core.machinekey is supported. However, you will need to reset your portal password after a multi-space restore, as the existing password will no longer be valid.
- In both cases, access is recovered via the email address specified in your portal administrator profile.
Updating to the latest version
Before creating a backup, update your ONLYOFFICE DocSpace installation to the latest version. This ensures the backup file is compatible with the target version and reduces the risk of data inconsistencies. Refer to the relevant update guide: DocSpace Enterprise, DocSpace Developper, or DocSpace Community.
Backing up and restoring
- If you are restoring to a new server, install the latest version of ONLYOFFICE DocSpace first and complete the initial portal setup before restoring. Refer to the relevant installation guide: DocSpace Enterprise, DocSpace Developper, or DocSpace Community.
- Store the backup file in a location accessible from the target server before starting the restore.
- Once the restore is complete, the portal will reload automatically.
Single-space backup
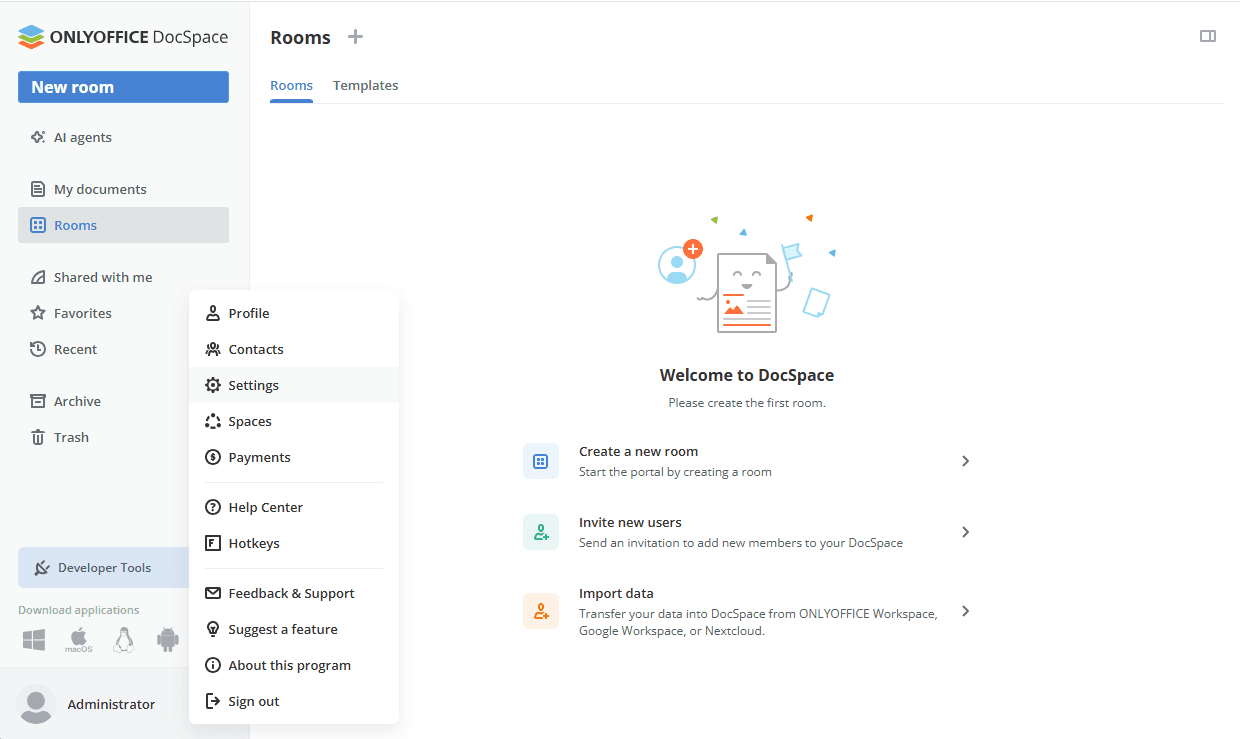
- To create a single-space backup, go to Administrator > Settings > Backup.
Follow the steps in the Data backup section. You will create a copy of all files and data stored in this space. The backup file name is
localhost_date_time.tar.gz.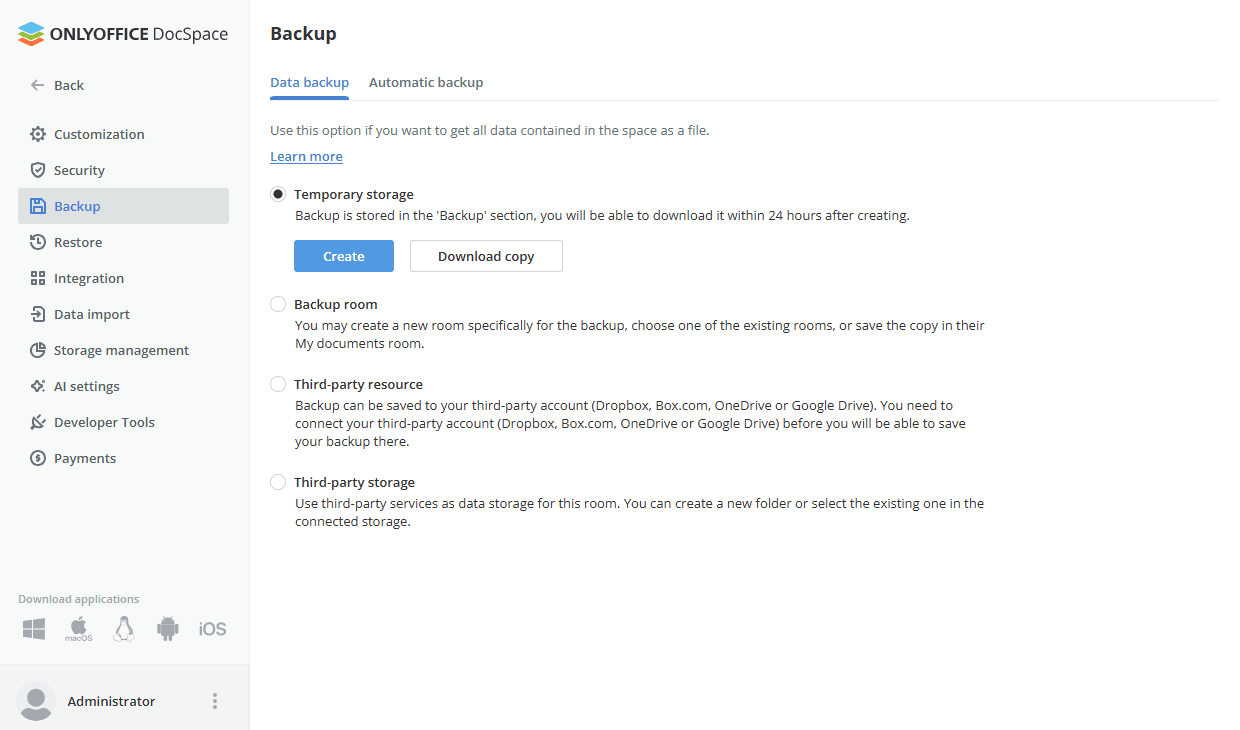
- To recover data from a single-space backup, go to Administrator > Settings > Restore. Proceed as described above in the Data restore section.
Multi-space backup
- To create a multi-space backup, go to Administrator > Spaces > Settings > Backup.
See the Data backup section for full procedure. You will create a copy of all files and data stored across all spaces under your domain. The backup file name is
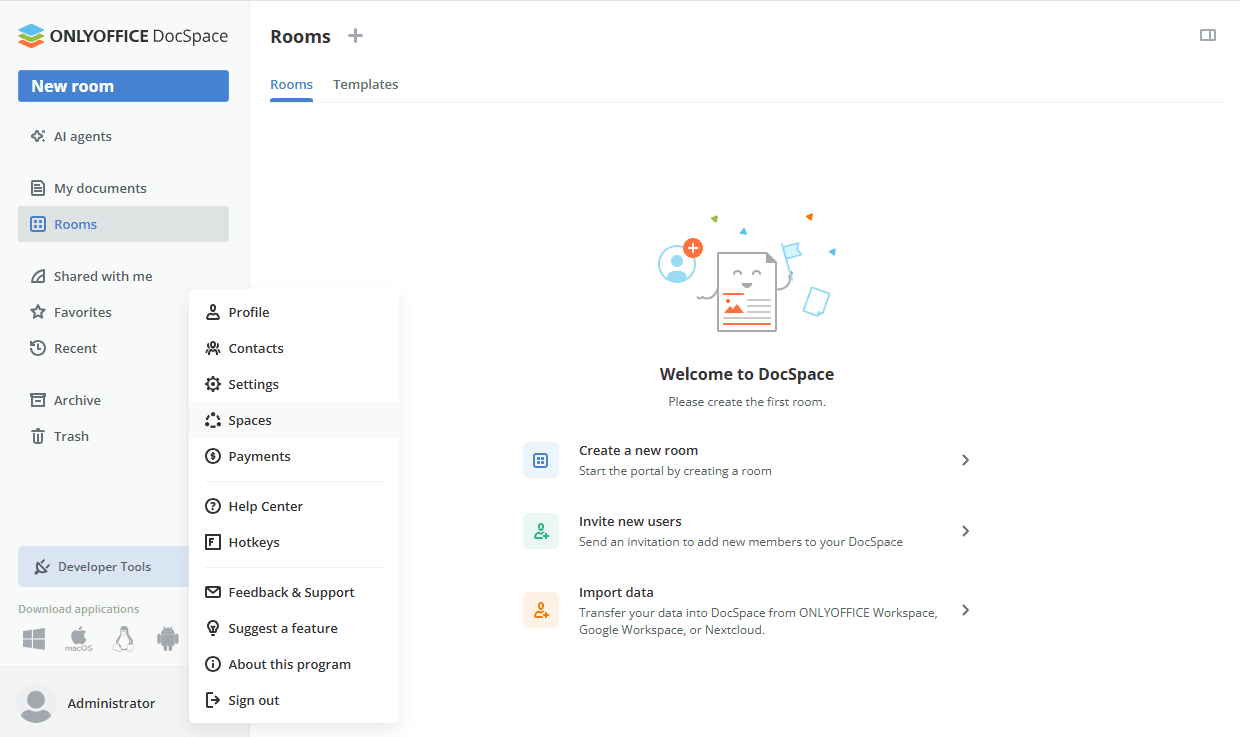
workspace_date_time.tar.gz.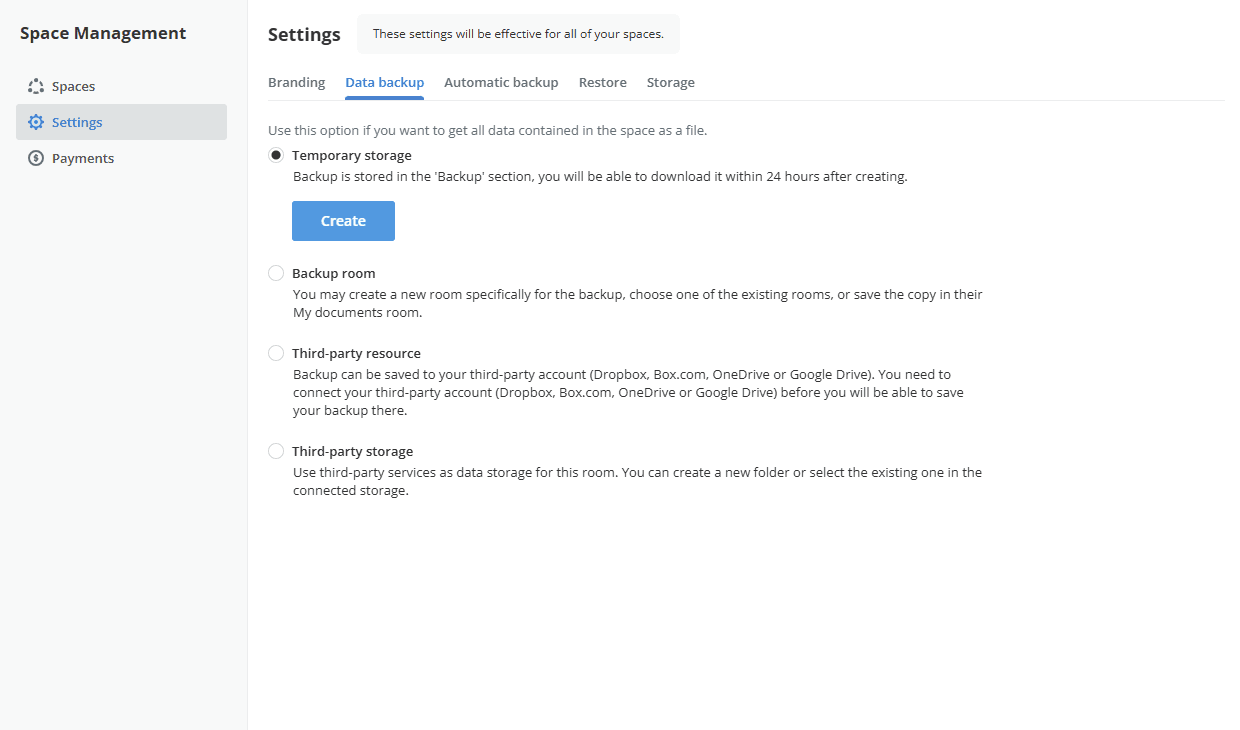
- To recover data from a multi-space backup, go to Administrator > Spaces > Settings > Restore. Proceed as described above in the Data restore section.
Recovering the portal password
Your existing password will be reset after a restore from a multi-space backup. To regain access:
- On the portal sign-in page, click Forgot your password?.
- Enter the email address associated with your portal administrator account.
- Follow the link sent to your email to set a new password.
- Sign in with the new password.
Your portal data, rooms, and user accounts will be fully restored.