管理公司文档
介绍
创建一个组织良好的公司文档存储空间可以帮助您节省时间,并显著提高工作效率和生产力。
门户为您提供了一个存储公司文档的公共空间——公共部分,您可以根据需要进行结构化:创建文件夹并为其设置权限。
本指南将向您展示如何完成这些操作。
步骤 1. 访问文档
进入您的ONLYOFFICE门户并点击文档链接。


如果您已经登录门户并使用了一段时间,要访问文档模块,请打开页面左上角的下拉列表并选择相应的选项。
步骤 2. 创建结构
我的文档文件夹将打开。
结构化公司文档的最简单方法是按组组织,为每个公司部门创建一个公共目录。
点击左侧面板中的相应链接切换到公共部分。点击左上角的创建按钮,从下拉列表中选择文件夹选项。输入文件夹名称,例如部门名称,然后点击创建  图标。
图标。


指定名称的文件夹将在公共部分创建。您可以用同样的方法创建任意数量的文件夹。
步骤 3. 设置权限
默认情况下,放置在公共部分的所有文件和文件夹对所有门户用户可用。要限制访问,您需要为所有创建的文件夹设置权限。
点击所需文件夹右侧的访问按钮,或使用上下文菜单中的共享设置选项打开访问设置窗口。
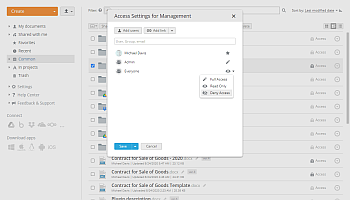
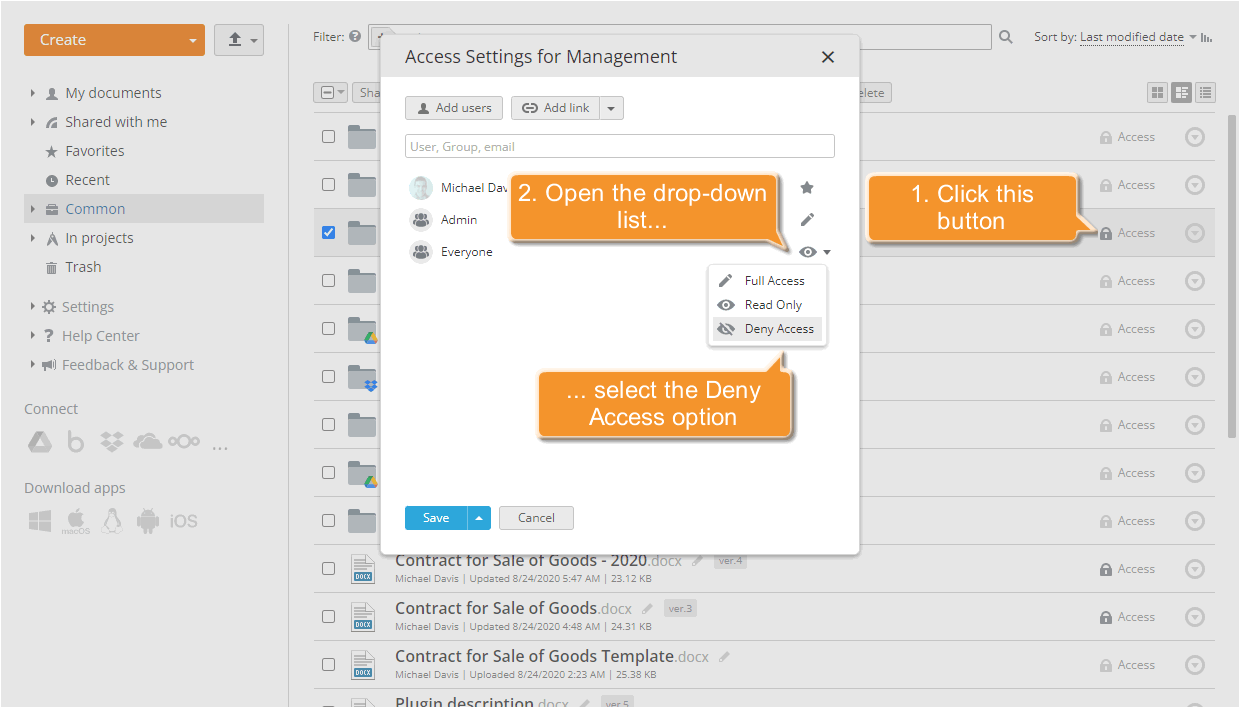
首先,您需要阻止默认授予所有门户用户的只读访问权限。指向所有人行,点击只读链接并从列表中选择拒绝访问选项。
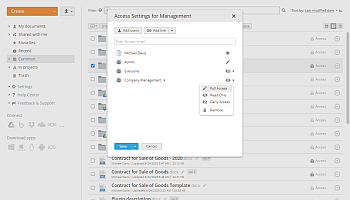
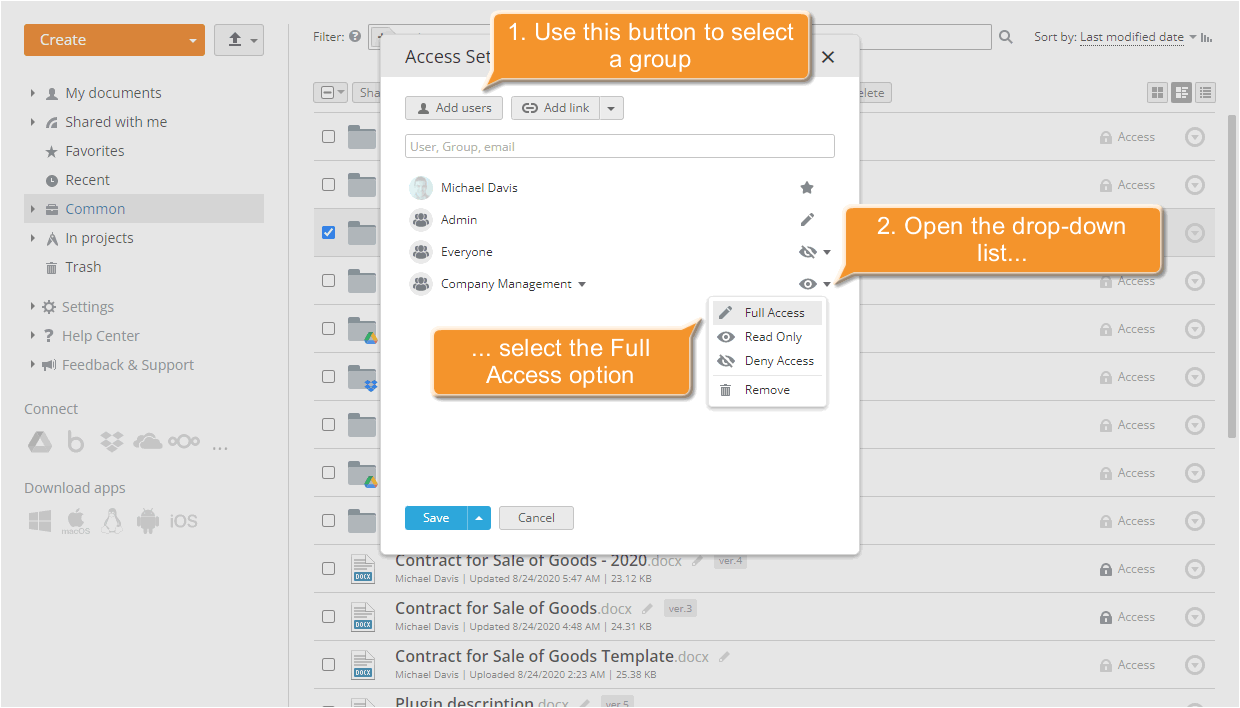
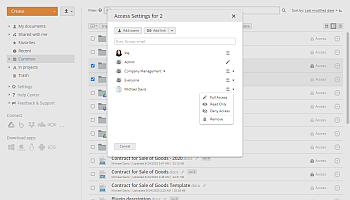
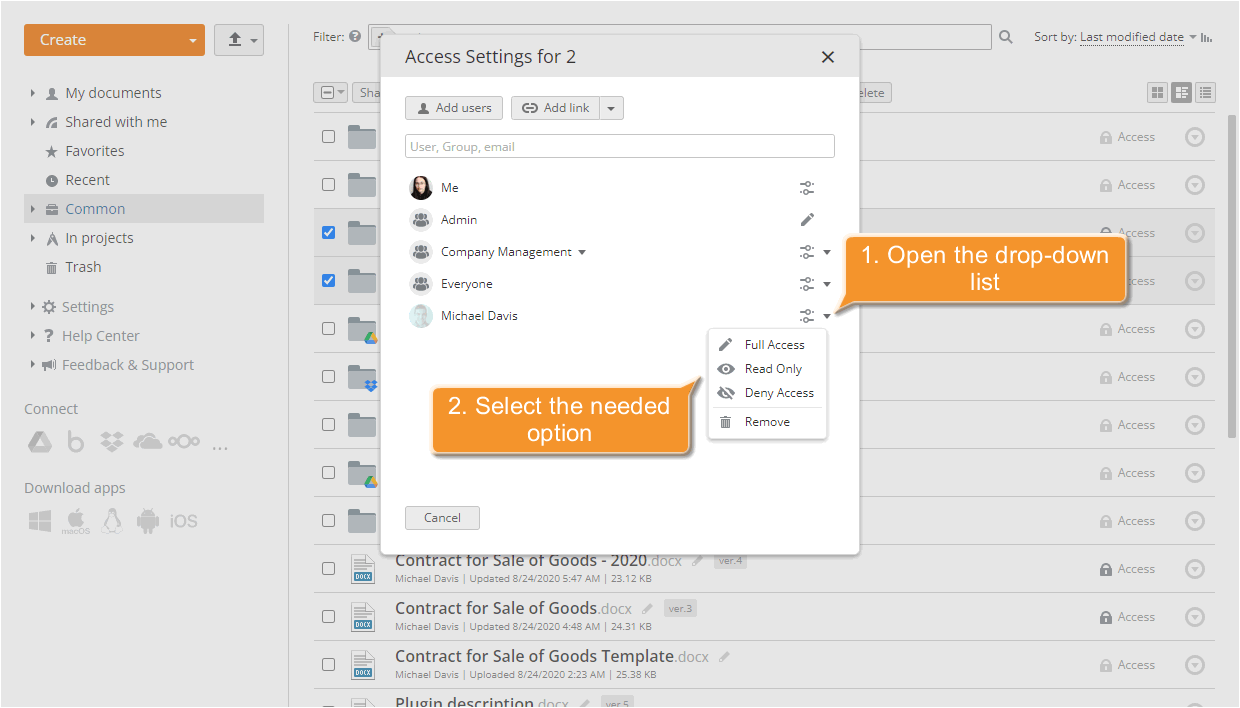
现在要为公司部门中的某个部门提供访问权限,请点击窗口顶部的添加用户按钮并选择所需的组。
要授予完全访问权限,以便所选组的用户不仅可以查看文档,还可以创建和编辑它们以及直接上传和移动文件到此文件夹,请点击只读链接并选择完全访问选项。
要应用更改,请点击保存按钮。
您可以一次为多个文件/文件夹设置权限。
标记您想与门户用户共享的项目并点击共享设置按钮。在打开的访问设置窗口中,您将看到所有有权访问所选文件夹项目的用户和组。如果您在用户名前看到不同链接,这意味着他/她对所选项目有不同的访问级别。
如果您希望为用户/用户组设置相同的访问权限,请点击不同链接并选择可用的访问选项之一。
要应用更改,请点击保存按钮。
步骤 4. 组织文档
要将文档放置到适当的文件夹中,请勾选所需文档旁边的框,点击移动到按钮并选择您希望移动文档的文件夹。
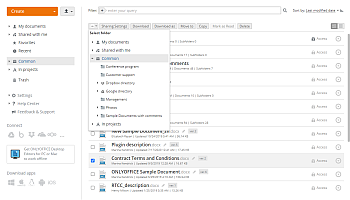
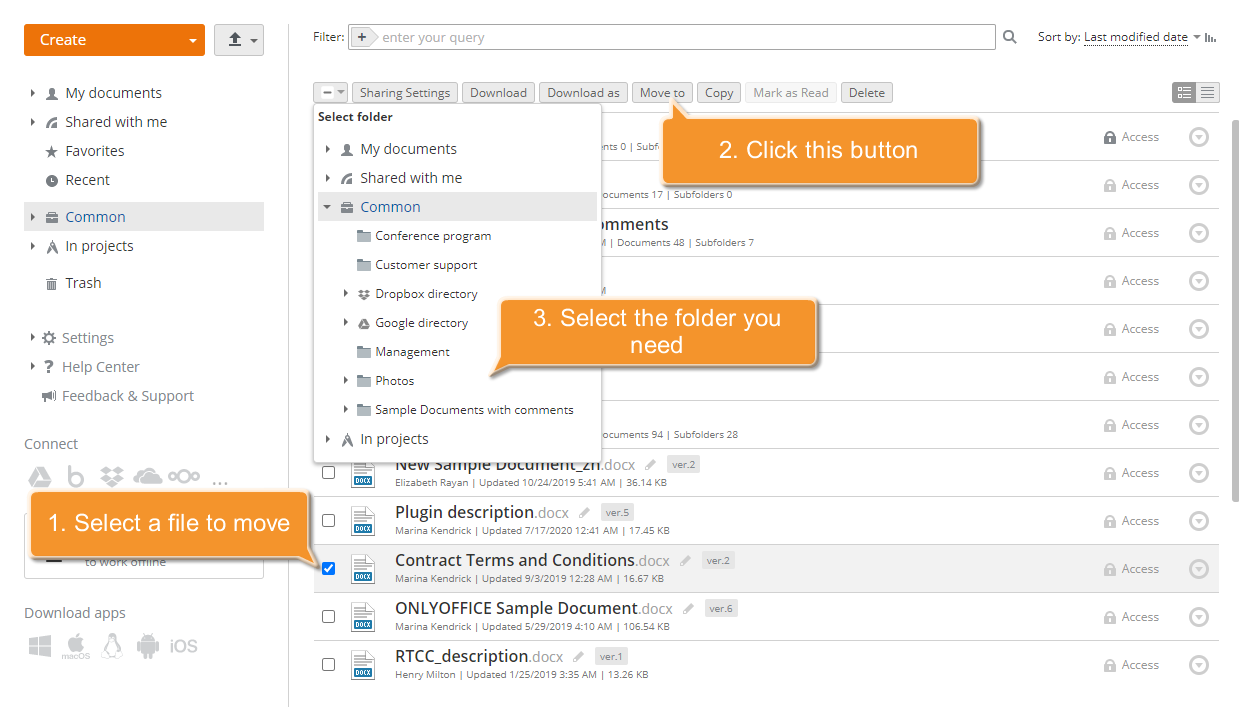
文档将被放置到所选文件夹中。
您也可以直接上传一些新文件到创建的文件夹中,进入文件夹并使用页面左上角的上传按钮。设置给文件夹的权限将应用于放置和上传到其中的所有文档。