Redmine
关于 ONLYOFFICE 和 Redmine 的集成
ONLYOFFICE 提供了一个官方连接器,可以将 ONLYOFFICE 文档 与 Redmine 集成,以便在以下 Redmine 模块中协作处理附加的办公文档:问题、文件、文档、Wiki、新闻和论坛。您可以从 Redmine 市场或 ONLYOFFICE 的GitHub 页面下载 ONLYOFFICE 连接器。该应用程序以 Apache 许可证分发。
将 ONLYOFFICE 文档连接到 Redmine
配置 ONLYOFFICE Redmine 连接器
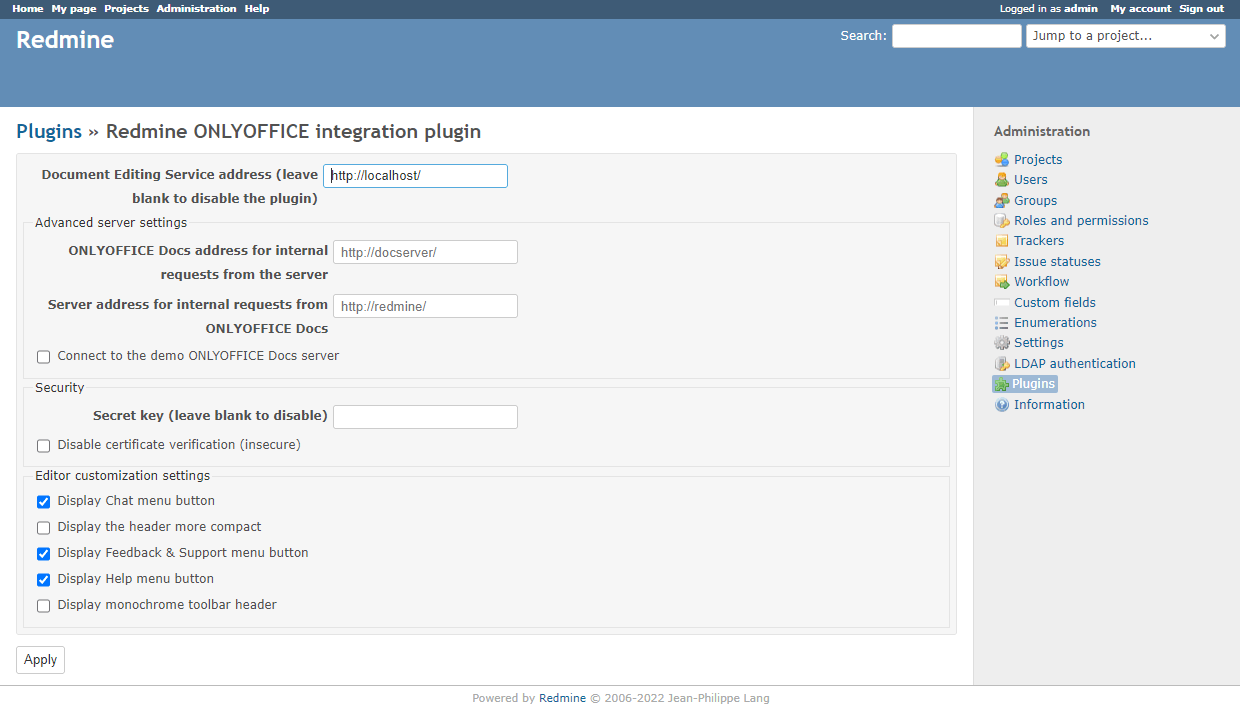
进入 管理 面板 > 插件,找到 ONLYOFFICE Redmine 集成插件并点击 配置。指定以下参数:
-
文档编辑服务地址 - 输入安装 ONLYOFFICE 文档 的 URL 地址和端口(例如
https://documentserver:8080)。此字段为必填项。ONLYOFFICE 文档的地址必须能从 Redmine 访问,同时 Redmine 的地址也必须能从 ONLYOFFICE 文档访问。 -
如果您的网络配置不允许使用公共地址在安装的 Redmine 和 ONLYOFFICE 文档 之间请求,可以使用高级服务器设置部分。在相应字段中指定内部请求的地址:
- ONLYOFFICE 文档的内部请求地址 - 指定从 Redmine 访问文档编辑服务的地址。
- 从 ONLYOFFICE 文档的内部请求服务器地址 - 指定从文档编辑服务访问 Redmine 的地址。
-
密钥 - 指定用于签署数据的密钥。
从 ONLYOFFICE 文档 v7.2 开始,JWT 默认启用,并自动生成密钥。有关详细信息,请参阅本文的启用 ONLYOFFICE 和 Redmine 集成的 JWT部分。
- 禁用证书验证(不安全) - 勾选此框以禁用证书验证,并允许 Redmine 与 ONLYOFFICE 文档 建立连接,如果您使用的是自签名证书(否则,Redmine 将不验证自签名证书,也不允许与 ONLYOFFICE 文档 的连接)。这是一个不安全的解决方案,我们强烈建议您将证书替换为由某个 CA 颁发的证书。
-
如有必要,请检查以下自定义设置:
- 显示聊天菜单按钮。
- 以更紧凑的方式显示标题。
- 显示反馈支持菜单按钮。
- 显示帮助菜单按钮。
- 显示单色工具栏标题。
点击底部的 应用 按钮以保存更改。

在 Redmine 中开始使用 ONLYOFFICE 文档
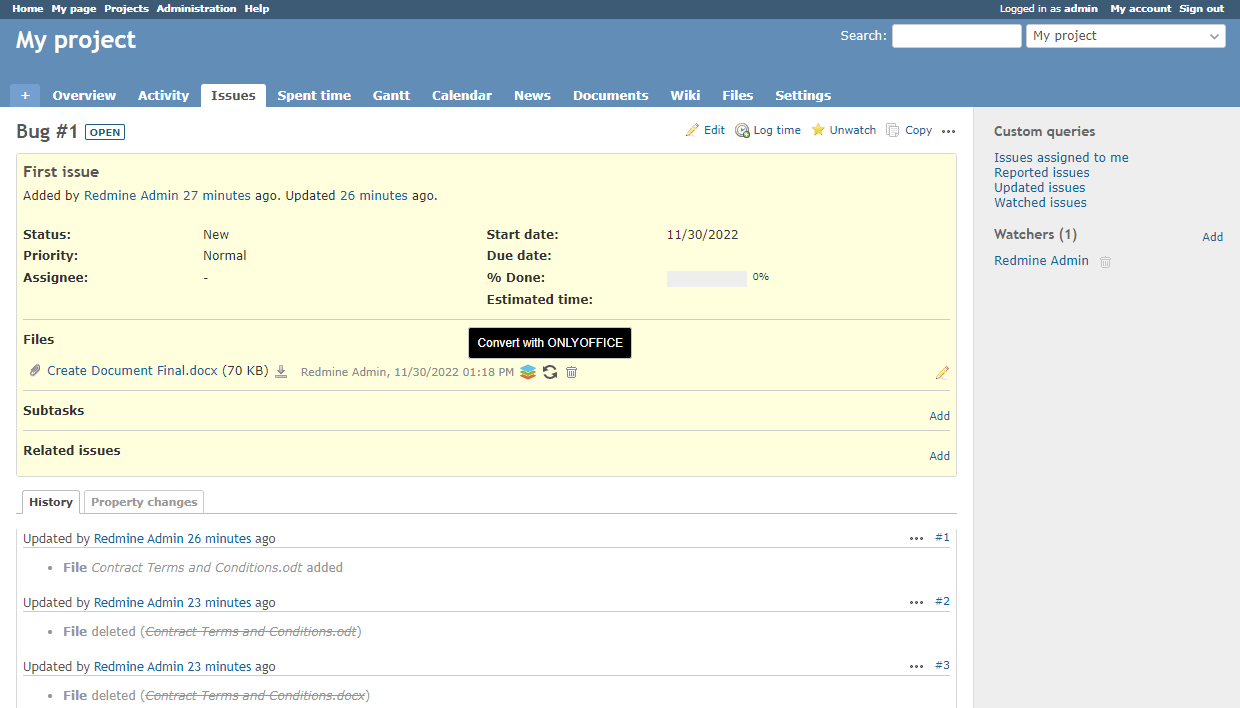
问题模块
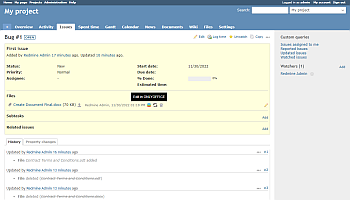
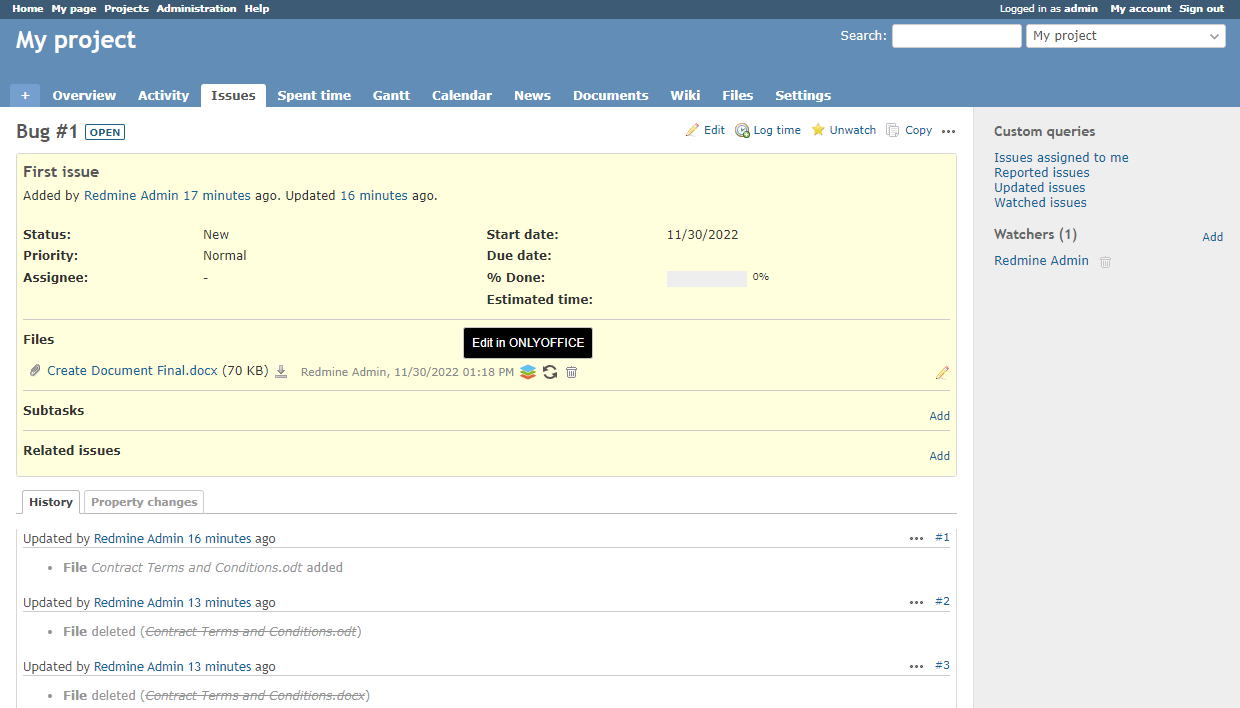
要在相应的编辑器中打开附加到问题或问题评论的文件,请点击文件名右侧的 ![]() 在 ONLYOFFICE 中编辑 / 在 ONLYOFFICE 中打开 按钮。
在 ONLYOFFICE 中编辑 / 在 ONLYOFFICE 中打开 按钮。
编辑文档的权限适用于具有 编辑问题 权限的用户角色。
查看文件的权限适用于具有 查看问题 权限的用户角色。
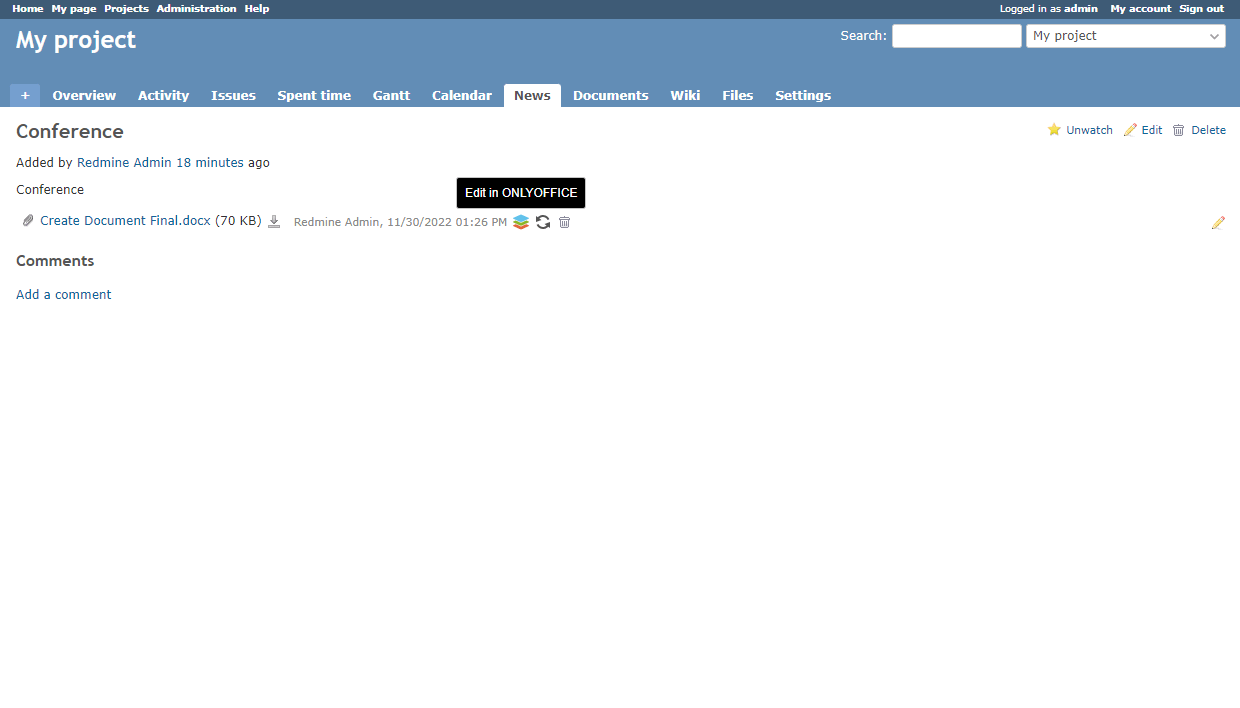
新闻模块
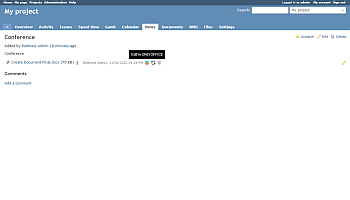
要在相应的编辑器中打开文件,请点击文件名右侧的 ![]() 在 ONLYOFFICE 中编辑 / 在 ONLYOFFICE 中打开 按钮。
在 ONLYOFFICE 中编辑 / 在 ONLYOFFICE 中打开 按钮。
编辑文档的权限适用于具有 编辑新闻 权限的用户角色。
查看文件的权限适用于具有 查看新闻 权限的用户角色。
文档模块
要在相应的编辑器中打开文件,请点击文件名右侧的 ![]() 在 ONLYOFFICE 中编辑 / 在 ONLYOFFICE 中打开 按钮。
在 ONLYOFFICE 中编辑 / 在 ONLYOFFICE 中打开 按钮。
编辑文档的权限适用于具有 编辑文档 权限的用户角色。
查看文件的权限适用于具有 查看文档 权限的用户角色。

要创建表单,请点击 在 ONLYOFFICE 中创建 链接并选择 表单模板 选项。
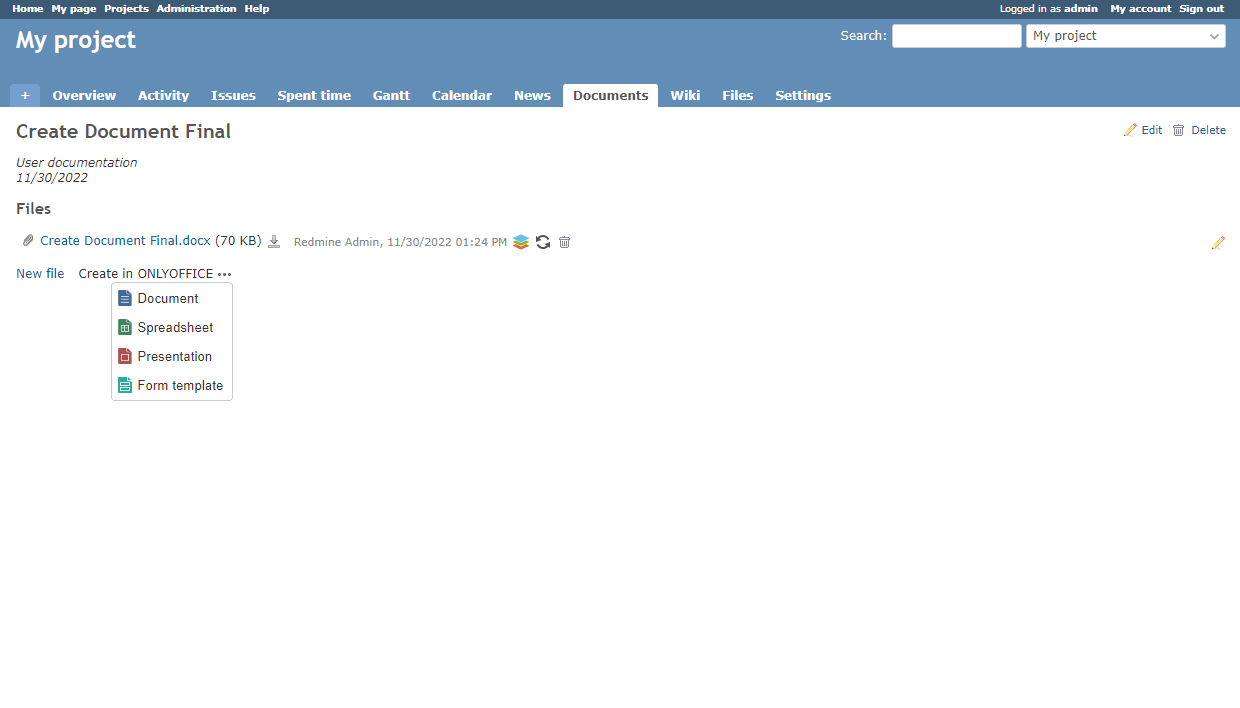
填写所需字段并点击 创建。
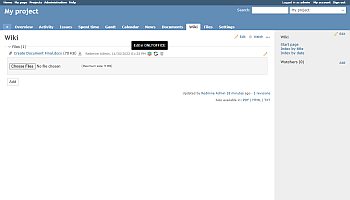
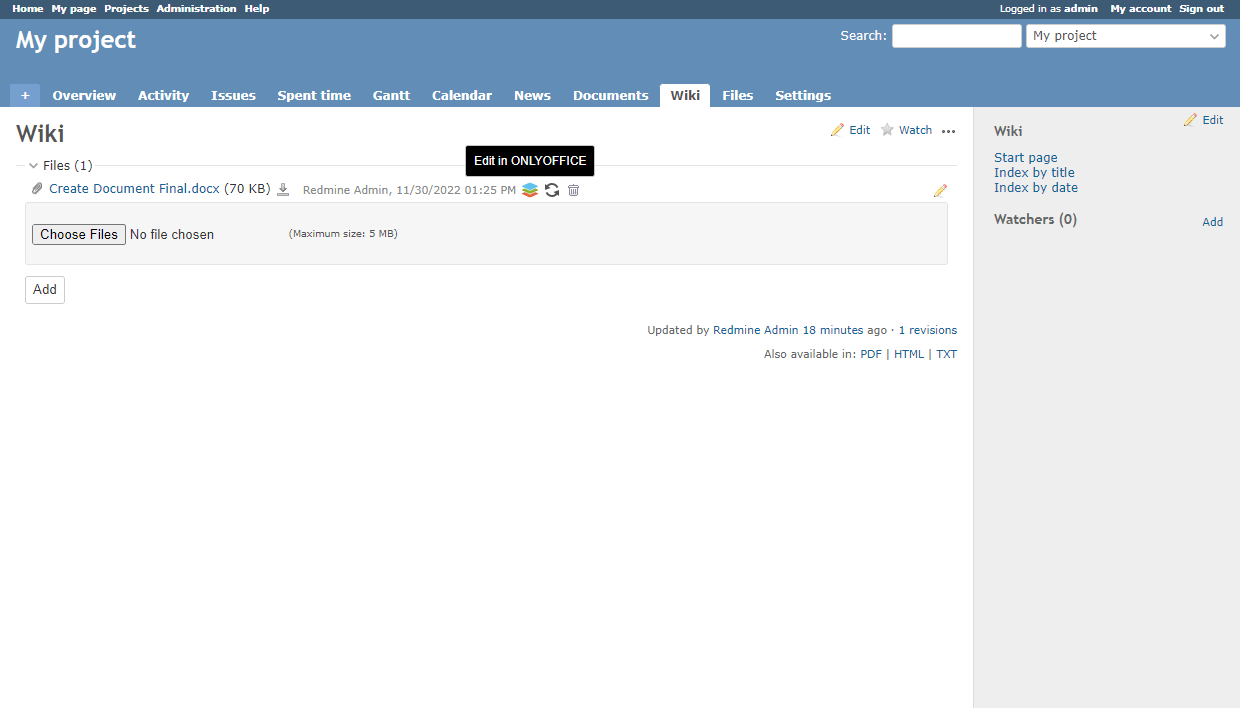
Wiki 模块
要在相应的编辑器中打开文件,请点击文件名右侧的 ![]() 在 ONLYOFFICE 中编辑 / 在 ONLYOFFICE 中打开 按钮。
在 ONLYOFFICE 中编辑 / 在 ONLYOFFICE 中打开 按钮。
编辑文档的权限适用于具有 编辑 Wiki 页面 权限的用户角色。
查看文件的权限适用于具有 查看 Wiki 权限的用户角色。
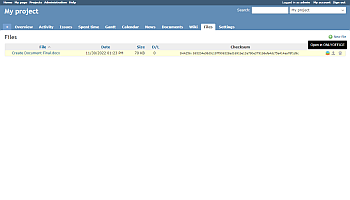
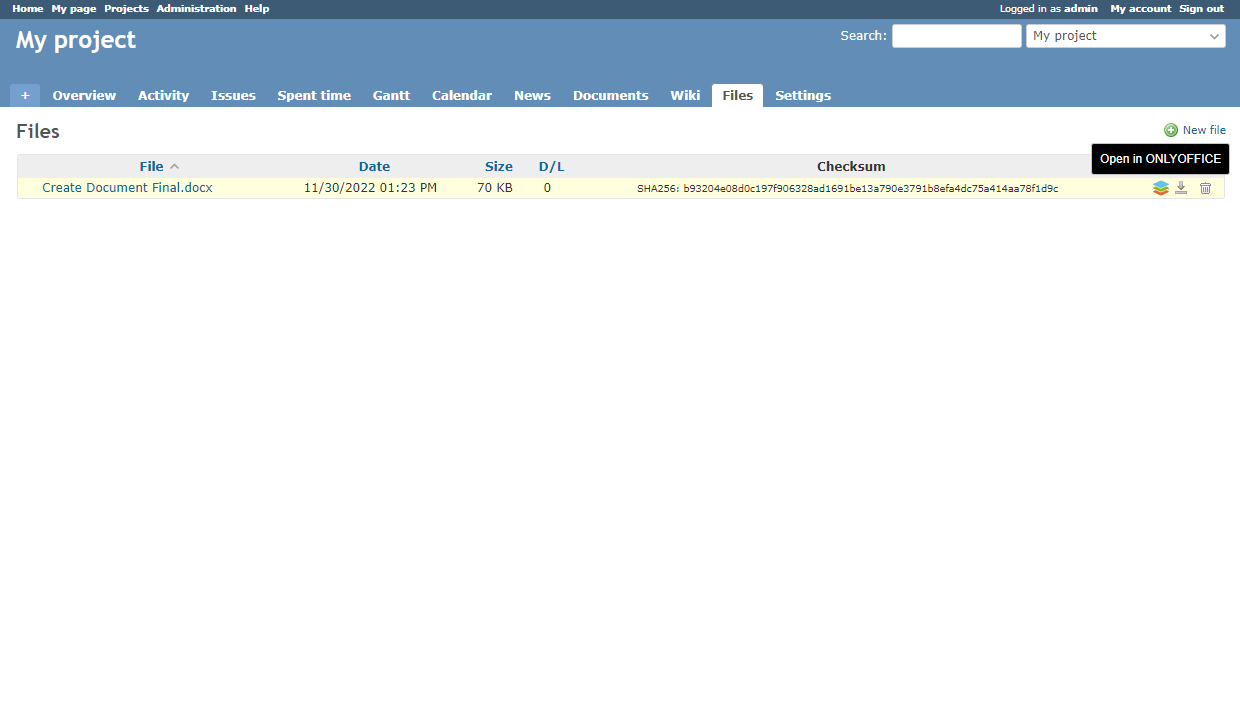
文件模块
文件仅对具有 查看文件 或 管理文件 权限的用户可见。要在相应的编辑器中打开文件,请点击文件名右侧的 ![]() 在 ONLYOFFICE 中打开 按钮。
在 ONLYOFFICE 中打开 按钮。
转换文件
在以下 Redmine 模块中可以进行文件转换:问题、文档、Wiki 和新闻。
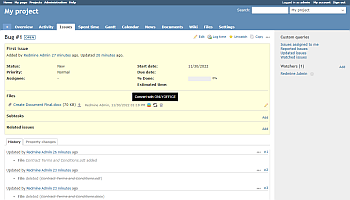
点击文件名右侧的  使用 ONLYOFFICE 转换 按钮。
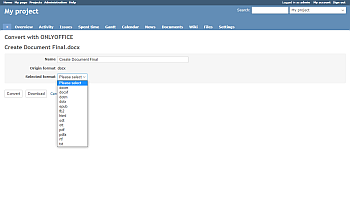
从列表中选择所需的格式。您可以选择更改文件名。
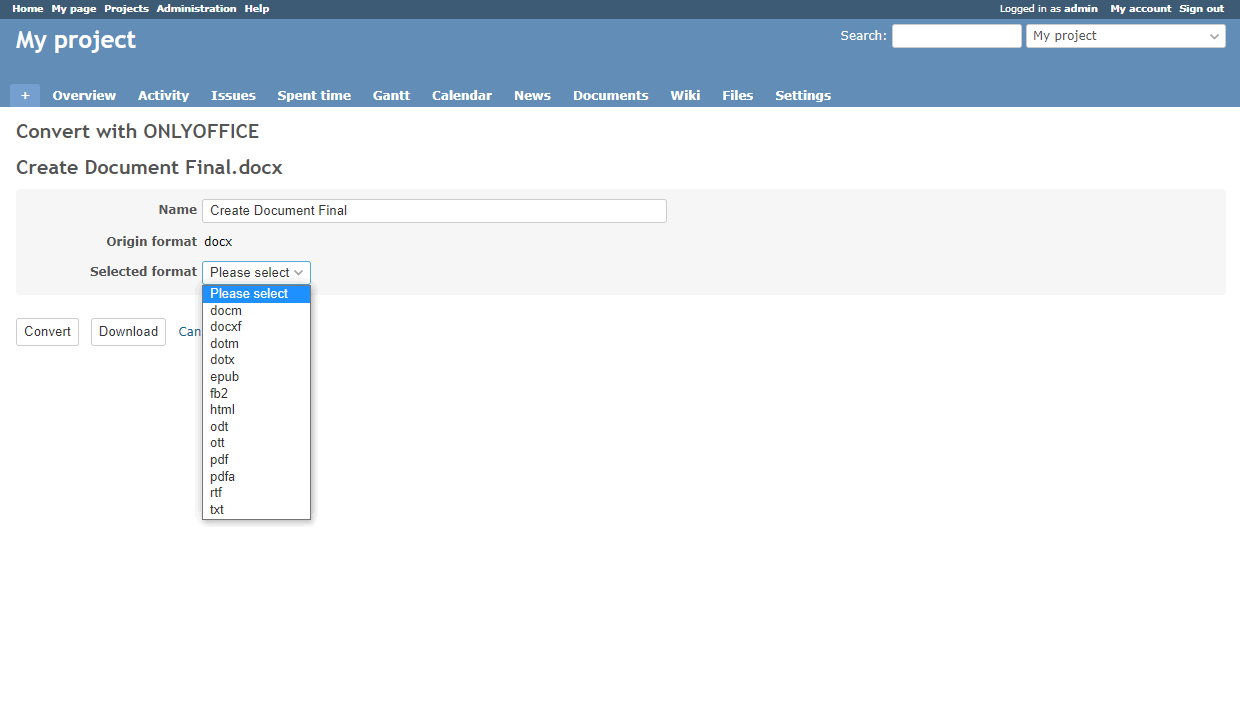
点击 转换 按钮将转换后的文件保存在相应的 Redmine 部分。点击 下载 按钮将转换后的文件保存在您的计算机上。