本文由AI翻译
Plone
关于 ONLYOFFICE 和 Plone 的集成
ONLYOFFICE 提供了一个官方连接器,将 ONLYOFFICE 文档 与 Plone 集成,可以在内容管理系统中编辑文档。您可以从 PyPi.org 和 ONLYOFFICE 的 GitHub 页面 下载 ONLYOFFICE 连接器。该连接器以 Apache-2.0 许可证发布。
要了解更多关于 ONLYOFFICE 和 Plone 集成连接器的详细信息,请访问我们的 API 文档。
连接 ONLYOFFICE 文档到 Plone
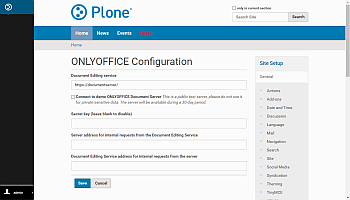
配置 Plone 的 ONLYOFFICE 集成插件
要配置插件:
- 进入 站点设置。
- 向下滚动到 插件配置 部分。
- 按下 ONLYOFFICE 配置 按钮。
-
在 文档编辑服务 字段中,指定 ONLYOFFICE 文档 所在的 URL 地址。
该地址必须能够从 Plone 访问,同时 Plone 的地址也必须能够从 ONLYOFFICE 文档访问。
-
在 密钥 字段中,指定用于签署数据的密钥。
从 ONLYOFFICE 文档 v7.2 开始,JWT 默认启用,并且密钥会自动生成。您需要在 Plone 端也启用它:在 ONLYOFFICE 文档配置文件 中找到您的密钥,然后在连接器设置中指定相同的密钥。有关更多详细信息,请参阅本文的 为 ONLYOFFICE 和 Plone 集成启用 JWT 部分。
- 在 文档编辑服务的内部请求服务器地址 字段中,指定用于从 文档编辑服务 访问 Plone 的地址。
- 在 服务器的内部请求文档编辑服务地址 字段中,指定用于从 Plone 访问 文档编辑服务 的地址。
在 Plone 中开始使用 ONLYOFFICE 文档
要创建文档:
- 在 内容 选项卡上,点击左侧的 在 ONLYOFFICE 中创建 菜单选项。
-
选择所需的文件类型:文档、电子表格或演示文稿。
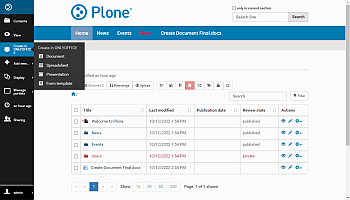

- 将打开一个新的文档以供编辑。
要编辑文档:
-
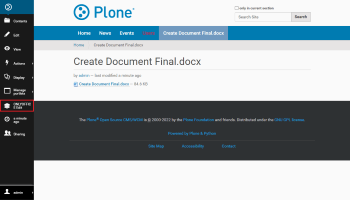
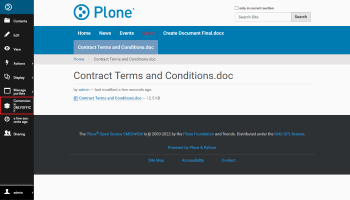
在 内容 选项卡中找到所需的文档。
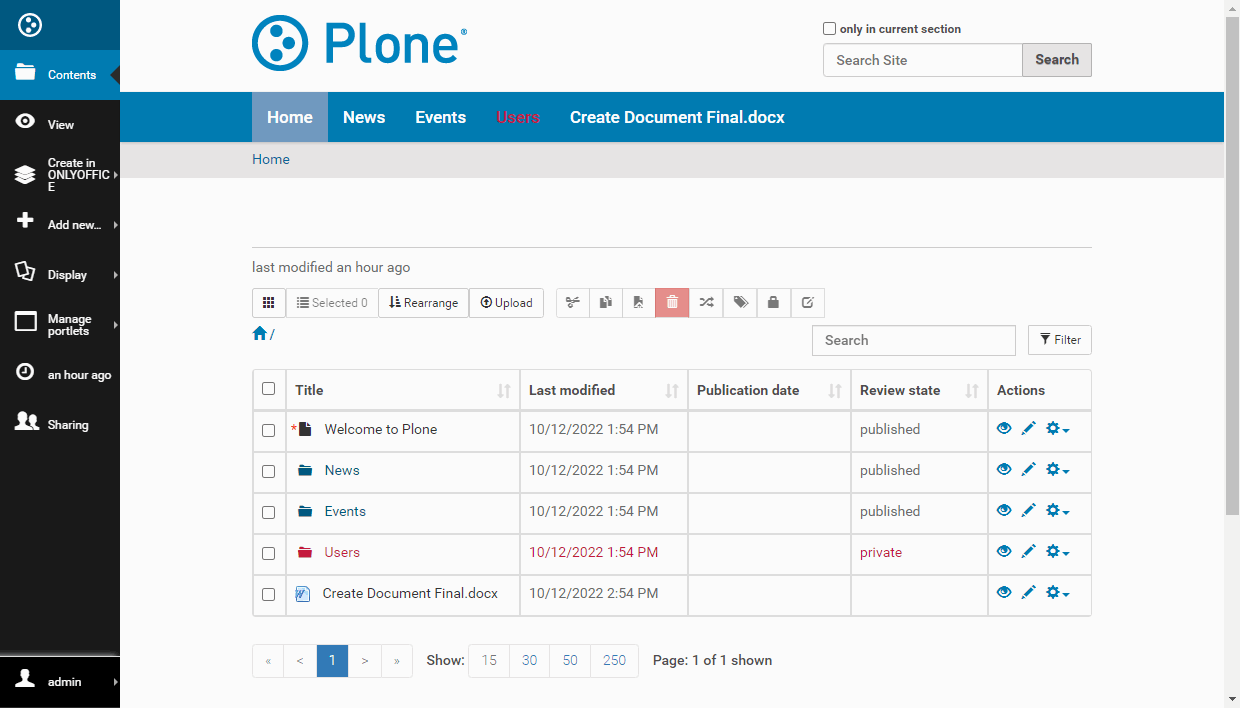
- 点击文档。
-
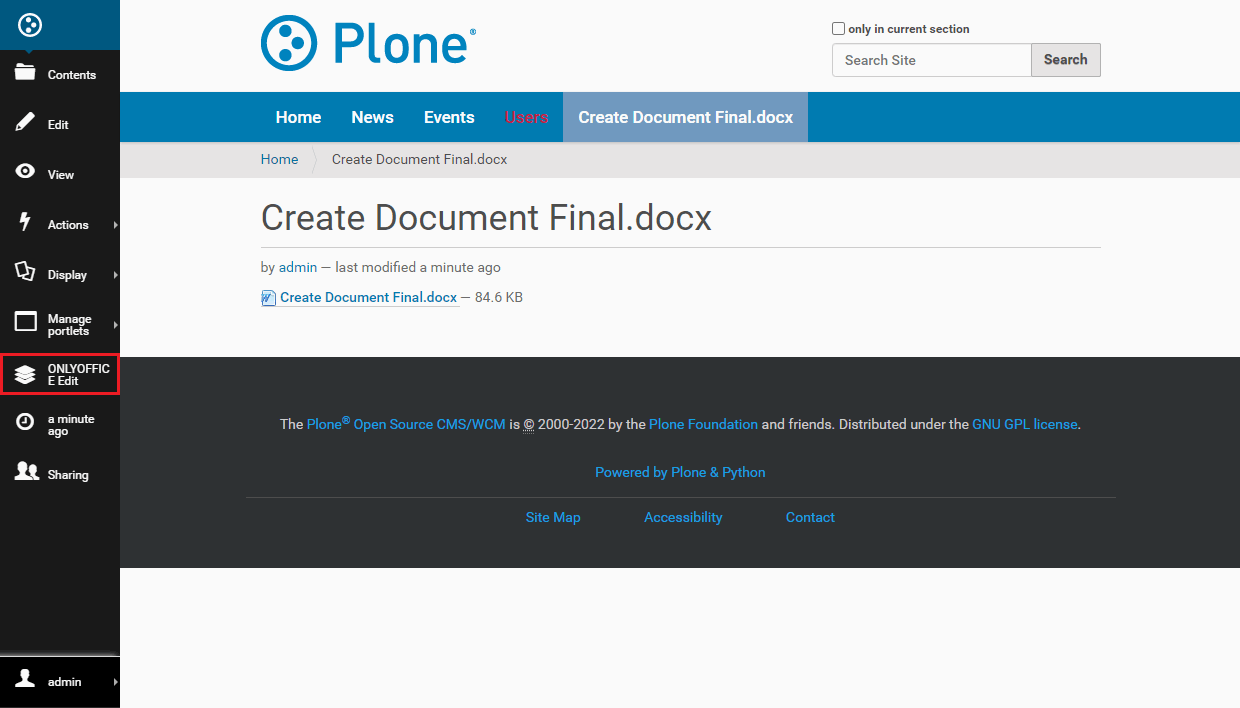
在打开的页面上,点击 ONLYOFFICE 编辑 菜单选项以打开文档进行编辑和/或查看。
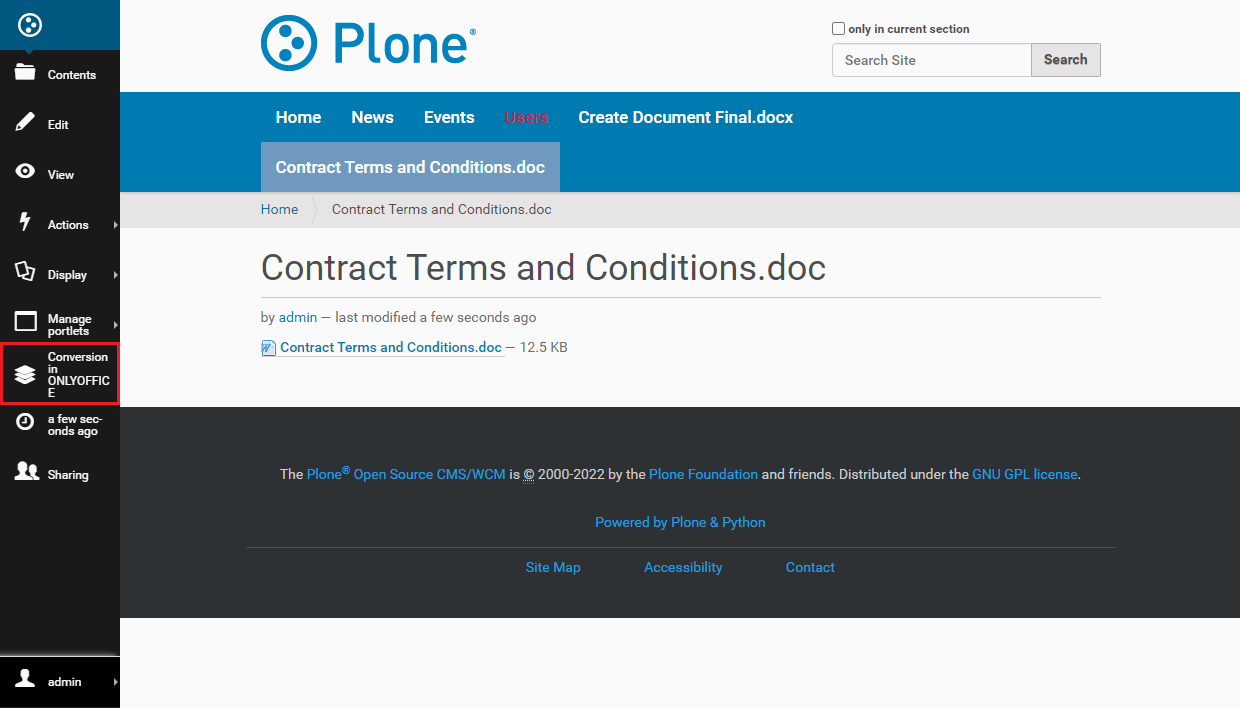
要将文档转换为 Office Open XML 格式:
- 在 内容 选项卡中找到所需的文档。
- 点击文档。
-
在打开的页面上,点击 在 ONLYOFFICE 中转换 菜单选项。
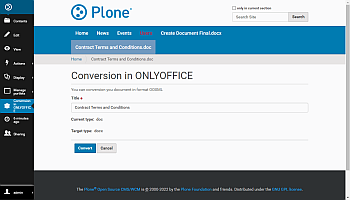
 查看可以转换为 OOXML 的格式的完整列表。
 -
点击 转换 按钮。

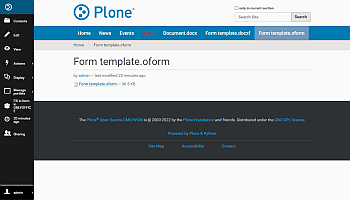
要创建表单模板:
- 在 内容 选项卡上,点击左侧的 在 ONLYOFFICE 中创建 菜单选项。
- 选择 表单模板 选项。
- 将打开一个新的空白表单模板以供编辑。
要填写表单:
- 在 内容 选项卡中找到所需的表单。
- 点击表单。
-
在打开的页面上,点击 在 ONLYOFFICE 中填写表单 菜单选项。

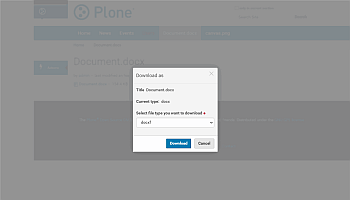
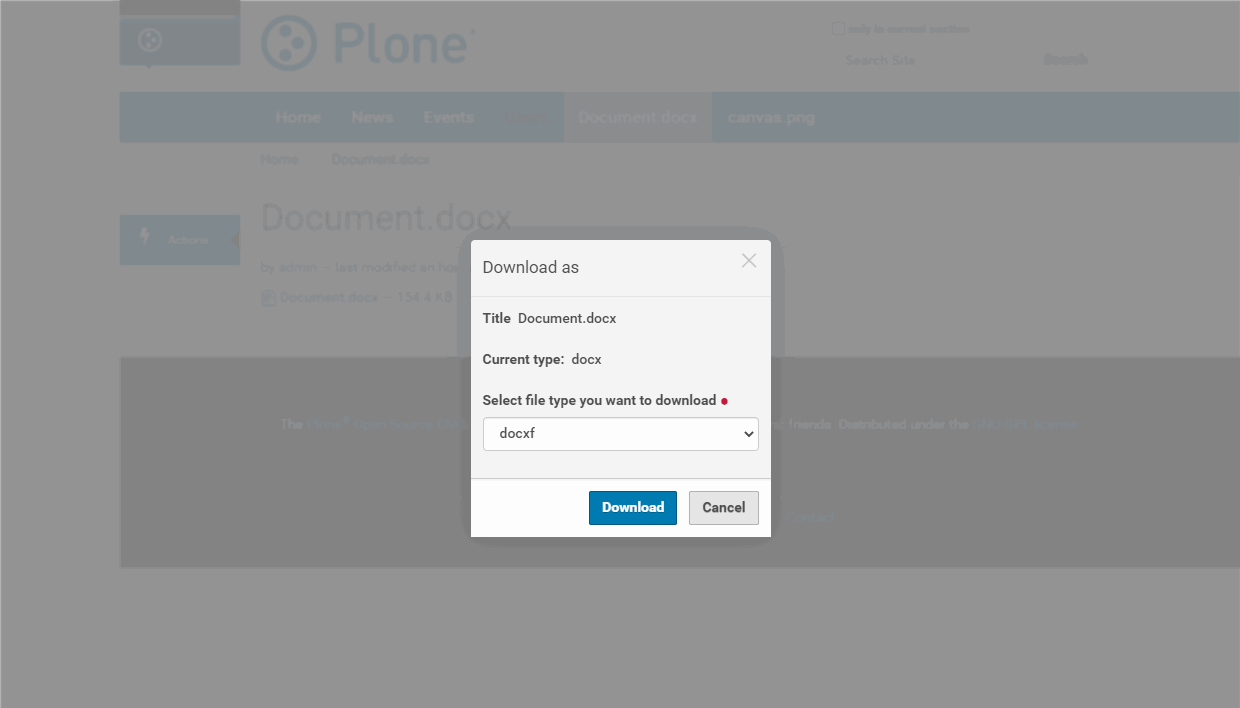
要下载不同格式的文档:
- 在 内容 选项卡中找到所需的文档。
- 点击文档。
-
在打开的页面上,点击 操作 菜单选项并选择 下载为 菜单项。
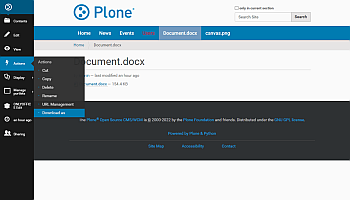

- 从列表中选择所需的格式。
-
点击 下载 按钮。
要了解更多关于最常见问题及其解决方法,请访问我们的故障排除指南。
文章: 标签:
浏览所有标签