Creating E-mail templates
Save time on routine correspondence by using the Templates feature in the Mail module to create reusable email structures.
Use this feature to send invitation, notification, or confirmation messages, or to respond to similar incoming messages.
Access the Mail
Sign in to your portal and click the  icon available at the top of any portal page.
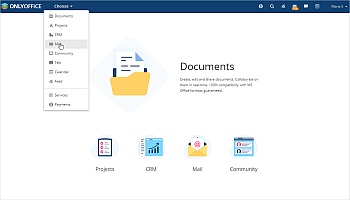

Alternatively, access Mail from the drop-down list in the top-left corner of the page and select the corresponding option.
Create templates
The portal Mail window will open.
To create your first email template, select the Templates folder in the left-side menu, then click Compose the first template.


Alternatively, create a new email and save it as a template.
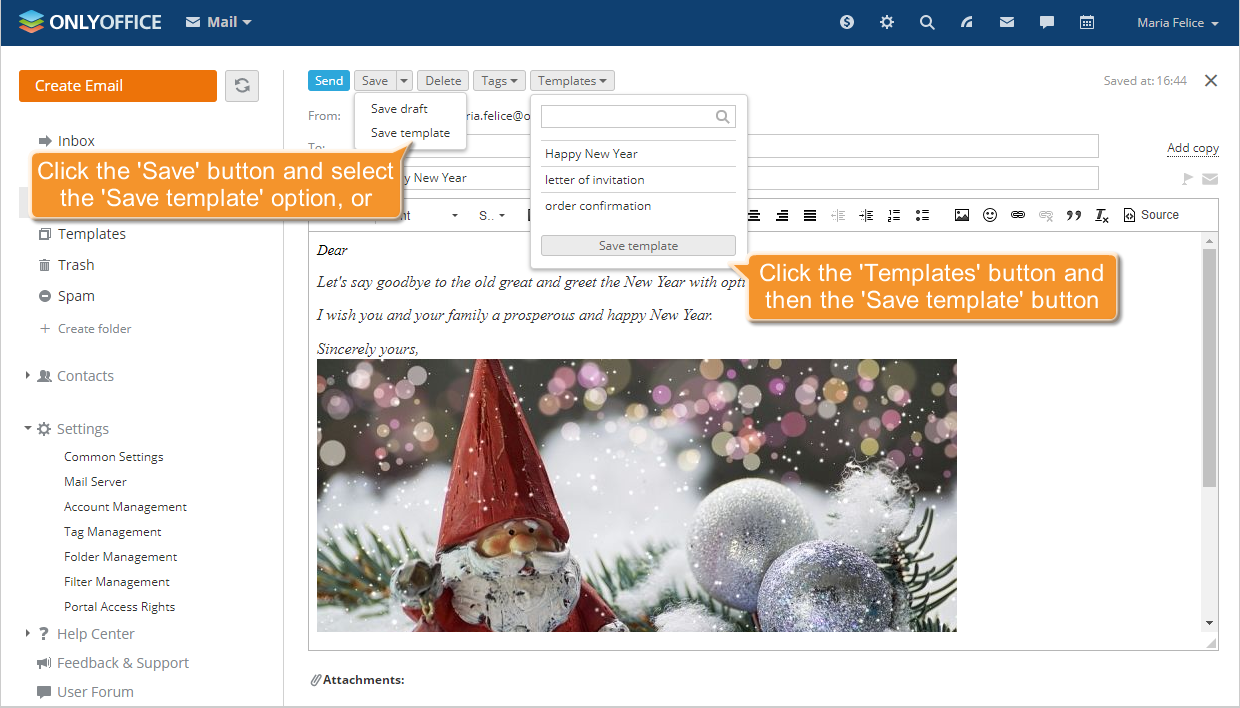
To do so, click Create Email and complete the To, Copy, BBC and Subject fields where applicable.
Then click Save at the top of the page, open the drop-down list, and select Save template, or click Templates at the top of the page and confirm saving the template.

To use an existing message as a template, select the email and then select Templates from the Move to menu.


You can also drag and drop the email directly to the Templates folder in the left-side menu.
Edit templates
You can edit any created template.
To do so, select the Templates folder in the left-side menu and open the email template you wish to edit.
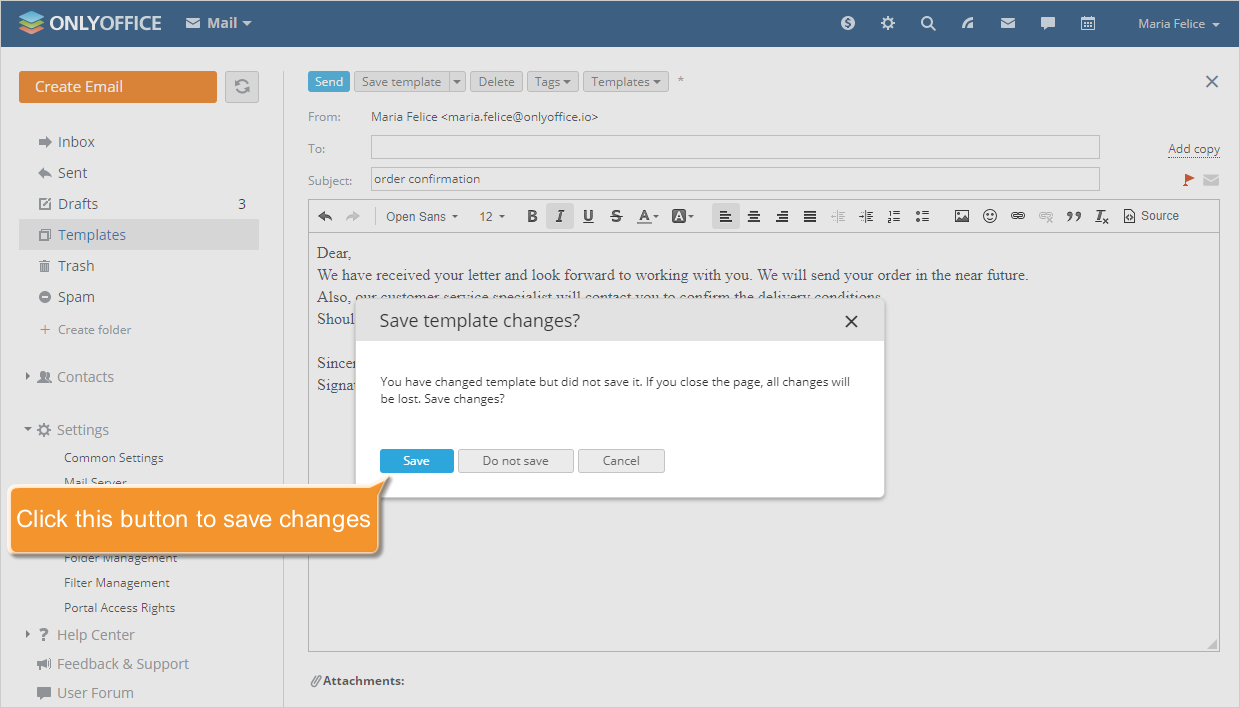
Enter the message text, add a signature, emoji, images, or links, and attach documents. You can also mark the template as important or request notification. Once the message is complete, click Save template as templates are not autosaved like drafts.
If you leave the Templates folder without saving, a prompt will appear. select Save to save the template, Do not save to discard changes, or Cancel to return to editing.

Templates can be deleted, moved to another folder, or tagged in the same way as regular emails.
Apply templates
To apply a template, click Create Email, open the Templates list at the top of the page, and select the required template.
Alternatively, open a template, complete the empty fields, and send the email.


However, to completely replace the text, enable the Completely replace text of the email when you insert a template option. To do so, select the Common settings in the left-side menu and enable the toggle.


Reassign templates
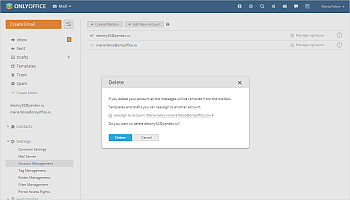
If you delete your mailbox, all the messages will be removed from it.
However, you can reassign your templates and drafts to another account.
To do so, go to Account Management in the left-side menu and select the mailbox you wish to delete. Where applicable, select the account to which your templates will be reassigned and select the Reassign to account checkbox before confirming the deletion.
All your templates will then be moved to the Templates folder of the new account, and you can continue to use them.