Seafile
Introduzione
ONLYOFFICE ti permette di modificare i file archiviati nel tuo account Seafile e di collaborare in simultanea con altri utenti, utilizzando sia gli editor online, sia quelli desktop. In questo modo, puoi utilizzare non solo gli strumenti di collaborazione online, ma anche le funzionalità esclusive all'applicazione desktop:
- accesso ai font di sistema, agli appunti e alle stampanti di sistema.
Per sfruttare appieno tutte queste opzioni di modifica, sarà necessario installare e configurare diversi componenti:
- Si presume che tu abbia già un'istanza del server Seafile installata e configurata. In caso contrario, puoi fare riferimento alle istruzioni ufficiali di installazione di Seafile. Per garantire una connessione stabile, aggiungi la seguente riga nel file
seahub_setting.ру:ONLYOFFICE_DESKTOP_EDITORS_PORTAL_LOGIN = True - Installa ONLYOFFICE Docs. Nota che il server Seafile e ONLYOFFICE Docs devono essere accessibili l'uno all'altro tramite la rete. Uno dei modi più semplici per installare e configurare ONLYOFFICE Docs è utilizzare la nostra installazione Docker.
- Collega il tuo server Seafile a ONLYOFFICE Desktop Editors.
Passo 1. Installa ONLYOFFICE Docs
Il modo più semplice per installare ONLYOFFICE Docs è utilizzare Docker. Per trovare istruzioni dettagliate su come installare ONLYOFFICE Docs utilizzando Docker, puoi fare riferimento a questo articolo.
Per assicurarti che ONLYOFFICE Docs sia installato correttamente, inserisci l'indirizzo IP e, facoltativamente, la porta (se è stata modificata durante l'installazione) nella barra degli indirizzi del tuo browser, ad esempio, http://192.168.3.202:81 - dovrebbe aprirsi la pagina di benvenuto di ONLYOFFICE Docs.
Per saperne di più sul processo di configurazione, leggi l'articolo sull'integrazione Seafile-ONLYOFFICE. Puoi anche distribuire le istanze all'interno di UCS.
Passo 2. Connetti al server Seafile
Avvia ONLYOFFICE Desktop Editors. Per collegare i Desktop Editors al tuo server Seafile, esegui le seguenti azioni:
- Fai clic sul pulsante Plus
 accanto alla sezione Clouds nel pannello laterale sinistro.
 - Fai clic sul pulsante del servizio cloud Seafile, o utilizza il link Connetti ora in fondo.
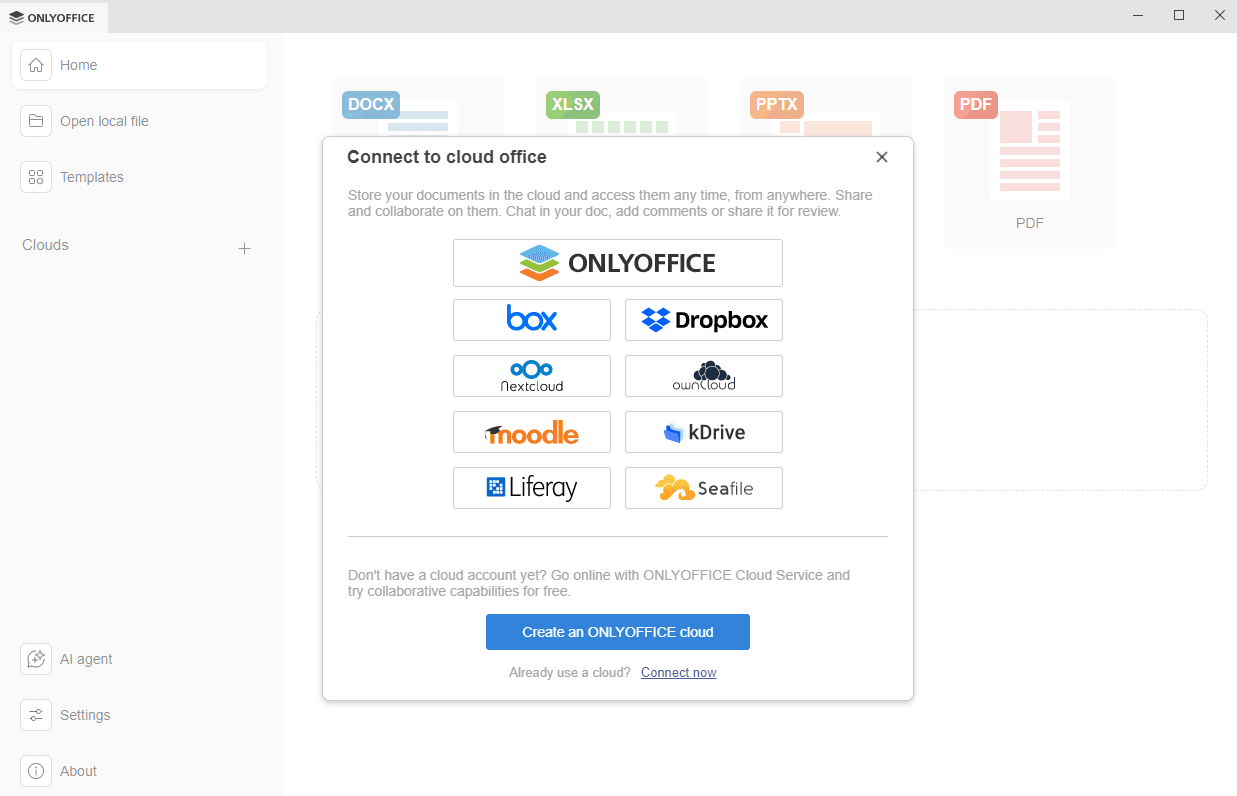
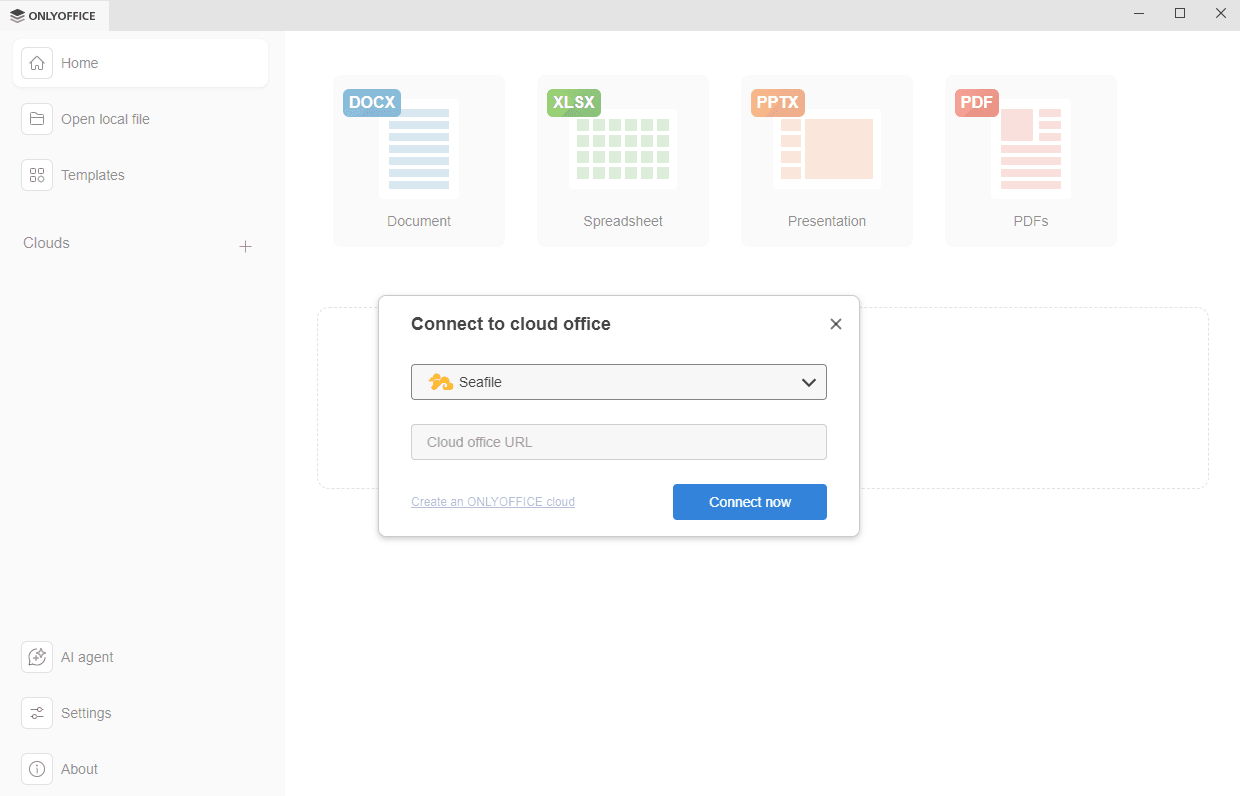
- Se hai premuto il pulsante del servizio Seafile, si aprirà la finestra Connetti all'ufficio cloud con Seafile selezionato. Se hai utilizzato il link Connetti ora, scegli l'archiviazione cloud Seafile dall'elenco a discesa.
- nel campo URL dell'ufficio cloud, inserisci il nome di dominio o l'indirizzo IP del tuo server Seafile. Quando sei pronto, fai clic sul pulsante Connetti ora.
-
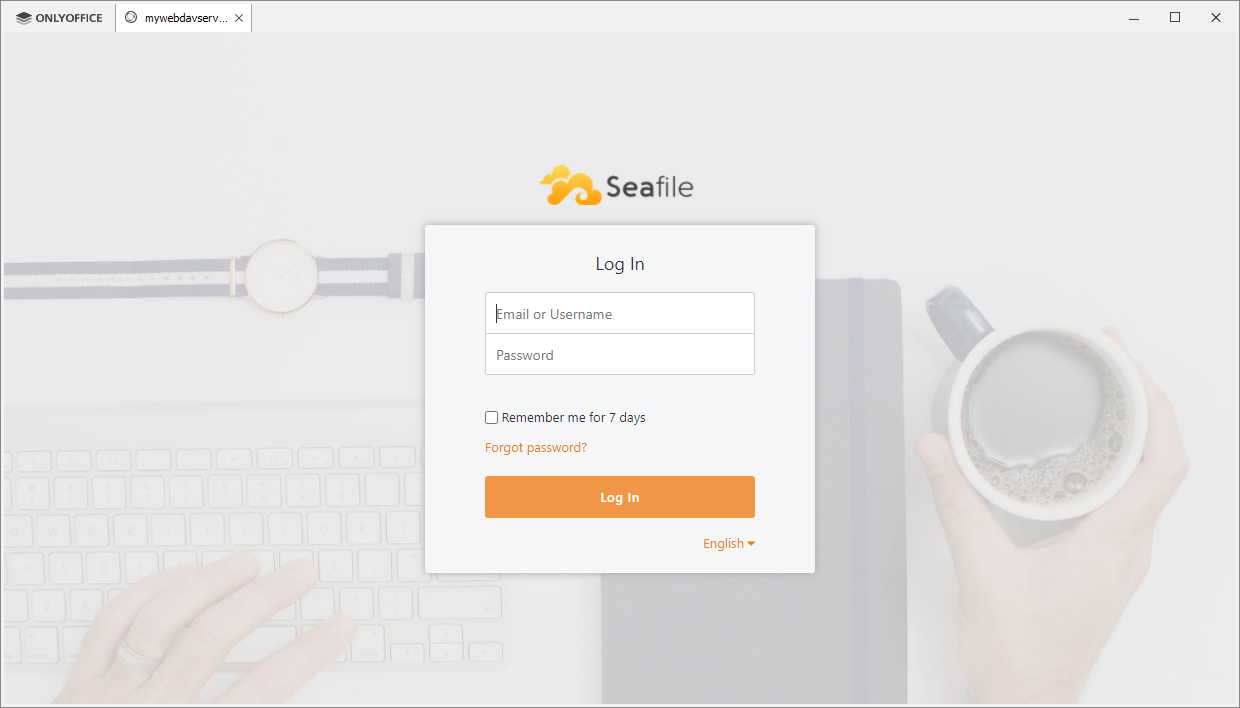
La pagina di accesso a Seafile si aprirà in una nuova scheda dell'interfaccia dei Desktop Editors.
- Specifica il tuo Nome utente o email e la Password che utilizzi per accedere al tuo account Seafile,
- Fai clic sul pulsante Accedi.

- nel campo URL dell'ufficio cloud, inserisci il nome di dominio o l'indirizzo IP del tuo server Seafile. Quando sei pronto, fai clic sul pulsante Connetti ora.
La sezione File del tuo account Seafile si aprirà. Ora puoi modificare i tuoi file esistenti e crearne di nuovi, condividere i tuoi documenti e collaborare su di essi con gli utenti Seafile utilizzando gli editor ONLYOFFICE.
Passo 3. Gestisci i tuoi account connessi
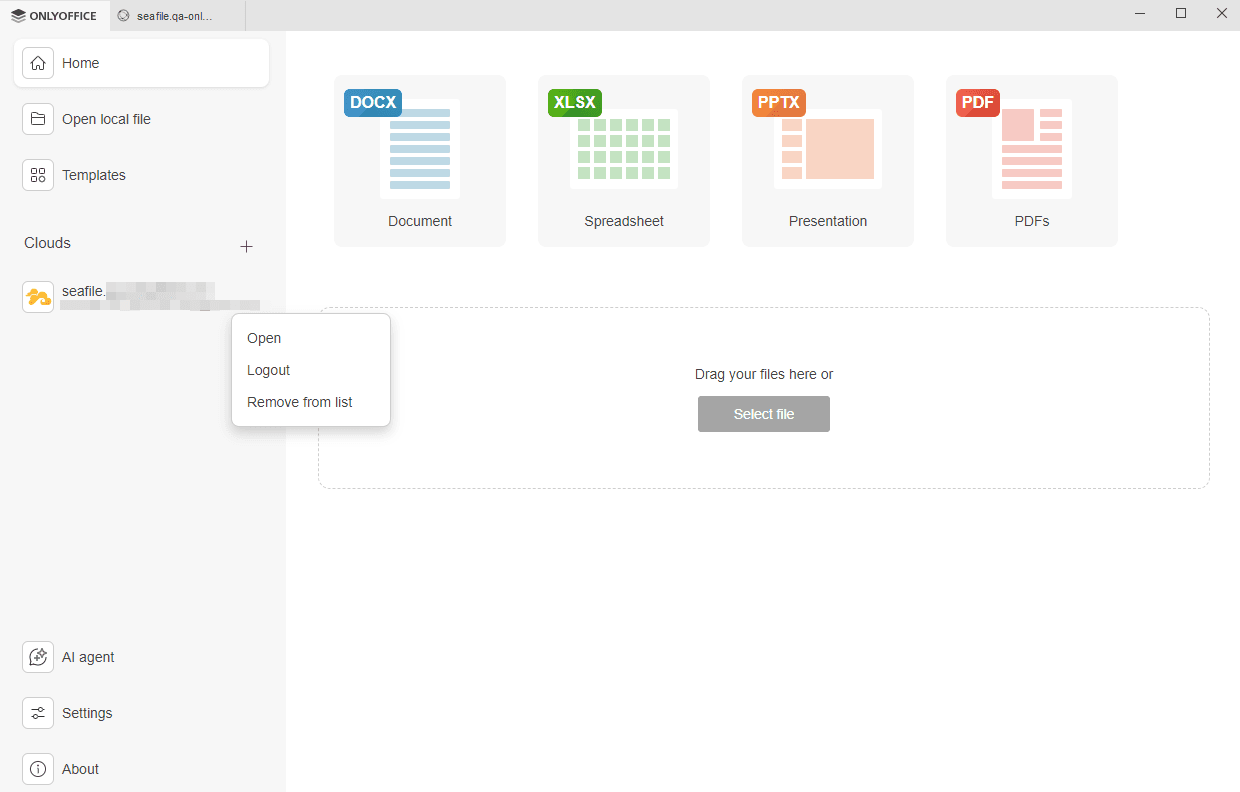
Fai clic sul logo nell'angolo in alto a sinistra dell'interfaccia dei Desktop Editors per tornare alla finestra principale del programma. Tutti gli account cloud connessi appaiono nel pannello laterale sinistro sotto la sezione Clouds. Fai clic sui tre punti  che appaiono quando passi il mouse sopra il cloud connesso per accedere alle opzioni del menu contestuale del cloud:
- Apri - per passare alla scheda di archiviazione cloud corrispondente se sei già connesso a questo account, o per aprire la finestra Connetti all'ufficio cloud se non sei attualmente connesso (in questo caso, dovrai inserire le tue credenziali),
- Disconnetti - per uscire dal tuo account,
- Rimuovi dall'elenco - per disconnettere l'account selezionato e rimuoverlo dall'elenco.
Per aggiungere diversi account o cloud, fai clic sul pulsante Plus accanto alla sezione Clouds nel pannello laterale sinistro.