Importar usuarios desde un archivo CSV
Introducción
¿Estás cansado de agregar personas al sistema manualmente una por una? Esta guía te mostrará cómo agregar varios usuarios a la vez en poco tiempo.
Siguiendo estos sencillos pasos, podrás guardar tus contactos en un archivo .csv y luego agregarlos a tu portal.
Paso 1. Crear un archivo CSV
Si ya tienes un archivo .csv que contiene la información de contacto que necesitas importar, procede al Paso 2.
Si almacenas tu información de contacto en una hoja de cálculo, revísala y guárdala en formato de archivo CSV (Valores Separados por Comas), por ejemplo, utilizando el módulo de Documentos.


También puedes crear una nueva hoja de cálculo directamente en tu portal.
Paso 2. Acceder a Personas
Ingresa a tu portal y haz clic en el enlace Personas.


En caso de que ya hayas iniciado sesión en el portal y lo hayas estado usando por un tiempo, para acceder al módulo Personas, abre la lista desplegable en la esquina superior izquierda de la página y selecciona la opción correspondiente.
Paso 3. Cargar el archivo CSV creado al portal
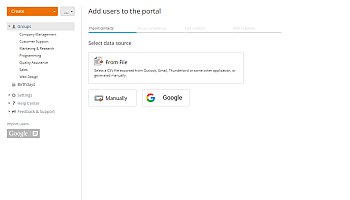
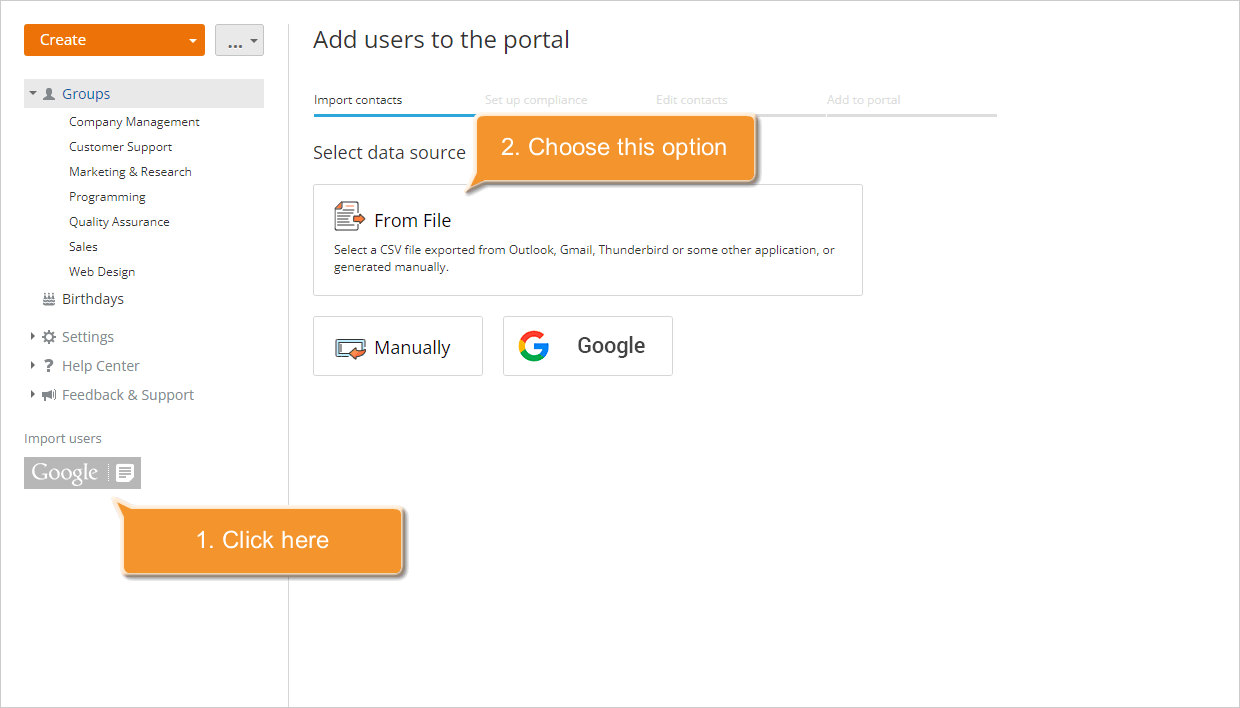
Haz clic en el botón junto al botón Crear en la esquina superior izquierda y selecciona la opción Importar Personas, o utiliza el botón Importar Personas en el panel lateral izquierdo. Se abrirá el asistente Agregar usuarios al portal.
Selecciona la opción Desde Archivo. Se abrirá la ventana Subir Archivo. Busca en tu disco duro el archivo .csv creado y haz clic en el botón Abrir.
El archivo se cargará. Si deseas reemplazarlo, utiliza el enlace Seleccionar otra fuente.
Paso 4. Verificar los datos del archivo .csv
En el asistente Agregar usuarios al portal, verifica la configuración del archivo .csv y establece la correspondencia entre los campos del archivo .csv y los campos del portal que son necesarios para agregar un usuario.
Para una importación adecuada, puedes cambiar la configuración del archivo .csv cargado:
- Codificación - Especifica el tipo de codificación utilizado al guardar tu archivo .csv. El tipo predeterminado es UTF-8.
- Delimitador - Usa esta lista desplegable para seleccionar el carácter utilizado para separar valores en tu archivo .csv. El delimitador predeterminado es Coma.
- Delimitador de Texto - Usa esta lista desplegable para especificar el carácter utilizado para encerrar los campos en tu archivo .csv.
Si tu archivo .csv tiene una fila de encabezado con los nombres de los campos/columnas, marca la casilla Mostrar nombres de campos - los nombres de los campos se mostrarán en la sección Campos en archivo.


A continuación, puedes establecer la correspondencia entre los campos del archivo .csv y los campos del portal.
- Campos en archivo - una fila de tu archivo .csv que contiene los nombres de las columnas/campos.
- Valores de ejemplo - los valores de columna disponibles en el archivo. Para actualizar los valores, utiliza el icono
 .
. - Campos en el portal - los campos del portal correspondientes a los nombres de campo/columna de tu archivo.
Si los nombres de los campos en el archivo .csv cargado cumplen con los campos obligatorios necesarios para importar usuarios al portal (Nombre, Apellido y Correo Electrónico), se seleccionarán automáticamente en la sección Campos en el portal. También puedes establecer la correspondencia seleccionando manualmente el valor necesario de la lista.
Cuando todo esté listo, haz clic en el botón Ir a la lista de contactos a continuación para proceder al siguiente paso.
Paso 5. Gestionar la lista de contactos e iniciar la importación
Toda la información de contacto disponible se mostrará dentro del asistente Agregar usuarios al portal.
Revisa la lista. Especifica el nombre y apellido del usuario si están ausentes.
Para eliminar usuarios de la lista, selecciona varios usuarios y utiliza el botón No importar en la parte superior o elige el elemento del menú No importar a la derecha de un usuario determinado.
Si deseas agregar usuarios como invitados, selecciona varios usuarios y utiliza el botón Invitado en la parte superior o elige el elemento del menú Invitado a la derecha de un usuario determinado. Para obtener más información sobre los derechos de usuario/invitado en el portal, consulta esta sección.


Cuando todo esté listo, haz clic en el botón Agregar al portal para comenzar a agregar.
Los usuarios seleccionados se agregarán al portal de inmediato y recibirán una notificación por correo electrónico con un enlace a tu portal.
Si necesitas agregar un nuevo miembro a tu portal y tienes acceso a su información detallada, utiliza la opción Crear Nuevo Usuario.