Installing ONLYOFFICE Docs for Windows on a local server
Introduction
This guide will show you how to install ONLYOFFICE Docs Community Edition on Windows. For a full list of available features, see the ONLYOFFICE Docs editions overview. If you are using ONLYOFFICE Workspace, installing Docs will also enable file sharing, access rights management, document embedding, and editing files from connected cloud storages.
Installing ONLYOFFICE Docs
- Download the Community Edition installation file in the ONLYOFFICE Docs section.
- Double-click the downloaded onlyoffice-documentserver.exe file.
-
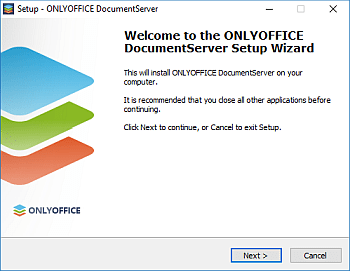
The DocumentServer Setup Wizard will be launched. Click the Next > button to start the installation process.
-
By default, ONLYOFFICE Docs will be installed to
C:\Program Files\ONLYOFFICE\DocumentServer\. If necessary, click the Browse button to select a different folder. Then click the Next > button.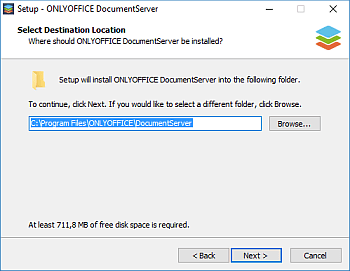
-
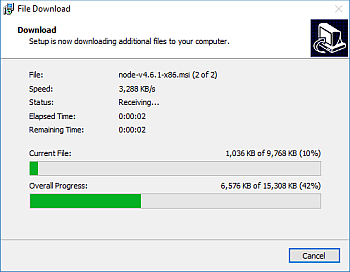
If any additional components required by ONLYOFFICE Docs are missing, they will be downloaded and installed first. Select the necessary components and click the Next > button.
-
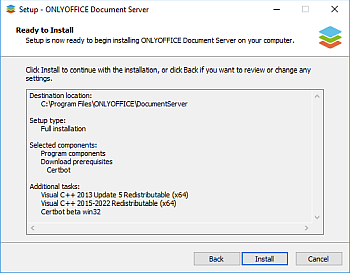
Click the Install button and wait while the missing components are being installed. If all required components are already present, the ONLYOFFICE Docs installation will start immediately.
-
Once the installation is completed, click the Finish button to close the wizard.
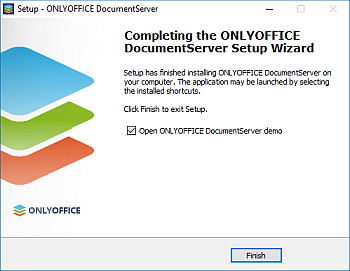
- If the Open ONLYOFFICE DocumentServer demo option is checked, the Community Edition welcome page will open in your browser. Alternatively, go to http://localhost/example for further instructions on how to enable document examples or integrate the editors into your web application using the provided API.
Installed services
The installer creates the following Windows services:
- ds-docservice — the main document editing service
- ds-converter — handles document format conversion
You can manage these services via the Services panel (services.msc) or the command line:
net stop ds-docservice
net start ds-docservice
Configuring Windows Firewall
After installation, you may need to allow ONLYOFFICE Docs through the Windows Firewall:
- Open Windows Defender Firewall with Advanced Security (run
wf.msc). - Click Inbound Rules > New Rule.
- Select Port, click Next.
- Select TCP, enter 80 (or the port you configured), click Next.
- Select Allow the connection, click Next.
- Select the network profiles that apply, click Next.
- Name the rule (e.g., "ONLYOFFICE Docs"), click Finish.
Verifying the installation
After installation, open http://localhost (or your server's IP address) in a browser. The ONLYOFFICE Docs welcome page should appear, confirming that the installation was successful.
If the welcome page does not appear, check the following:
- Make sure the ONLYOFFICE Docs services are running. Open Services (
services.msc) and verify that ds-docservice and ds-converter are in the "Running" state. - Check the logs at
%ProgramFiles%\ONLYOFFICE\DocumentServer\Log\for error messages. - Make sure Windows Firewall is not blocking the port. Open Windows Defender Firewall (
wf.msc), go to Inbound Rules, and verify that a rule allowing TCP traffic on port 80 (or your custom port) exists and is enabled. If it does not exist, see Configuring Windows Firewall.
Silent installation
Before initiating silent installation, make sure you have the prerequisites installed:
onlyoffice-documentserver-prerequisites.exe/SILENT flag.For automated or scripted deployments, run the installer with the /SILENT flag:
onlyoffice-documentserver.exe /SILENTTo also specify a custom port:
onlyoffice-documentserver.exe /SILENT /DS_PORT=8080Offline installation
If the target machine does not have internet access, download the prerequisites package separately:
Antivirus exclusions
Some antivirus software may interfere with ONLYOFFICE Docs services (e.g., blocking Node.js processes or scanning temporary files during document conversion). If you experience issues such as slow conversions or services failing to start, add the following directories to your antivirus exclusion list:
%ProgramFiles%\ONLYOFFICE\DocumentServer\%ProgramData%\ONLYOFFICE\