本文由AI翻译
创建聊天室
创建一个会议,以便实时与多人讨论问题。
按照以下简单步骤在 Talk 中创建聊天室并立即开始对话。
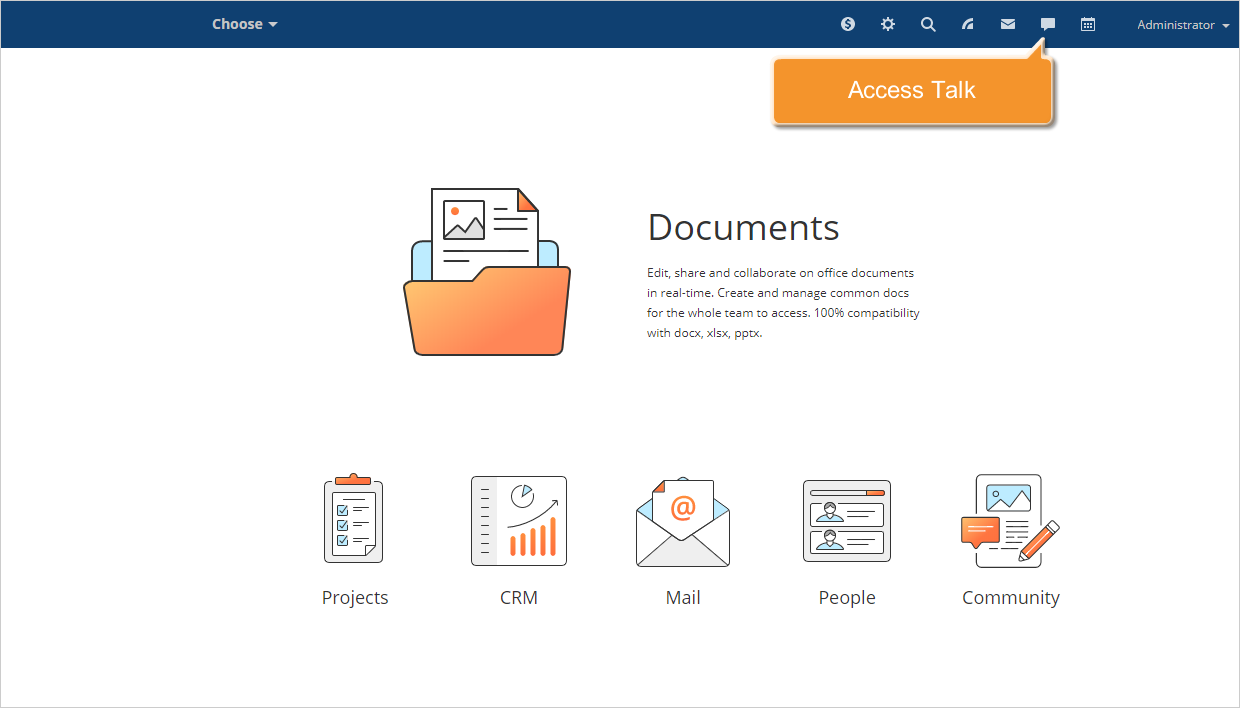
访问 Talk
进入您的门户并点击每个门户页面顶部的 Talk  图标。
图标。
创建收件人列表
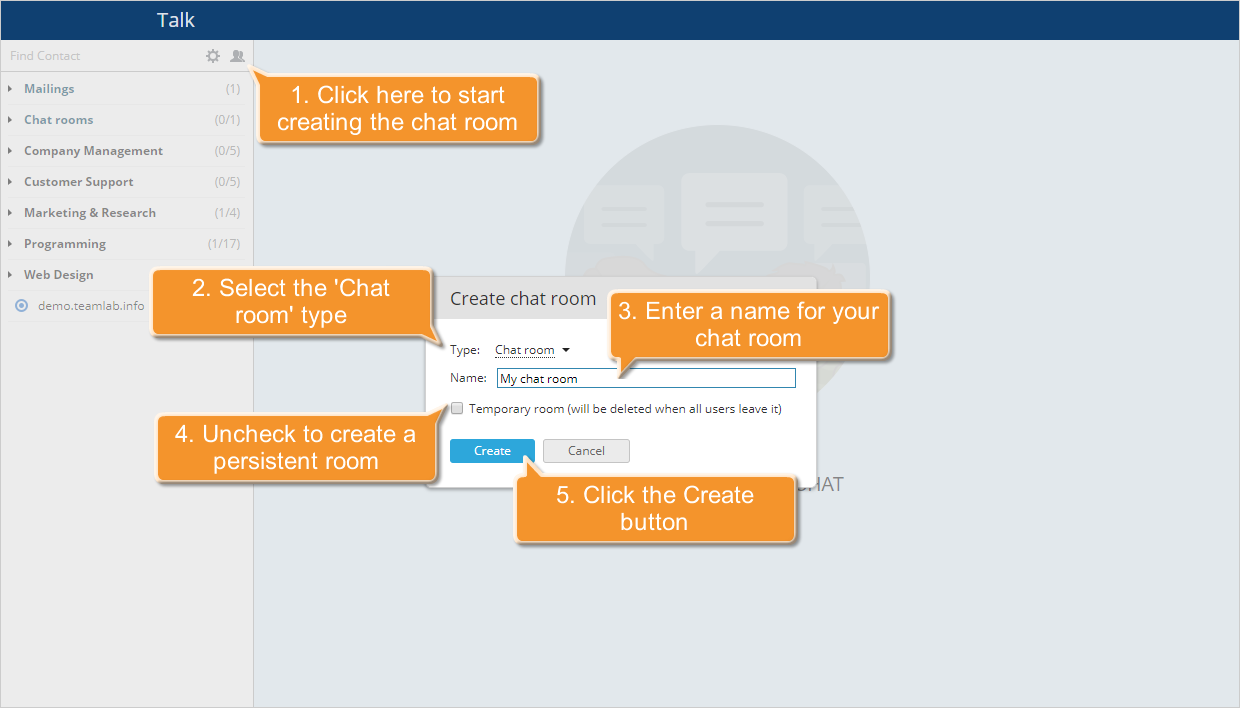
Talk 窗口将打开。
按下联系人列表上方的 创建聊天室  按钮。在打开的新窗口中,从 类型 列表中选择 聊天室 选项。输入您的聊天室名称。如果您希望创建一个持久的房间,请取消选中 临时房间 选项,然后点击 创建 按钮。

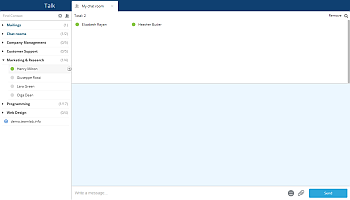
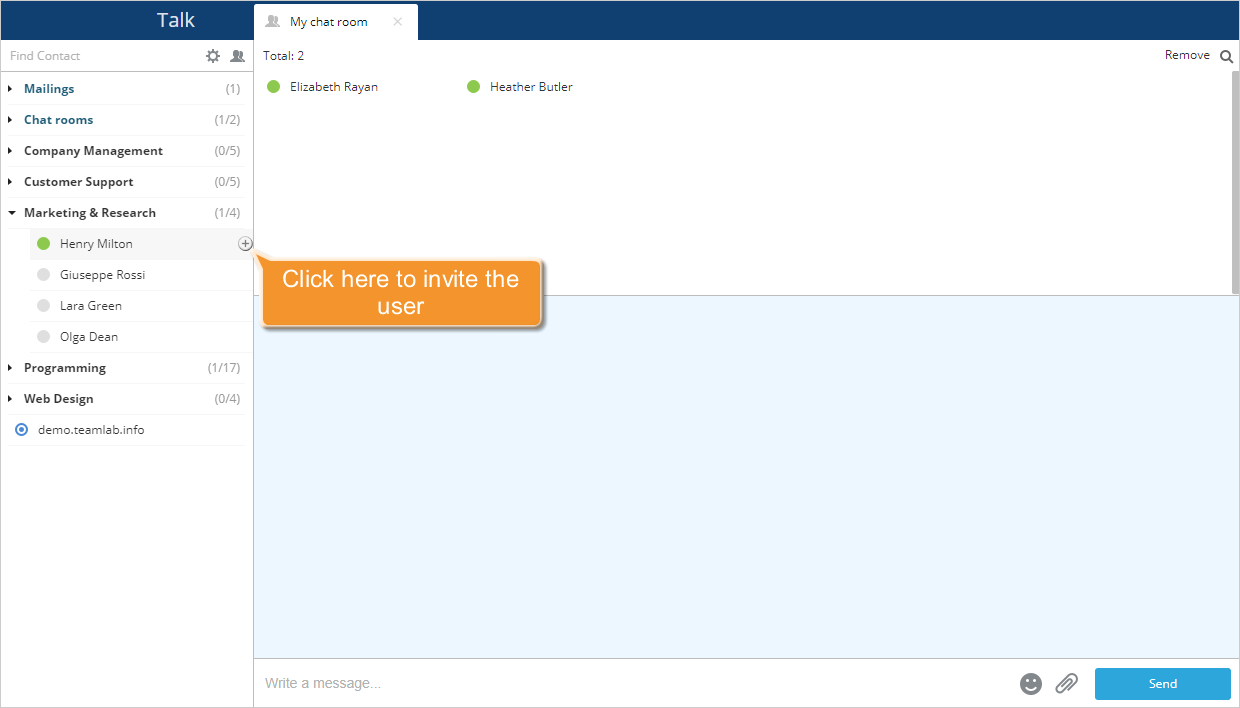
选择您希望邀请参与讨论的用户,并点击其姓名右侧的  按钮。或者,您可以直接拖放到 Talk 主区域。邀请将发送给所选用户。他/她可以接受或拒绝邀请。一旦邀请被接受,用户将出现在参与者列表中。
为了方便查找所需用户,您可以使用联系人列表上方的 查找联系人 字段,输入用户名的全部或部分。
同样,您可以根据需要添加聊天室成员。
开始您的会议
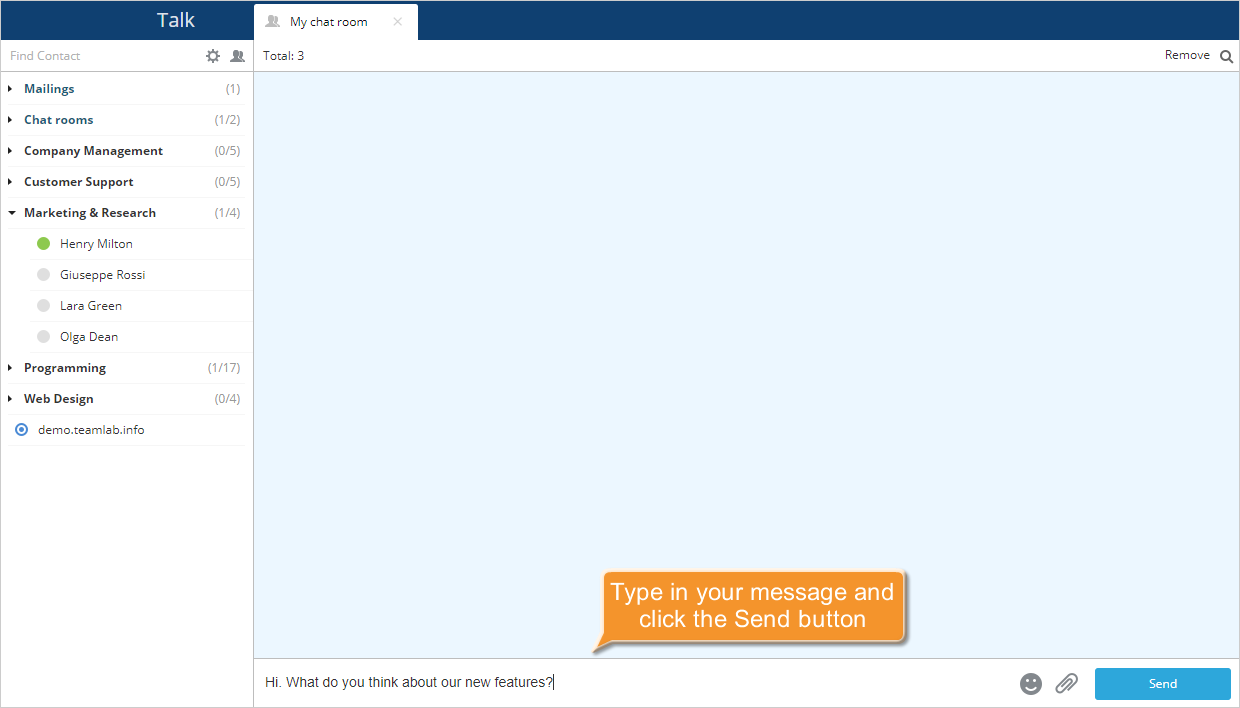
创建列表后,输入您的消息以开始会议并点击 发送 按钮。
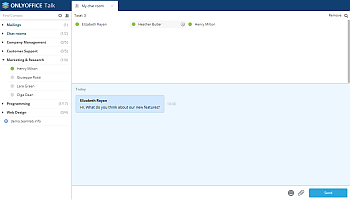
要显示所有参与者,请点击顶部的 总计 标签。如果您想从聊天室中删除某个用户,将鼠标光标移到参与者列表中的其姓名上,并点击  图标。
图标。
要在历史记录中搜索某条消息,请点击位于右上角的 搜索  图标,搜索字段将打开。输入您要搜索的文本并按 Enter。找到的匹配项将以黄色高亮显示。使用 上一个
  和 下一个
和 下一个  按钮在它们之间导航。
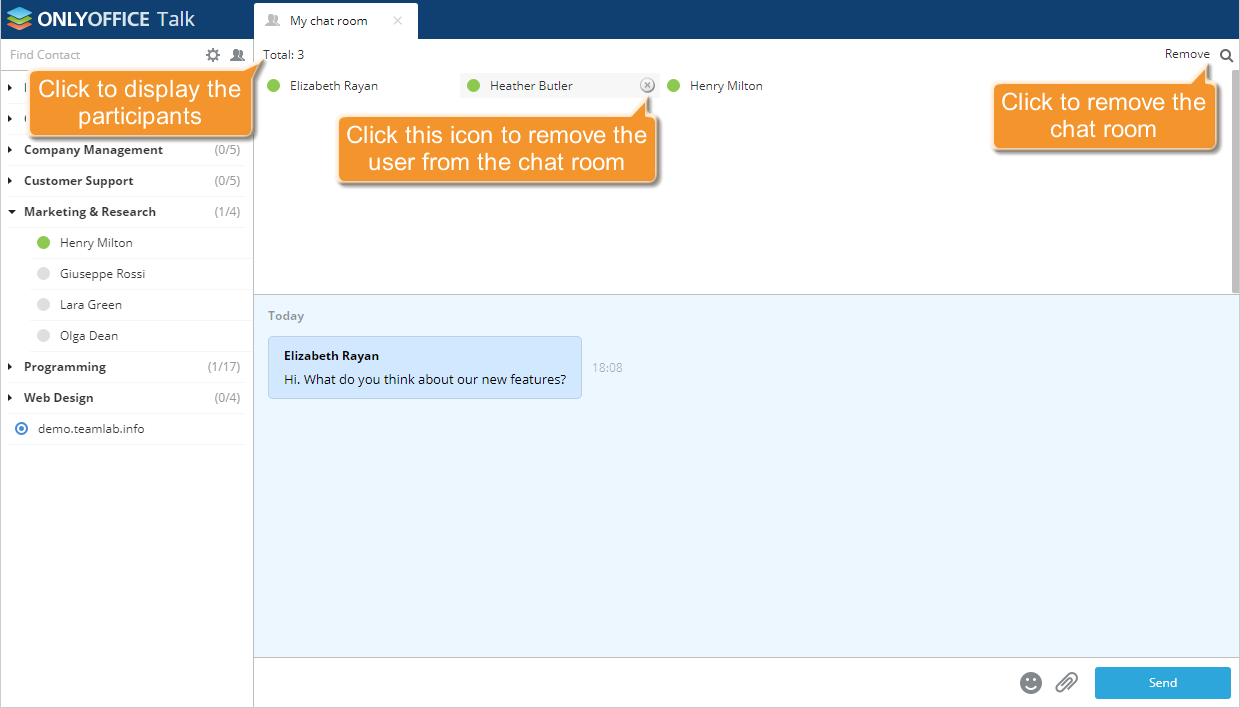
如果您创建了临时房间,当所有用户离开后,该房间将被删除。要删除持久聊天室,请使用右上角的 删除 选项。
文章: 标签:
浏览所有标签