Zoom
关于 ONLYOFFICE 和 Zoom 的集成
ONLYOFFICE 提供了一个官方连接器,将 ONLYOFFICE 协作空间与 Zoom 桌面版集成,您可以在不离开 Zoom 会议的情况下创建、编辑、协作和保存文件。您可以从官方 Zoom 应用市场下载 ONLYOFFICE 协作空间。有关更多信息,请参阅 ONLYOFFICE 协作空间与 Zoom 连接器的 GitHub 页面。该连接器根据 AGPL-3.0 许可证分发。
将 ONLYOFFICE 协作空间连接到 Zoom
安装 ONLYOFFICE 协作空间的 Zoom 连接器
可以通过 Zoom 应用市场将 ONLYOFFICE 协作空间应用程序添加到用户的 Zoom 帐户:
- 打开 Zoom 桌面版并登录您的帐户。
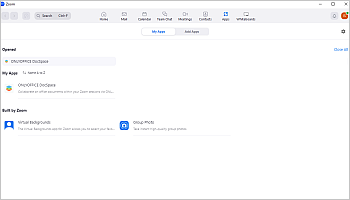
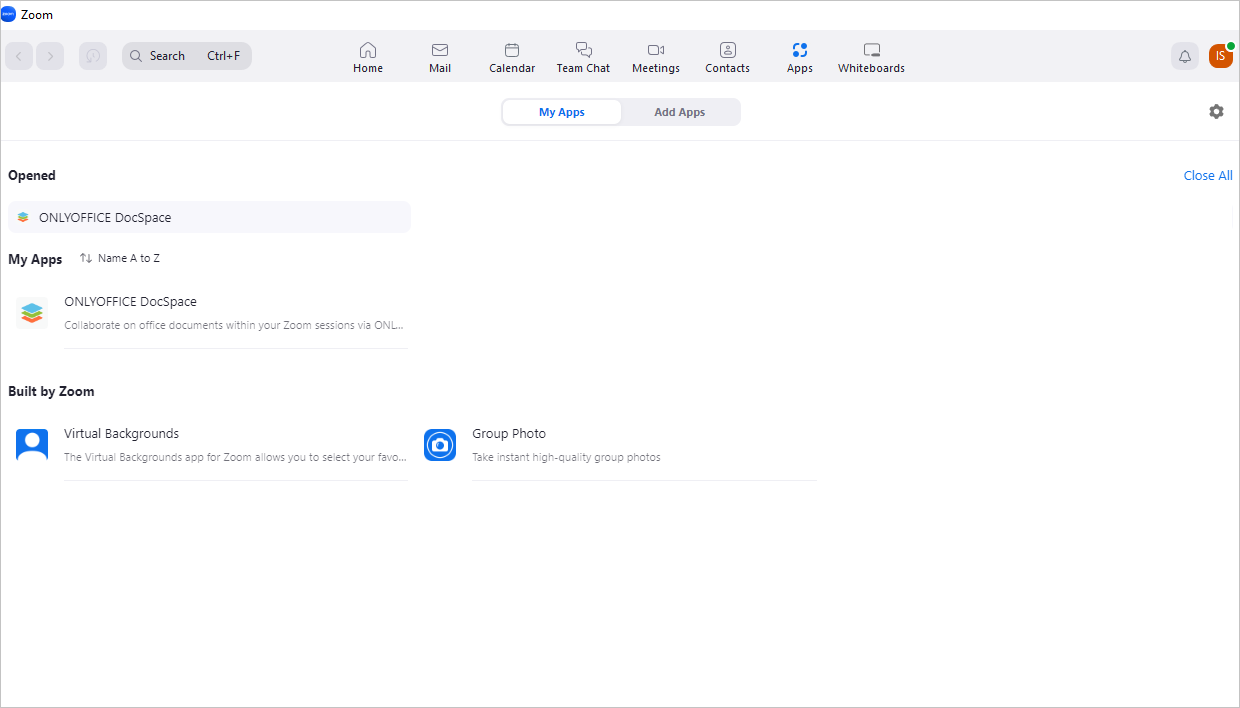
- 转到应用部分,切换到添加应用选项卡,并在搜索栏中输入 ONLYOFFICE 协作空间查找。
- 查看应用程序信息并点击 添加 按钮安装应用程序。它将被放置在 我的应用 选项卡中。
在 Zoom 中开始使用 ONLYOFFICE 协作空间
在 Zoom 会议期间处理文档
要启动会议,请点击右上角的  按钮。
按钮。
要开始协作,
-
使用内置工具发送邀请,邀请其他参与者。
每个被邀请的参与者都会收到加入应用程序的邀请。如果用户点击 加入 按钮,该用户将能够加入协作文档编辑会话。如果用户点击 忽略 按钮,该用户将观看发起者的屏幕演示。
需要安装 ONLYOFFICE 协作空间应用程序才能加入文档编辑会话。点击右上角的 邀请用户使用应用 按钮。Zoom 会议中参与的用户列表将出现:
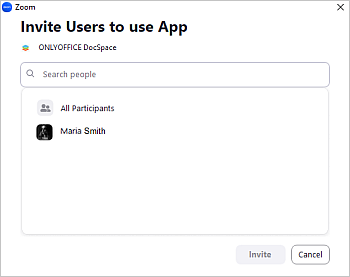
选择用户或用户组发送邀请并点击 邀请。
-
打开 ONLYOFFICE 协作空间应用程序。文件管理器将在应用程序内启动,会议参与者将继续在屏幕上可见:
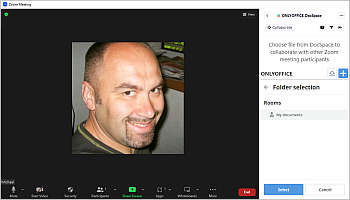

选择可用的房间之一或进入 我的文档 并点击 选择 按钮。从文件列表中选择所需的文档并点击 选择文件 按钮以打开相应的编辑器。
要从现有房间共享文档,需要手动将此文档复制到 我的文档 部分。
如果需要从硬盘上传文件,请使用
 图标并指定文档路径。
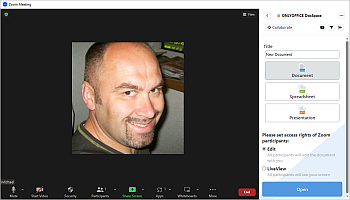
要创建新文档,请点击
 按钮,选择文档类型(文档 / 电子表格 / 演示文稿),更改其标题,并设置访问权限级别:
- 编辑 - 允许所有参与者不受限制地编辑文档。
- 实时查看 - 仅允许其他用户查看您正在编辑的文档。

-
点击打开按钮以打开在线编辑器并启动协作模式。编辑器将在应用程序内启动,会议参与者将继续在屏幕上可见。
第一个选择文件的人成为协作的发起者。任何参与者(不仅仅是 Zoom 会议主持人)都可以开始协作编辑文档。在协作模式期间,编辑器窗口将成为共享屏幕。您还可以通过点击
 按钮来开启协作模式。如果您需要共享应用程序界面,这将非常有用。
要将应用程序显示在可分离和可移动的弹出窗口中并开始广播,请点击
 共享应用屏幕按钮。弹出窗口将如下所示:
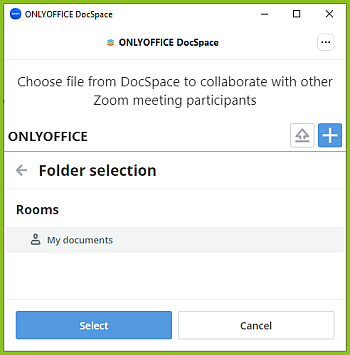
要选择不同的文件进行共同编辑,
- 为了继续处理自己的文档,发起者可以点击打开文件位置按钮并从文档列表中选择新文件。在此期间,Zoom 会议中的其他参与者将看到一个占位符。
- 当其他参与者想要共享他们的文件时,发起者点击右上角的结束按钮。这样做之后,Zoom 会议中的所有其他参与者将能够看到他们的文档列表。
要结束协作,
- 点击右上角的
 按钮以结束协作会话。
 - 点击顶部的
 按钮以停止广播并将弹出窗口合并到会议窗口中。
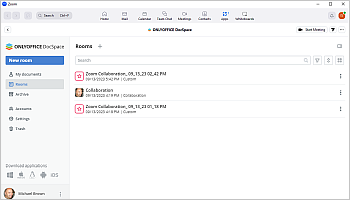
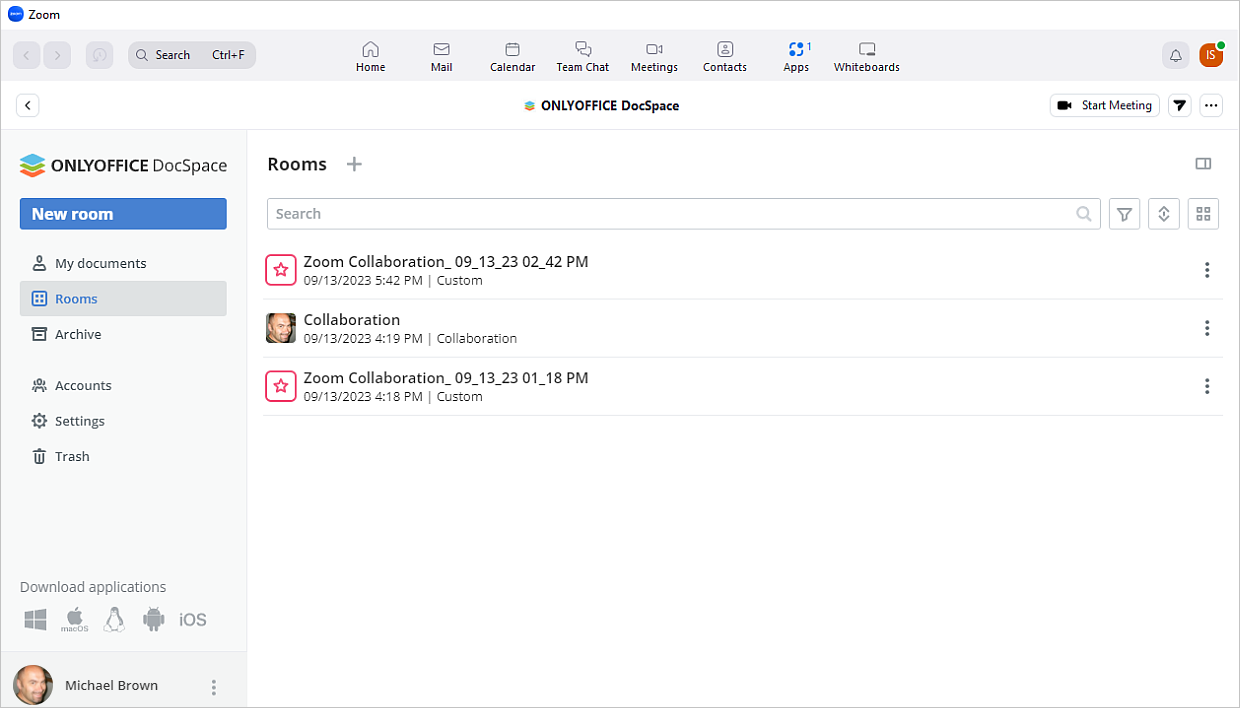
所有对文档所做的更改都会自动保存,并在 Zoom 会议结束后可用。一旦所有用户退出编辑器,变更将为文件的创建者保存,并创建一个名为 Zoom Collaboration mm_dd_yyyy hh:mm 的自定义房间,其中包含编辑过的文档。Zoom 会议的每个参与者都可以访问该房间。所有在第一次协作会话期间编辑的文件都保存在此房间中。如果在一次 Zoom 会议期间有多个协作会话,将创建多个房间。