Nextcloud
使用 Docker Compose 安装 ONLYOFFICE 文档与 Nextcloud
通过 Docker Compose,您可以快速轻松地部署与 Nextcloud 连接的预配置版本的 ONLYOFFICE 文档,并在 Docker 容器中包含所有必需的依赖项。
使用 UCS 在虚拟机上安装 ONLYOFFICE 文档与 Nextcloud
Univention 引入的应用程序设备是一种分发格式,允许安装已经打包了组件的系统,例如 ONLYOFFICE 文档 和 Nextcloud。
Univention 是一个开源企业基础设施开发者,推出了一种方便的方法来安装已经配备第三方组件的系统——虚拟应用设备。这些是包含应用程序、UCS 管理系统和 UCS 运行环境的 VirtualBox 或 VMware 映像。
以下虚拟映像包含 Univention 企业服务器、Nextcloud 和 ONLYOFFICE。这些应用程序开箱即用,并附带自动配置,确保 Nextcloud 中所需的 ONLYOFFICE 插件配置正确。安装过程比传统的手动方法更简单:管理员无需手动步骤。
下载必要的组件
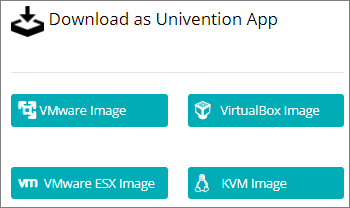
首先,您需要为虚拟机安装虚拟机管理程序。选择VMware Workstation Pro或VirtualBox,并按照文档进行详细的安装说明。
然后下载适用于您选择的虚拟机管理程序的 ONLYOFFICE-Nextcloud VM。
安装应用程序
映像成功导入后,启动虚拟机。通过安装向导完成启动过程,按照以下步骤进行。
- 选择您的语言并输入最近的城市。
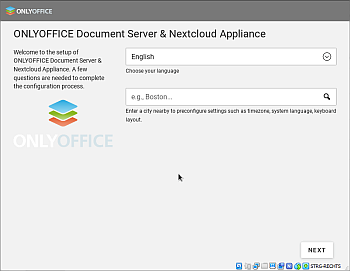
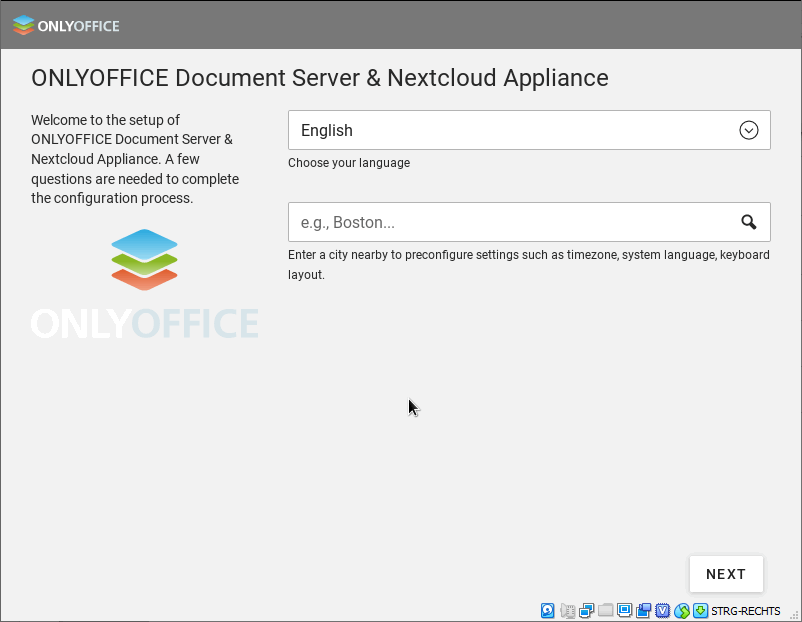
向导将获取默认的系统语言环境、时区和键盘布局。
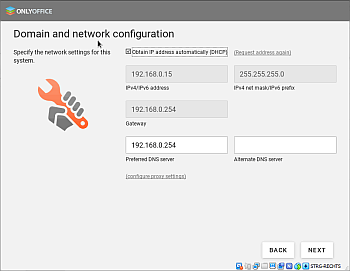
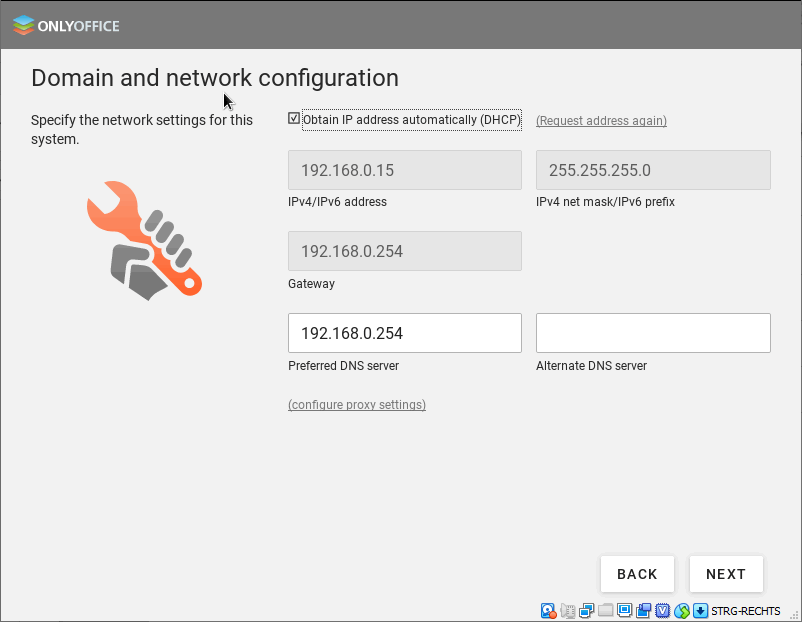
- 设置您的域和网络设置。默认情况下,您会自动获取 IP 地址。或者,您可以手动指定您的 IP 地址、网络掩码和网关。输入首选 DNS 服务器的地址。
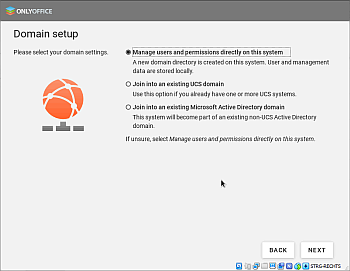
- 选择您的域设置。默认情况下选择直接在此系统上管理用户和权限选项。它允许在此系统中创建新域。或者,您可以连接到现有的 UCS 或 Microsoft Active Directory 域。

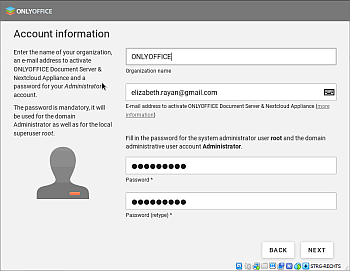
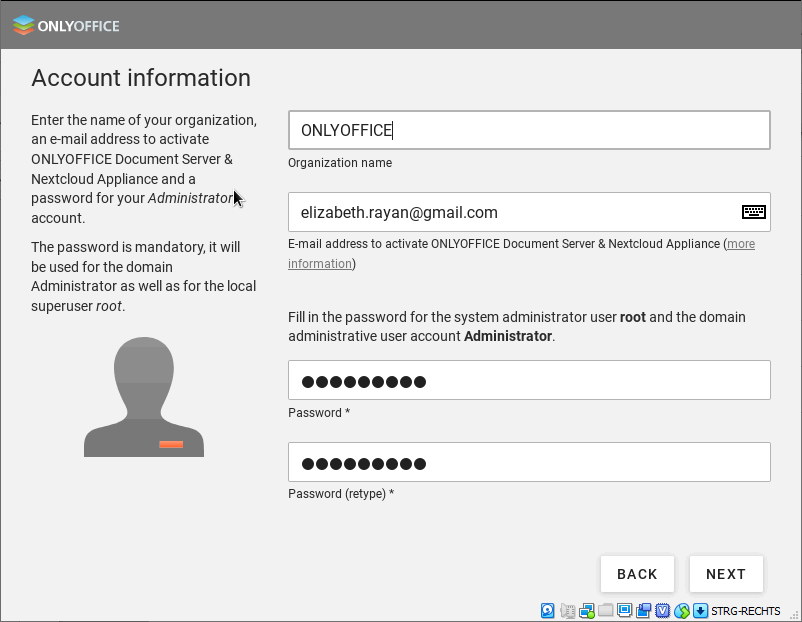
- 输入您的公司名称、用于激活 ONLYOFFICE 的管理员电子邮件地址(许可证文件将发送到此电子邮件地址),创建并确认您的管理员帐户的新密码。
- 指定此系统的完全限定域名和 LDAP 基础:


- 检查您的设置并确保所有内容填写正确。然后点击配置系统按钮。
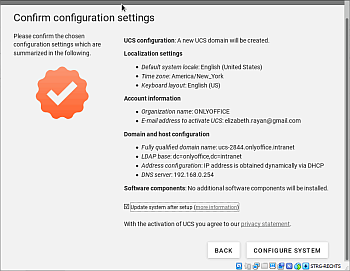

- 一旦一切配置完毕,ONLYOFFICE 就可以在新创建的 UCS 平台上启动。
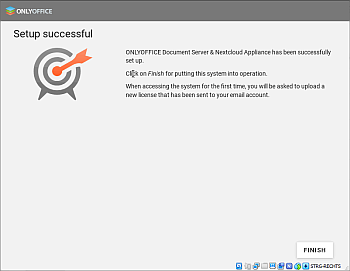

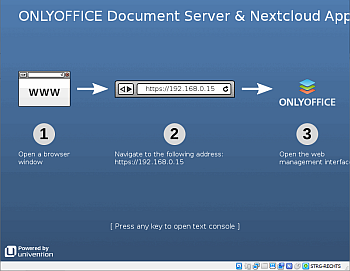
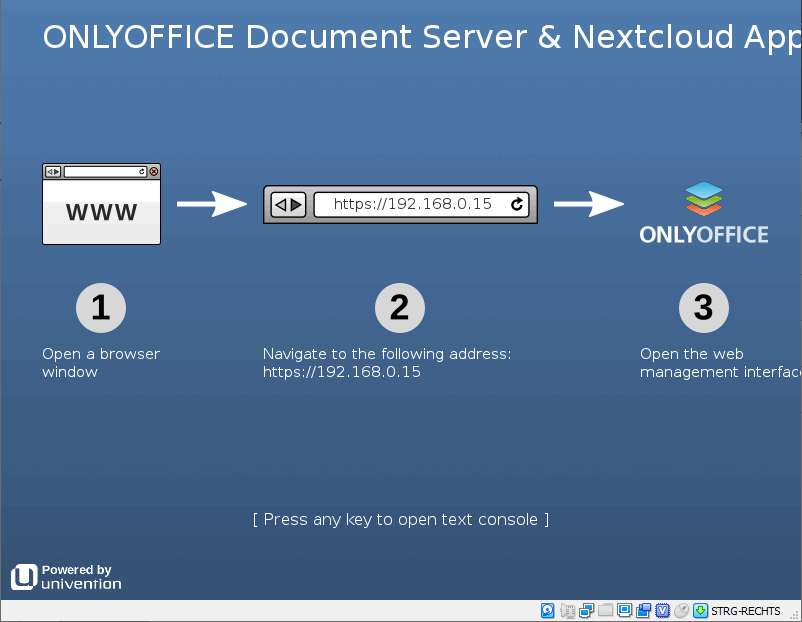
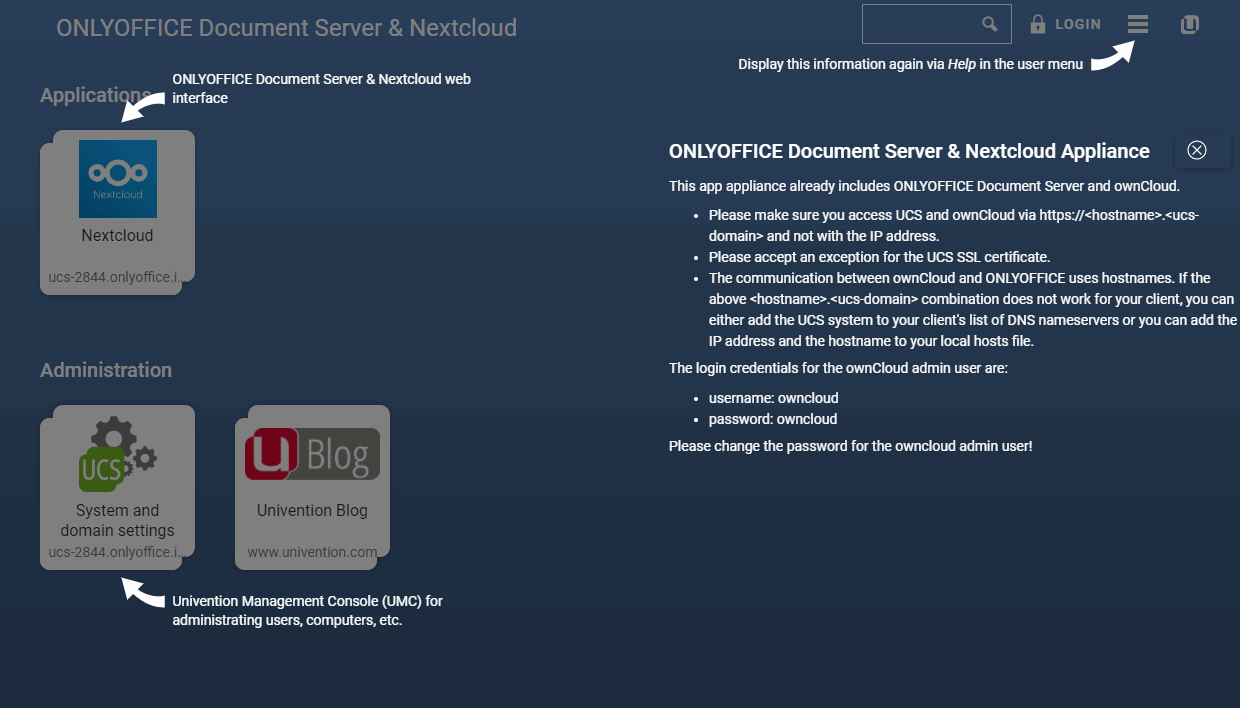
- 在浏览器地址栏中输入您的 IP 地址并上传通过电子邮件收到的 ucs.license 文件。
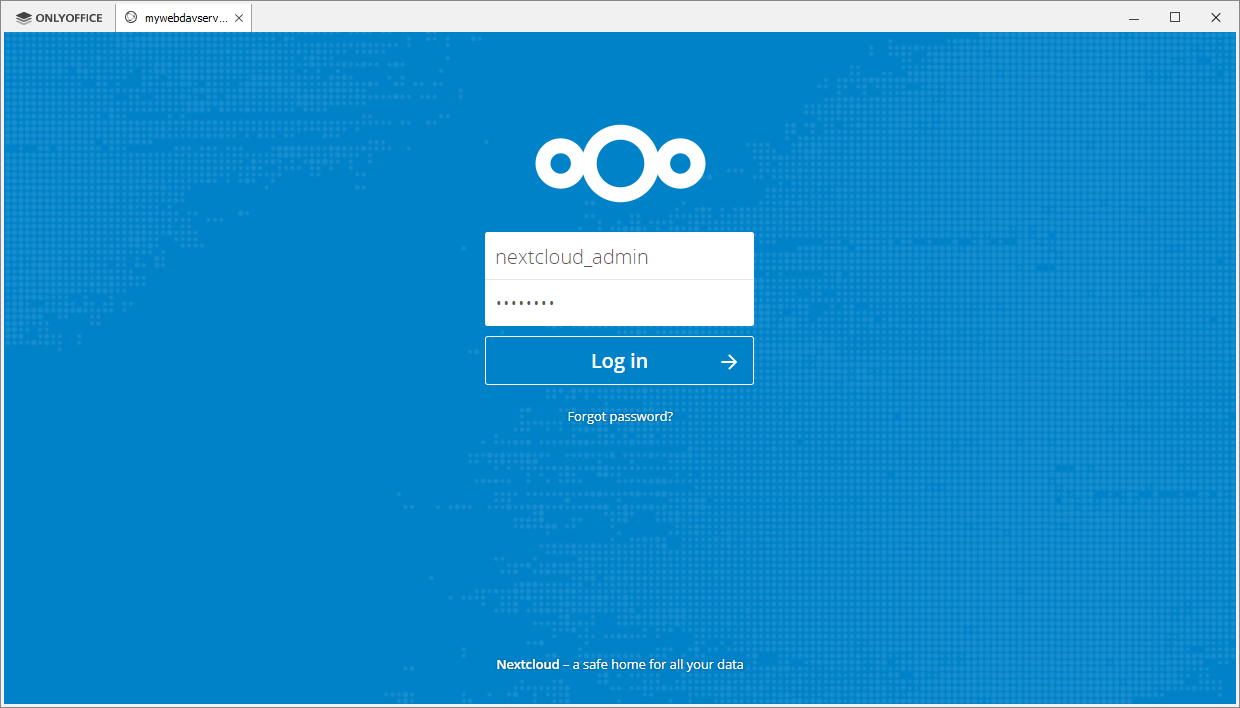
- 要登录您的 ONLYOFFICE 文档 和 Nextcloud 设备,请在 应用程序 部分中点击 Nextcloud。
要登录您的 Univention 管理控制台,请点击顶部的 登录 或 管理 部分中的 系统和域设置。
在登录字段中输入 管理员,并输入注册时指定的密码(参见步骤 4)。
在 Nextcloud 中开始使用 ONLYOFFICE 文档
要创建文档:
- 打开 Nextcloud 中所需的文件夹。
- 点击
 添加按钮。
添加按钮。 -
选择所需的文件类型:文档、电子表格或演示文稿。
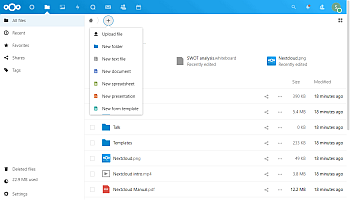
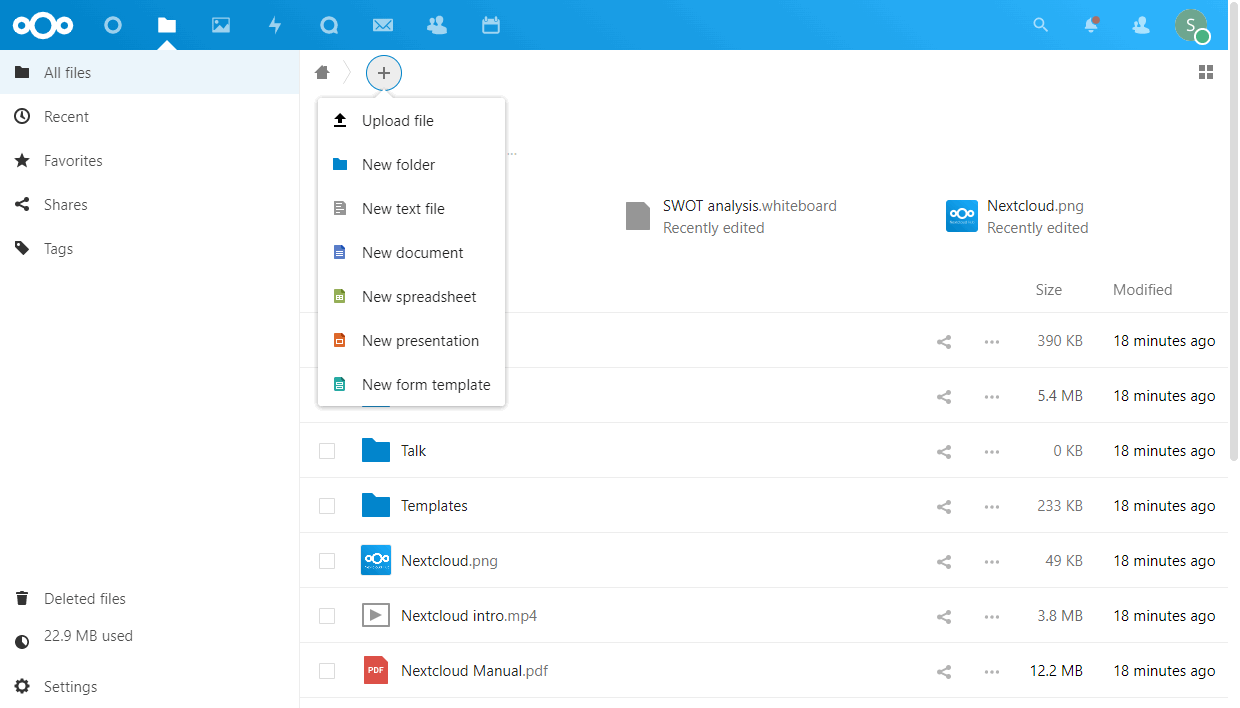
- 输入文档名称并按 Enter 键。
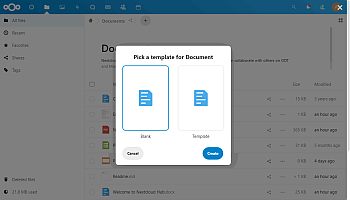
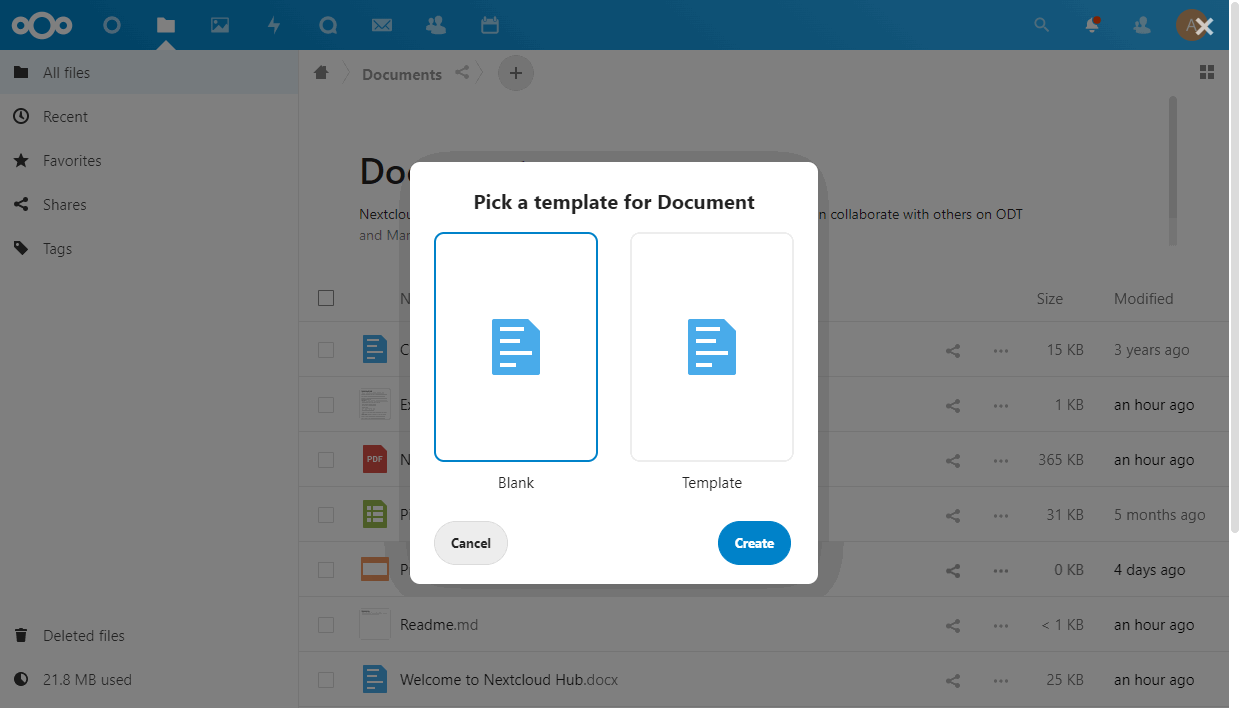
-
可选。如果管理员添加了一些模板,选择必要的模板并点击创建。
要打开文档进行编辑或查看:
- 打开包含所需文档的文件夹。
- 点击文档标题。
要将文档转换为 Office Open XML 格式:
- 打开包含所需文档的文件夹。
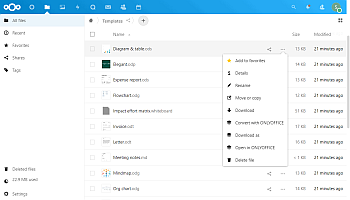
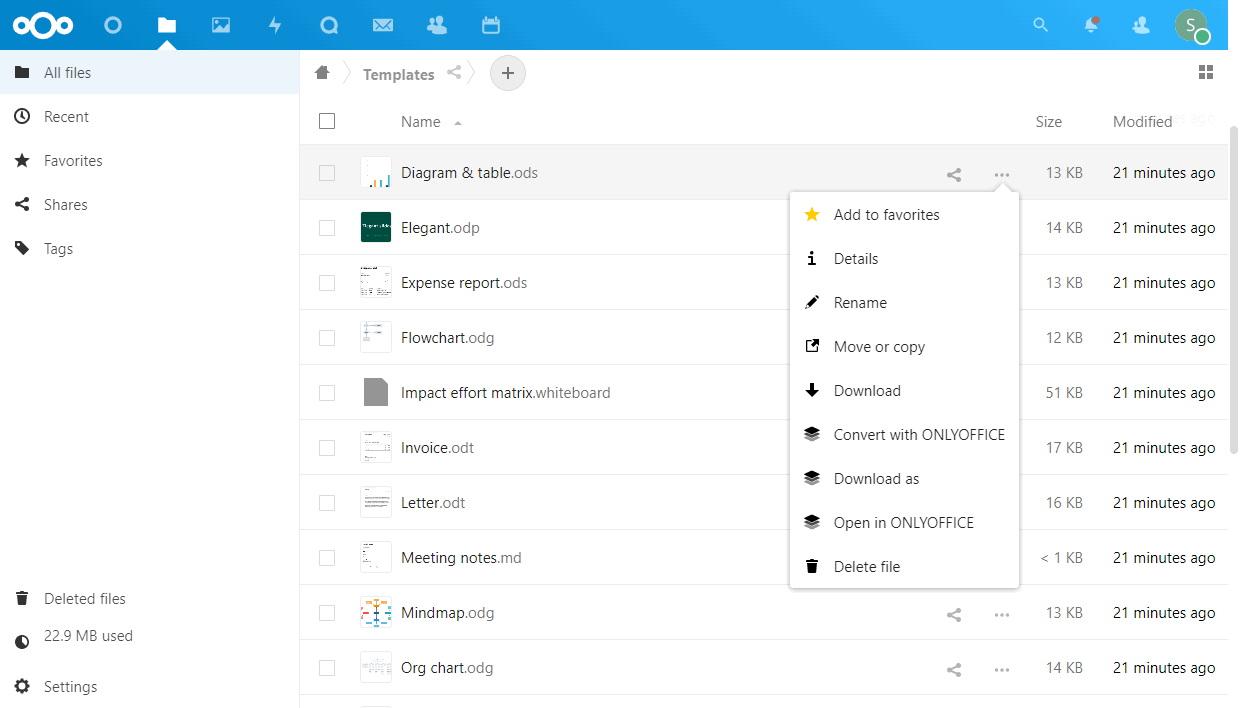
- 点击
 更多按钮。
更多按钮。 -
点击使用 ONLYOFFICE 转换选项。
 查看可以转换为 OOXML 的格式的完整列表。
要创建表单模板:
- 打开 Nextcloud 中所需的文件夹。
- 点击 添加按钮。
-
选择新建表单模板选项。

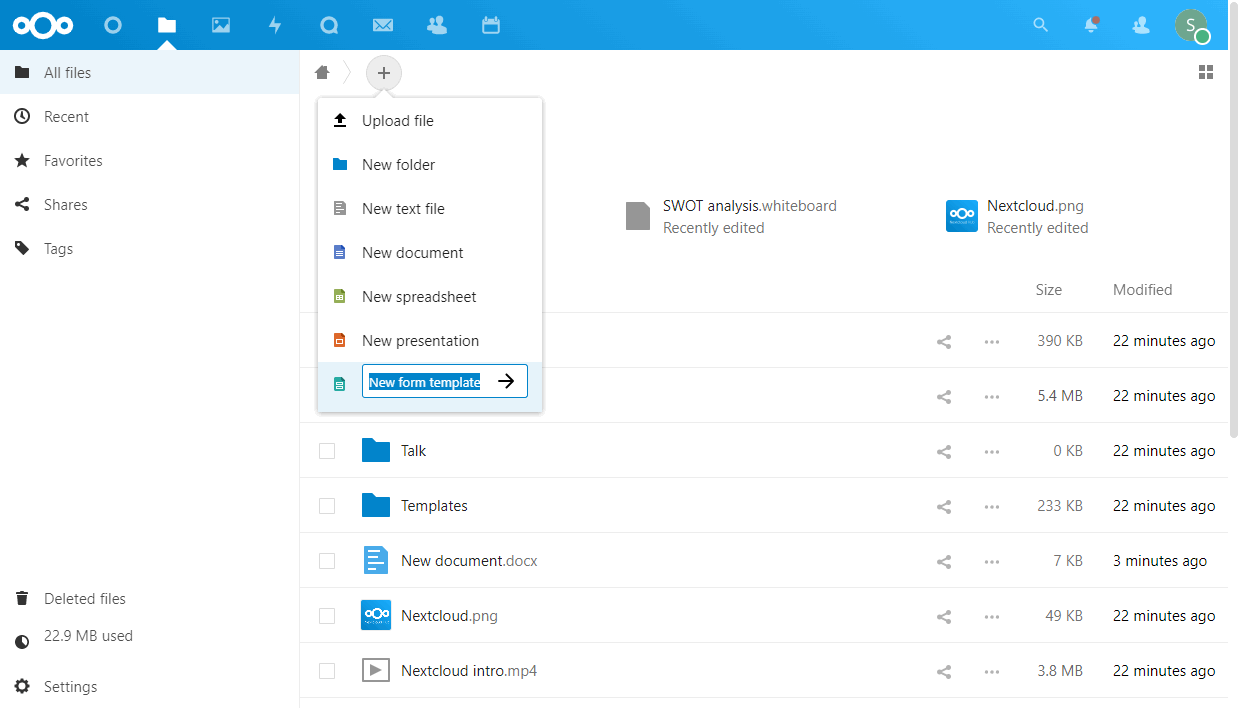
- 输入文档名称并按 Enter 键。
- 选择是要从文本文档创建表单还是从空白开始。
- 您将被重定向到相应的 ONLYOFFICE 编辑器。
- 将表单模板保存为 .pdf 以便将来进行编辑、修订或协作。
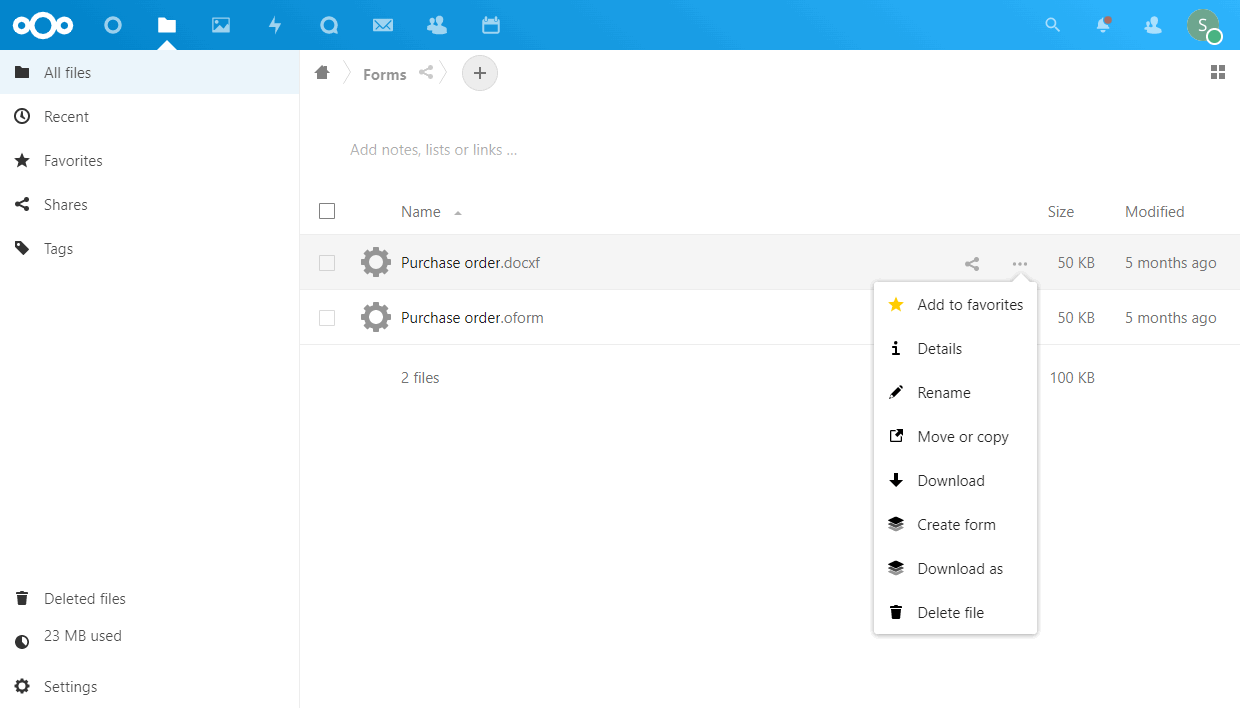
要创建可填写表单并限制其他用户编辑文件:
-
点击文件右侧的操作图标并选择创建表单选项。

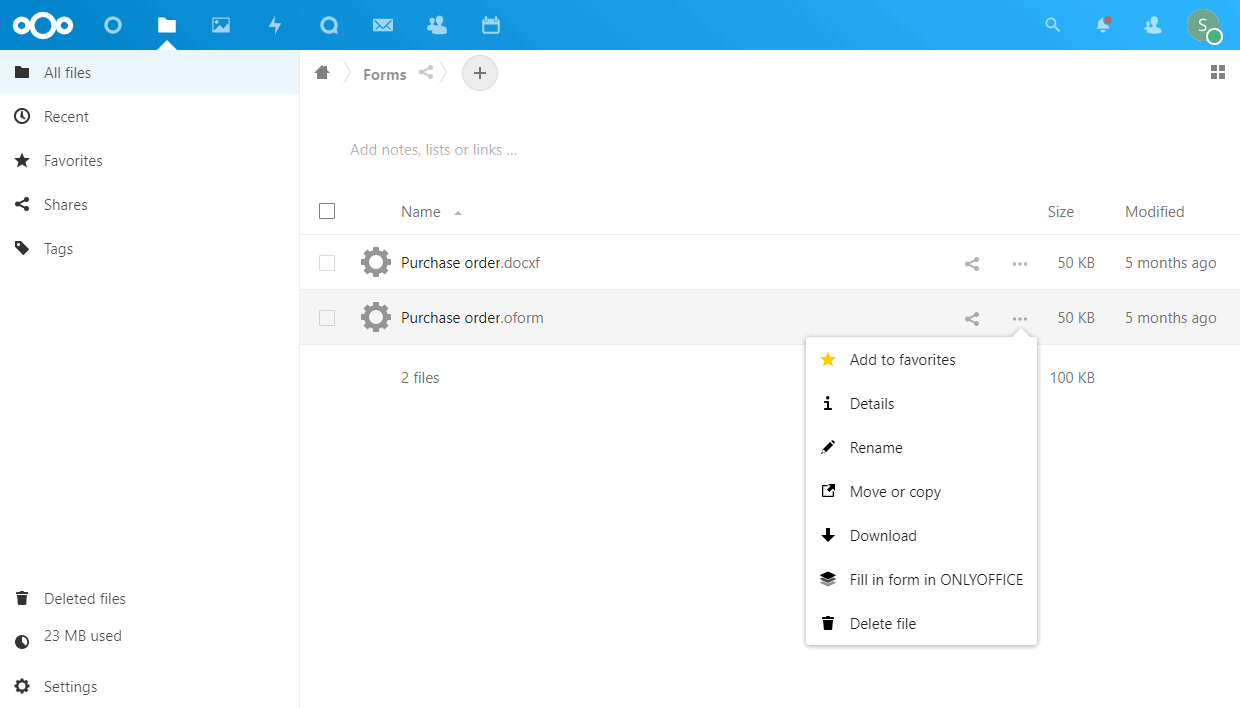
要填写表单:
-
点击文件右侧的操作图标并选择在 ONLYOFFICE 中填写表单选项。
-
打开 Nextcloud 中所需的文件夹并找到所需文件。点击文件名右侧的
 共享图标。
共享图标。
或者,您可以打开文件进行编辑,切换到编辑器界面的协作选项卡,并点击顶部工具栏上的共享按钮。
右侧将打开共享选项卡。

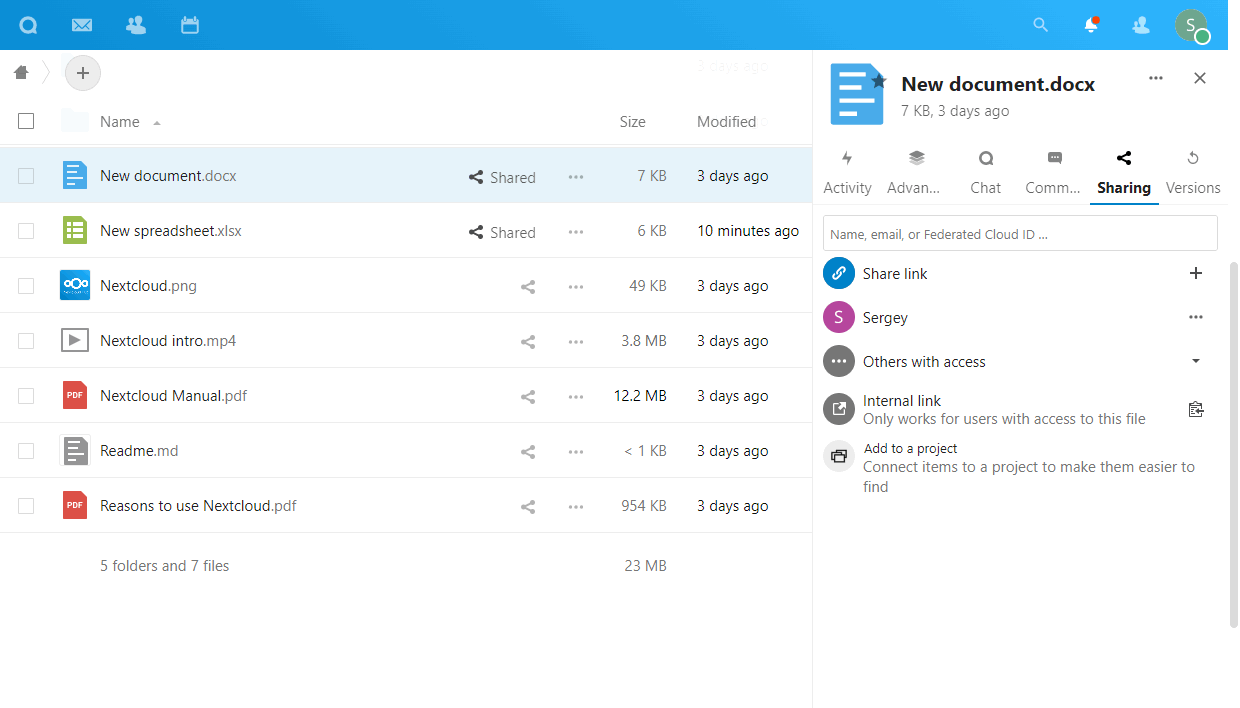
- 在名称、电子邮件或联合云 ID …字段中输入必要的数据并选择所需的用户。
-
点击用户名右侧的 图标以打开弹出菜单。
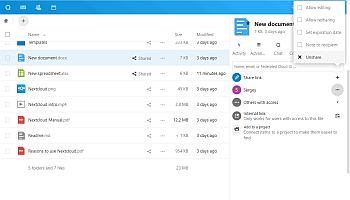
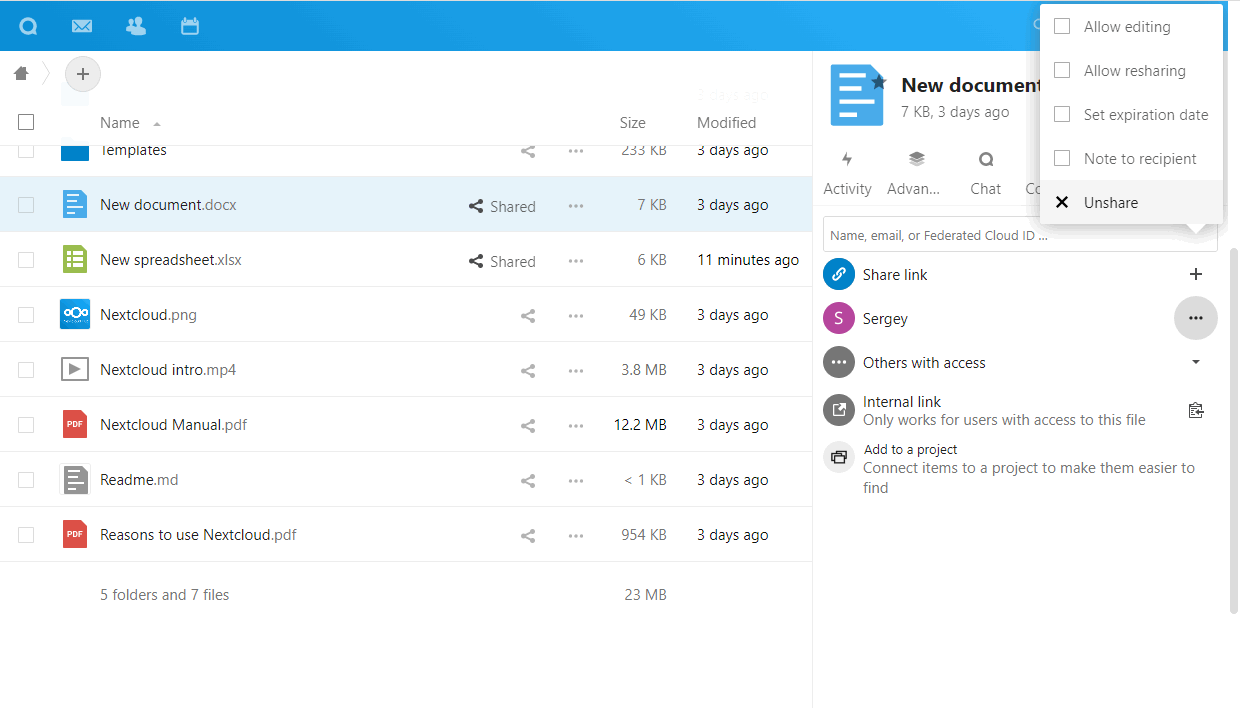
- 要提供完全访问权限,请保持允许编辑选项勾选。用户将拥有完全访问权限,并可以编辑文件。
- 要提供只读权限,请取消勾选允许编辑选项。用户将拥有只读权限,无法编辑文件。
- 要提供重新共享文件的能力,请保持允许重新共享选项勾选。用户将能够与其他用户共享文件。
-
要为不能重新共享文件的用户提供额外权限,请取消勾选允许重新共享选项(您可能还需要取消勾选允许编辑选项)。
必须在 ONLYOFFICE 应用程序的常规设置部分启用使用 ONLYOFFICE 文档提供高级文档权限。
切换到高级选项卡并点击用户名右侧的
图标。根据文件类型和共享选项卡中勾选/未勾选的允许编辑选项选择必要的选项。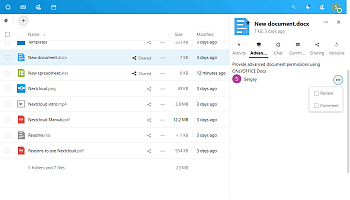
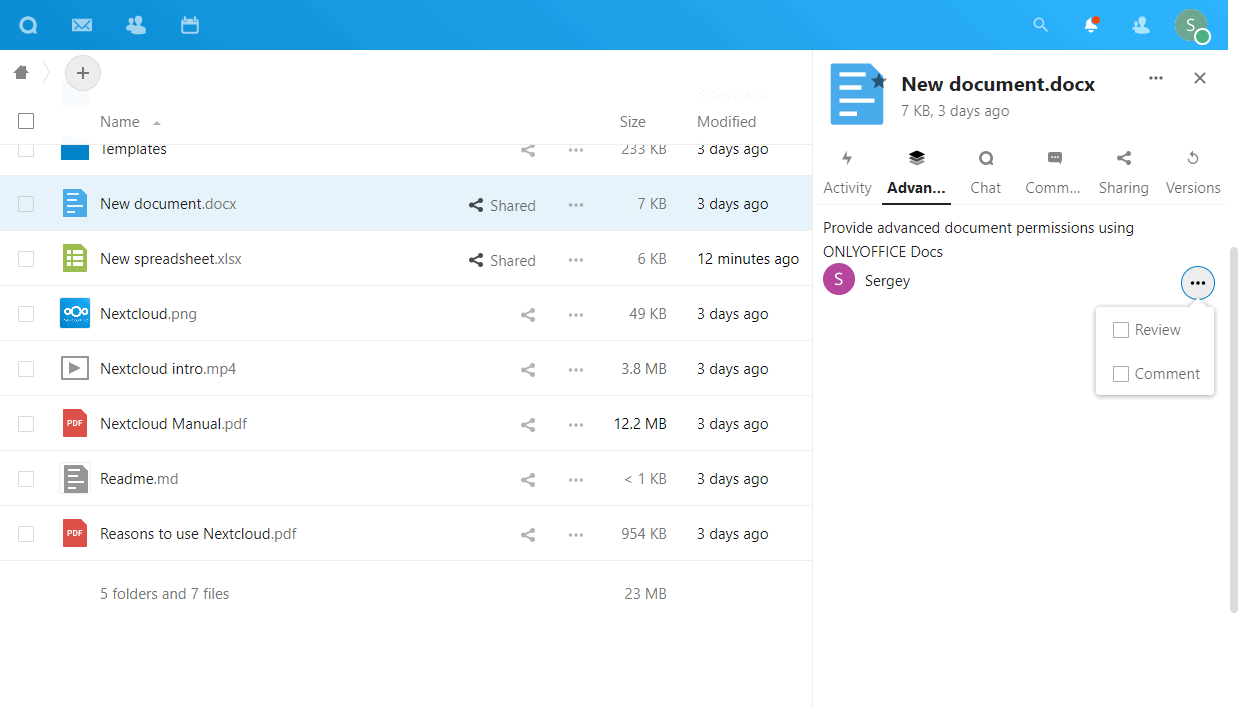
- 对于docx.文件和具有只读权限的用户,您可以选择以下权限:审阅或评论。
- 对于xlsx.文件和具有完全访问权限的用户,您可以取消勾选自定义筛选器权限。
- 对于xlsx.文件和具有只读权限的用户,您可以选择以下权限:评论。
- 对于pptx.文件和具有只读权限的用户,您可以选择以下权限:评论。
连接 ONLYOFFICE 桌面编辑器到 Nextcloud
ONLYOFFICE 允许您编辑存储在 Nextcloud 帐户中的文件,并使用在线和桌面编辑器进行协作。因此,您不仅可以使用在线协作工具,还可以使用桌面应用程序中仅有的功能:
- 使用密码或数字签名保护文档,
- 通过发送插件直接从编辑器发送当前编辑的文件,
- 通过演示文稿编辑器插入音频和视频。
启动 ONLYOFFICE 桌面编辑器
要将桌面编辑器连接到您的Nextcloud 服务器,请执行以下操作:
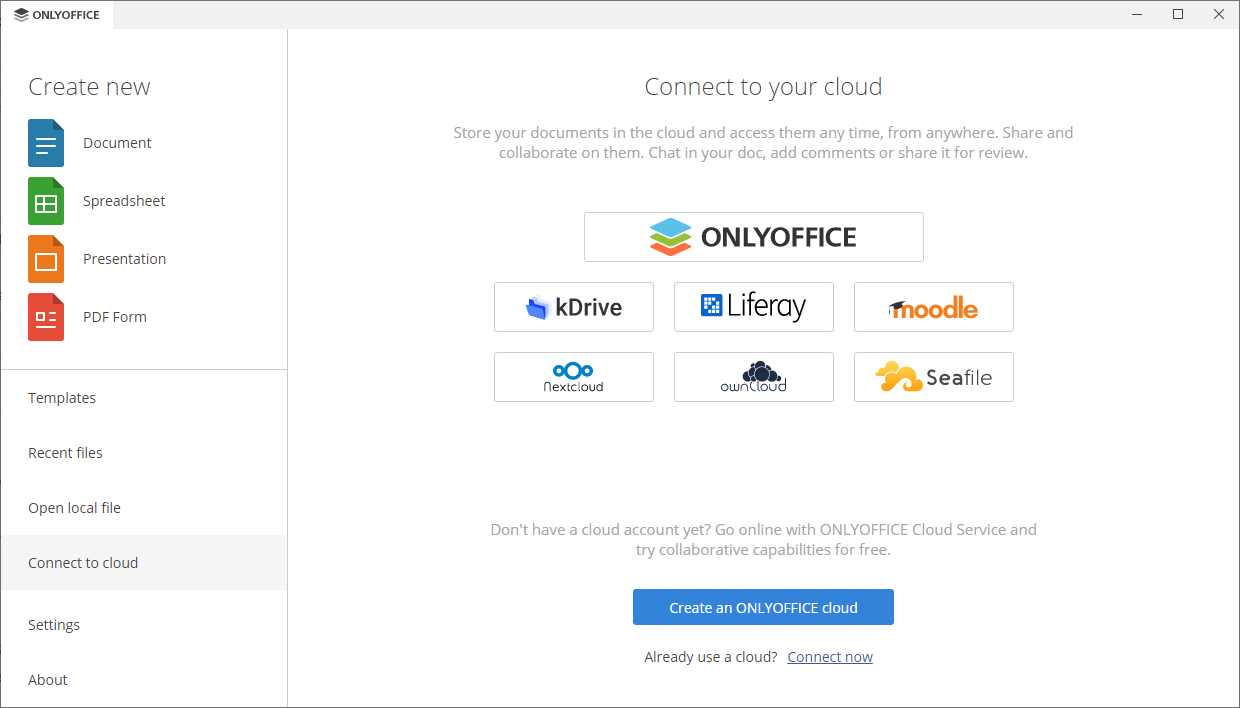
- 切换到左侧面板的连接到云部分。
-
点击 Nextcloud 云服务按钮。或者,您可以使用底部的立即连接链接。

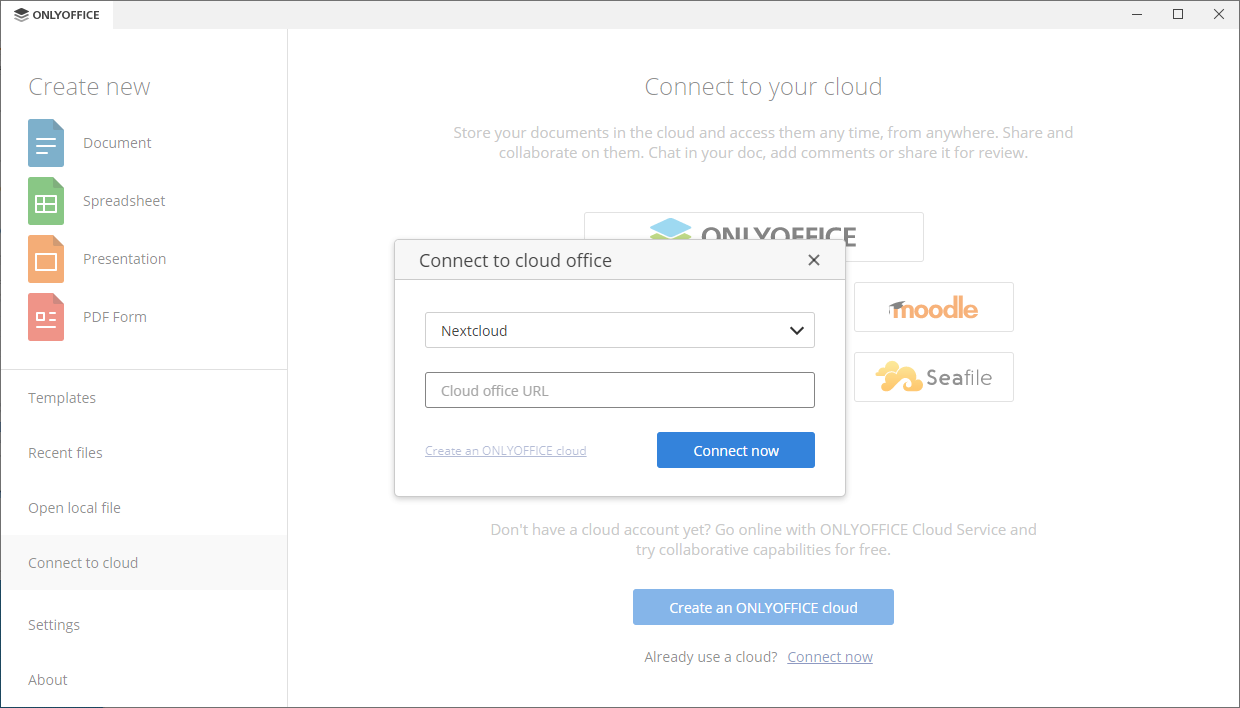
-
如果您按下了Nextcloud 服务按钮,将打开连接到云办公窗口,并选择 Nextcloud。如果您使用了立即连接链接,请从下拉列表中选择Nextcloud 云存储。
-
在云办公 URL字段中,输入您的 Nextcloud 服务器域名或 IP 地址。准备好后,点击立即连接按钮。

-
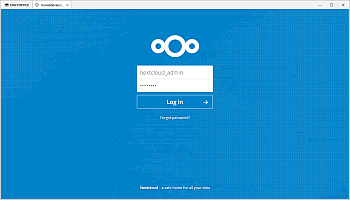
Nextcloud 登录页面将在桌面编辑器界面的新选项卡中打开。
- 指定您用于访问 Nextcloud 帐户的用户名或电子邮件和密码,
- 点击登录按钮。
-
在云办公 URL字段中,输入您的 Nextcloud 服务器域名或 IP 地址。准备好后,点击立即连接按钮。
您的 Nextcloud 帐户的文件部分将打开。现在您可以编辑现有文件并创建新文件,与 Nextcloud 用户共享文档并协作使用 ONLYOFFICE 编辑器。
在 iOS 或 Android 上连接 ONLYOFFICE 文档到 Nextcloud
您可以将Nextcloud连接到ONLYOFFICE 文档移动应用程序,以便在移动中协作编辑 Nextcloud 文档、电子表格和演示文稿。
要在移动设备上将ONLYOFFICE连接到Nextcloud,请下载并安装最新版本的ONLYOFFICE 文档 iOS 应用或ONLYOFFICE 文档 Android 应用,并执行以下操作:
- 进入云部分。
- 选择Nextcloud。
- 在连接 URL字段中插入您的 Nextcloud 服务器的 URL 地址。
- 输入您的 Nextcloud 帐户的登录名和密码。
- 按下一步。
要使用ONLYOFFICE 文档在移动设备上编辑来自Nextcloud的文档,请在文件列表中点击所需的文件名。
已知问题
- 连接外部存储。在某些情况下,使用外部存储应用程序添加存储在协同编辑中存在问题。如果连接使用相同的授权密钥(选择用户名和密码或全局凭据身份验证类型),则用户可以进行协同编辑。如果使用不同的授权密钥(登录凭据、保存到数据库或用户输入、存储到数据库身份验证选项),则无法进行协同编辑。当使用登录凭据、保存到会话身份验证类型时,文件无法在编辑器中打开。
-
验证证书。如果您为您的文档服务器使用自签名证书,Nextcloud 将不会验证此类证书,并且不允许与文档服务器建立连接。此问题可以通过两种方式解决:
- 在 Nextcloud 的ONLYOFFICE 管理页面的服务器设置部分,勾选禁用证书验证(不安全)框。
-
手动更改Nextcloud 配置文件。找到Nextcloud 配置文件(/nextcloud/config/config.php)并打开它。插入以下部分:
'onlyoffice' => array ( 'verify_peer_off' => true )这将禁用证书验证,并允许Nextcloud与文档服务器建立连接。
请记住,这只是一个临时的不安全解决方案,我们强烈建议您用一些 CA 颁发的证书替换该证书。一旦您这样做,请不要忘记取消勾选相应的设置框或从 Nextcloud 配置文件中删除上述部分。
- 联合云共享。如果使用联合云共享应用程序共享文档,则连接到不同 ONLYOFFICE 服务器的 Nextcloud 实例之间将无法进行协同编辑。来自同一个文档服务器的用户可以在协同编辑模式下编辑文档,但来自两个(或更多)不同文档服务器的用户将无法实时协作编辑同一文档。
- 转换文件。ONLYOFFICE 文档在打开和编辑文件时使用 Office Open XML 格式作为基础。如果文件格式与 OOXML 不同,它仍将被转换为相应的 OOXML 以提高文档服务器的高效操作和更快的性能。之后,您可以编辑文件,进行任何可用于基础 OOXML 格式的更改,并将文件保存为此基础 OOXML 格式。
- 如果源 Nextcloud 文件格式与基础格式不同,并且您仍希望将其保存为原始格式,文件将从 OOXML 转换为此格式。由于格式本质上不同,一些数据(如图表、表格、自动形状或图像)和格式可能会丢失,因为某些格式(如csv、txt等)不支持它们或与 OOXML 标准的处理方式不同。这就是为什么所有非 OOXML 文件默认仅打开以供查看,尽管在上下文菜单中有一个选项可以转换文件。如果您在转换后意识到数据/格式丢失的风险,但仍希望打开非 OOXML 文件进行编辑,您可以在设置中将其勾选。csv和txt文件的编辑默认可用。
- 在没有下载权限的情况下访问文档时,文件打印和使用系统剪贴板不可用。可以通过编辑器工具栏和上下文菜单中的按钮在编辑器内复制和粘贴。