ownCloud
简介
ONLYOFFICE 允许您编辑存储在 ownCloud 账户中的文件,并通过在线和桌面编辑器进行协作。因此,您不仅可以使用在线协作工具,还可以使用仅在桌面应用程序中提供的功能:
- 使用数字签名保护文档,
- 通过发送插件直接从编辑器发送当前编辑的文件,
- 通过演示文稿编辑器插入音频和视频。
要充分利用所有这些编辑选项,您需要安装和配置几个组件:
- 假设您已经安装并配置了ownCloud 服务器实例。如果没有,您可以参考ownCloud官方安装说明。
- 安装ONLYOFFICE 文档。请注意,ownCloud 服务器和 ONLYOFFICE 文档必须能够通过网络互相访问。
- 在 ownCloud 管理员账户中启用我们的官方集成应用。
安装和配置所有组件(ONLYOFFICE 文档、ownCloud 服务器和集成应用)最简单的方法之一是使用我们的 Docker 安装。您可以参考ownCloud的相应说明。
- 将您的 ownCloud 服务器连接到ONLYOFFICE 桌面编辑器。
步骤 1. 安装 ONLYOFFICE 文档
安装ONLYOFFICE 文档最简单的方法是使用 Docker。执行以下命令:
sudo docker run -i -t -d -p 80:80 --restart=always onlyoffice/documentserver如果您想在安装 ownCloud 服务器的同一台机器上安装ONLYOFFICE 文档,您需要更改ONLYOFFICE 文档使用的默认端口(默认情况下,ONLYOFFICE 文档和 ownCloud 都使用 80 端口)。
使用 Docker 安装ONLYOFFICE 文档时,您可以通过以下命令轻松更改映射端口:
sudo docker run -i -t -d -p <PORT_NUMBER>:80 --restart=always onlyoffice/documentserver其中 <PORT_NUMBER> 是您希望ONLYOFFICE 文档使用的端口号。
要获取有关如何使用 Docker 安装ONLYOFFICE 文档的更详细说明,您可以参考本文。
为了确保ONLYOFFICE 文档成功安装,请在浏览器地址栏中输入 IP 地址和端口(如果在安装过程中已更改),例如,http://192.168.3.202:81 - 应该会打开ONLYOFFICE 文档欢迎页面。
步骤 2. 安装和配置 ONLYOFFICE ownCloud 连接器
在您的 ownCloud 账户中,点击左上角的图标并在菜单中选择市场选项。在 ownCloud 应用市场中,从左侧列表中选择工具应用类别。找到 ONLYOFFICE 连接器并点击安装按钮。
点击右上角的用户名并在菜单中选择设置选项。在左侧菜单的管理员部分点击附加项。应该会打开ONLYOFFICE应用设置页面。
安装连接器后,您需要对其进行配置。在 ONLYOFFICE 应用设置页面中,在文档编辑服务地址字段中指定安装 ONLYOFFICE 文档的机器地址。如果在安装过程中更改了端口,请不要忘记指定,例如,http://192.168.3.202:81。点击保存按钮以应用设置。
要了解有关配置集成应用的更多详细信息,您可以参考ownCloud的相应文章。
步骤 3. 连接到 ownCloud 服务器
启动 ONLYOFFICE 桌面编辑器。要将桌面编辑器连接到您的 ownCloud 服务器,请执行以下操作:
- 切换到左侧面板的连接到云部分。
- 点击 ownCloud 云服务按钮。或者,您可以使用底部的立即连接链接。

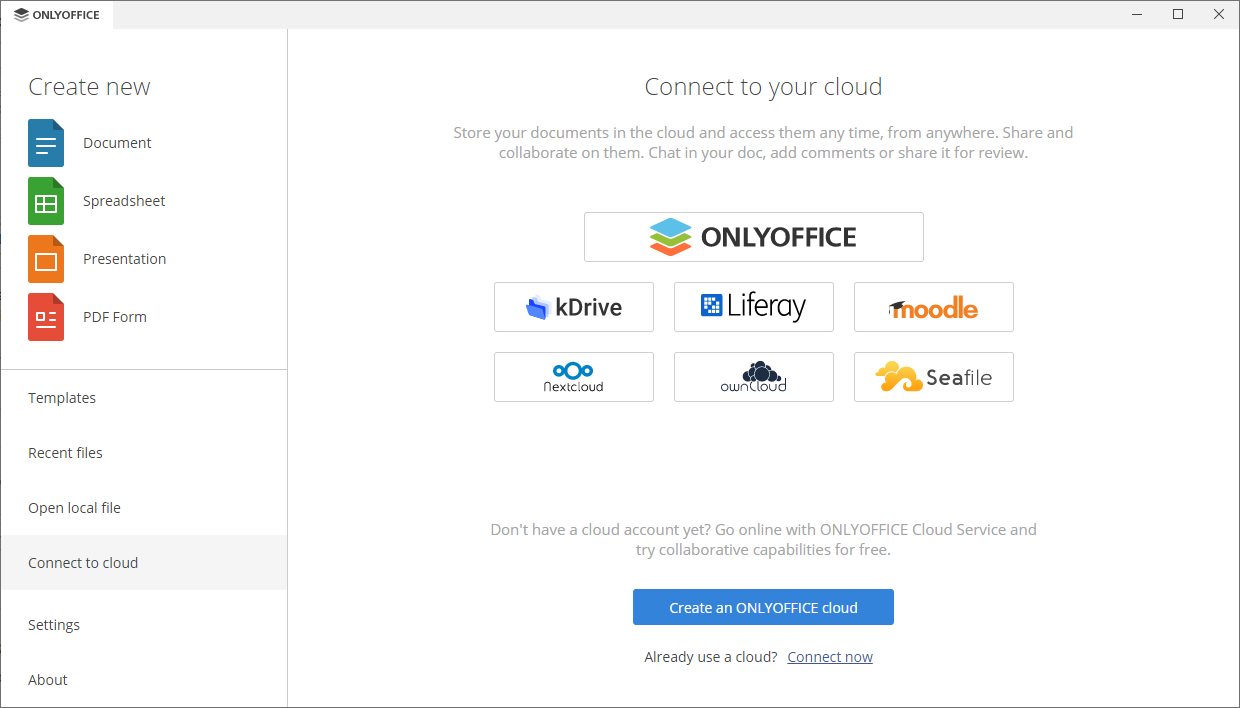
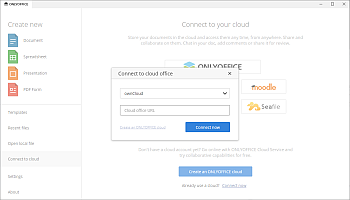
- 如果您按下了 ownCloud 服务按钮,连接到云办公窗口将打开并选择 ownCloud。如果您使用了立即连接链接,请从下拉列表中选择 ownCloud 云存储。
- 在云办公 URL字段中,输入您的 ownCloud 服务器域名或 IP 地址。准备好后,点击立即连接按钮。

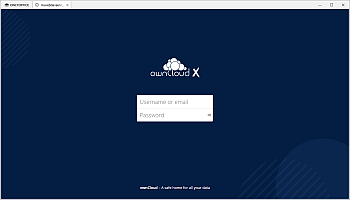
-
ownCloud 登录页面将在桌面编辑器界面的新选项卡中打开。
- 输入您用于访问 ownCloud 账户的用户名或电子邮件和密码,
- 点击登录按钮。

- 在云办公 URL字段中,输入您的 ownCloud 服务器域名或 IP 地址。准备好后,点击立即连接按钮。
您的 ownCloud 账户的文件部分将打开。现在,您可以编辑现有文件并创建新文件,与 ownCloud 用户共享文档,并使用 ONLYOFFICE 编辑器进行协作。
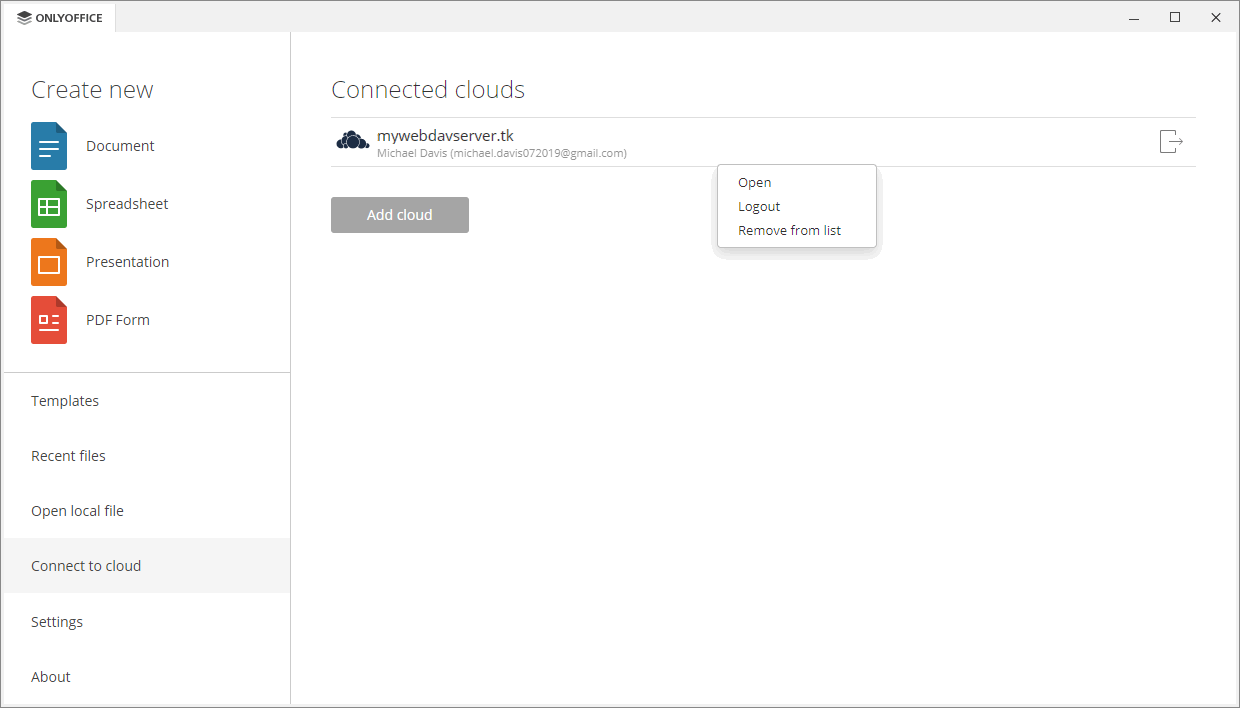
步骤 4. 管理您的连接账户
点击桌面编辑器界面左上角的徽标返回主程序窗口,然后切换到连接到云部分以查看已连接的云列表。右键点击一个已连接的云办公并使用可用的上下文菜单选项之一:
- 打开 - 如果您已经登录此账户,则切换到相应的云存储选项卡,或者如果您当前未登录,则打开连接到云办公窗口(在这种情况下,您需要输入您的凭据),
- 注销 - 退出您的账户,
您也可以点击账户右侧的
 图标退出。
图标退出。
- 从列表中移除 - 断开所选账户并将其从列表中移除。
如果您有多个账户或云,请使用添加云按钮连接另一个账户。