Co-editing documents online
Introduction
When drafting a contract, writing an article, or translating a text, you may need to collaborate with others — particularly at the final stage, to review details or proofread the document. In this case the process typically follows a repetitive cycle: sending the document, waiting for feedback, making corrections, and repeating until both parties are satisfied.
To avoid this continuous procedure and achieve the best result without wasting time on sending and waiting, use the Co-editing feature provided by Document Editor. All that is required is to send the document link to the relevant collaborator and start co-editing the document commenting and discussing it in real time without installing any additional software.
This guide will show you how it can be done in a few steps.
Step 1. Access the Documents
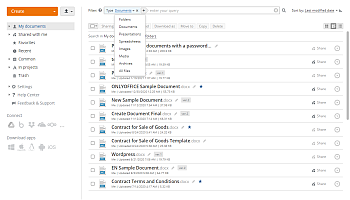
Sign in to your portal and click Documents.


If you are already signed in, access the Documents module from the drop-down list in the top-left corner of the page and select the corresponding option.
Step 2. Select a document to edit
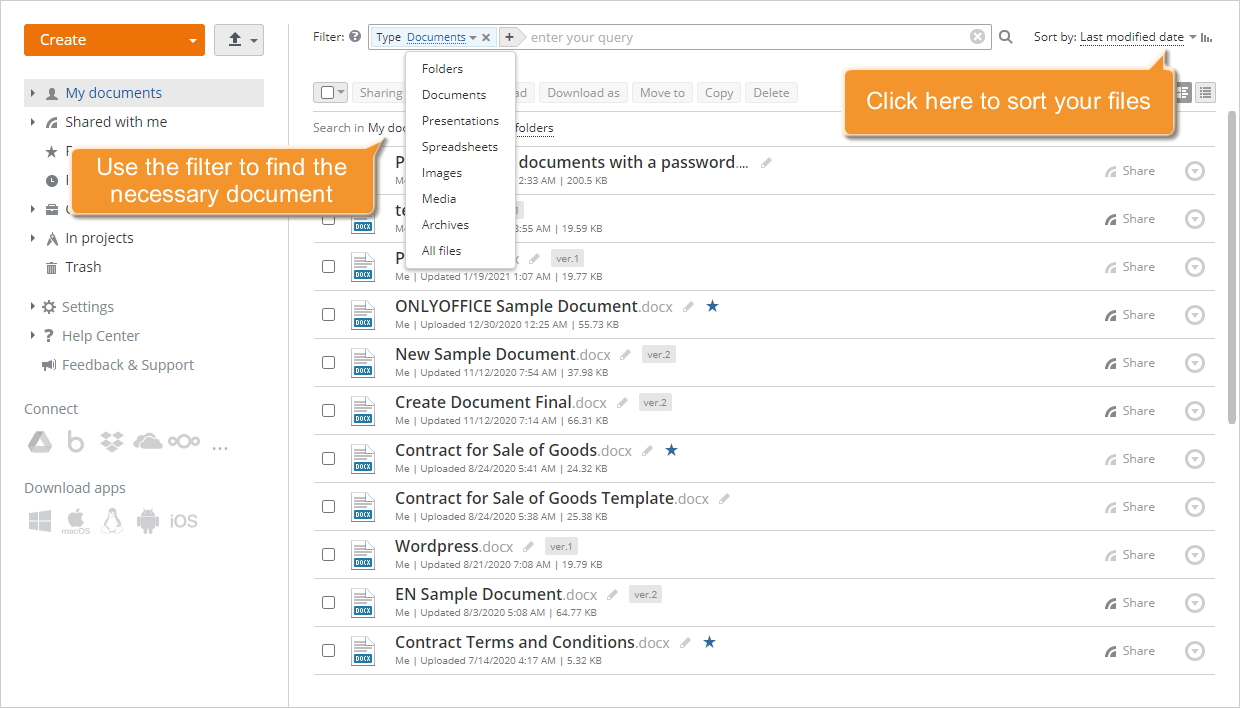
The My documents folder opens. To find a document, use the filter at the top of the list.
Click the  icon and set the filter parameters:
- To filter items by TYPES select one of the following options: Folders, Documents, Presentations, Spreadsheets, Images, Media, Archives, or All files.
- To filter items by AUTHOR click the User or Group option and select a user or a group.
The My documents section contains your personal files. Filtering by AUTHOR in the My documents section can be useful if you've previously shared a folder and other users added their files to your shared folder.
- To include subfolders in search click the All subfolders option in the SEARCH section.
Enter the full or partial document title in the filter field and press Enter to display the found item(s).
By default, all the files are sorted by Last modified date in descending order (later dates to early ones). If necessary, you can sort the items by Creation date, Title, Type, Size or Author opening the Sort by drop-down list to the right of the Filter field and selecting the necessary option. To change the sorting order from Descending to Ascending click the ![]() icon.
icon.
To edit a file stored locally, first upload it to Documents by clicking the Upload  button in the upper left corner of the page and selecting the Upload files option.
You can also create a new document right on the portal clicking Create in the upper-left corner and selecting the file type from the drop-down list.
Step 3. Configure the sharing settings
Once the document is located, click Share on the right.
In the Sharing Settings window, click the External link access switcher and grant full access to the document by selecting Full Access from the list next to the External link access. Use the Shorten option to get a shortened link.
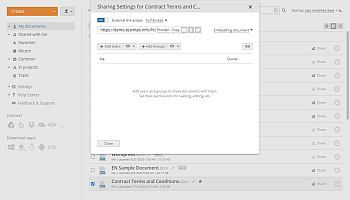

Select the preferred method for sharing the document link:
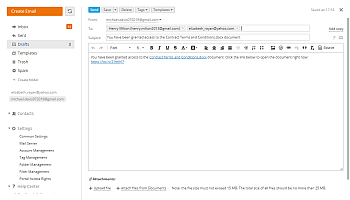
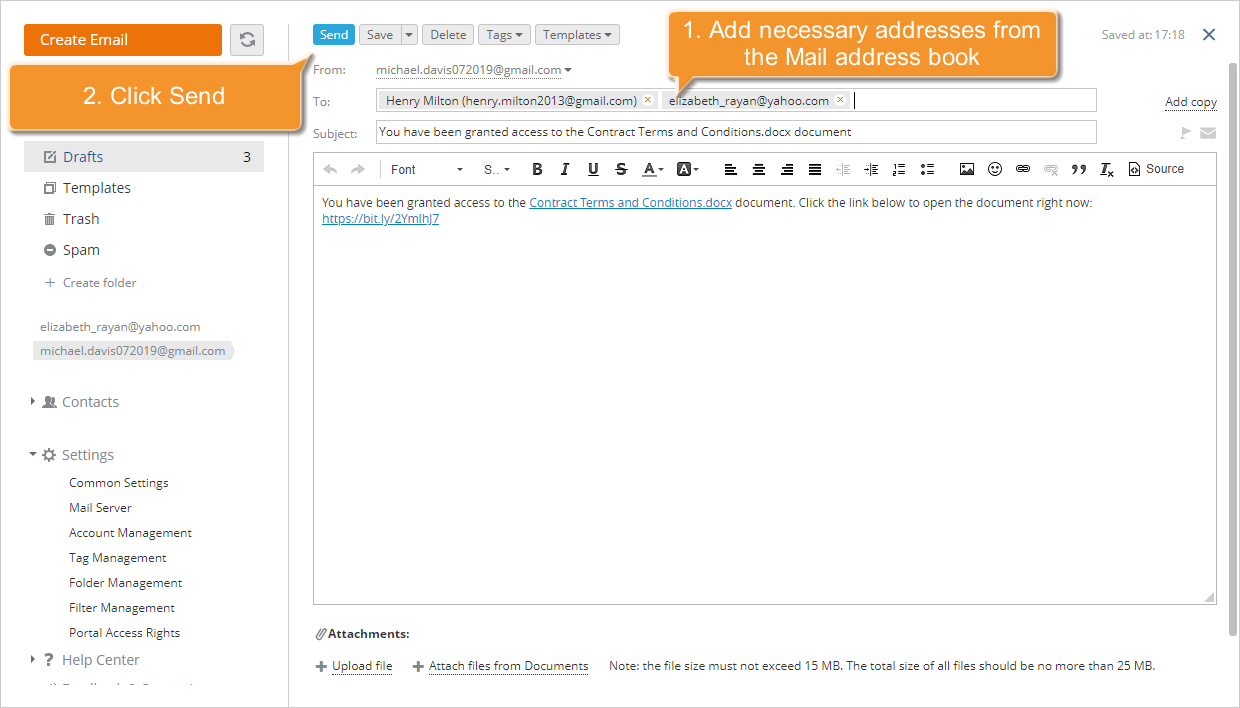
- Send it via email
Click the icon. If you are already using the Mail module, a message template will open in a new tab.
In the To: field, enter the email address of the recipient. Begin typing the recipient's email address or name and select the appropriate contact from the list. Matching contacts from your address book are displayed as you type, including personal, CRM, and portal contacts, as well as email addresses to which you have previously sent messages.
You can add as many recipients as you wish. Select multiple addresses from the list individually, or enter new addresses separated by commas. If an email address is entered incorrectly, the address block will be highlighted in red. To edit an address, double-click the relevant address block. To delete an address, click the
 icon.
icon.Edit the covering message, if applicable, and click Send.
- Share it via social networks
Click one of the available social network logos: Facebook or Twitter and access your account. - Share it in another way
Use the Copy option or copy the whole link with the mouse or using the Ctrl+A and Ctrl+C key combinations and send it via the instant messenger you use or any other available way.
Step 4. Start the co-editing
To begin co-editing the document, simply follow the shared link.
After following the link the invited persons can start editing the document using the Online Editor features without any limitations.
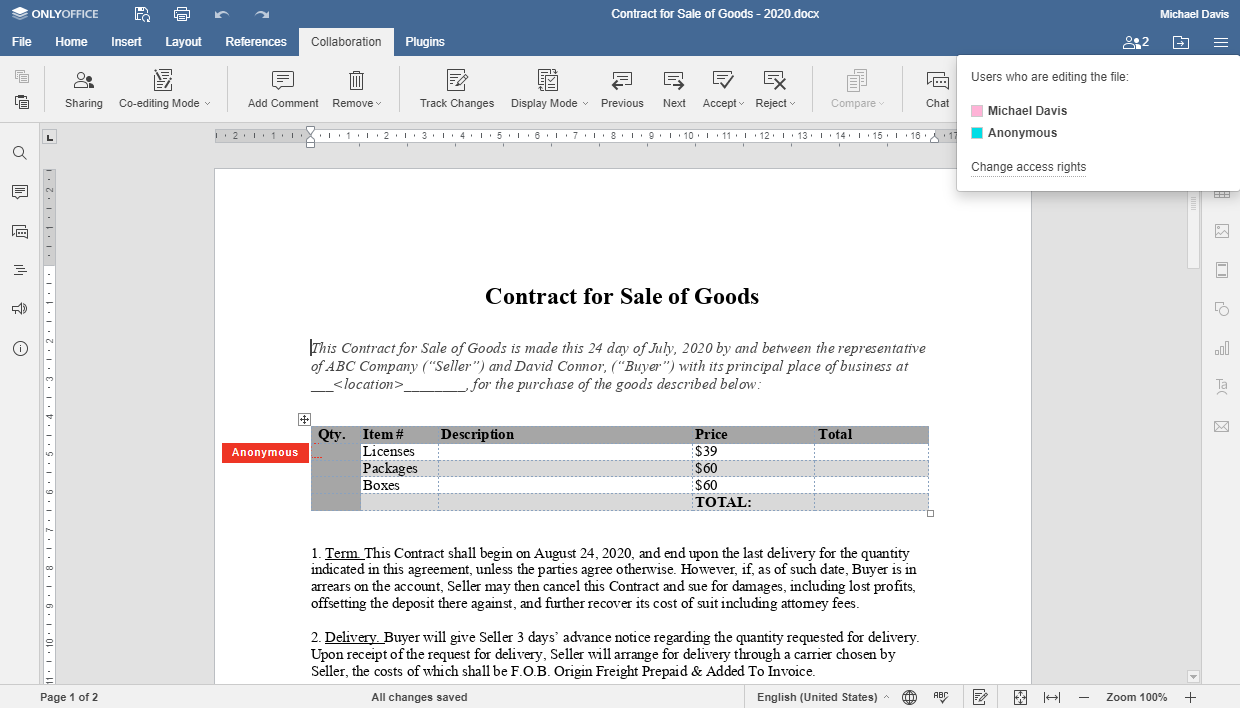
Document Editor allows you to select one of two available co-editing modes:
- The Fast mode is used by default and shows the changes made by other people in real time.
- The Strict mode allows you to hide other user' changes until you click the Save icon to save your own changes and accept the changes made by others.
Switch to the Collaboration tab, click the  Co-editing Mode button at the top toolbar and select the appropriate mode. Alternatively, you can open the File tab, click the Advanced Settings menu item, select the necessary mode in the Co-editing Mode list and click the Apply button.

In Strict mode, text passages currently being edited are marked with dashed lines in different colours. When a co-editor saves changes, a notification will appear in the upper-left corner. To save the changes made click the  icon, to get the updates click the
  icon. The updates will be highlighted.


Step 5. Comment the text passages
If you or a co-editor need to comment on the changes made or just indicate the text passages to be edited, use the Real-time commenting feature.
Select the passage to be commented with the mouse and right-click it, then select the Add comment option from the context menu. A pop-up window will open.

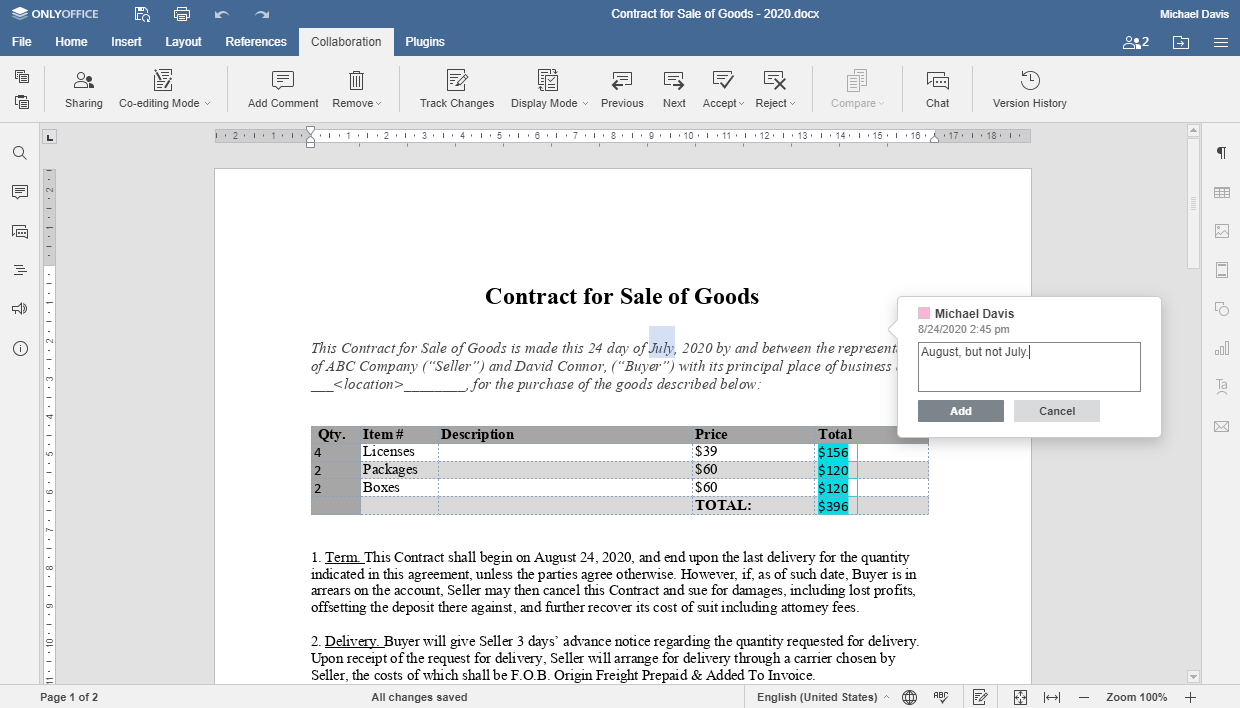
Enter your comment text and click the Add button. The commented passage will be highlighted. To edit or remove the comment, click within the commented passage and use the  or
or  icons respectively. In the Strict co-editing mode, ensure the document is saved using the icon to make the comment available to other co-editors.
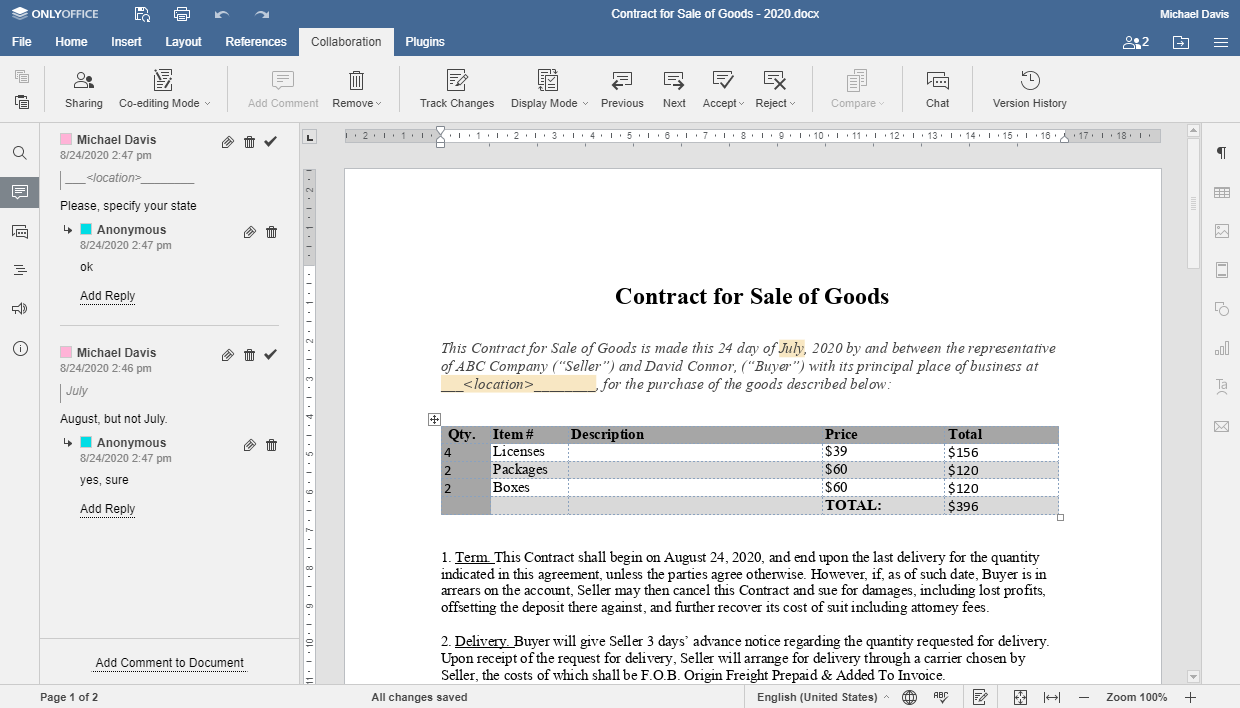
To reply to the comment added by your co-editor, click within the commented passage. Click the Add Reply link at the bottom of the opened pop-up window, type your message and click Reply.
Once the issue is solved, click the  icon in the upper right corner of the pop-up window.
To track the whole history of the comments added to the current document, open the Comments panel by clicking the  icon in the left-side bar.

Step 6. Discuss the document
To communicate with your co-editors while editing the document, open the Chat panel by clicking the  icon in the left-side bar. All the users who currently edit the document will be listed at the top of the panel.
To start a discussion, enter your message in the field below and click Send.

