Exporting CRM database and editing it using spreadsheet editor
Introduction
This guide explains how to export customer information from your CRM database as a .csv file for editing and printing directly on the portal.
Step 1. Access the CRM
Sign in to your portal and click CRM.

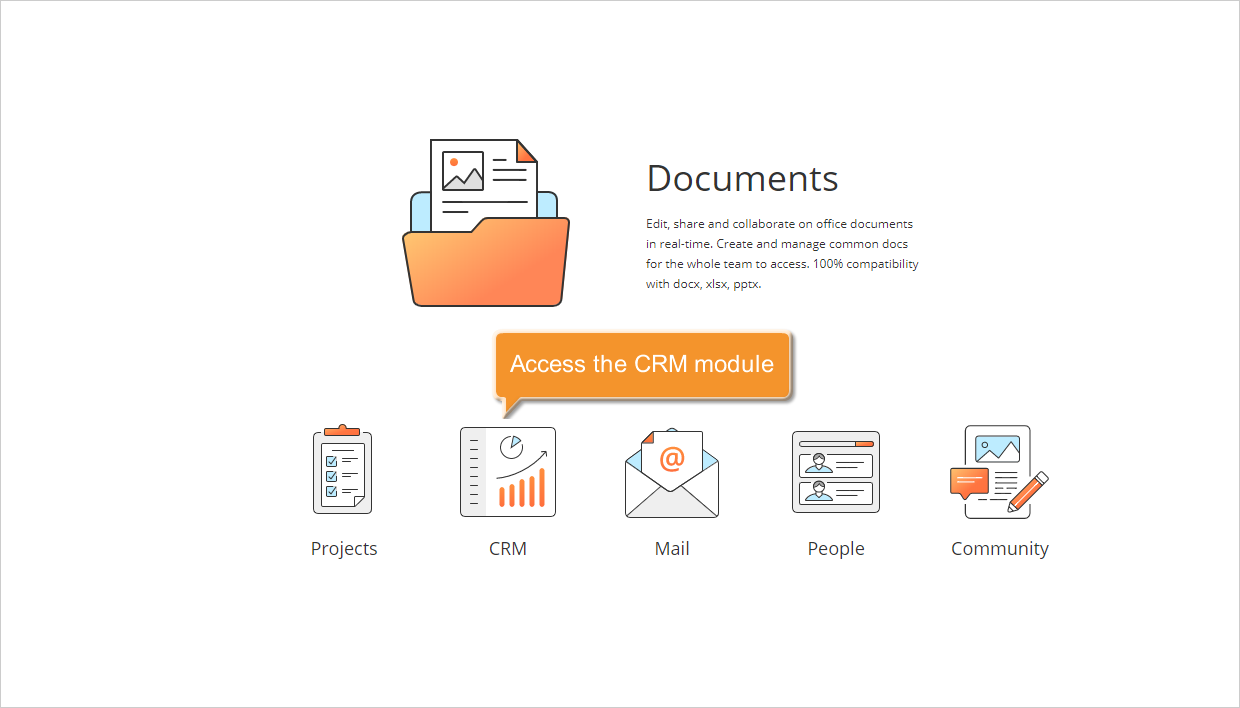
If you are already signed in, access the CRM module from the drop-down list in the top-left corner of the page.
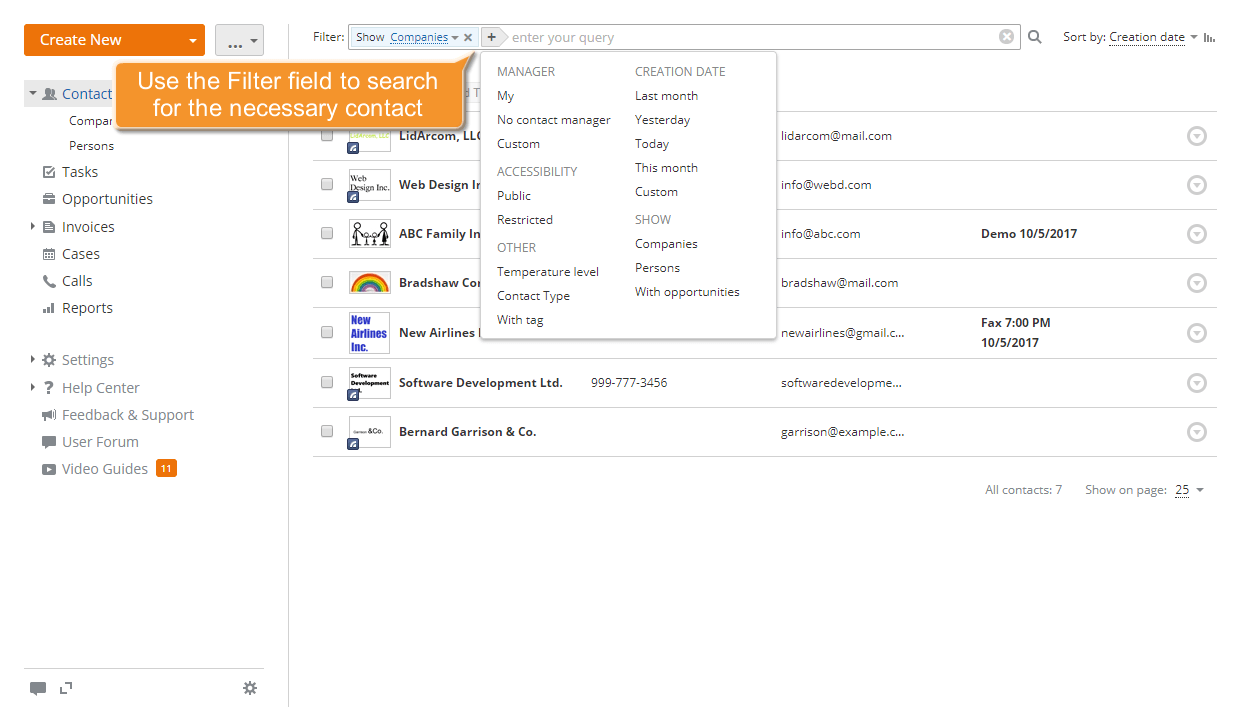
Step 2. Filter your database information
By default, all the available companies and persons are displayed in the Contacts list. To export all contacts, proceed to Step 3. To export specific contacts, use the filter at the top of the page.
Click the  button and select one of the options:
- MANAGER is used to display the contacts assigned to you or to any other CRM user;
- CREATION DATE is used to display the contacts with the specified creation date within the specified period of time: Last month, Yesterday, Today, This month or any other custom period;
- ACCESSIBILITY is used to display all public or restricted contacts;
- SHOW is used to display all companies or all persons only, or show the contacts with opportunities;
- TEMPERATURE LEVEL is used to display the contacts of a certain temperature level only. The default levels are: cold, warm or hot;
- CONTACT TYPES is used to display the contacts of a certain type only. The default types are: Client, Competitor, Partner, Supplier;
- WITH TAG is used to display the contacts with a specified tag only.
You can also use the wildcards to filter your contacts:
- use the question mark ? to perform the single-character wildcard search. For example, when you use the Sm?th query, it will return results for Smith and Smyth.
- use the asterisk * to perform the multiple-character wildcard search. For example, to search for all the words beginning with O, use the O* query.
- use the double quotes "" to focus the results on words that appear as an exact phrase.
- use the tilde ~ at the end of the word to search for the words similar in spelling.
Step 3. Open and edit your contact list
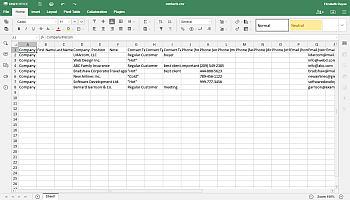
Once the list is ready, click the button next to Create in the upper-left corner and select Export current list to CSV-file from the drop-down list.
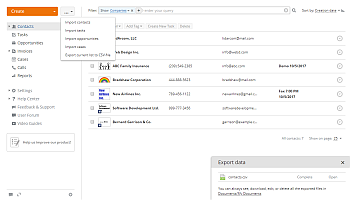

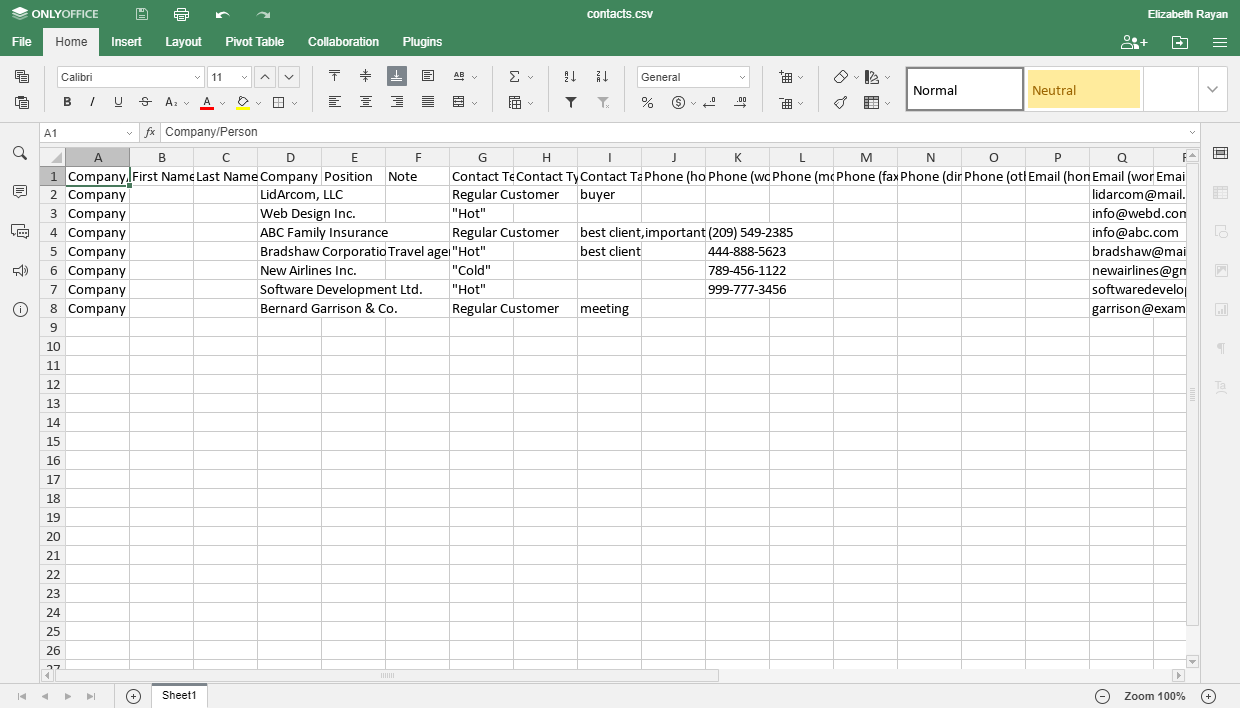
The contacts.csv file will be automatically saved in the My Documents folder of the Documents module. Click Open to edit the list containing all the available contact information using the online Spreadsheet Editor. Format the list as required using the Home tab of the Top Toolbar. This tab provides the most common text formatting commands, including font style, font colour, and alignment.
For more information about the Spreadsheet Editor use, refer to this section.
Step 4. Save your contact list
By default, Spreadsheet Editor automatically saves the document every two seconds, preventing data loss in case of an unexpected interruption. If you previously disabled the Autosave option, you can save the file manually. To do that,
- click the Save
 icon at the top toolbar, or
 - use the Ctrl+S key combination, or
- switch to the File tab on the top toolbar and select Save in the left sidebar.
The contacts.csv file can be found in the My Documents folder of the Documents module.
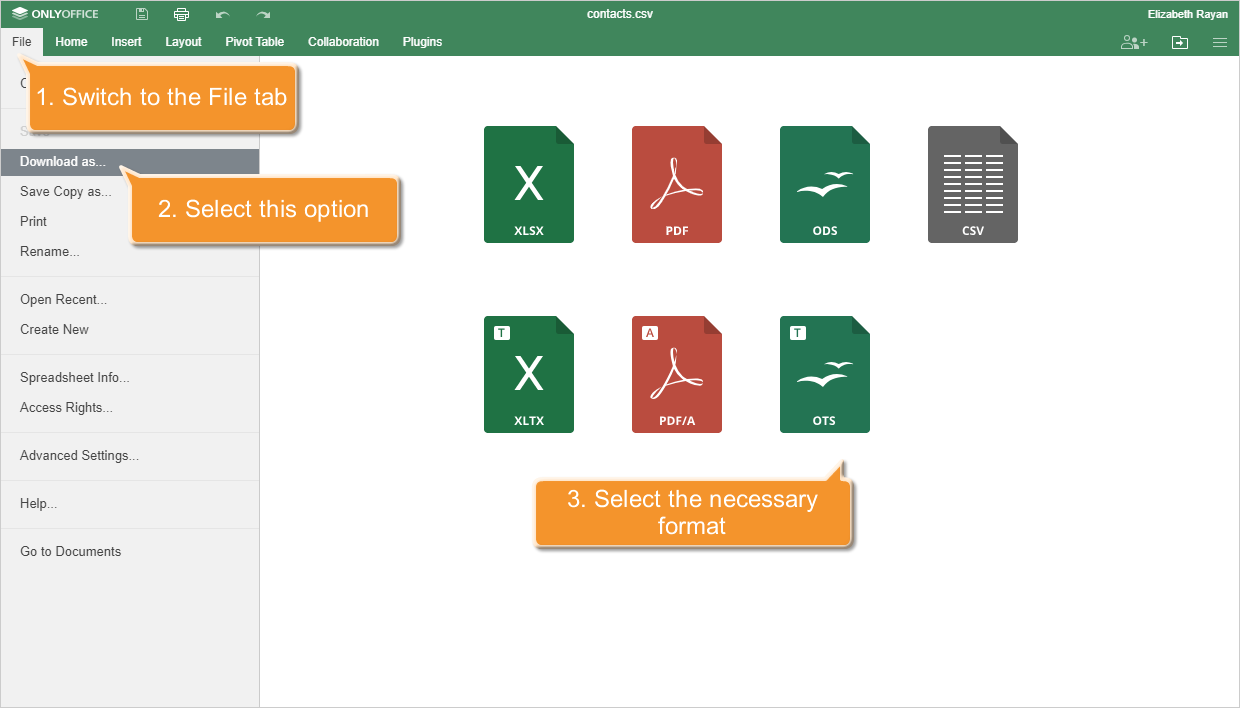
To download the file to your computer,
- switch to the File tab at the top toolbar,
- select the Download as... option at the left sidebar,
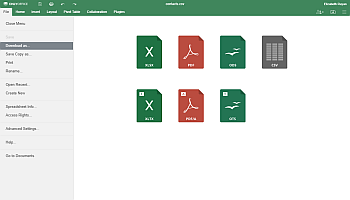
- select one of the available formats: XLSX, PDF, ODS, CSV, XLTX, PDF/A, or OTS.
By default, the file will be saved to the Downloads folder on your computer.