Deploying ONLYOFFICE Workspace Community in Vultr
Introduction
ONLYOFFICE Workspace can be deployed in the Vultr infrastructure using a one-click app provided in the Vultr Marketplace.
The one-click app is an image that includes all the necessary pre-configured components to deploy your web office on a Vultr server running under Ubuntu OS:
- Docker service,
- MySQL Server,
- ONLYOFFICE Document Server,
- ONLYOFFICE Community Server,
- ONLYOFFICE Control Panel.
Step 1. Create your instance in Vultr
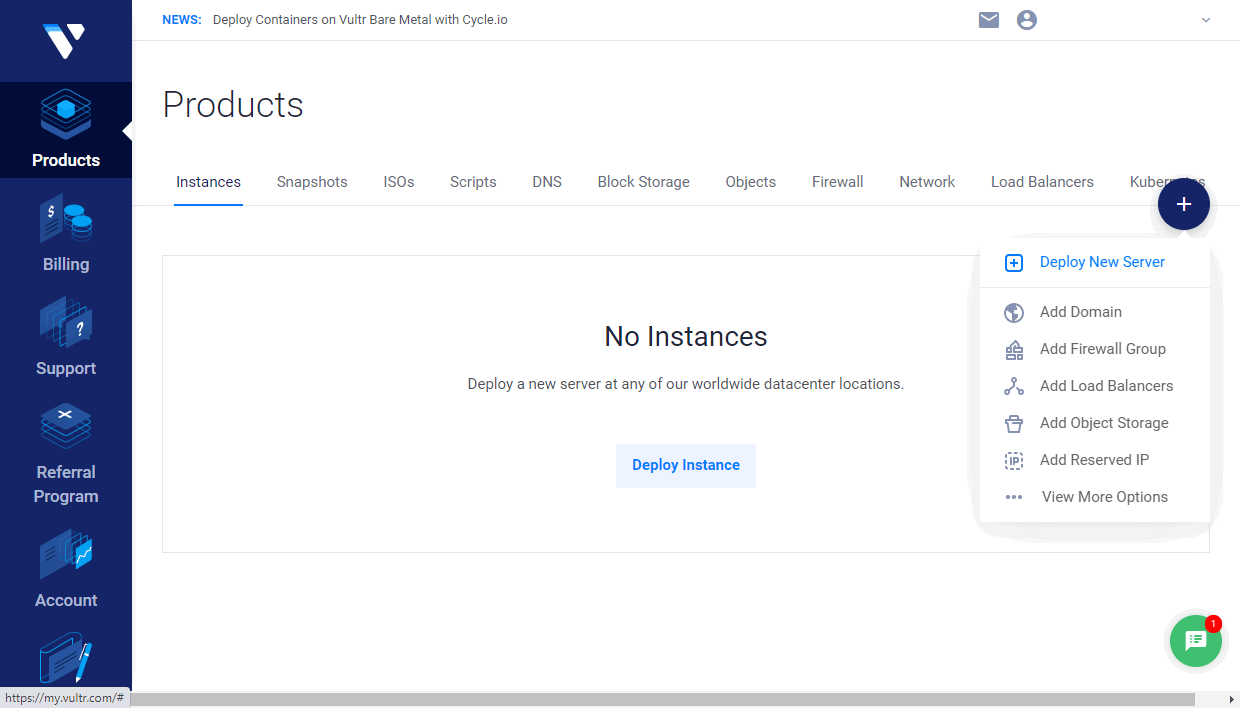
Log in to your Vultr account and click Deploy Instance, or click the Plus icon and select Deploy New Server.

If necessary, you may choose an appropriate server type in the Choose Server section: High Frequency, Cloud Compute, Bare Metal, or Dedicated Cloud.
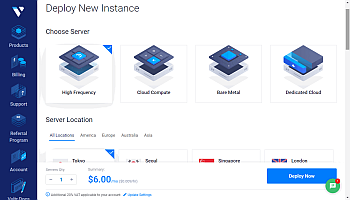

You may also choose the location closest to you in the Server Location section: America, Europe, Australia, Asia.
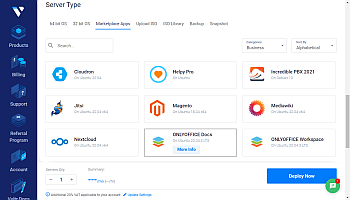
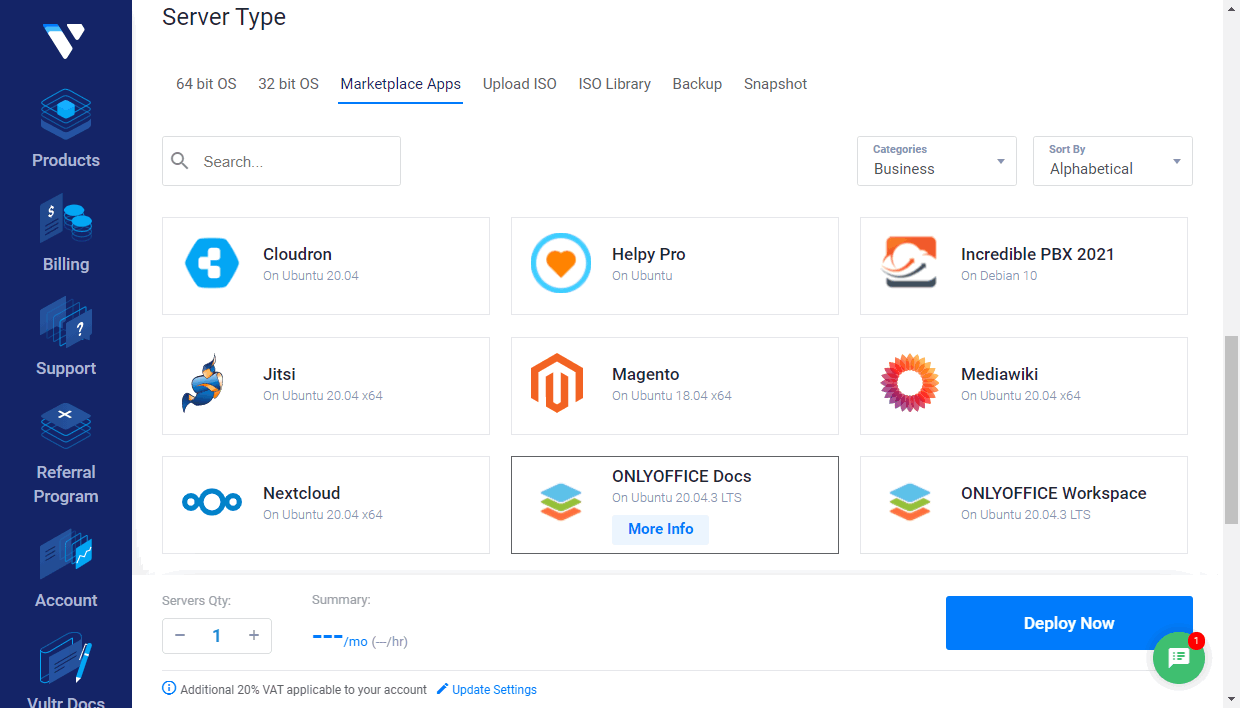
In the Server Type section, switch to the Marketplace Apps tab. Find ONLYOFFICE Workspace in the Business category and click it to choose. If you launched the instance from the details page, the ONLYOFFICE Docs app is selected automatically.
In the Server size section, you may select the server size you want to use or leave the default one. The available options may differ depending on the selected server location.


Optionally, you may set up some additional features: enable IPv6 networking, Auto Backups, DDOS Protection (this option is available for certain locations only), or Private Networking.
The SSH Keys section allows you to add a public SSH key if you want to connect to your server using an SSH key instead of a password. If you have previously added SSH public keys in your Vultr account, they will be displayed in this section. You can choose the necessary public key or add a new one. A private key must be stored on your local machine. To learn more about how to create SSH key pairs and add the public key to an instance, you can refer to the Vultr documentation.
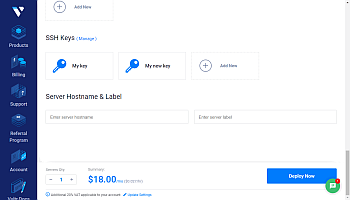
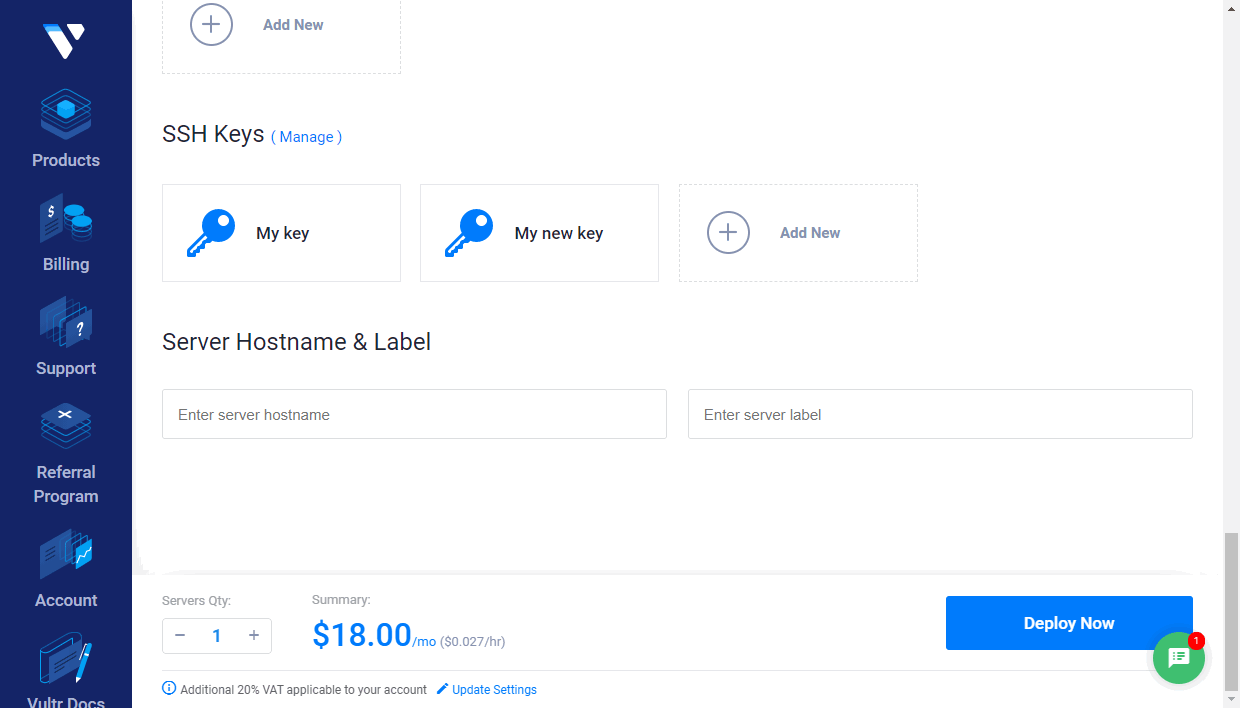
If necessary, specify the Server Hostname & Label.
Click Deploy Now.
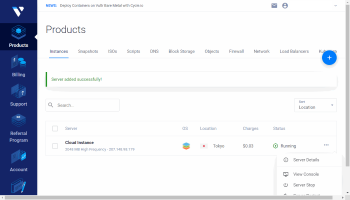
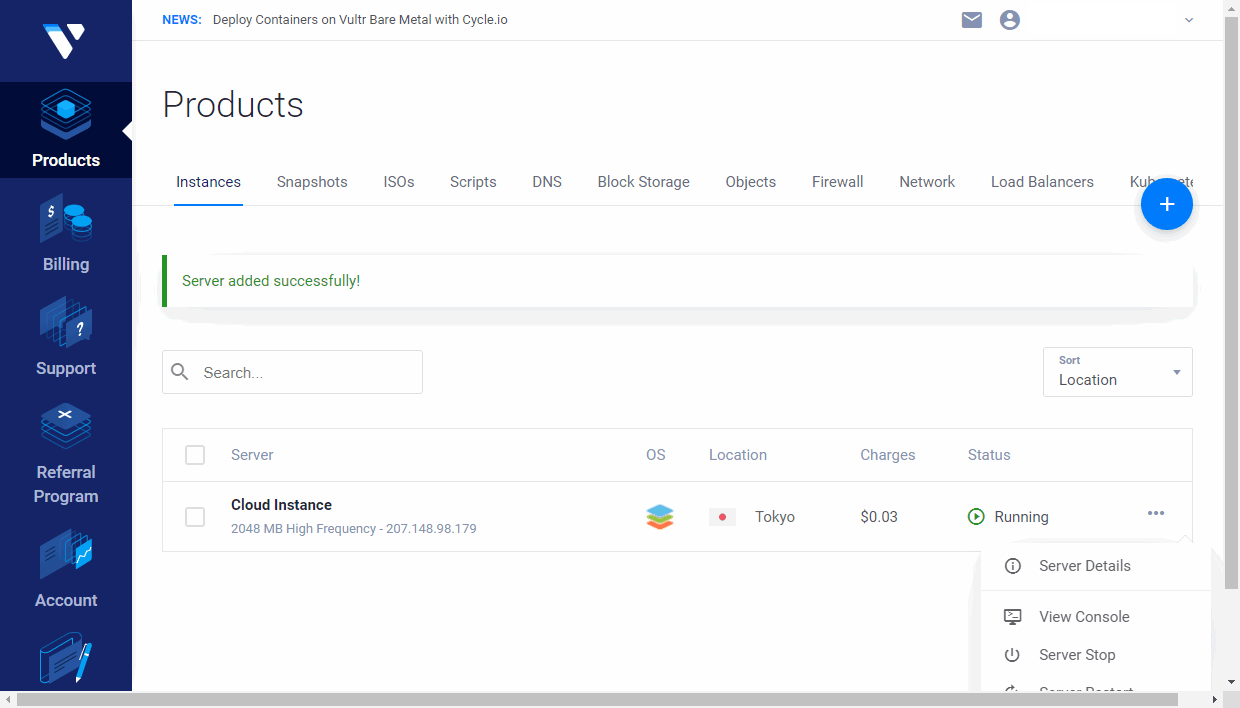
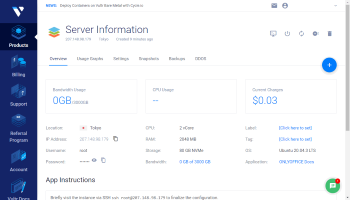
The newly created instance will be displayed on the Vultr Products page. Wait while the instance is being installed. When its status changes to Running, click the server name or use the Server Details option to open the Server information page.
Click the  icon to copy the server IP address.
On the Server information page, you can also find your root password, which is required to access the instance.

Step 2. Connect to your server via SSH to finalize the configuration
On Windows, you can use the PuTTY utility.
Enter the instance IP address, and make sure that port 22 is specified and the SSH connection type is selected.
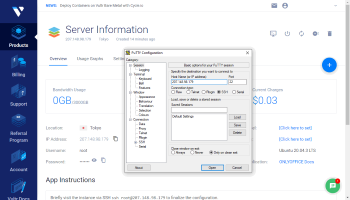

If you added an SSH public key when creating the instance, specify the path to your corresponding private key stored on your local machine in the Connection > SSH > Auth section.
Click Open. Then click Yes in the PuTTY Security Alert window.
- If you haven't added SSH keys when creating the instance, use
rootas a login and enter your root password, which can be found on the Server information page. - If you added an SSH key, you will be authenticated using your private key.
On Linux, you can use an SSH client like OpenSSH. Enter ssh root@your_instance_ip to your terminal and type yes to continue connecting to the server.
- If you haven't added SSH keys, you'll be prompted for your root password, which can be found on the Server information page.
- If you have multiple SSH keys, you may need to specify the path to your private key:
ssh -i /path/to/private/key root@your_instance_ipYou will be authenticated using your private key.
Wait while the installation process is completed. During this process, the 6 GB of swap space will be allocated, the Docker onlyoffice-network will be created, and the onlyoffice-mysql-server, onlyoffice-document-server, onlyoffice-community-server, and onlyoffice-control-panel Docker containers will be started automatically.
Step 3. Access your portal via a web browser
In a web browser, enter http:// + your instance IP address into the address bar. The initialization of your portal may take a few minutes.
The portal setup wizard opens. Set your account password and confirm it. By default, the password must be at least 8 but no more than 120 characters long. Enter your email address.
These email and password will be used to access your portal administrator account via a web browser.


You can also change the portal language and time zone using the corresponding drop-down lists. The time zone must be set correctly to ensure portal notifications and calendar reminders function as expected.
Accept the terms of the license agreement by checking the corresponding box and clicking Continue.
Your portal is now setup and ready to use. Switch between the portal modules available on the start page to explore the web office features.