Importing users from Google
Introduction
This guide explains how to import multiple users at once using contact information from Google.
Step 1. Access the People
Sign in to your portal and click People.


If you are already signed in, access the People module from the drop-down list in the top-left corner of the page and select the corresponding option.
Step 2. Select a desired source
Click the button next to Create in the upper-left corner and select Import People, or click Import People in the left-side panel. The Add users to the portal wizard opens.
Click the Google as a source you wish to use the contact information from by clicking the corresponding button.


Step 3. Manage the contacts and start importing
All the available contact information will be displayed within the Add users to the portal wizard.
Check the list. Specify the user's first and last name if absent.
To delete users from the list, select several users and use the Not import button on the top or choose the Not import menu item to the right of the certain user.
To add users as guests, select several users and use the Guest button on the top or choose the Guest menu item to the right of the certain user. To learn more about the user/guest rights on the portal, refer to this section.
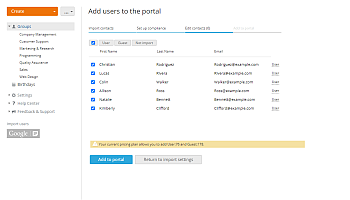
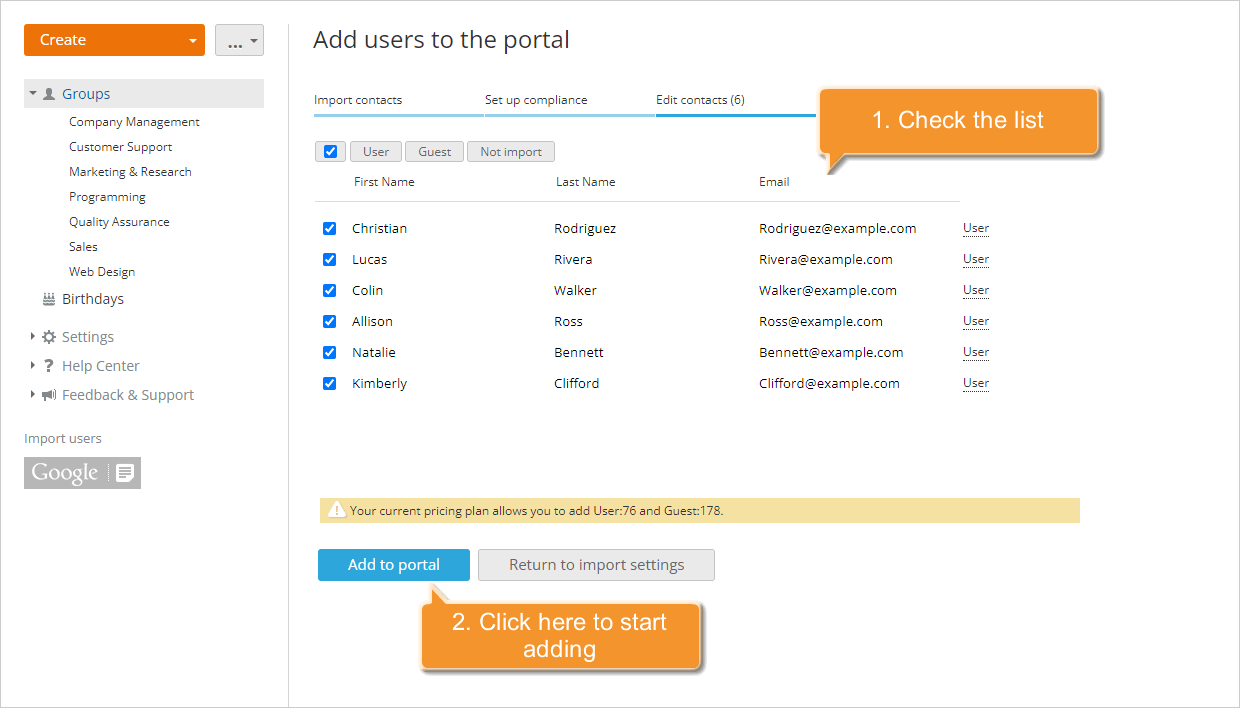
When everything is done, click the Add to portal button to start adding.
The selected users will be added to the portal right away and will receive an email notification with a link to your portal.
To add a single user with known details, use the Create New User option.