Deploying multiple portals using the Multitenancy feature
Introduction
If you have a large number of users, you may need a solution that reduces licensing and infrastructure costs and simplifies software deployment and maintenance. ONLYOFFICE Workspace provides this capability. You can run several independent portals from a single ONLYOFFICE Workspace installation instead of installing several application instances on separate servers.
For example, you can create individual portals for certain departments of your organization so that each portal contains its own data and has individual settings, but all portals can be centrally updated and managed via the Control Panel.
Step 1. Set up your domain name
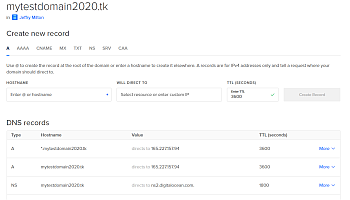
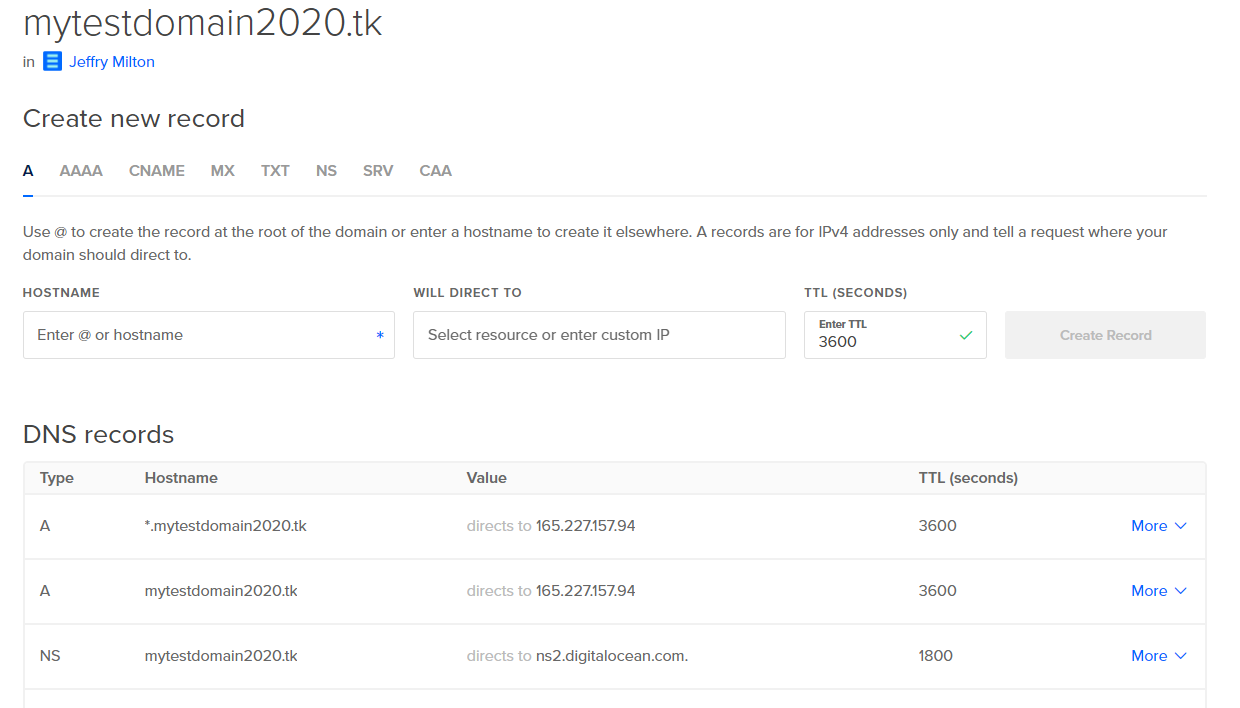
To use the multitenancy functionality, you need to have a registered domain name. In your domain DNS settings, create the following records:
- Create the A record that points your domain name to the IP address of the server where ONLYOFFICE Workspace is installed.
- Create the wildcard A record specifying the asterisk "*" as a name to enable subdomains.
Your settings should look something like this:
Step 2. Configure the current portal
To access Control Panel, sign in to your portal and click Control Panel on the Start Page. Alternatively, go to Settings and click Control Panel in the left-side panel.
Switch to the Multitenancy page in the COMMON SETTINGS section on the left sidebar. Enter your domain name in the first field, then enter a portal name of your choice in the second field (minimum six characters) and click CONNECT.

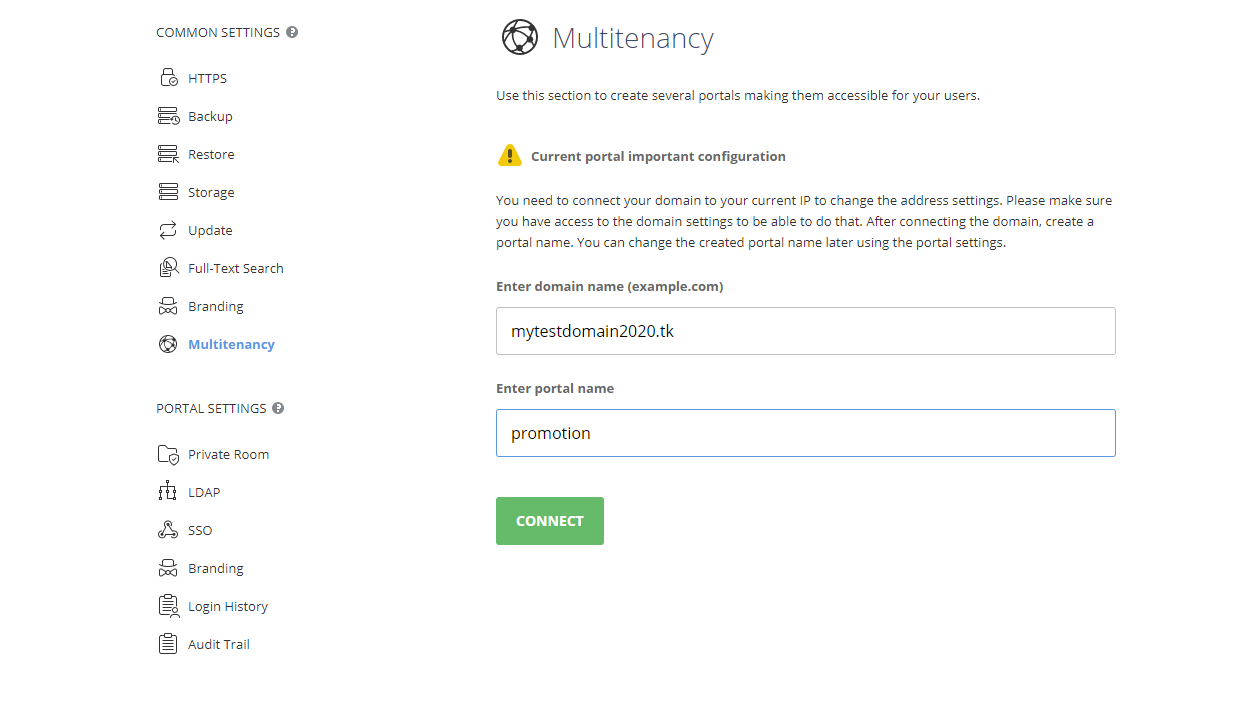
The portal start page will open in a new browser tab at the portalname.domainname.com address.
Step 3. Create a new portal
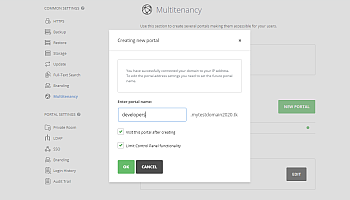
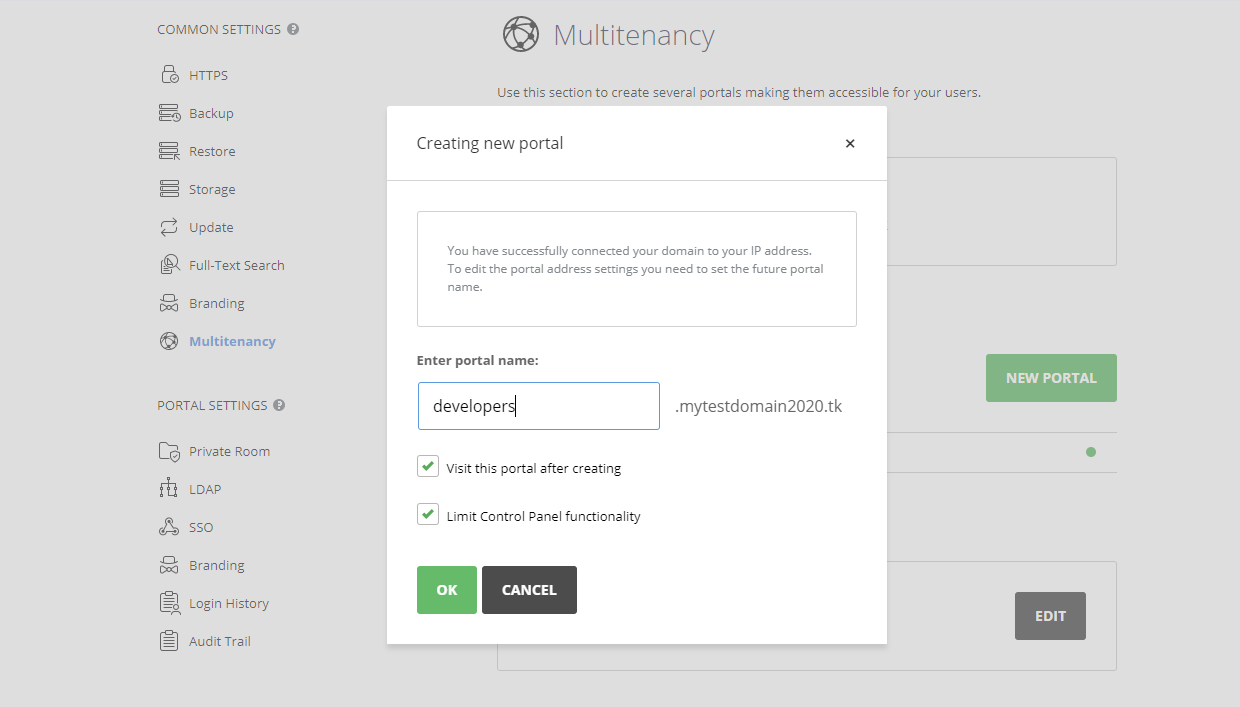
On the Multitenancy page of the Control Panel, follow the steps below:
- click NEW PORTAL,
- specify a name for the new portal,
- if necessary, uncheck the Limit Control Panel functionality option,
When this setting is enabled, the PORTAL SETTINGS section will only be available in the Control Panel of the new portal. This section allows the portal administrator to manage the current portal only. If you disable this setting, full access to the Control Panel functionality will be provided. The COMMON SETTINGS section will also be available in the Control Panel of the new portal. This section allows the portal administrator to manage all portals.
- click OK to save the portal.
If the Visit this portal after creating remains selected (the default), you will be redirected to the new portal that is available at the newportalname.domainname.com address.
The Portal Setup page will open in a new browser tab. Set and confirm your password (by default, the passwords must be between 8 and 120 characters long), or optionally change the email address to create the Administrator account. You will not need to upload the license file as it is applied to all the portals at once.
To configure some individual settings for the new portal, go to the Portal Settings. You can adjust Customization settings (portal language and time zone, welcome page settings, team template, color scheme), select the Modules and Tools to enable, specify Security settings and SMTP settings.
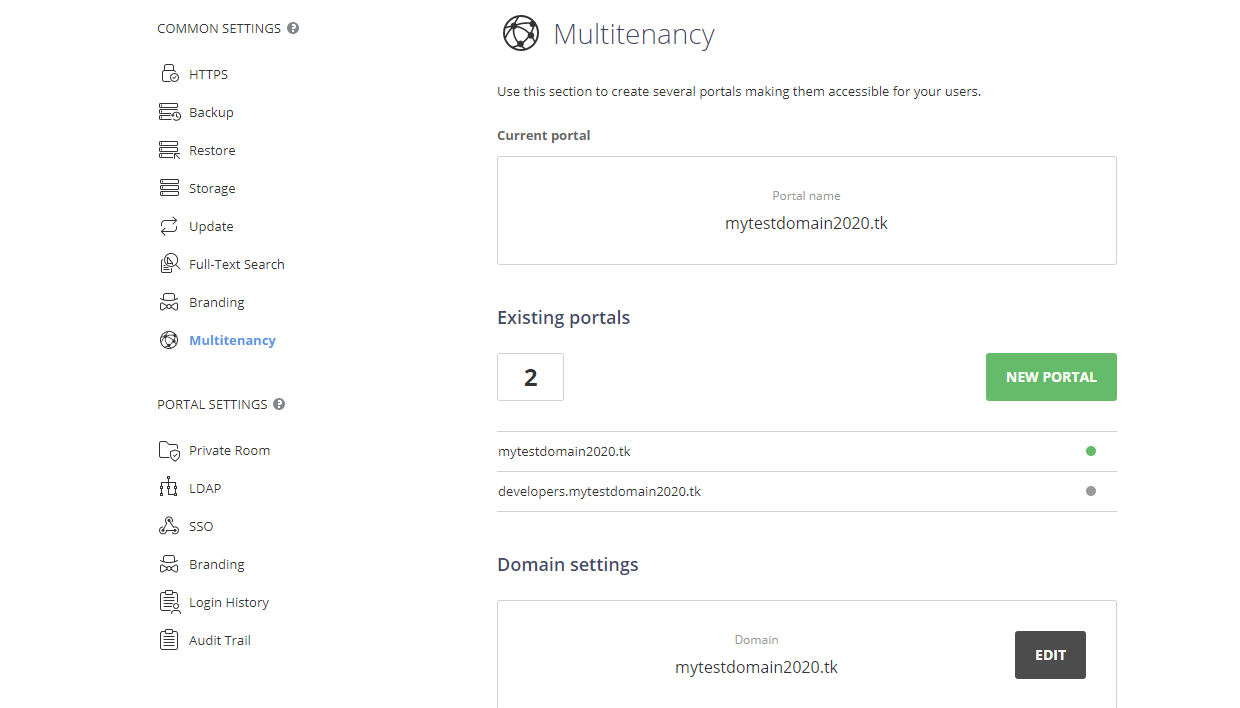
Step 4. Manage your portals
The Control Panel can be accessed from any of the created portals. On the Multitenancy tab you can view the total number of portals and the licence information. To upgrade your pricing plan, click Pricing plan settings to go to the Payments page.
All portal addresses are also displayed on the Multitenancy tab. You can navigate between them by clicking the portal you wish to visit.
If you nevertheless decide to change the domain name, click EDIT in in the Domain settings section. In the window that opens, enter the new domain name and click OK.
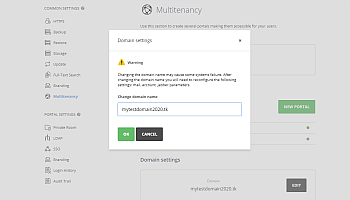
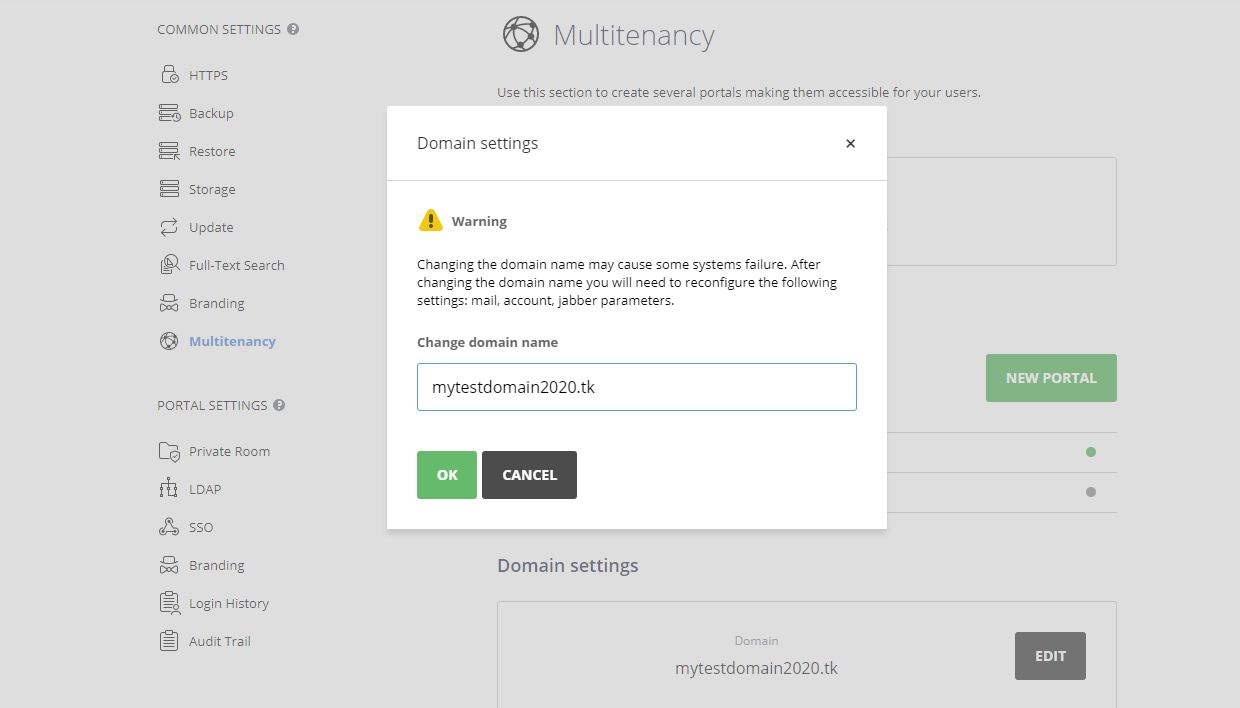
After changing the domain name, some settings may also need to be reconfigured.