Switching to HTTPS using the Control Panel
Introduction
The Control Panel allows you to quickly switch your portal to the secure HTTPS protocol.
This option is not currently available in the installation for Windows.
There are two ways to enable HTTPS for your portal via the Control Panel interface:
- If you do not have any SSL certificates, you can generate a new signed certificate with one click. The Control Panel uses the letsencrypt.org service to generate the CA-signed certificates.
- If you have an existing private key generated on your server and a public key certificate created on its base (self-signed or issued by a Certificate Authority), you can upload them in the Control Panel.
View the information about self-signed and CA-signed certificates
To access the Control Panel, sign in to your portal and click the Control Panel link on the Start Page. Alternatively, you can go to the portal Settings and click the Control Panel link in the left-side panel.
Generating a new certificate
Port 80 must be open to successfully generate letsencrypt certificates.
To generate a new certificate:
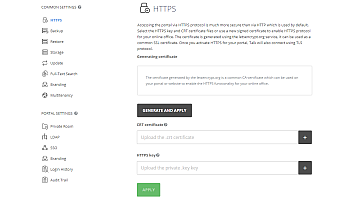

- Open the HTTPS page in the COMMON SETTINGS section on the left sidebar.
- Click GENERATE AND APPLY. A pop-up message box will appear informing you that the certificate and private key are successfully generated.
- After that, your Control Panel and portal will be restarted and become unavailable during this process. It can take up to five minutes. Once the certificate installation process is over, your portal will be available over HTTPS.
To remove the installed certificate, use the DELETE button.
Uploading an existing certificate and private key
To use an existing .crt certificate and private .key key:
- Open the HTTPS page in the COMMON SETTINGS section on the left sidebar.
- Click the Plus button next to the CRT certificate field and select your .crt certificate to upload it.
- Click the Plus button next to the HTTPS key field and select your private .key key to upload it.
Before uploading, make sure that the private key is not encrypted. If you have a password-protected .key file, you will need to decrypt it first.
- Once the .crt and .key files are uploaded, click APPLY at the bottom of the page.
- After that, your Control Panel and portal will be restarted and become unavailable during this process. It can take up to five minutes. Once the certificate installation process is over, your portal will be available over HTTPS. The domain name that your certificate was issued for is now displayed in the Generated on domain section of the HTTPS page in the Control Panel.
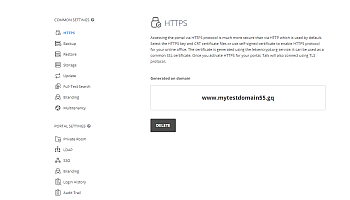
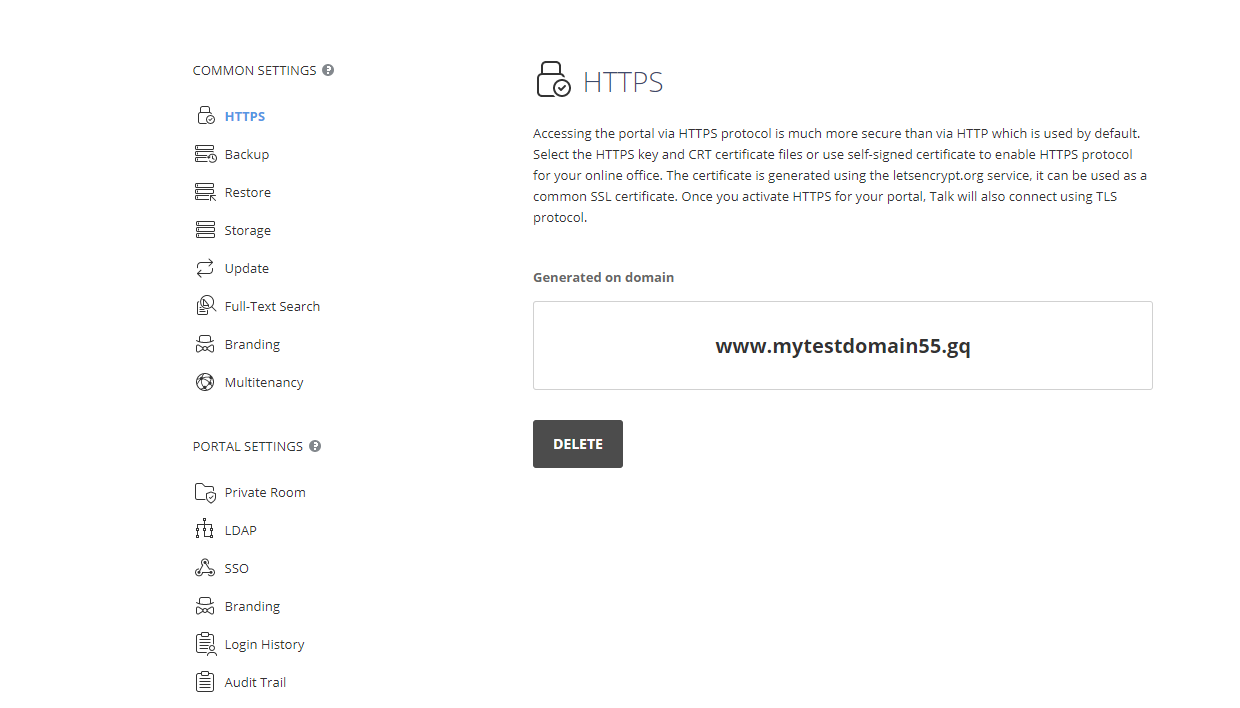
To remove the installed certificate, use the DELETE button.
Article with the tag:
Browse all tags