Integrating ONLYOFFICE with X
Connect your X account to sign in to your portal quickly and to make it easier to find information about people and companies in the CRM module.
To connect X to your portal, Elevated access to the X API is required. It can be requested directly from X via the X Developers Portal.
Connecting X to ONLYOFFICE
To connect X to your portal:
- Click the
 icon in the upper-right corner to open Settings.
 - Select the Integration tab.
- Open the Third-Party Services page.
- Scroll down to X and click the toggle to enable it.
- In the X window that opens, enter the access keys obtained in the previous section.
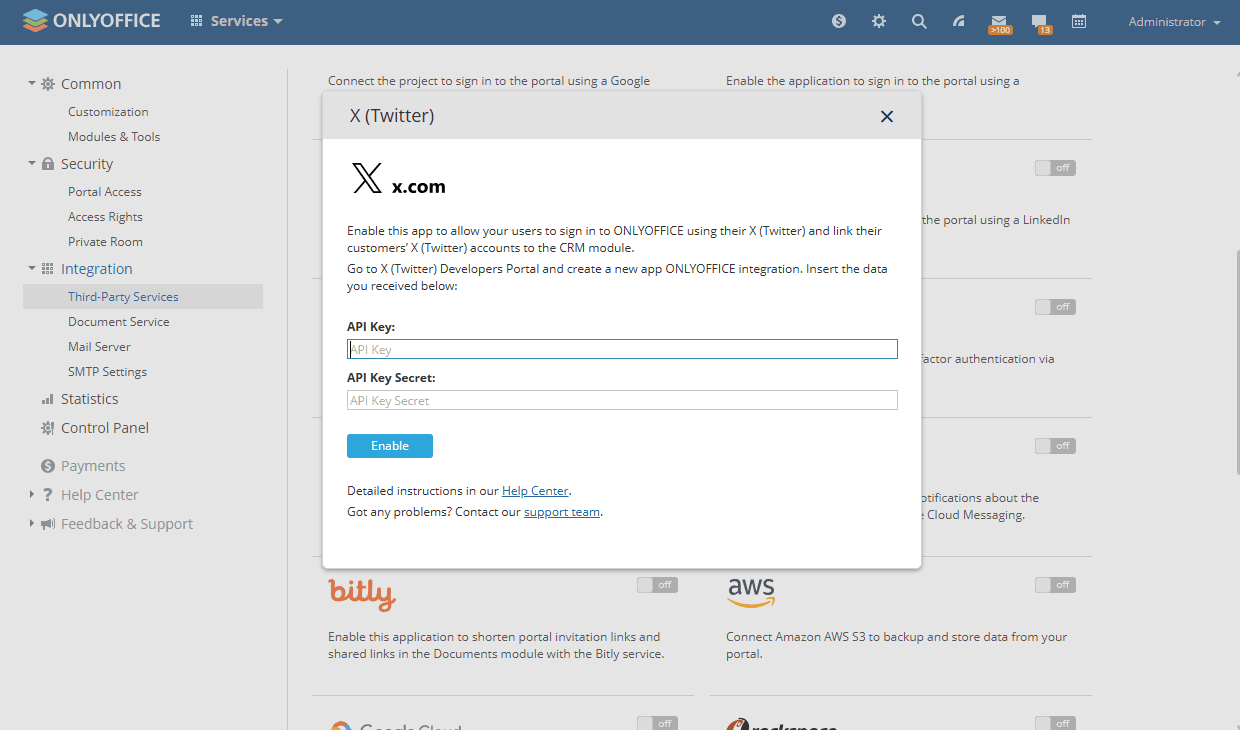
- Click Enable to connect the service.
Once connected, go to your Profile page, find the Login via Social Networks section, select X, and click Connect. In the window that opens, grant access to the ONLYOFFICE application and enter your credentials if required.
Article with the tag:
Browse all tags