Integrating ONLYOFFICE with kDrive
Connect your kDrive account to edit documents stored in kDrive directly from the Documents portal module.
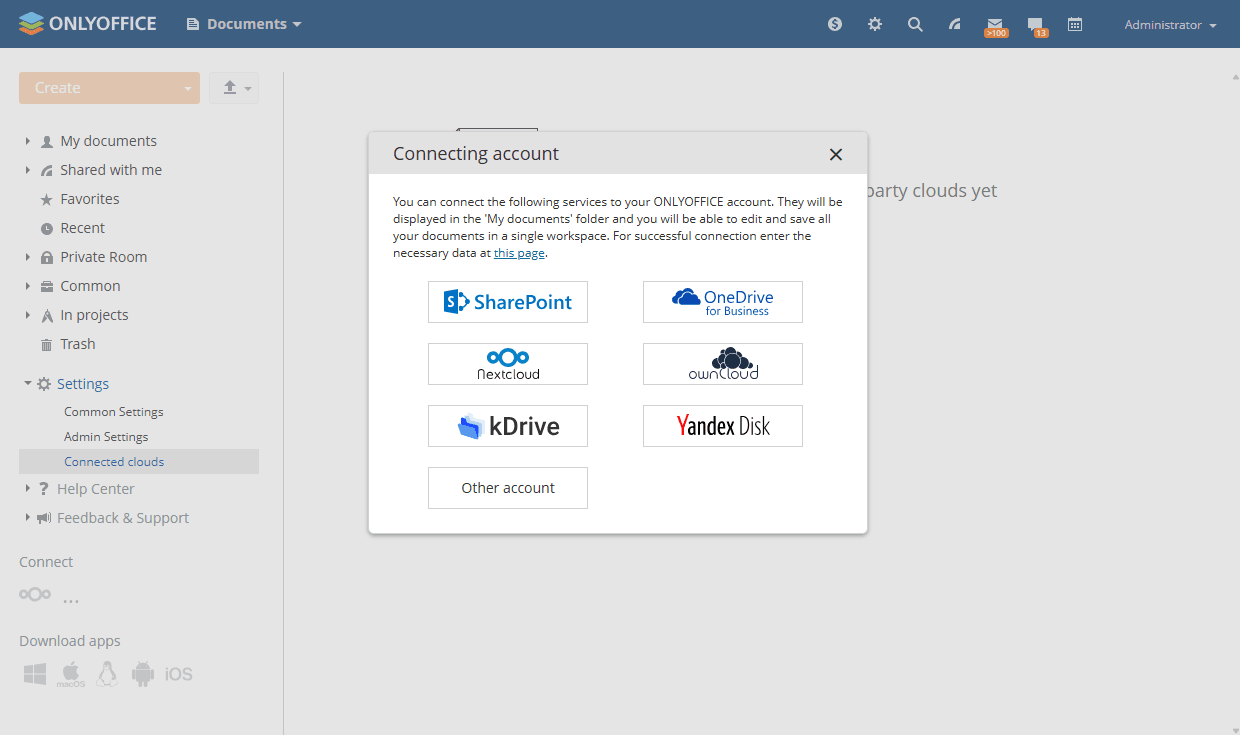
Connecting kDrive to ONLYOFFICE
A full-access administrator or the Documents module administrator must enable the Allow users to connect third-party storages toggle in the Admin Settings section to allow portal users to connect third-party cloud storage.
To connect your kDrive account:
- Go to the Documents module.
- In the left sidebar, click the three dots
 under the Connect section and select kDrive in the Connecting account window, or go to Settings > Connected clouds and click Connect cloud.
- Enter your username and password, then click Save. Your kDrive documents will appear in the Documents module as a folder.
- Change the folder name if necessary.
- To make kDrive documents visible to all portal users, select the Make shared checkbox to place them in the Common Documents folder. If left deselected, the kDrive account will be visible to you only.
- Click Save.
Article with the tag:
Browse all tags