Integrating ONLYOFFICE with DocuSign
Connect the DocuSign service to send files from the Documents module for electronic signature via DocuSign.
If you use the SaaS version, the authorization key parameters for most services are set up automatically. In the SaaS version, you can connect DocuSign, Twilio, AWS, Google Cloud, Rackspace, and Selectel.
Connecting DocuSign to ONLYOFFICE
To connect DocuSign to your portal:
- Click the
 icon in the upper-right corner to open Settings.
 - Select the Integration tab.
- Open the Third-Party Services page.
- Scroll down to DocuSign and click the toggle to enable it.
- In the DocuSign window that opens, enter the access keys obtained in the previous section.
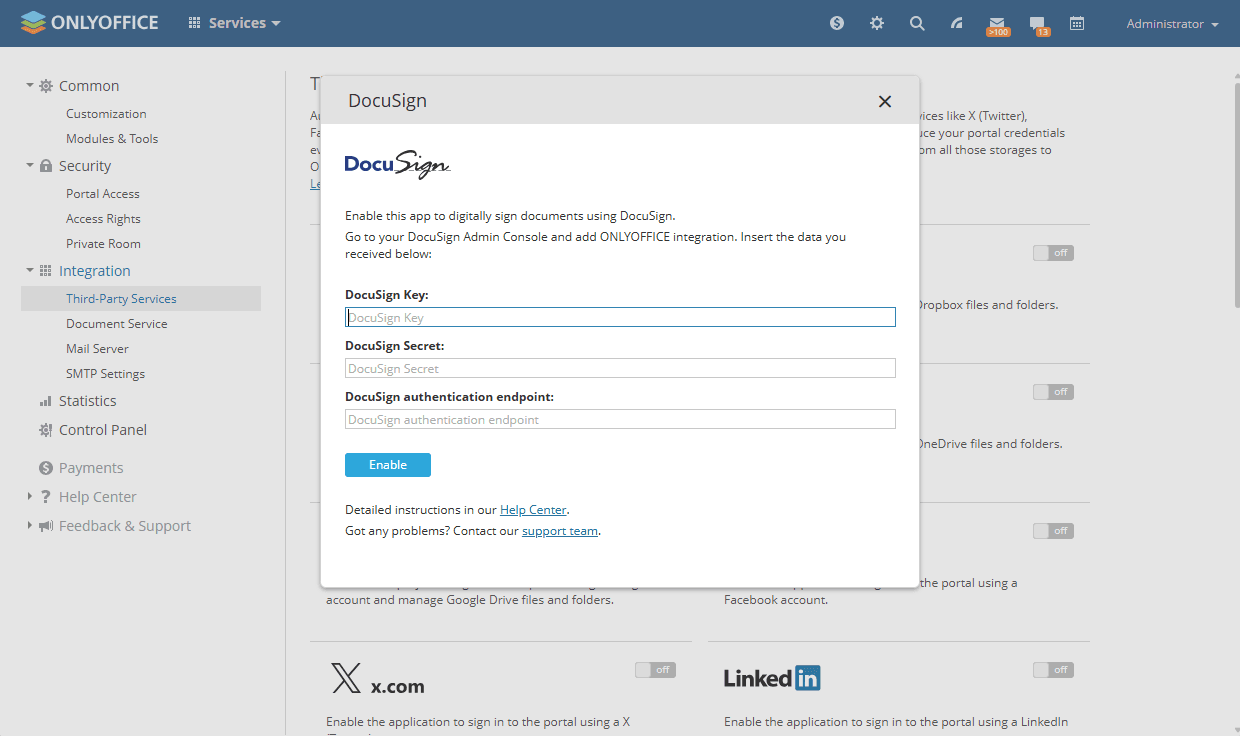
- Click Enable to connect the service.
To send documents for signing from the Documents module, a full-access administrator or the Documents module administrator must also enable the Allow users to connect third-party storages toggle in the Admin Settings section. For further instructions, refer to this article.
Article with the tag:
Browse all tags