Creating a knowledge base
Introduction
Store and organize information by creating your own knowledge base with the ONLYOFFICE Workspace Wiki. Read the instructions below to learn how to create and edit wiki pages, attach the pages to a category, and interlink them.
Step 1. Access the Community
Sign in to your portal and click the Community link.


If you are already signed in and have been using the portal for some time, you can access the Community module from any portal page: use the drop-down list in the upper-left corner of the page and select the corresponding option.
Step 2. Create a new wiki page
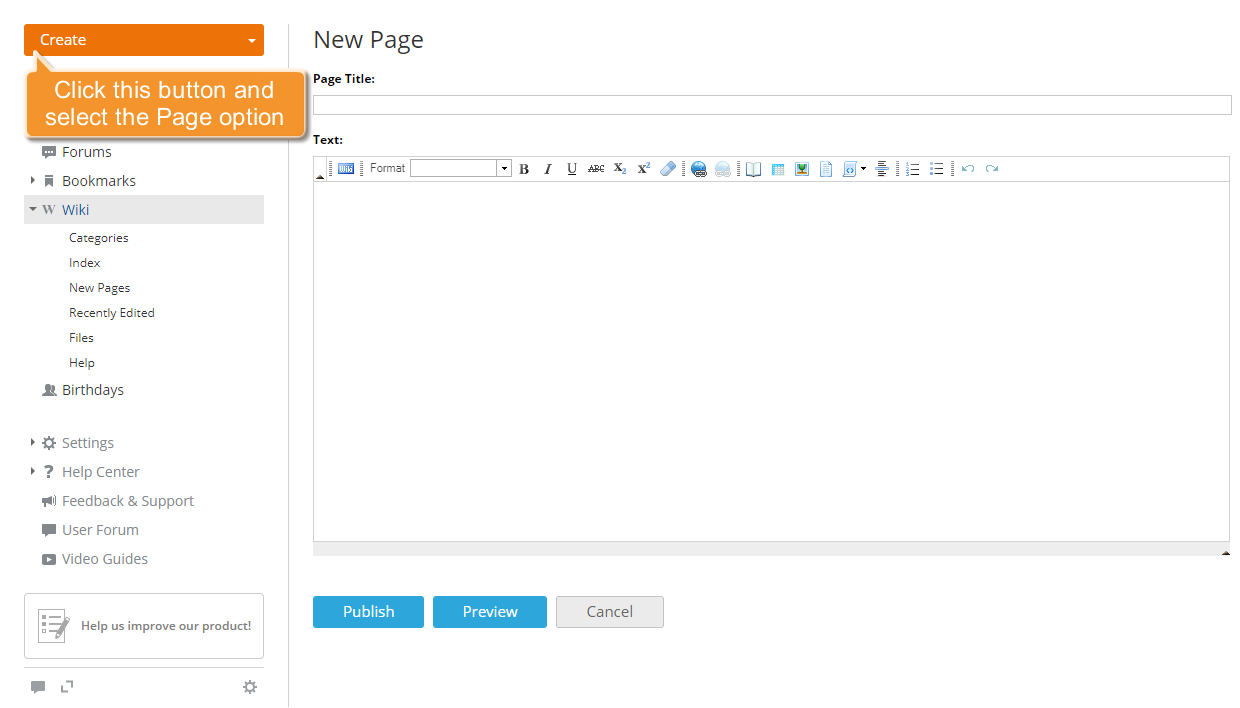
Click the Create button in the upper-left corner and select the Page option from the drop-down list.
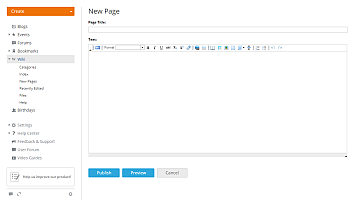
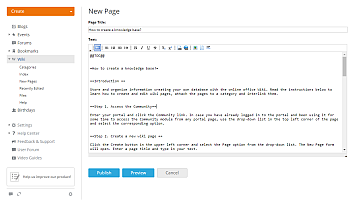
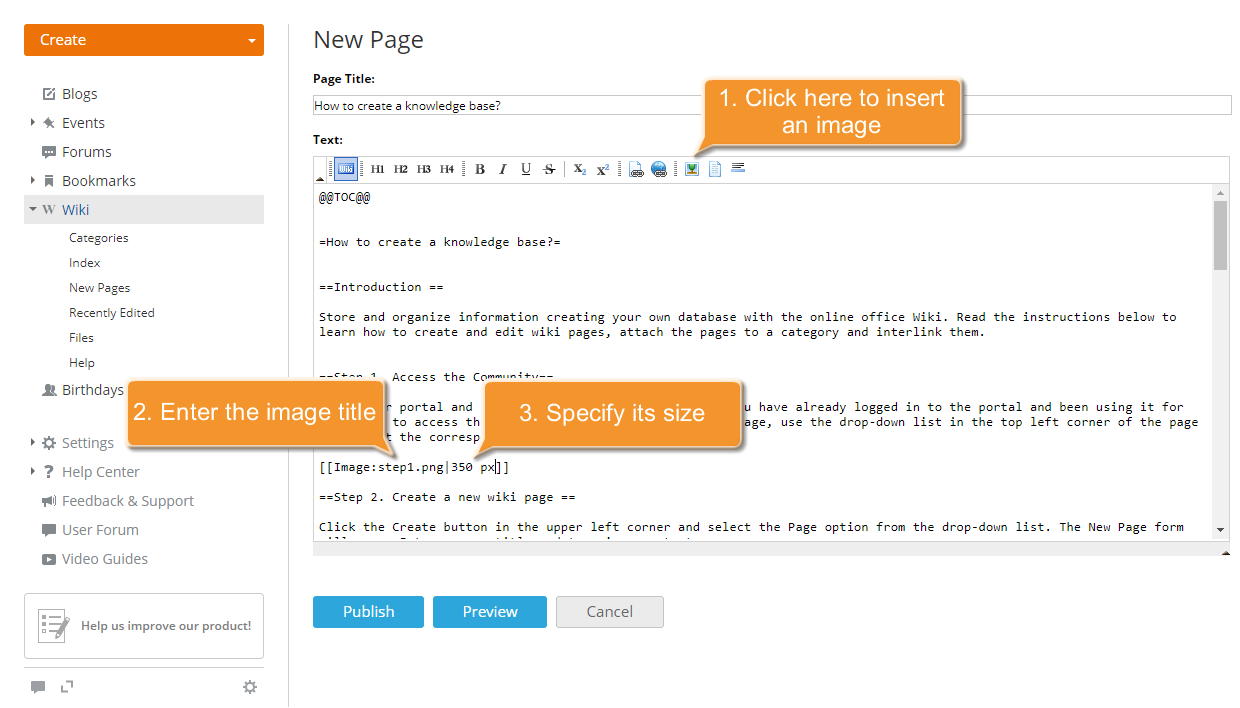
The New Page form will open. Enter a page title and type your text.
 icon on the formatting toolbar above. The HTML tags will be changed to wiki markup.
Step 3. Format your wiki page
You can format the wiki page using the Formatting Toolbar above the Text field, which provides many of the most common formatting commands:
- add headings using the H1/H2/H3/H4 buttons;
- apply one of the font styles: Bold, Italic, Underline, and Strike;
- make characters subscript or superscript;
- insert links to internal or external resources;
- add different images;
- insert local file links;
- add horizontal lines.


If you are not familiar with the wiki structure and markup, you can use the common Text Editor. To activate it, click the Wikitext button on the Formatting Toolbar.
To preview the result, click Preview below the Text field.
Step 4. Add a table of contents
To add a table of contents to your wiki page, divide your text into sections, subsections, and sub-subsections by adding the appropriate headings. To do that, highlight the phrase you need with the mouse and click the corresponding button on the Formatting Toolbar: H1, H2, H3, or H4.
You can also do it manually using the = symbols:
H1: =Section=
H2: ==Subsection==
H3: ===Sub-subsection===
H4: ====Sub-sub-subsection====
Then insert @@TOC@@ in the page at the point where you want your table of contents to be added.

If you use the common Text Editor, first use the Format drop-down list to divide your text into sections, and then click the Table of Contents  button.
The table of contents will be generated automatically on the basis of the marked sections.
Step 5. Insert an image
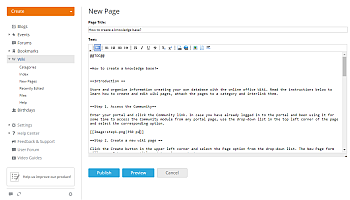
First, upload the images you want to insert into the page to the Wiki. Click the Files link in the left-side panel, then use the Upload File button above the file list. Browse your hard disk drive for the images you need and click Upload. The image will be uploaded and displayed on the Files page.


To insert the uploaded image into your page, first open your wiki page (all the newly created pages are listed on the New Pages page), click the ![]() icon to the right of the page title, and select the Edit page option from the drop-down list to resume the editing. Then place the mouse cursor at the point where you want the image to be inserted and click the Image button on the Formatting Toolbar.
icon to the right of the page title, and select the Edit page option from the drop-down list to resume the editing. Then place the mouse cursor at the point where you want the image to be inserted and click the Image button on the Formatting Toolbar.
The following line will be added to the page:
[[Image:ImageName]]Indicate the file name, including its extension, instead of ImageName. If necessary, set its width in pixels by entering it after the | symbol.
If you use the common Text Editor:
- Place the mouse cursor at the point where you want the image to be inserted.
- Click the Insert/Edit Image
 button to open the Image Properties window.
 - Click the Upload button next to the Image file name field.
- Browse your hard disk drive for the image you need.
- Select the Special Type from the corresponding drop-down list, if necessary. The available types are: Frame and Thumbnail.
- Align your image to the right, left, or center by selecting the corresponding option from the Align drop-down list.
- Set the image Width. The height will be set accordingly, preserving the original aspect ratio.
- When everything is ready, click OK to apply the selected parameters.
The image will be inserted at the point where the mouse cursor is placed.
Step 6. Interlink your wiki pages
To insert the link to another wiki page, place the mouse cursor at the point where you want the link to be inserted and click the Page Link  button.
The following structure will be added to the page:
[[PageName | Page Description]]Indicate the wiki page name you want to refer to instead of PageName and the title instead of Page Description, which will be displayed on the page.
If you need to add a link to an external resource, click the External Link  button and enter the page URL and the title, which will be displayed on the page, like this: [[https://www.example.com | web site]].


It is also possible to insert the link using the common Text Editor. To do that, highlight a single word or a word combination you want to add a link to and click the Insert/Edit Link button.
Step 7. Attach a wiki page to a category
You can attach each wiki page you create to an existing category or create a new one and assign your page to it.
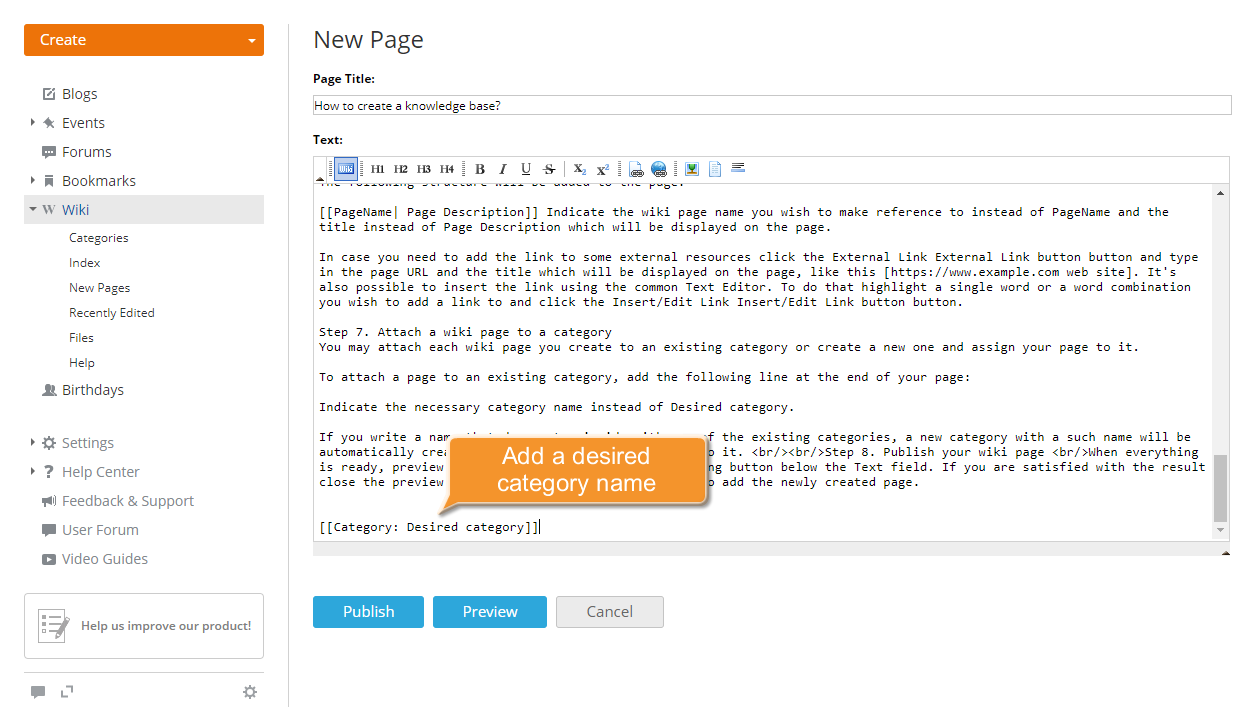
To attach a page to an existing category, add the following line at the end of your page:
[[Category: Desired category]]Indicate the category name you need instead of Desired category.
If you write a name that does not coincide with any of the existing categories, a new category with this name will be automatically created, and the page will be assigned to it.

Step 8. Publish your wiki page
When everything is ready, preview the result by clicking the corresponding button below the Text field. If you are satisfied with the result, close the preview area and click Publish to add the newly created page.


The page is created. You can find it using the links in the left-side panel.
For more detailed information about the wiki structure and markup, refer to the Help page of the Wiki section on the portal.