Ollama
Ollama is an open-source software that enables running popular AI models, e.g., Llama 3.2 or Gemma 2.
This is a step-by-step guide on installing and configuring Ollama for ONLYOFFICE Docs.
Connecting and configuring Ollama
- (Optional) Install Homebrew if that's your preferred way of managing packages on macOS and Linux:
/bin/bash -c "$(curl -fsSL https://raw.githubusercontent.com/Homebrew/install/HEAD/install.sh)" -
To install Ollama, run the following command:
curl -fsSL https://ollama.com/install.sh | shFor Homebrew, run the following command:
brew install ollamaOnce installed, Ollama exposes commands for serving, listing, inspecting, and running models on your machine.
-
Follow these steps to configure Ollama:
-
Launch the local AI server by running the following command in the Terminal:
export OLLAMA_ORIGINS=http://*,https://*,onlyoffice://* -
Start Ollama now and restart at login:
brew services start ollama -
Alternatively, if a background service is not required, run the following command:
ollama serve
-
Launch the local AI server by running the following command in the Terminal:
-
Pull the model you'd like to use in another Terminal window. For example, to install and run Llama 3.2:
ollama run llama3.2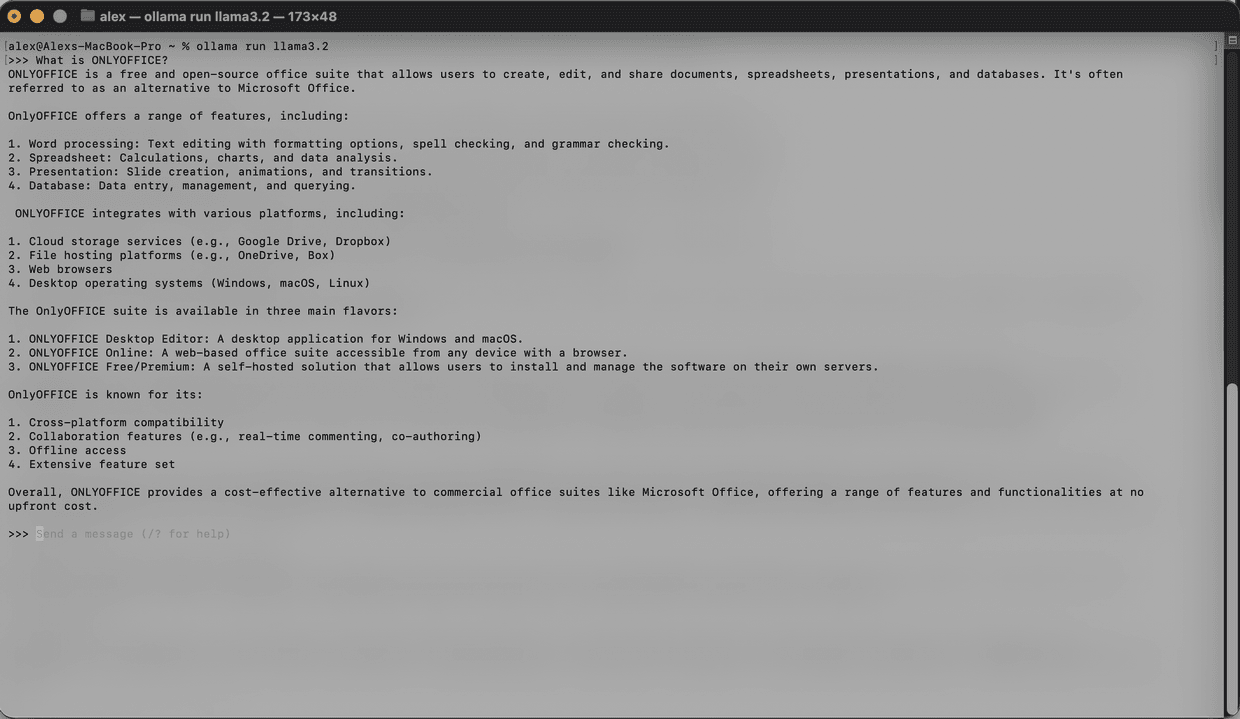
The model will be downloaded and started locally. The total number of installed models is unlimited. For the list of available models, please refer to the official Ollama documentation.
Before the installation, be sure your machine has sufficient memory and disk space for models.
- Follow this guide for general configuration of the AI plugin.
- Once the plugin is installed, add AI models. Go to the AI tab, and open Settings.
- Select Edit AI models in the bottom left corner of the window and click Add.
-
In the window that appears, select Ollama as the provider and set the URL to
http://localhost:11434.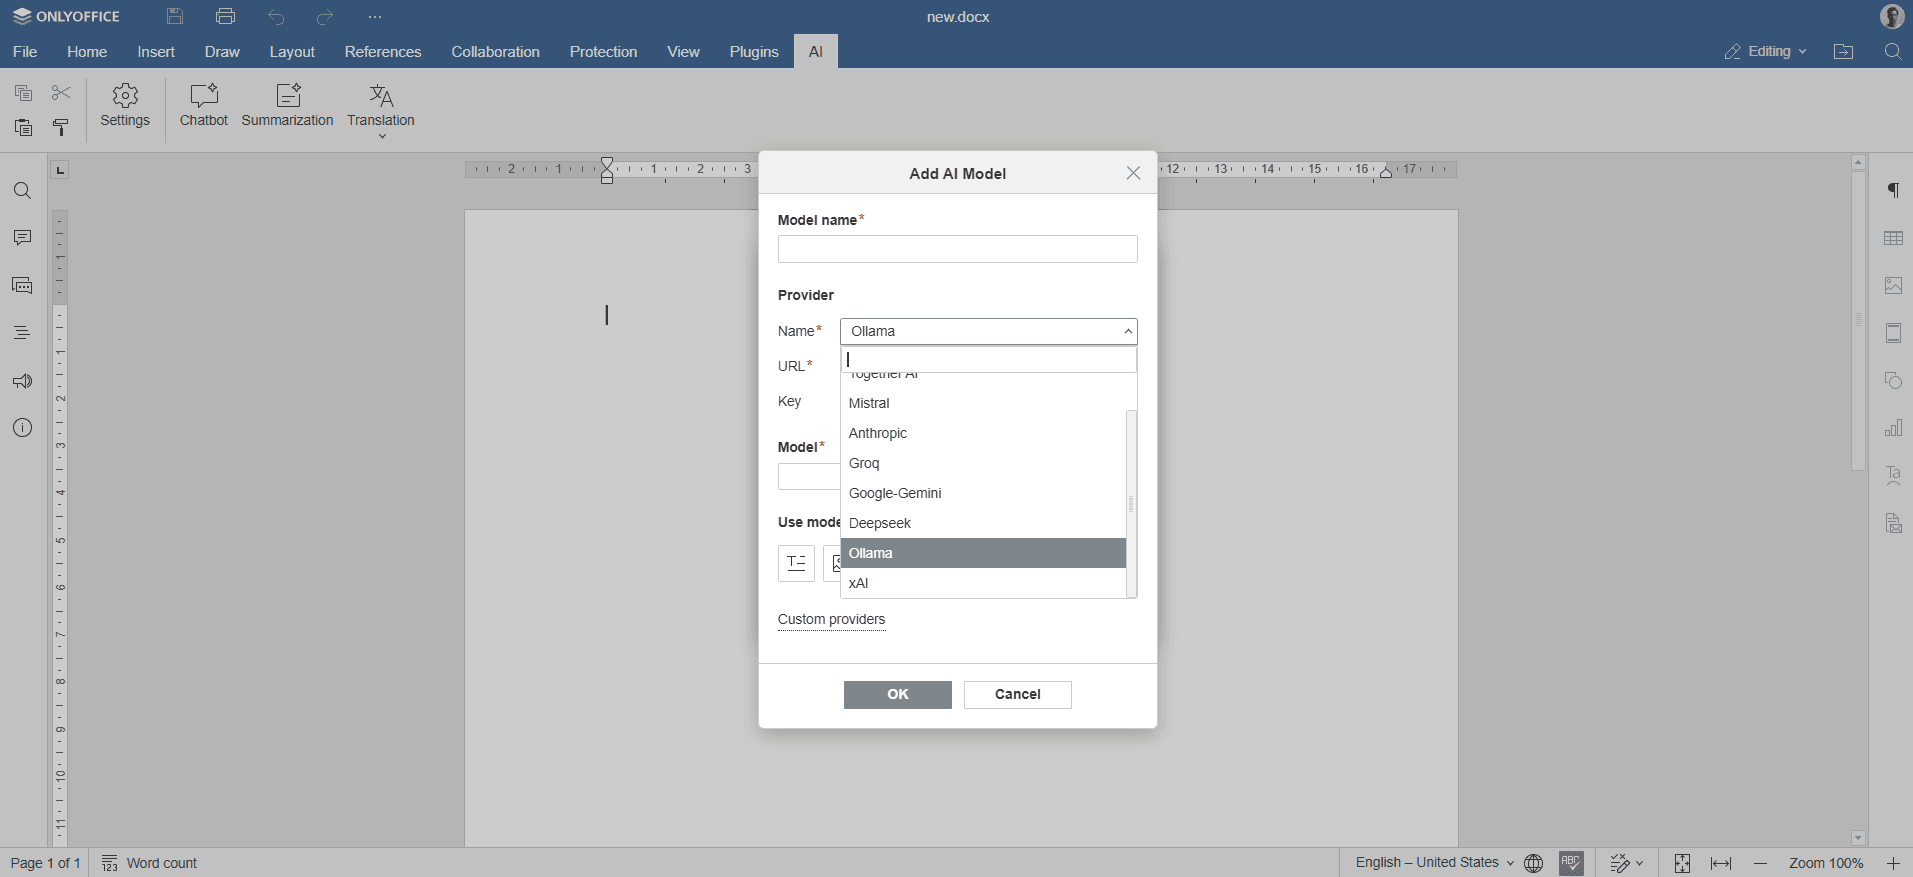
- Select the installed model (e.g.,
llama3.2:latest) from the drop-down list and confirm. - In the row of icons, select the model used for: text, images, embeddings, audio processing, content moderation, real-time tasks, coding help, and visual analysis.
- Click OK and close the window. The model will appear in the list of available models in the AI model list.
- Assign different tasks to the AI. From the drop-down list, select the installed AI models that will perform these tasks.
- Access the AI features through the AI tab or by selecting text and right-clicking to open the context menu.
Host ONLYOFFICE Docs on your own server or use it in the cloud
Article with the tag:
Browse all tags