ONLYOFFICE MCPサーバーをClaude Desktopに接続する
はじめに
ONLYOFFICE DocSpace MCPサーバーは、AI駆動のワークフロー、ドキュメントおよびタスク管理を効率化し、ONLYOFFICE DocSpaceの潜在能力を最大限に引き出すためにカスタマイズされた言語モデルとのインタラクションを管理するツールです。
ONLYOFFICE DocSpace MCPサーバーは、リモートマシン上で動作するMCPサーバーへの接続をサポートするクライアントに接続できます。
パブリックインスタンスは、最新のストリーム可能なHTTPトランスポートをサポートするクライアント向けにhttps://mcp.onlyoffice.com/mcpで、旧式のSSEトランスポートのみをサポートするクライアント向けにhttps://mcp.onlyoffice.com/sseで利用可能です。可能であれば、ストリーム可能なHTTPトランスポートを使用することをお勧めします。
ONLYOFFICE DocSpace MCPサーバーは、Claude Desktopに3つの異なる方法で接続できます:
- コネクタ - ほとんどのユーザーに適しています;
- 拡張機能 - ローカル開発環境に適しています;
- ローカルMCP - Dockerと設定ファイルを使用する開発者や高度な構成に適しています。
まず、Claude Desktopをお使いのオペレーティングシステムにダウンロードしてインストールしてください。Claude DesktopはmacOSとWindowsで利用可能です。すでにClaude Desktopがインストールされている場合は、実行中のバージョンを確認してください。Claude Desktopメニューをクリックし、アップデートを確認を選択します。
コネクタ
- Claude Desktopを開きます。
- メニューにアクセスし、設定を選択します。
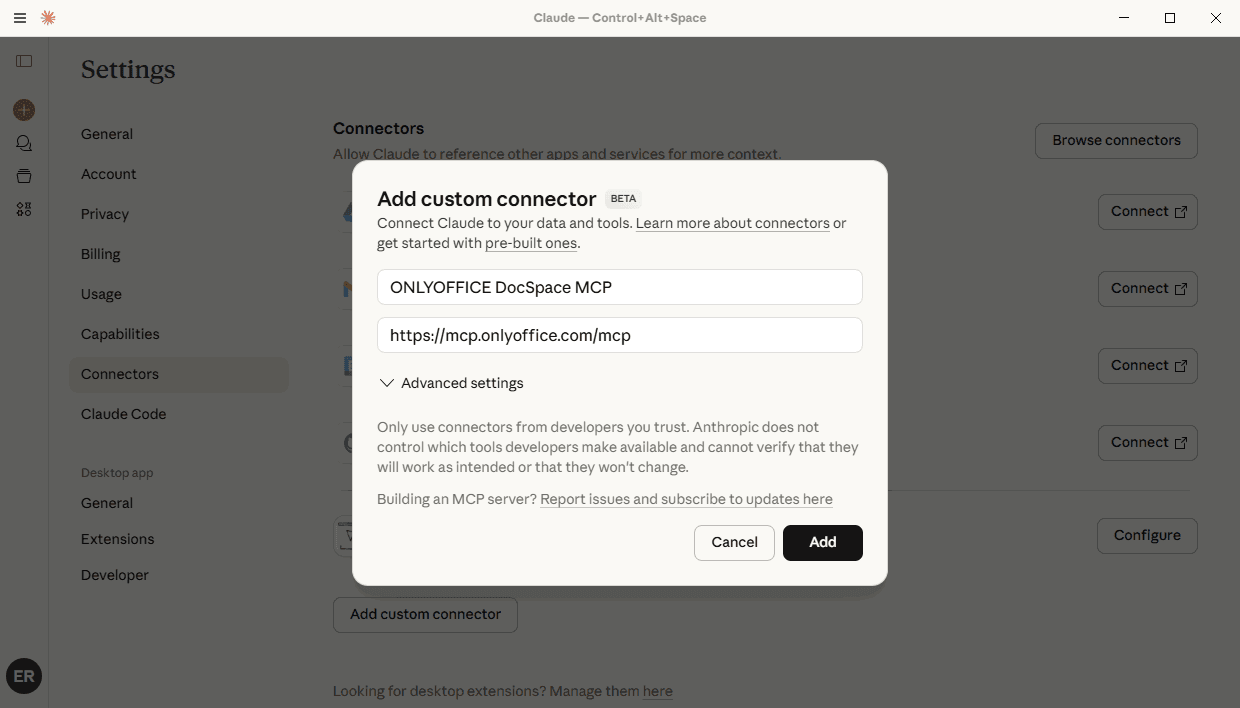
- 設定ページで、コネクタに移動し、カスタムコネクタを追加ボタンをクリックします。

- コネクタ名を入力します(例:「ONLYOFFICE DocSpace MCP」)。
- URLを入力します:
https://mcp.onlyoffice.com/mcp - 追加ボタンをクリックします。
- 新しく追加されたコネクタの横にある接続をクリックします。
- OAuth認証プロセスを完了します。
拡張機能
Claude Desktop拡張機能は、ローカルで実行されているMCPサーバーに接続するもう一つの方法です。
MCPサーバーにはNode.jsが必要です。Node.jsバージョン18以降を使用していることを確認し、GitHub Releasesからmcpbファイルをダウンロードします。Node.jsがインストールされていない場合は、nodejs.orgからダウンロードしてください。
- Claude Desktopを開きます。
- メニューにアクセスし、設定を選択します。
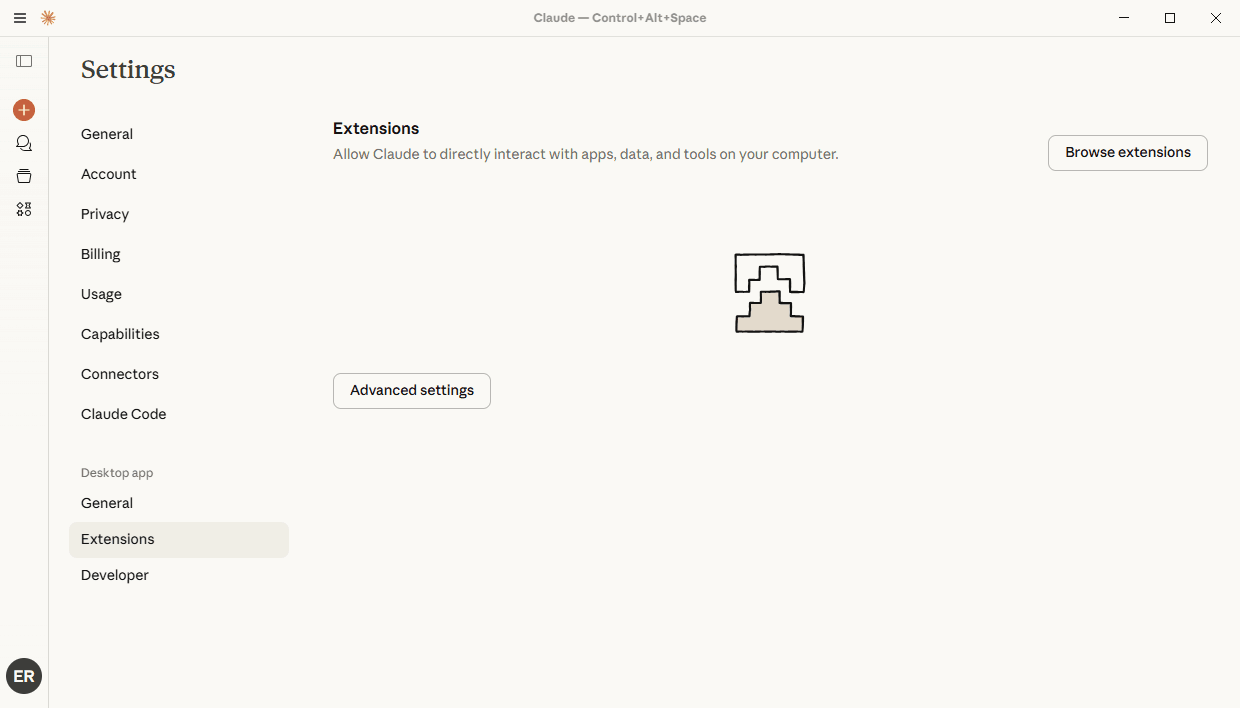
- 設定ページで、拡張機能に移動し、詳細設定をクリックします。
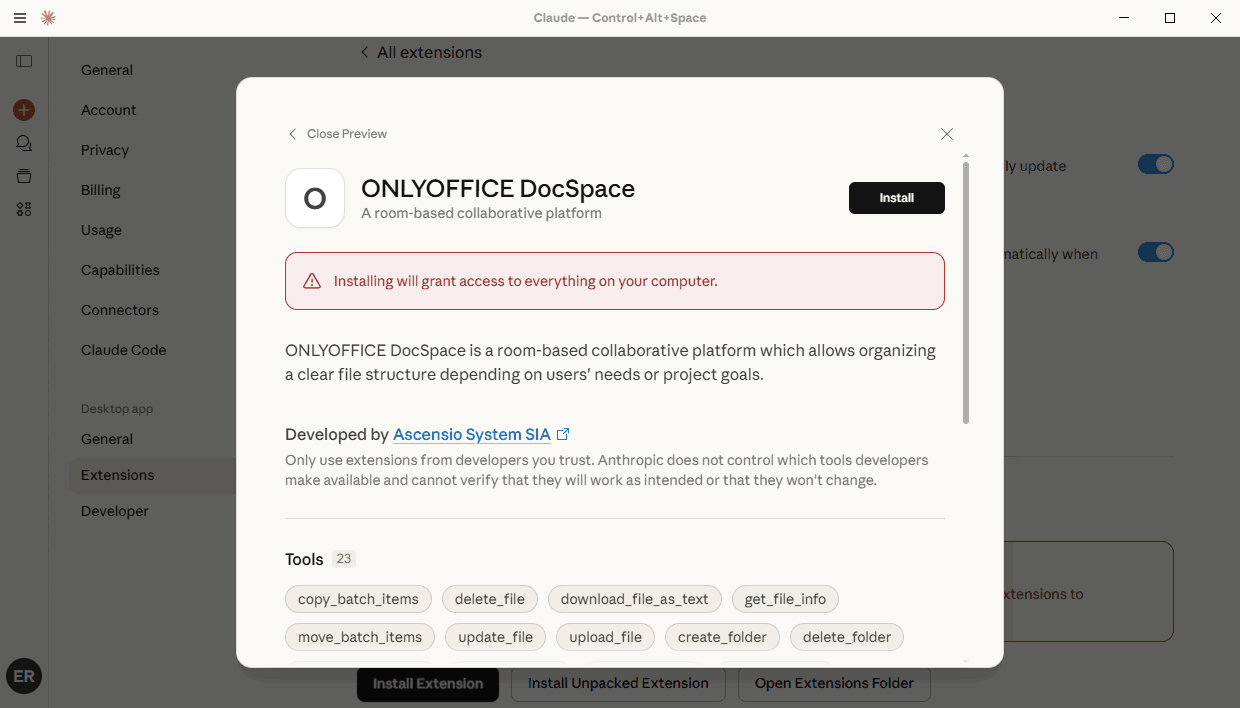
- 拡張機能をインストールをクリックします。

- ダウンロードしたMCPバンドルを選択します。
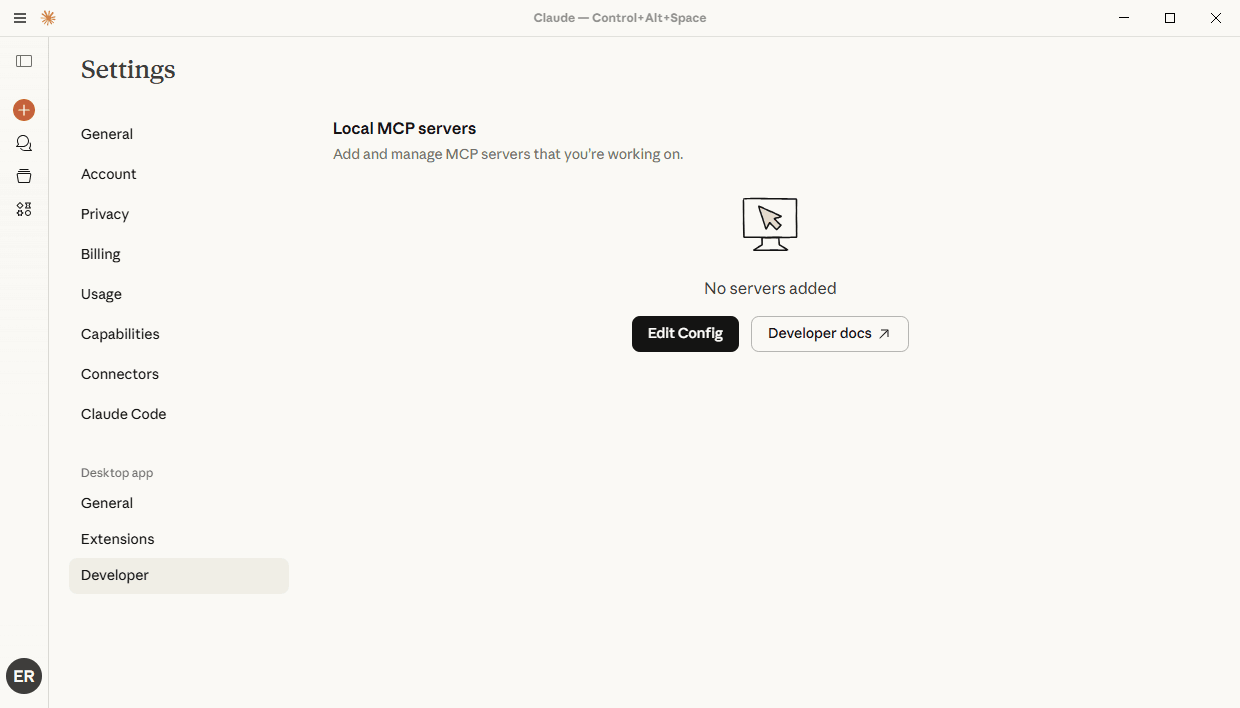
ローカルMCP
Claude Local MCPサーバーは、ローカルで実行されているMCPサーバーに接続する3番目の方法です。
Dockerがインストールされ、システムで実行されていることを確認してください。
DocSpace APIキーを生成します。DocSpaceに移動し、左側のパネルで開発者ツールタブをクリックします。上部のAPIキータブを選択し、新しいシークレットキーを作成ボタンをクリックします。生成されたキーをコピーします。
- Claude Desktopを開きます。
- メニューにアクセスし、設定を選択します。
- 設定ページで、左側のサイドバーにある開発者タブに移動します。
- 設定を編集ボタンをクリックします。
- テキストエディタで設定ファイルを開きます。ファイルパス:
- macOSの場合:
~/Library/Application Support/Claude/claude_desktop_config.json - Windowsの場合:
%APPDATA%\Claude\claude_desktop_config.json
- macOSの場合:
- 次のJSON構造を追加します:
{ "mcpServers": { "onlyoffice-docspace": { "command": "docker", "args": [ "run", "--interactive", "--rm", "--env", "DOCSPACE_BASE_URL", "--env", "DOCSPACE_API_KEY", "onlyoffice/docspace-mcp" ], "env": { "DOCSPACE_BASE_URL": "https://your-instance.onlyoffice.com", "DOCSPACE_API_KEY": "your-api-key" } } } }- DOCSPACE_BASE_URL - DocSpaceポータルアドレス
- DOCSPACE_API_KEY - 上記の指示に従って生成されたDocSpace APIキー
- command: "docker" - Dockerを介してMCPサーバーを起動するために使用されるコマンド
- onlyoffice/docspace-mcp - MCPサーバーのDockerイメージ
- ファイルを保存し、Claude Desktopを再起動します。
ONLYOFFICE MCPサーバーの使用
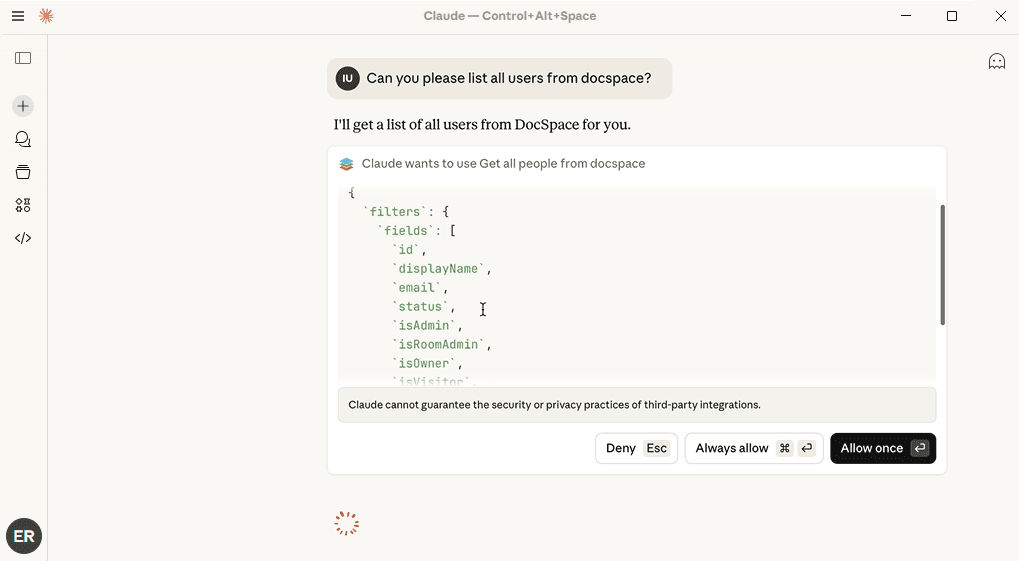
- 認証が成功した後、チャットを開いてプロンプトを入力し、使用するツールのリストを確認するために常に許可または一度だけ許可をクリックします。