Installer ONLYOFFICE Workspace Communauté sous Windows sur un server en local
Introduction
ONLYOFFICE Workspace Communauté est une version gratuite du système collaboratif conçu pour gérer des documents, des projets, des relations avec les clients et des courriels, tous réunis en un seul endroit.
L'installation sous Windows comprend les composants suivants: ONLYOFFICE Serveur Communauté, ONLYOFFICE Docs, ONLYOFFICE Chat et Panneau de configuration ONLYOFFICE. Ce guide décrit comment installer sans effort tous les composants de ONLYOFFICE Workspace Communauté en utilisant le fichier d'installation .exe.
Étape 1. Télécharger le fichier d'installation ONLYOFFICE Workspace Communauté
Pour télécharger le fichier d'installation ONLYOFFICE Workspace Communauté, accédez à la page de téléchargement.
Passez à l'onglet Pour Windows et cliquez sur le bouton Télécharger.
Attendez que le téléchargement se termine.
Étape 2. Installer des éléments prérequis
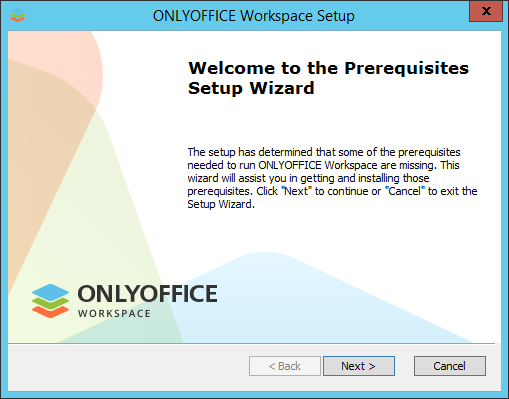
Faites un clic double sur le fichier .exe que vous venez de télécharger et l'assistant d'installation des prérequis lancera (Prerequisites Setup Wizard). Celui-ci vous aidera à installer les composants requis pour exécuter ONLYOFFICE Workspace Communauté. Cliquez sur le bouton Next > (Suivant) pour continuer.
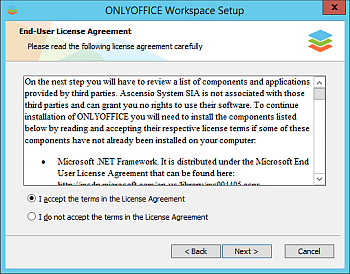
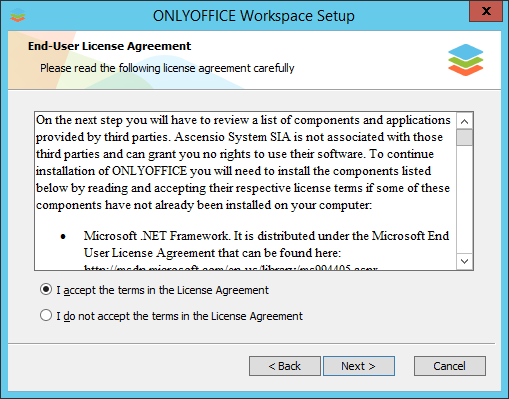
Veuillez lire attentivement les Conditions générales d'utilisation pour savoir quels composants et quelles applications sont fournis par des tiers. Activez l'option I accept the terms in the License Agreement (J'accepte les conditions générales d'utilisation) si vous êtes d'accord avec celles-ci. Ensuite, cliquez sur Next > (Suivant).
Vous serez invité à installer les composants suivants:
- .NET Framework 4.8 ou version supérieure,
- Visual C++ Redistributable pour Visual Studio 2013 x86,
- Visual C++ Redistributable pour Visual Studio 2013 x64,
- Visual C++ Redistributable pour Visual Studio 2015-2019 x64,
- Visual C++ Redistributable pour Visual Studio 2015-2019 x86,
- SharePoint Server 2013 Client Components SDK x64,
- MySQL Connector/ODBC 8.0 x86,
- MySQL Installer Community 8.0 x64,
- MySQL Installer Community 8.0 x64 Runner
- Node.js v.12.18 x86,
- PostgreSQL v.9.5 x64,
- Erlang v.20.3 x64,
- RabbitMQ v.3.7 x64,
- PostgreSQL ODBC Driver x64,
- Python 3.7 x64,
- Redis 3.0 x64,
- Java SE Runtime Environment 8u 171 x64,
- Elasticsearch v.7.4 x64,
- WinCertes v.1.2 x64.
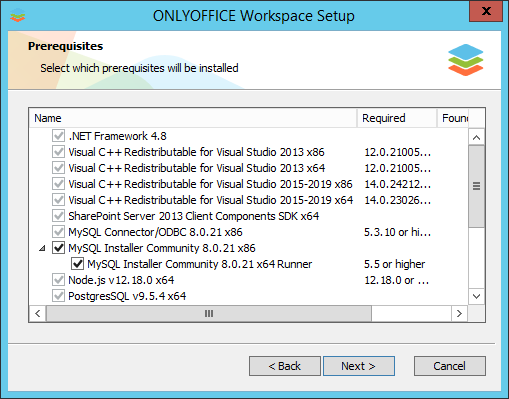
Cliquez sur le bouton Next (Suivant) pour télécharger et installer le logiciel prérequis. Le processus peut prendre un certain temps.
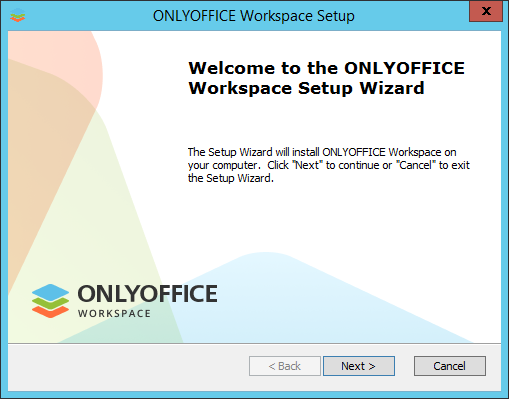
Étape 3. Installer ONLYOFFICE Workspace Communauté
Lors de l'installation de tous éléments, vous pouvez procéder à l'installation du programme principal. L'assistant d'installation ONLYOFFICE Workspace sera lancé automatiquement. Cliquez sur le bouton Next > (Suivant) pour continuer.
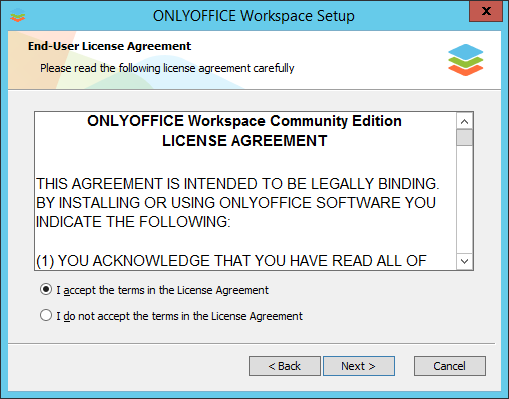
Veuillez lire soigneusement les conditions générales d'utilisation de ONLYOFFICE Workspace Communauté et activez l'option J'accepte les conditions générales d'utilisation si vous êtes d'accord avec celles-ci. Ensuite, cliquez sur Next > (Suivant).
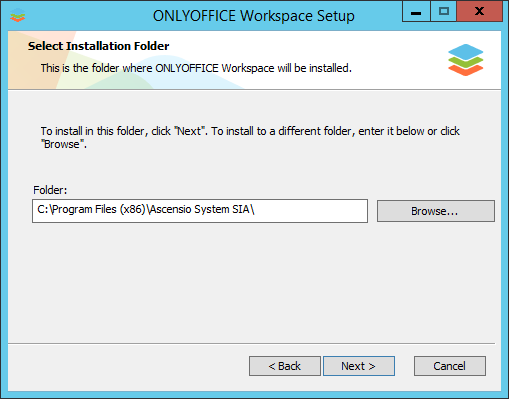
Par défaut, ONLYOFFICE Workspace Communauté sera installé vers le dossier suivant: C:\Program Files (x86)\Ascensio System SIA\ONLYOFFICE Community Edition\. Le cas échéant, vous pouvez changer le dossier en cliquant sur Browse (Naviguer) pour sélectionner le dossier nécessaire sur votre ordinateur. Ensuite, cliquez sur Next > (Suivant).
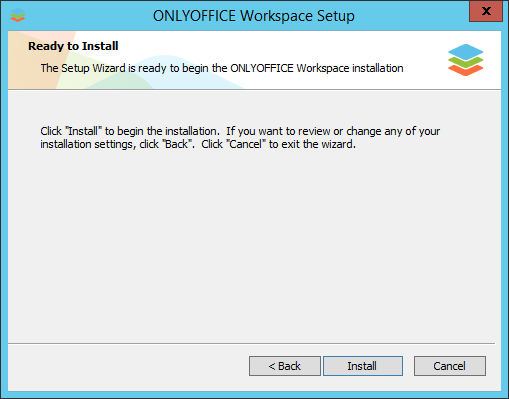
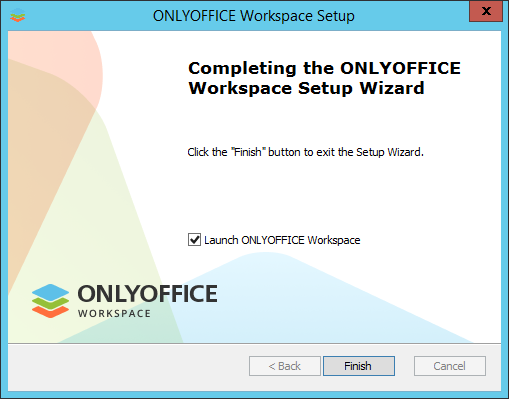
Sur l'écran suivant, cliquez sur le bouton Installer pour lancer l'installation. Cela peut prendre un certain temps.
Une fois le processus d'installation terminé, cliquez sur le bouton Finish (Terminer) pour quitter l'assistant d'installation et lancez ONLYOFFICE Workspace Communauté.
Étape 4. Lancer ONLYOFFICE Workspace Communauté
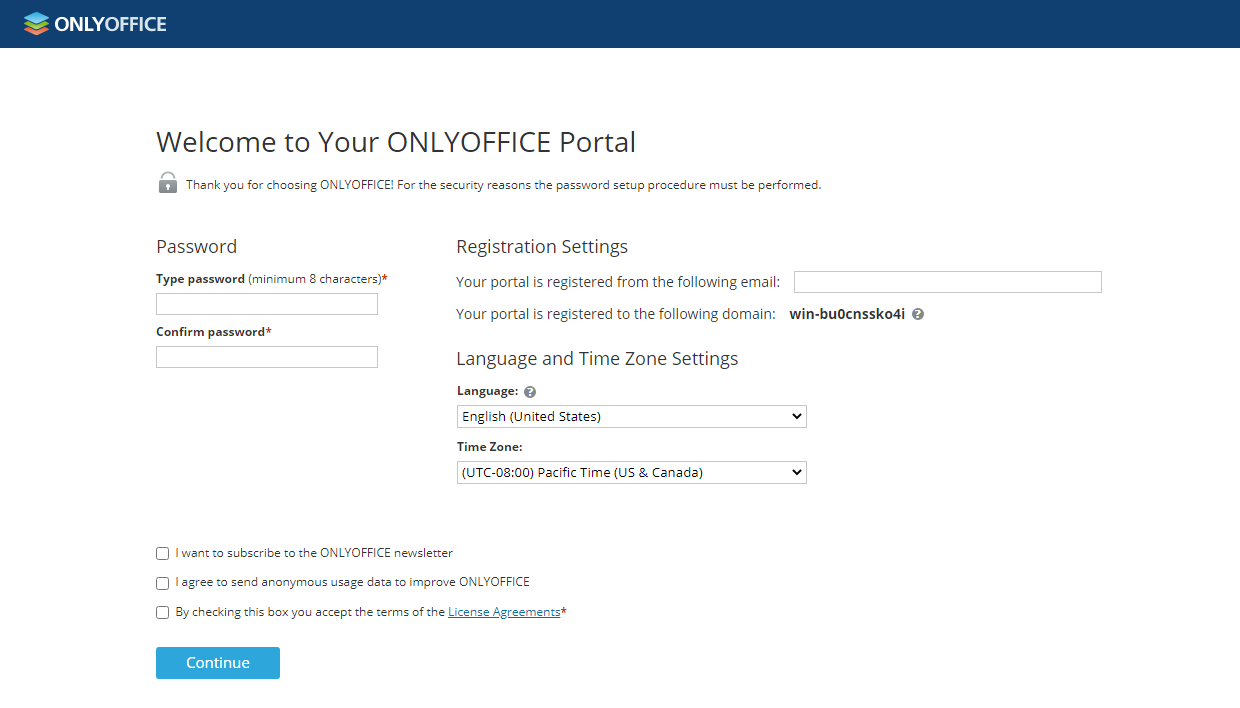
La page de configuration du portail s'affiche dans votre navigateur par défaut sur http://localhost/wizard.aspx . Maintenant, il faut effectuer la configuration initiale du portail: définir votre mot de passe et e-mail et changer la Langue et le Fuseau horaire du portail, s'il y a lieu.
- Saisissez le Mot de passe que vous allez utiliser pour accéder à votre portail ONLYOFFICE Workspace Communauté la prochaine fois et validez-le. Par défaut, le mot de passe doit comporter entre 8 et 120 caractères.
Pour des raisons de sécurité, la configuration d'un mot de passe est OBLIGATOIRE.
- Saisissez votre adresse e-mail. Le courriel d'activation vous sera envoyé sur l'adresse email. Suivez le lien fourni dans le message pour terminer la procédure de validation.
- Acceptez les Conditions générales d'utilisation en cochant la case appropriée (obligatoire). Le cas échéant, cochez les cases pour vous abonner au bulletin ONLYOFFICE et/ou consentir au recueil de données anonymisées pour améliorer ONLYOFFICE.
Le cas échéant, vous pouvez également:
- afficher le nom de domaine du portail enregistré;
Il est possible de modifier le nom de domaine plus tard sur la page Paramètres. Pour en savoir plus, veuillez consulter la section Configuration.
- utiliser la liste déroulante Langue et sélectionnez une langue appropriée pour l'affichage de toutes les pages et des notifications du portail;
- définir le fuseau horaire qui correspond à votre région depuis la liste déroulante Fuseau horaire,
Lorsque tous les paramètres sont définis, cliquez sur le bouton Continuer.
C'est fait. Votre portail est prêt à fonctionner. Sélectionnez l'un des modules disponibles pour commencer à explorer ONLYOFFICE Workspace Communauté.