Intégrer ONLYOFFICE à OneDrive
Associez votre compte OneDrive pour modifier les documents stockés sur OneDrive directement depuis le module Documents du portail.
Version serveur
Étape 1. Créer les clés d'autorisation
Pour créer les clés d'autorisation nécessaires pour connecter OneDrive à votre portail:
- Accédez à Microsoft Azure.
- Connectez-vous à votre compte.
- Cliquez sur New registration sur la page App registrations.
- Saisissez le Name de votre application.
- Saisissez
https://service.onlyoffice.com/oauth2.aspxdans le champ Redirect URL. - Cliquez sur Register.
- Copiez ou notez l'
Application (client) IDaffiché sur la page Overview. - Sélectionnez la section Certificates & secrets sur la gauche.
- Cliquez sur New client secret.
- Saisissez une description et cliquez sur Add.
- Copiez ou notez le
Client secretaffiché dans le champ Value.
Étape 2. Connecter OneDrive sur le portail
Pour connecter OneDrive à votre portail:
- Cliquez sur l'icône
 dans le coin supérieur droit pour ouvrir les Paramètres.
 - Sélectionnez l'onglet Intégration.
- Ouvrez la page Services tiers.
- Faites défiler jusqu'à OneDrive et cliquez sur le commutateur pour l'activer.
- Dans la fenêtre OneDrive qui s'ouvre, saisissez l'
Application (client) IDet leClient secretobtenus à l'étape précédente. - Cliquez sur Activer pour connecter le service.
Version cloud
Connecter OneDrive for Business ou SharePoint
OneDrive for Business et SharePoint ne peuvent être connectés que sous un compte Office 365 Global admin.
Pour connecter OneDrive for Business ou SharePoint:
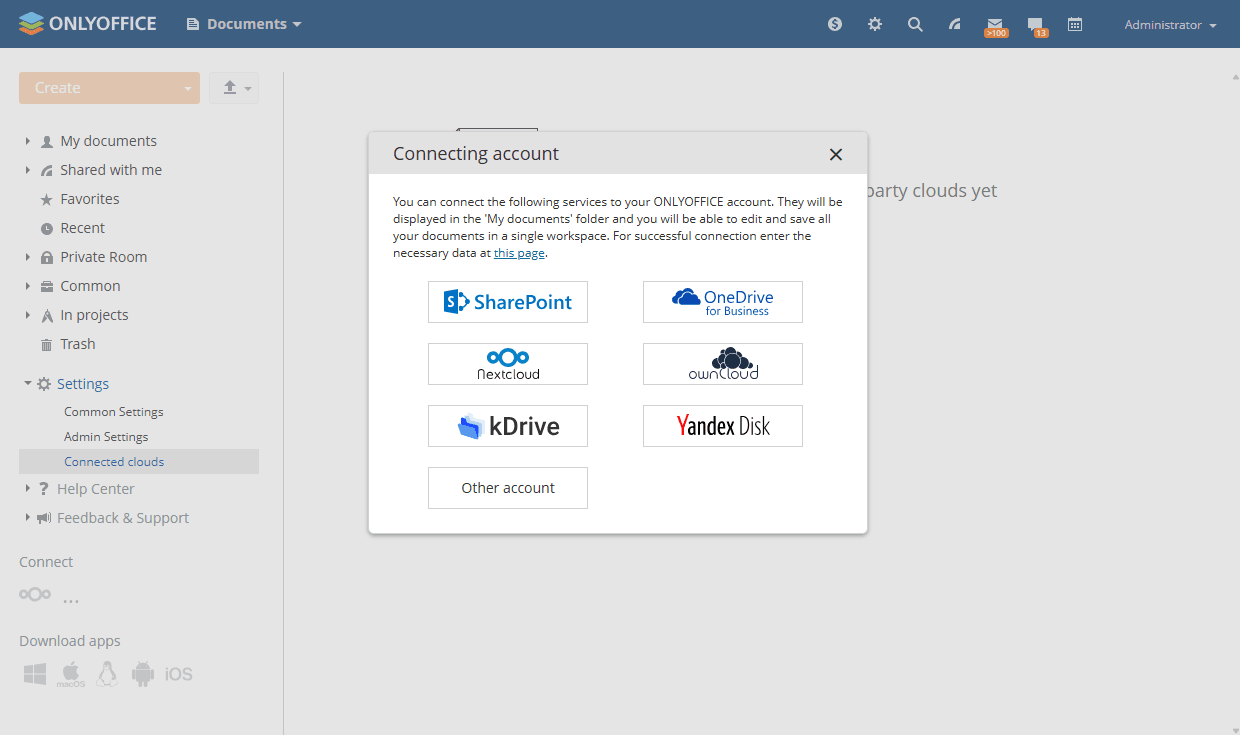
- Dans le panneau latéral gauche, cliquez sur les trois points
 sous la section Connecter et sélectionnez SharePoint ou OneDrive for Business dans la fenêtre Connexion d'un compte, ou accédez à Paramètres > Clouds connectés et cliquez sur Connecter un cloud.
- Saisissez l'URL de connexion. L'URL doit respecter le format suivant:
https://****-my.sharepoint.com/. N'ajoutez aucun segment de chemin après le domaine de premier niveau. - Saisissez le Login et le Password de votre compte Office 365.
- Indiquez le nom du dossier dans lequel les documents seront stockés, ou laissez le nom par défaut.
- Cliquez sur Enregistrer.
Articles avec le tag :
Parcourir tous les tags